My original intent was to make a plywood aquarium 8' x 4' but I had to scale it back due to the limitations of the size of materials that I could haul in my car since the transmission blew on my truck. Any how, my original intent was to make a tank large enough to hold a shark. The limited size really constrained me to what kind of shark I could get so I made the build geared toward either a coral cat shark or a marbled cat shark.
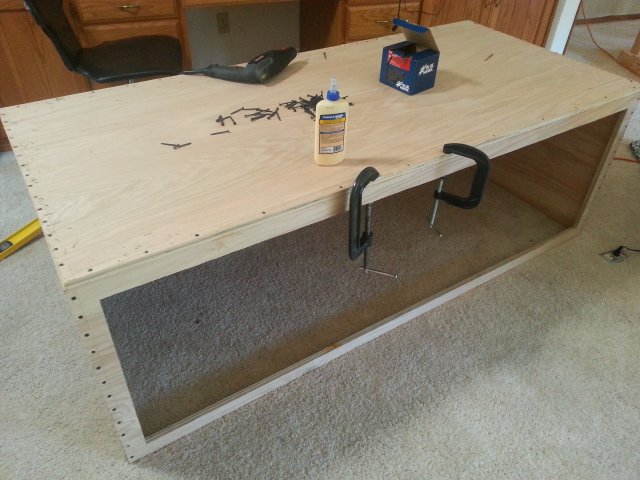
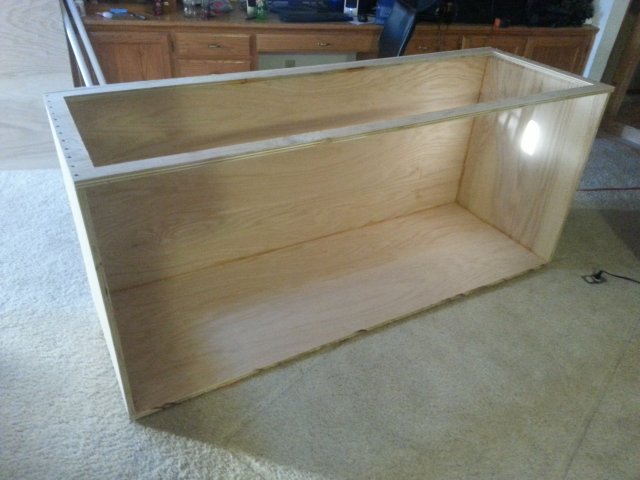
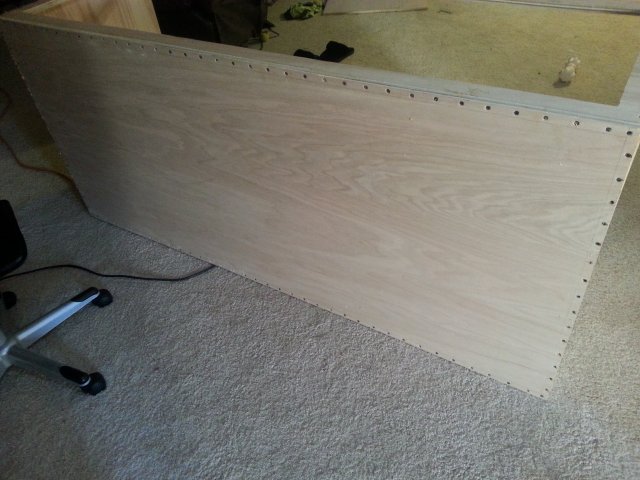
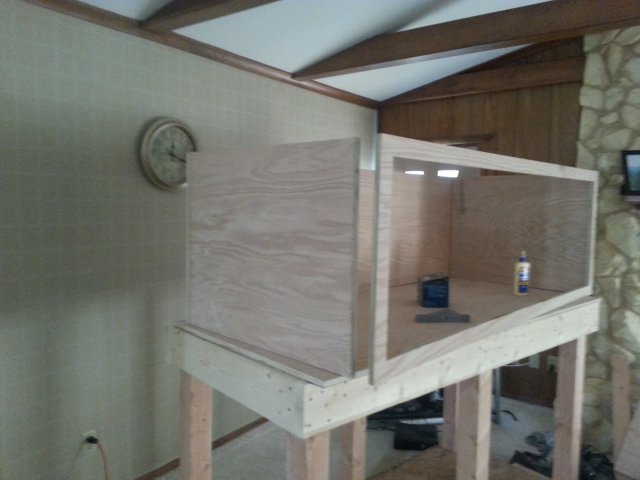
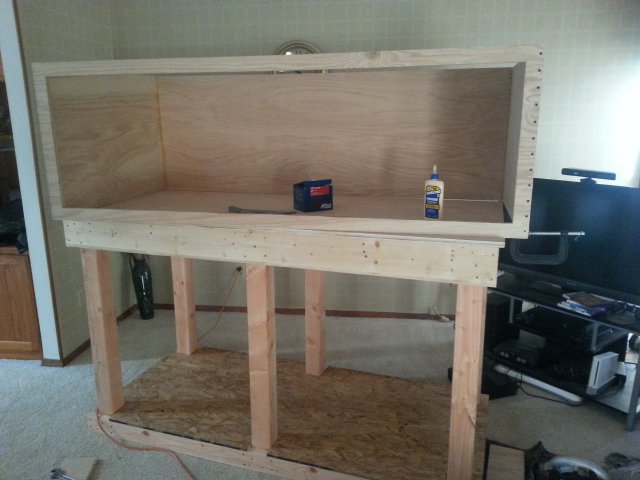
The beginning phase I used 15/16" oak plywood. I had Lowes cut it to size so it would fit in my car. I used 2.5" deck screws every 2 inches along with a bead of wood glue on all the joints. Also at the same time I built the stand using 6 4x4s to hold the weight with 2x6s and 2x4s as the horizontal braces.
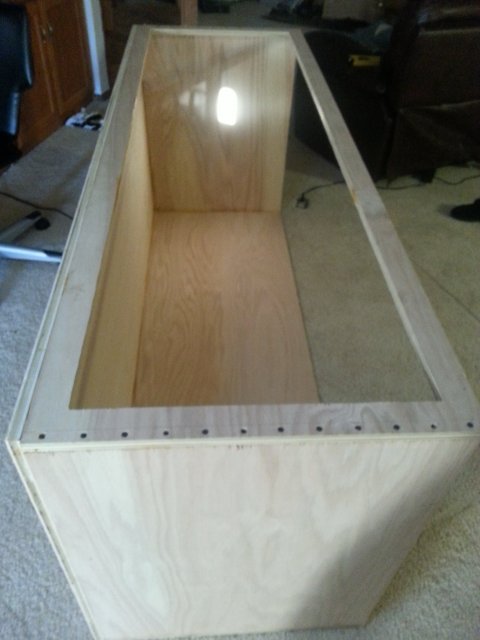

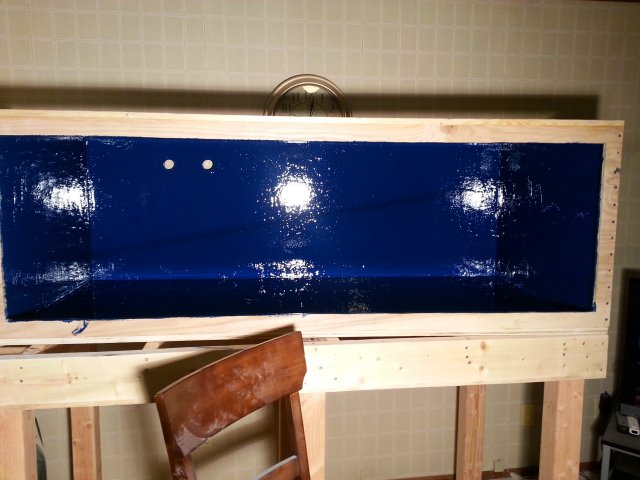
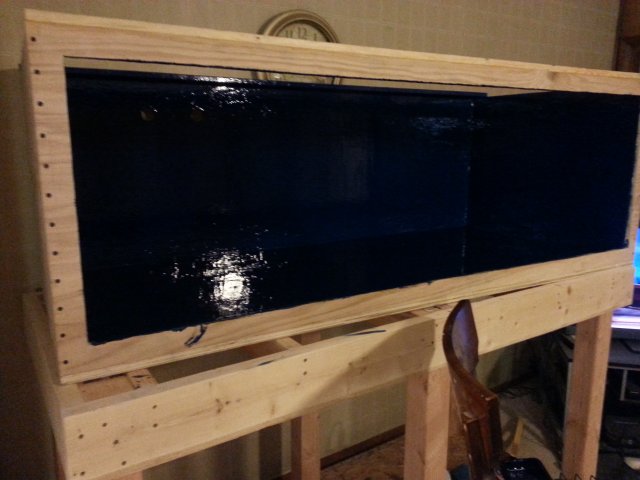
In the next phase I used pond shield to water proof the inside. At this point I installed the front viewing glass which is 1/2" plate.
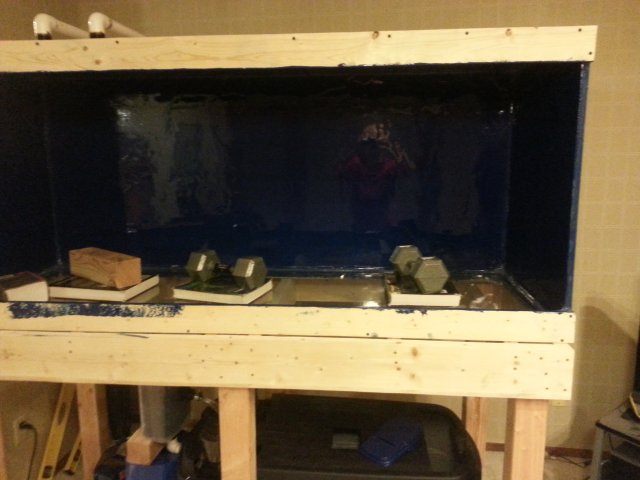
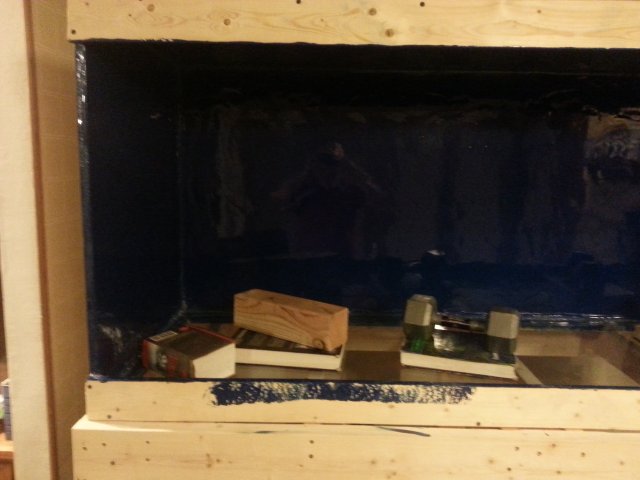
Once I had waited for the two weeks for the silicone to dry, I sat it upright and began the leak test. I was luck enough to have zero leaks on my first attempt. I did use 270lbs of white fine grain sand, and no it wasn't live sand.
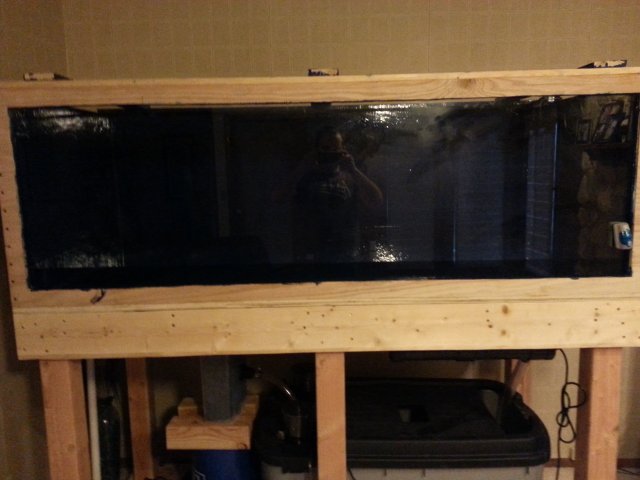
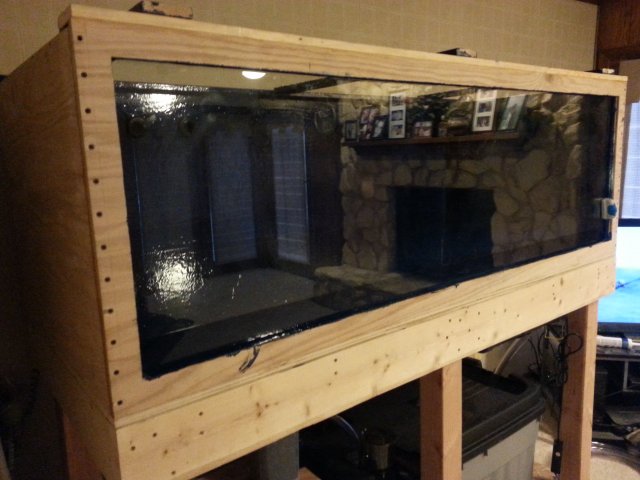

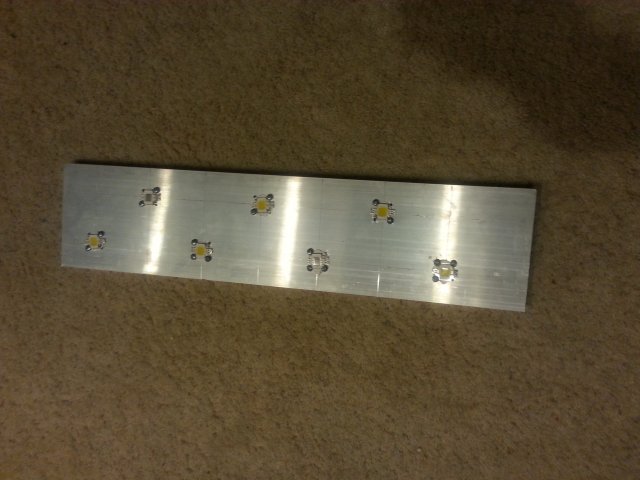
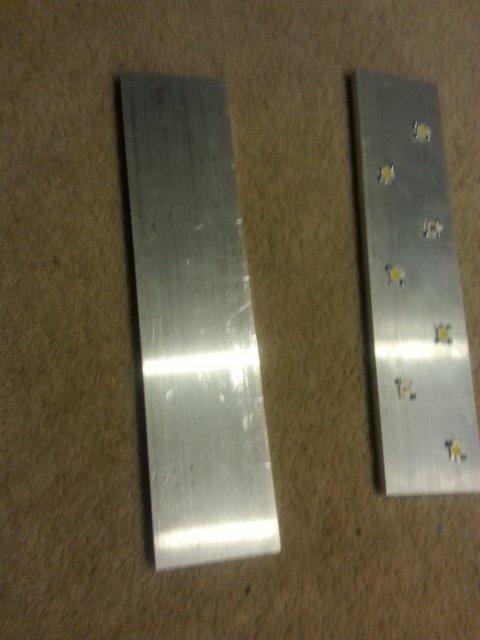
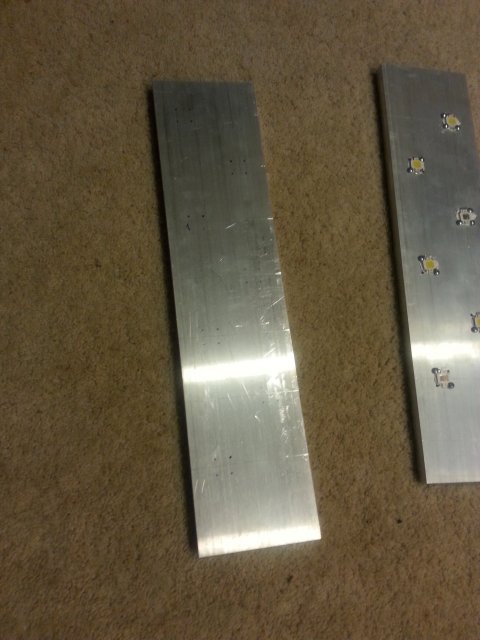
I did build all of the electronics myself. So instead of buying led aquarium lights, I built them myself using 10 - 10W soft white leds and 4 - 10W RGB leds. I don't have pictures of the other stuff, but I can probably get it upon request.
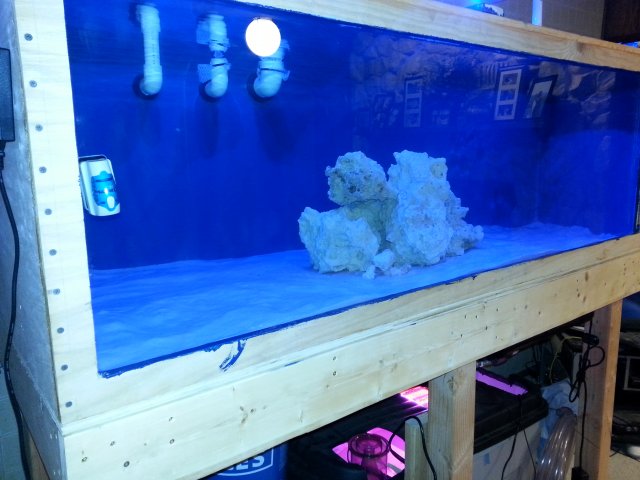
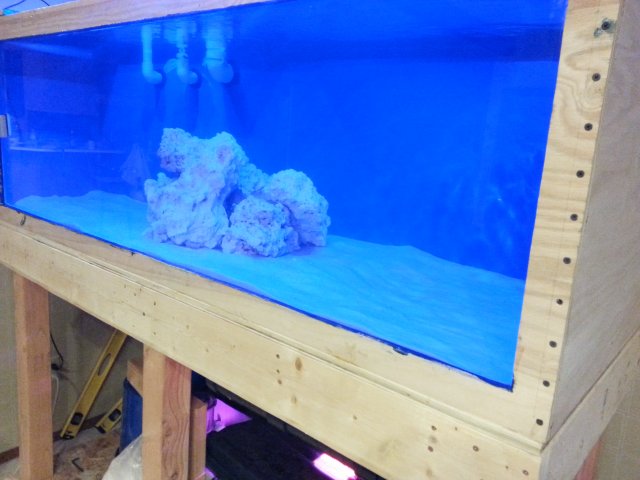
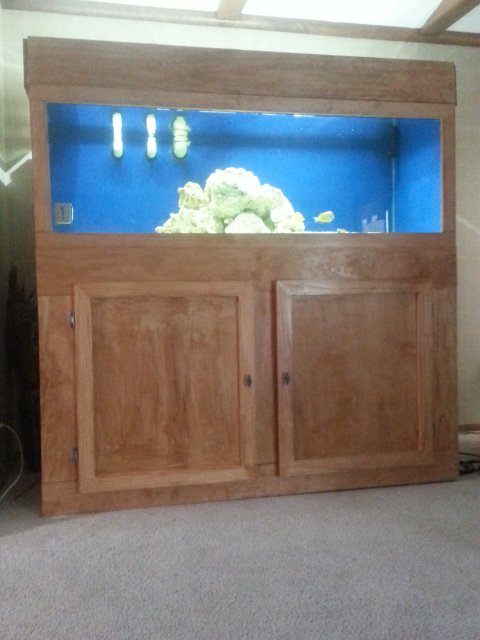
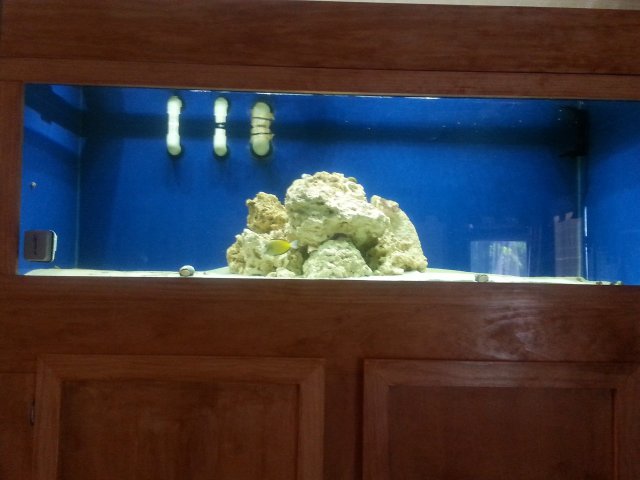
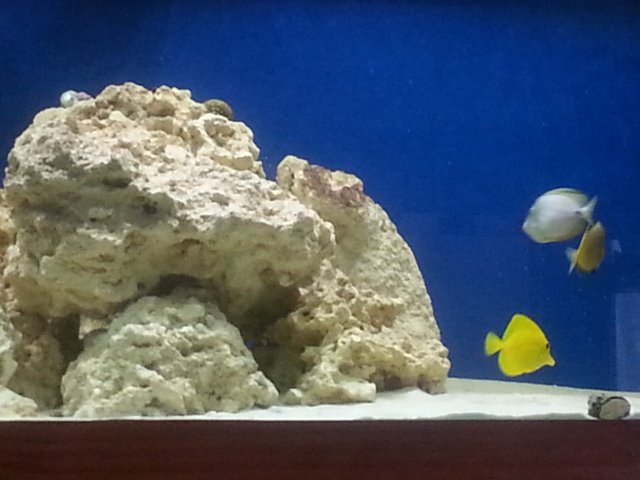
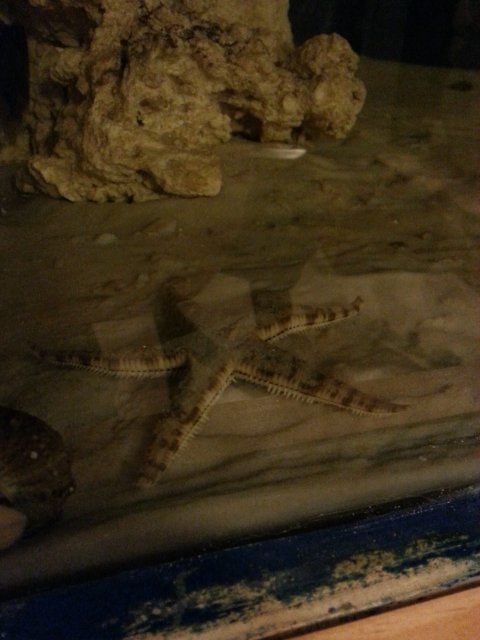
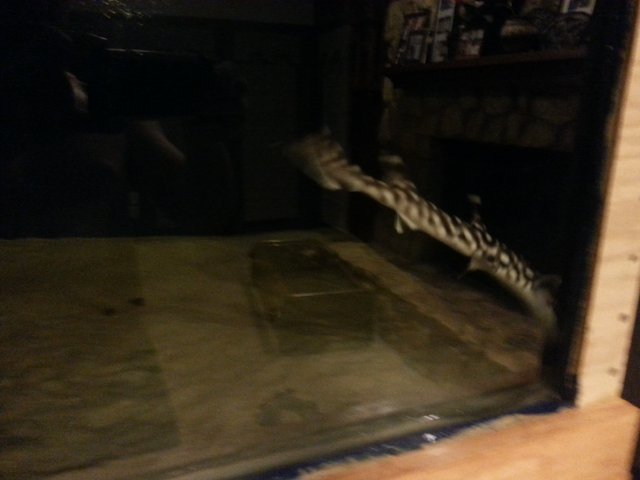
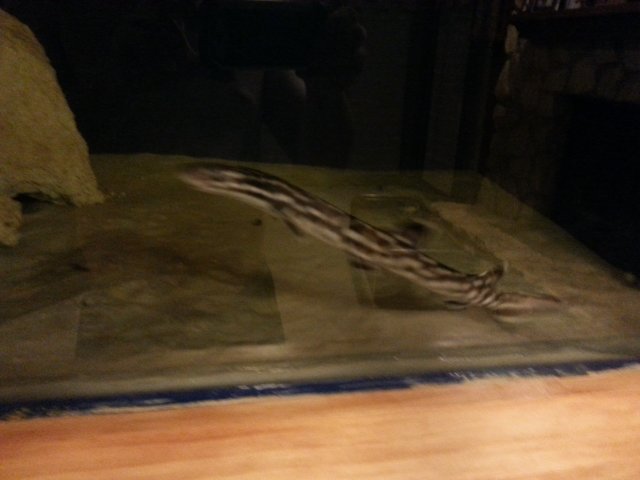
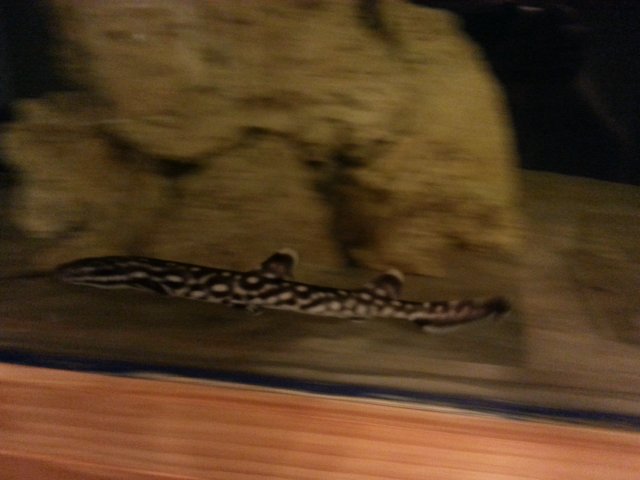
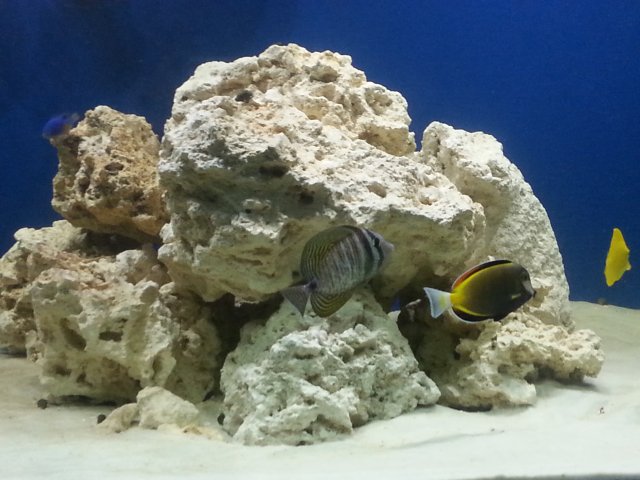
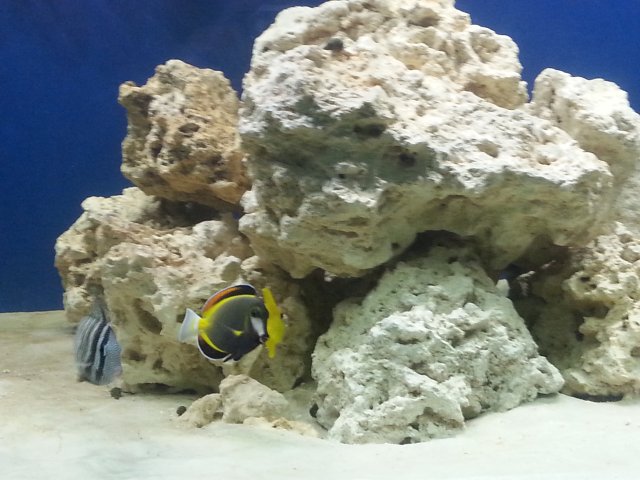
And now the Semi finished product. I just started to put trim on it last week so its not completely done. The tank inhabitants include: 1' marbled cat shark, brown powder tang, desjardini sailfin tang, a yellow tang, and a bunch of inverts.
The beginning phase I used 15/16" oak plywood. I had Lowes cut it to size so it would fit in my car. I used 2.5" deck screws every 2 inches along with a bead of wood glue on all the joints. Also at the same time I built the stand using 6 4x4s to hold the weight with 2x6s and 2x4s as the horizontal braces.


In the next phase I used pond shield to water proof the inside. At this point I installed the front viewing glass which is 1/2" plate.


Once I had waited for the two weeks for the silicone to dry, I sat it upright and began the leak test. I was luck enough to have zero leaks on my first attempt. I did use 270lbs of white fine grain sand, and no it wasn't live sand.


I did build all of the electronics myself. So instead of buying led aquarium lights, I built them myself using 10 - 10W soft white leds and 4 - 10W RGB leds. I don't have pictures of the other stuff, but I can probably get it upon request.


And now the Semi finished product. I just started to put trim on it last week so its not completely done. The tank inhabitants include: 1' marbled cat shark, brown powder tang, desjardini sailfin tang, a yellow tang, and a bunch of inverts.


