Yet Another Plywood Tank

Johnster

Feeder Fish
MFK Member
Aug 28, 2016
19
3
3
61
When I finally decided to pull the trigger on finishing the basement into my man cave, the one must-have feature was a large aquarium. Planning and research began, much of it here on MonsterFishKeepers. You folks have some great ideas and I took many of them during the build.

The tank has been up and running for over a year now, and so far has worked out better than I'd hoped (fingers crossed). I wanted to post a build thread on what was done including anything I would have done differently.

Having kept a couple salt water tanks in the living room, and having eventually knocked over a bucket during water change and trying to get that out of the carpet, this new tank would need to have a dedicated maintenance room with a drain so I could kick over all the buckets I want :). I also had found that I would often drag a chair over next to the tank for comfort, so a functional place to sit while watching the fish was also a requirement.

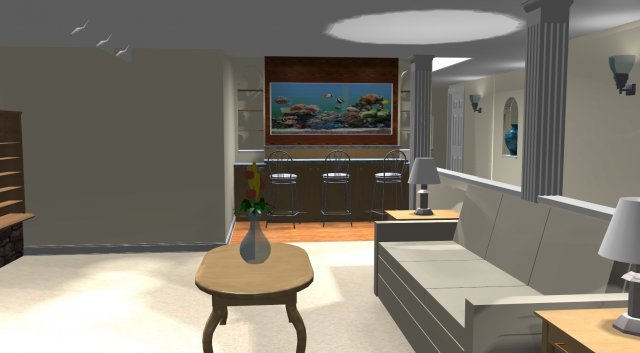
Having spent the majority of my youth seated at a bar in some country or another, what better place to look at the tank than from a barstool? Something I had much experience with. The research I did on the internet had many examples, but in those the tank was always behind the bar and too far away. I wanted my nose right up against the glass. Finally I found something that could work with a little modification:
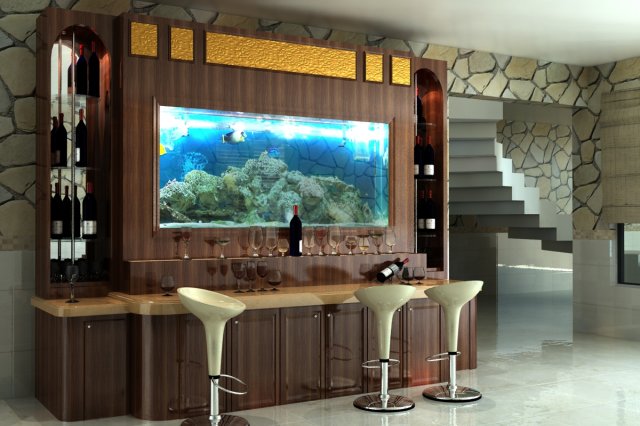
1-1.jpg

A bit new-age for my taste, and the bar is much too low, but you get the idea.

I found a guy in the area that does architectural work and he did up some viewpoint images so I could get an idea on what would fit and basically how it would look.
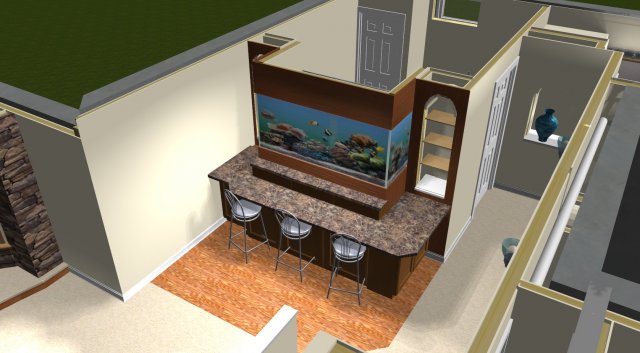
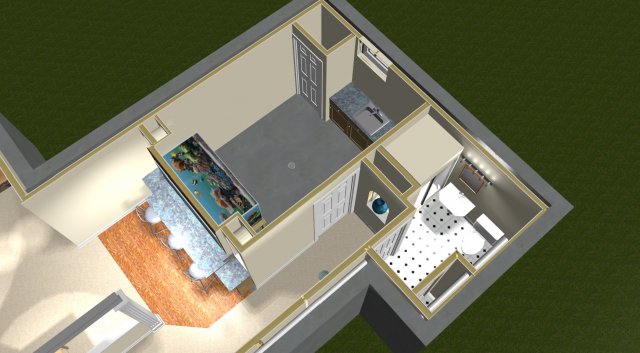
1-2.jpg
1-3.jpg
1-4.jpg

So now I had the plan. It was time to stop talking and start building. Next post will get the fish room ready.

John
 
  • Like
Reactions: Angelphish

Johnster

Feeder Fish
MFK Member
Aug 28, 2016
19
3
3
61
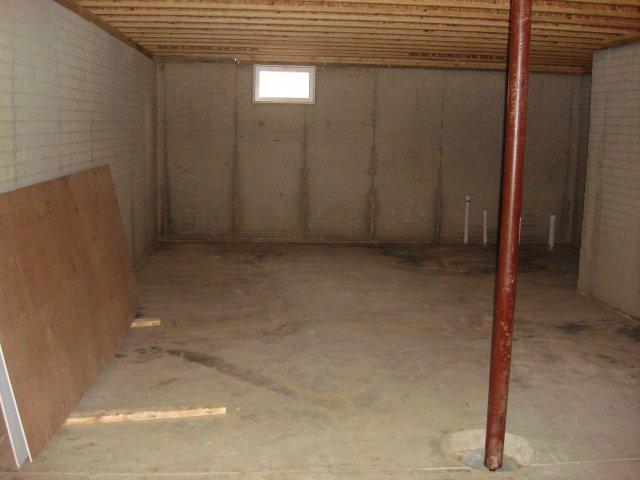
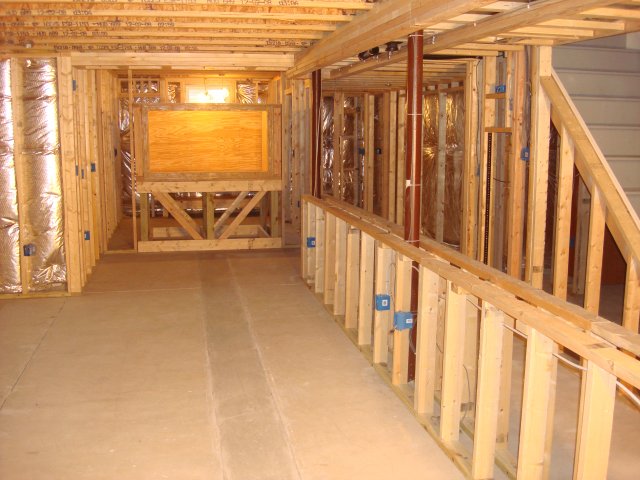
Now that I had the plan for the tank, I could start with the basement framing. I'd already picked out the corner it would go in.

2-1.JPG

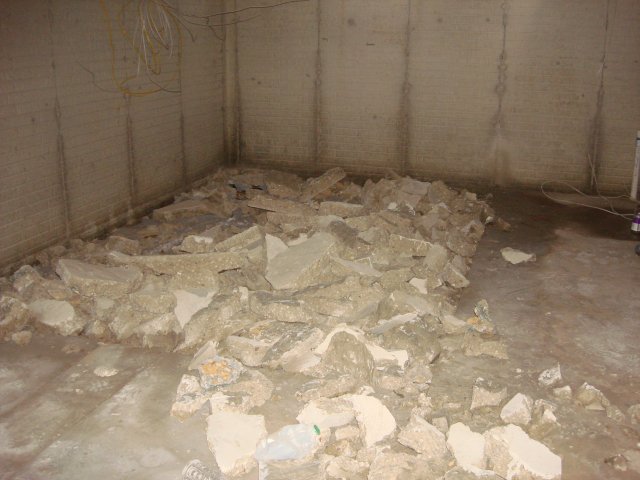
There was only one problem: the house builder didn't put the drain in. He had to come back in and jackhammer up the floor so it could sloped for a drain. He also had to cut a channel to the sump that was on the other side of the basement.

2-2.JPG

Needless to say dude was not happy. He even had to come back a third time to level out the seam because the basement floor and the new part with the drain settled differently which left a 1/4" ridge right where the wall was going. Not sure how this got missed but the builder fixed it at no cost.

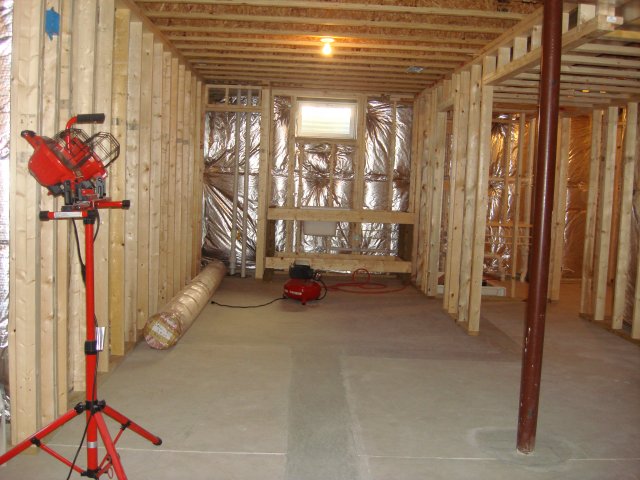
Once all was good with the floor was fixed my friend TJ and I framed it all in and the plumber was able to do his bit.

3-1.JPG

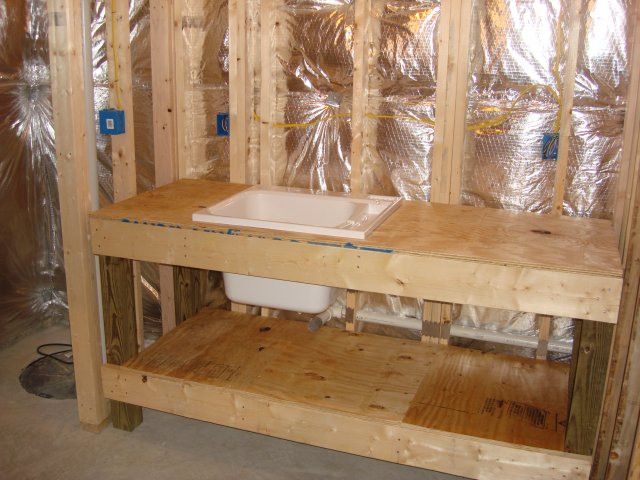
The final piece of this phase was the utility sink that is the heart of any self respecting fish room.

3-2.JPG

Next post is the tank stand.

John
 

Johnster

Feeder Fish
MFK Member
Aug 28, 2016
19
3
3
61
The size of the tank was chosen based on the space available. Leaving space for the hallway to the bathroom I had a little over 8 feet of space for the tank. As I didn't want to wedge it right up against the walls, I went with a 6 foot long tank. That's the length of a 220 gallon tank. I, however, wanted something wider (front to back), which would not fit down the basement stairs. Not to mention weight (more on that later).

That's when I started reading threads on MFK about large tanks. I've got no experience working with glass or acrylic, but I can do plywood. So, a 6 foot long tank, and a standard sheet of plywood is 4 feet wide. 6 x 4 it is! For depth I wanted something that went from standard bar height to just above eye level when standing so you didn't have to crouch down to look in the tank. Being a round numbers kind of guy, I figured 3 feet deep. That comes out to about 540 gallons. We've got a winner.

When planning the stand, I tried to estimate how much weight it would have to hold.
I know plywood would be lighter than glass, but I overbuild things. German heritage: if a nail will hold it, use bolts. So I tried to estimate the weight of a glass tank of the same size.
I figured if a 220 gallon tank weighs in at around 450 pounds empty, just figure the tank at 2 pounds per gallon for dry weight. So a 536 gallon tank would weight just shy of 1100 pounds.

Using some online calculators that are everywhere:

Sand to cover a 6 x 4 tank to a depth of 4 inches: 800 pounds
Decorative rock: 500 pounds
500 gallons of salt water at 8 pounds a gallon: 4000 pounds

Total a max weight of 6300 pounds. Holy crap! Gonna be some stand.

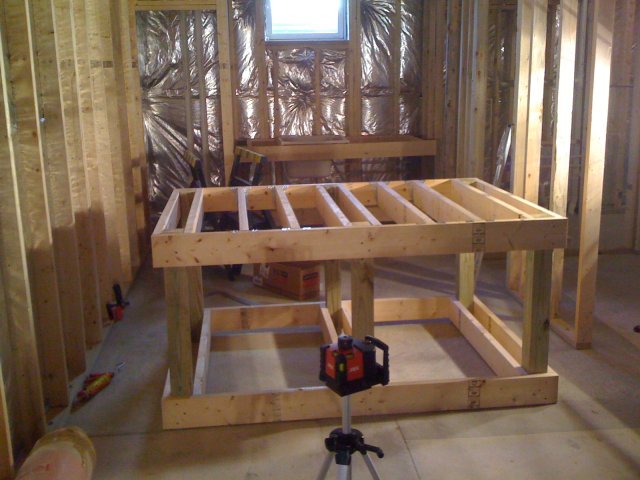
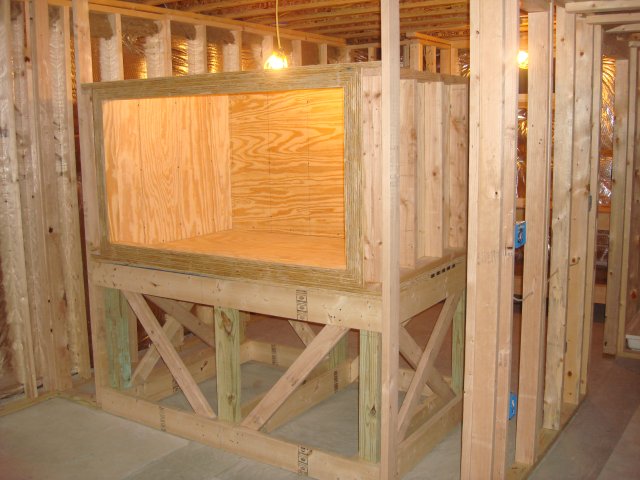
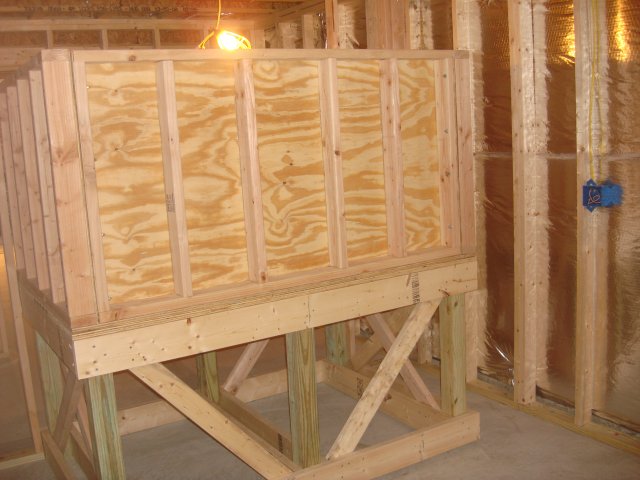
Ended up using pressure treated 4x4s with 2x6's for the basic frame. Then built the tank floor supports like I was building a deck. 2x6s held with deck stringers.

4-1.JPG

I used the laser level to ensure the legs were exactly long enough to keep the tank level on the floor sloped for the drain.

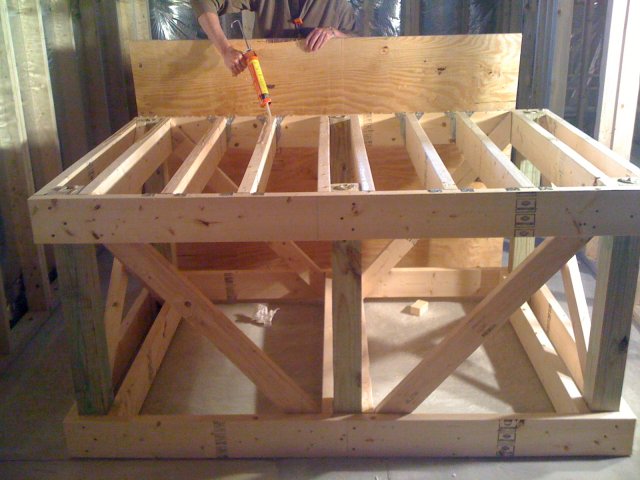
I then added bracing so the tank wouldn't shift of center or twist.

4-2.JPG

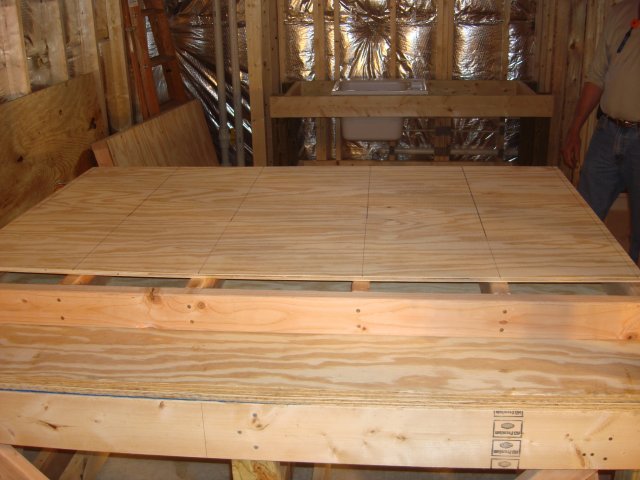
Last it was topped with a 6 x 4 piece of 3/4 inch plywood. Much construction adhesive and deck screws were used. I think if a tornado came, I could hide under the tank.

John
 

Johnster

Feeder Fish
MFK Member
Aug 28, 2016
19
3
3
61
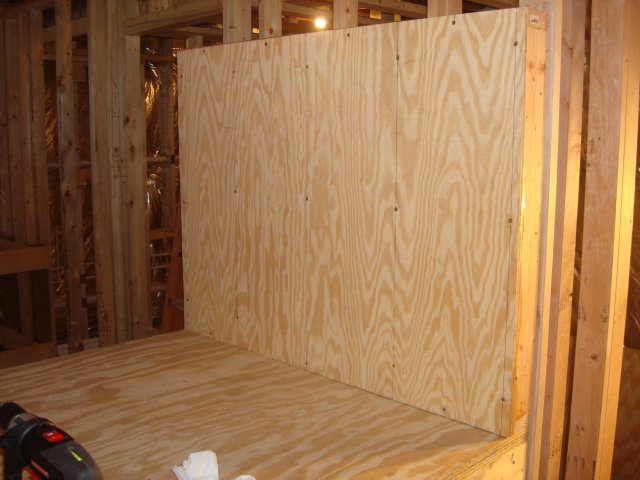
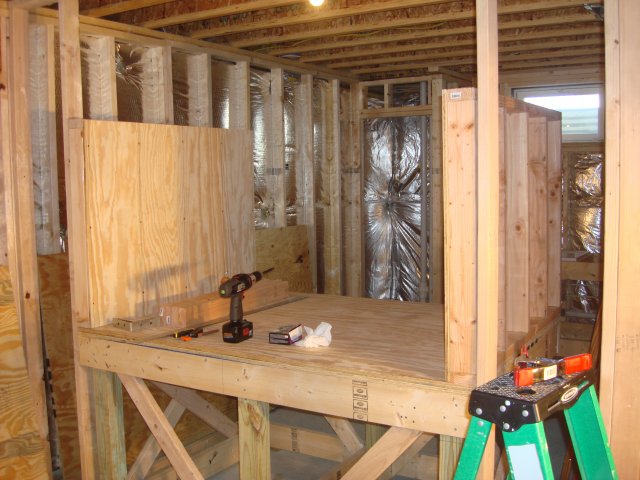
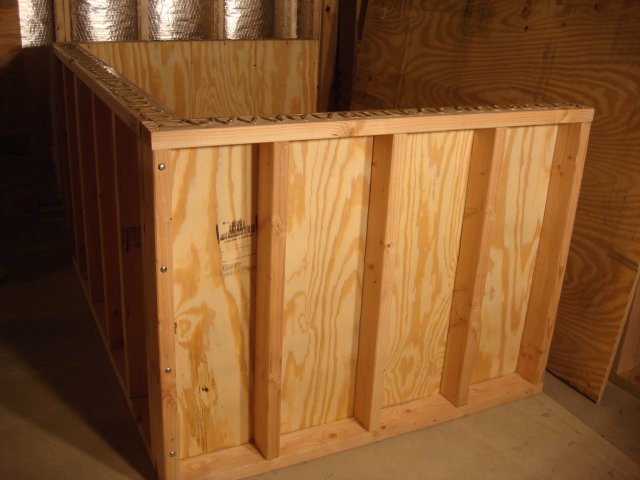
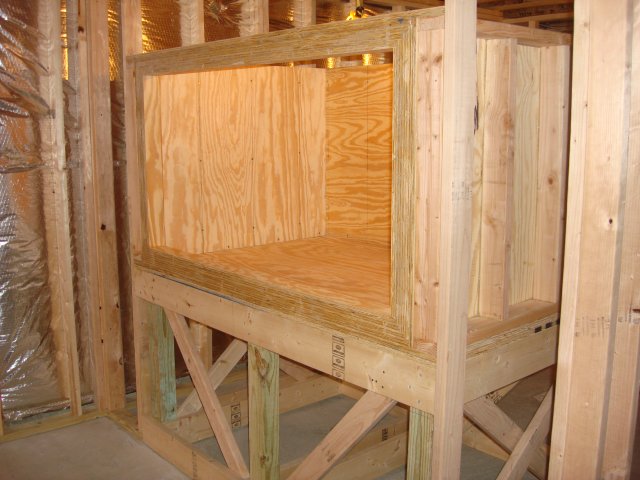
The tank itself was done using the same technique as a normal wall, i.e. header and footer with evenly spaced studs, then 1/2 inch plywood as a face. I started out using normal wood screws and a cross-tip screwdriver but kept having problems with the head slipping or stripping out. So I switched to deck screws. The torx head is so much easier.

The sides wen up first:

5-1.JPG
5-2.JPG
5-3.JPG
5-4.JPG

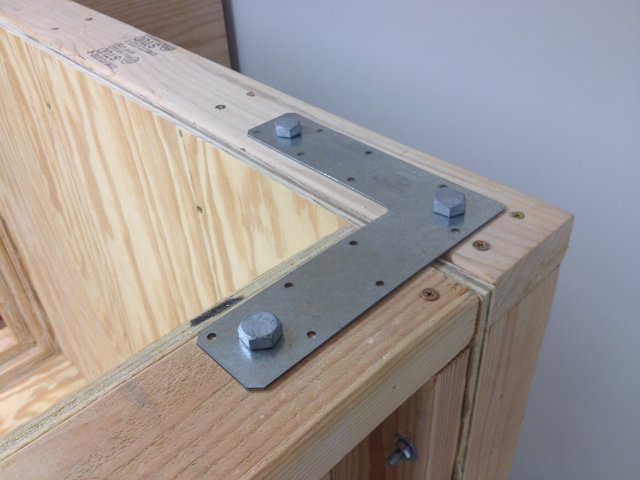
Then I built the back to fit in between the sides and fastened it together with construction adhesive and some bolts the went through the sides to secure the back. Finally I used some brackets to add extra support at the top of the tank.

5-5.JPG
5-8.JPG

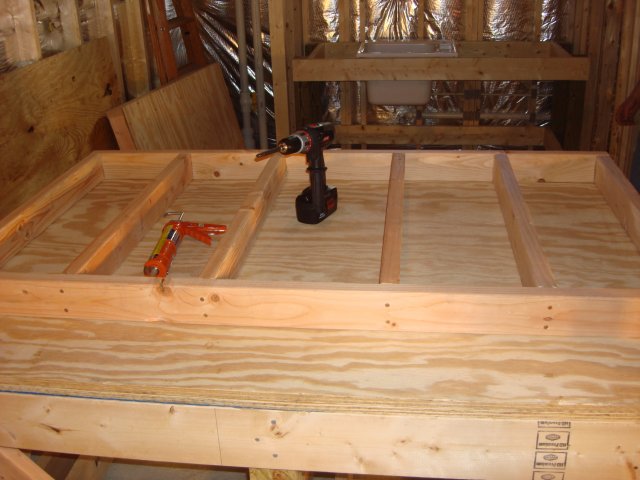
Then the whole thing was flipped over and the bottom of the tank was glued and screwed onto the sides/back.

5-6.JPG

Using the stud wall approach was definitely overkill, but I'd rather be overly sturdy than risk the plywood bowing out and splitting under water pressure and having 500 gallons of saltwater dumped in my basement. It also cut down on the total volume of the tank so instead of 72 x 48 inches, it was 64 x 40 inches. Now it's a 400 gallon tank. In hindsight I would have ripped the 2x4s used for the studs in half so instead of 4 inch thick walls it would have been 2 inch thick walls. That would have made this a 460 gallon aquarium. Amazing how such a seemingly small thing would cut so much volume. Oh well, its built now.

John
 

Johnster

Feeder Fish
MFK Member
Aug 28, 2016
19
3
3
61
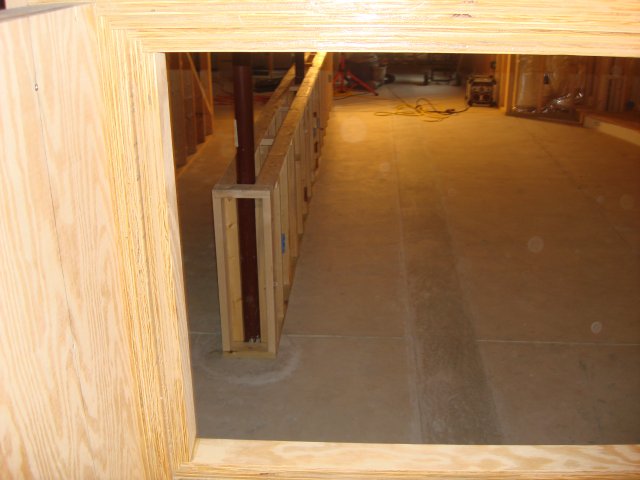
I gave a lot of thought to the front, argued about glass vs acrylic, and how it would all hold together with that much water pressure. Since the tank was going to be 36 inches deep many of the plywood designs I looked at didn't seem like they would work. I ended up taking the final idea from the garf (GeoAquatic Reserch Foundation) website. They had discussed using a "laminate beam" which is basically a couple pieces of plywood ripped down and glued together. If you have a piece of plywood cut to 3 or 4 inches wide, it will not flex on edge. Take 3 or 4 of these pieces and glue them on top of each other and you get a "laminate beam" that won't flex.

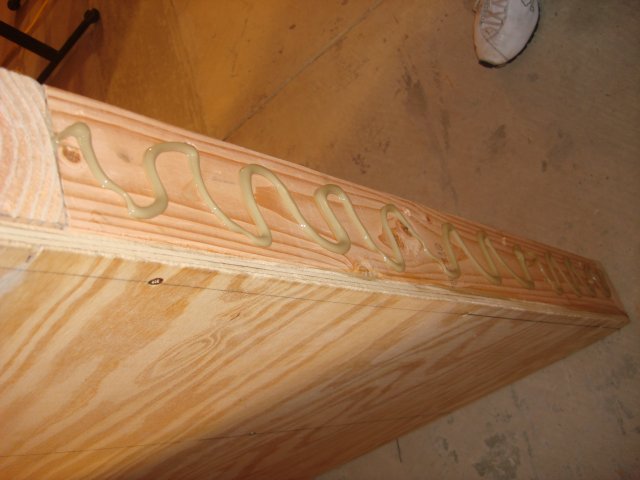
I first cut a 72 x 4 inch piece of 3/4 inch plywood and screwed/glued it across the top of the sides. This gave me a support at the top of the tank to glue the laminate beam to. I then cut 4 inch wide pieces of 3/4 inch plywood and glued them to the top, bottom, and each side. I did this twice so I had two rows of 3/4 inch that gave me a 1 1/5 inch "lip" all the way around the front.

Then I got fancy. I wanted a pocket for the glass pane to sit in for support. The next two rows were made of 3 inch wide pieces of 3/4 inch plywood and glued in the same way. Finally more deck screws were used that were long enough to go only 3/4 of the way through the beam (so no points would stick through) and put in from each side so all 4 pieces of the beam were held by screws.

5-9.JPG

If you look close you can see the pocket for the glass.

5-7.JPG

You don't see the screws I discussed here because I hadn't added them from this side yet.

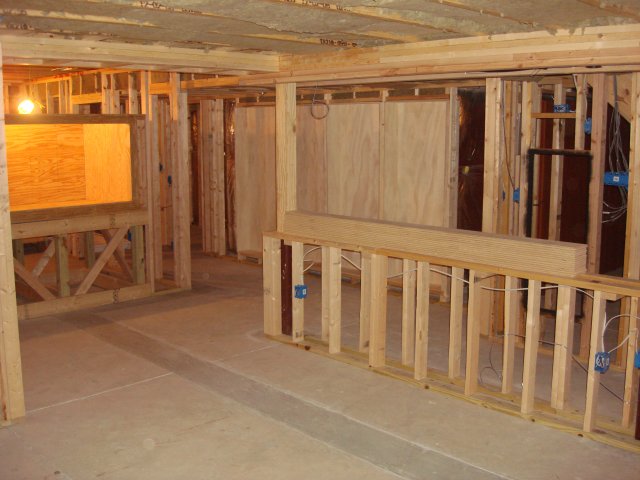
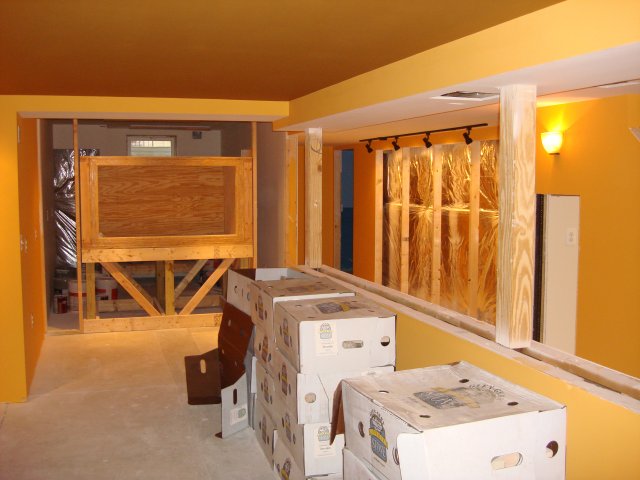
The tank was taking shape. It sat like that while I finished the rest of the basement.

DSC06470.JPG
DSC06476.JPG
DSC06475.JPG
DSC06497.JPG

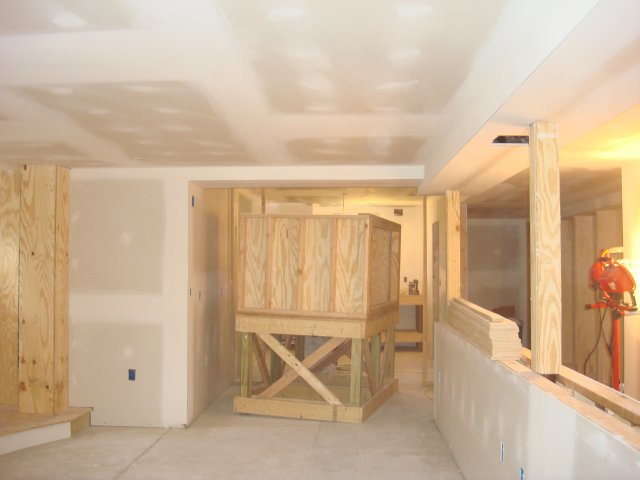
Here's one where I'd moved the tank out of the room so drywallers could get in that shows the stand built to be level on the sloped floor of the fishroom drain.

DSC06501.JPG

At long last the room was ready for me to get back to the tank.

DSC07015.JPG

John
 

Johnster

Feeder Fish
MFK Member
Aug 28, 2016
19
3
3
61
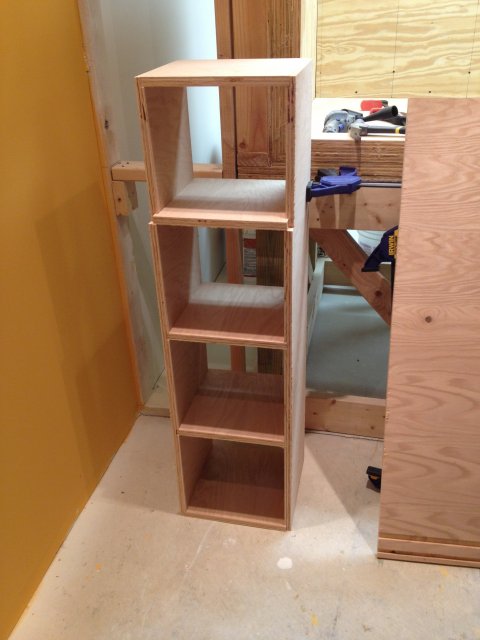
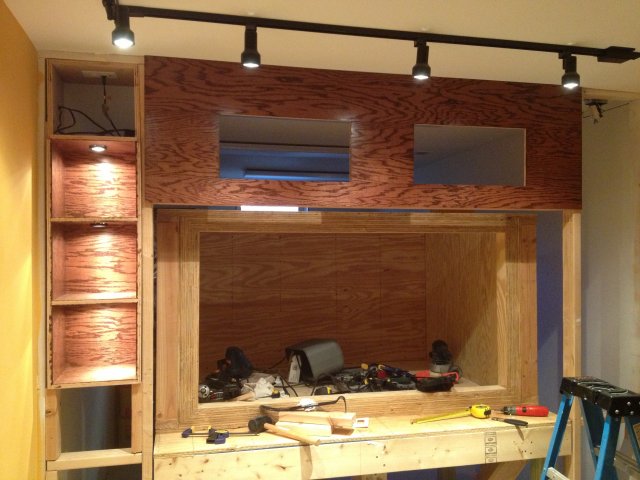
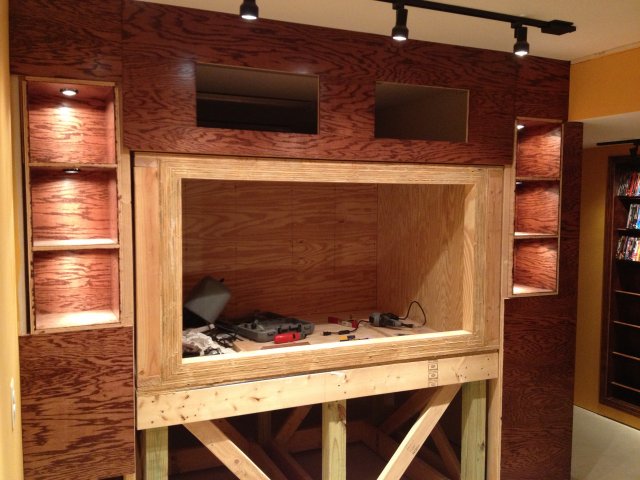
One thing I wanted in my man cave was dark stained oak, and lots of it. I put in oak base molding and chair rail, and since I was in a wood staining mood I worked a bit on the tank surround. The first picture in this thread showed shelves alongside the tank, and I would need some doors for access to the front of the tank for feeding and such.

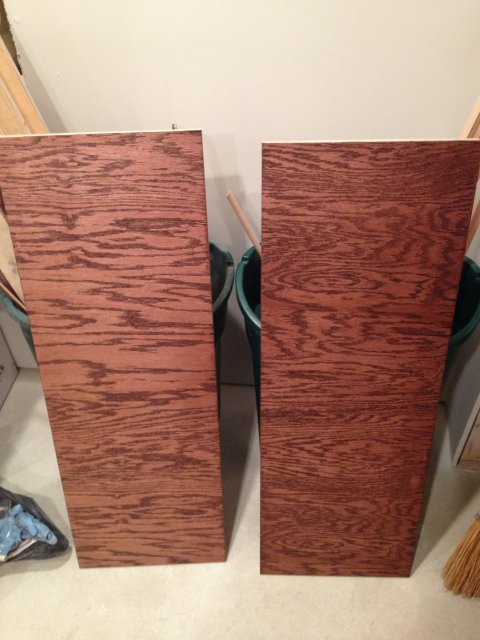
While I wanted the bar that would be built around the tank be all oak, my pocketbook would not support that. Fortunately the trusty local Home Depot sold Red Oak plywood for 48 bucks a sheet that stained up really nice.

So I got to cutting, and learning about dado joinery for shelves, biscuit joinery, and lighting.

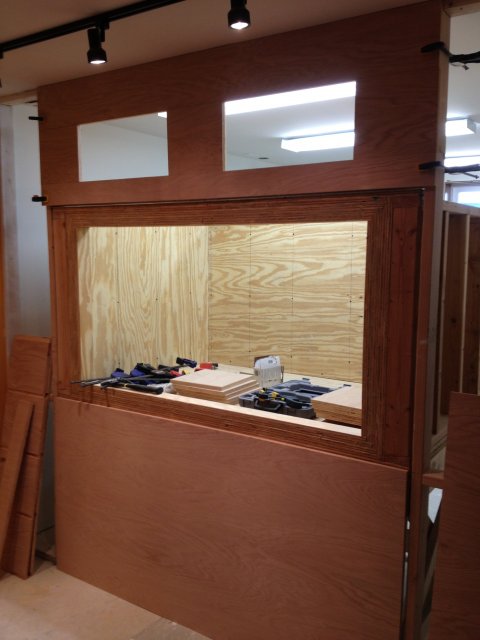
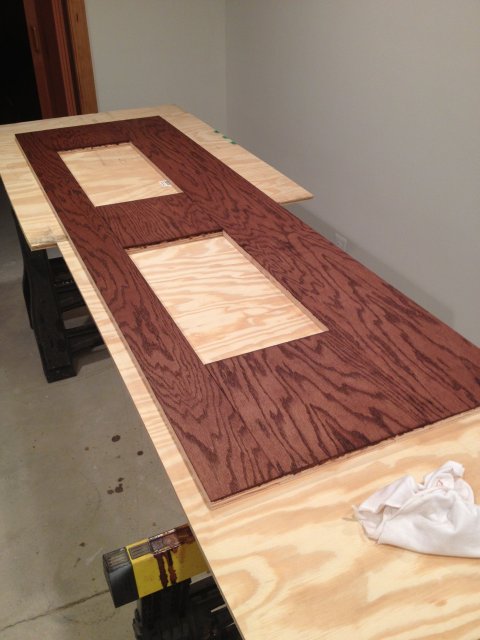
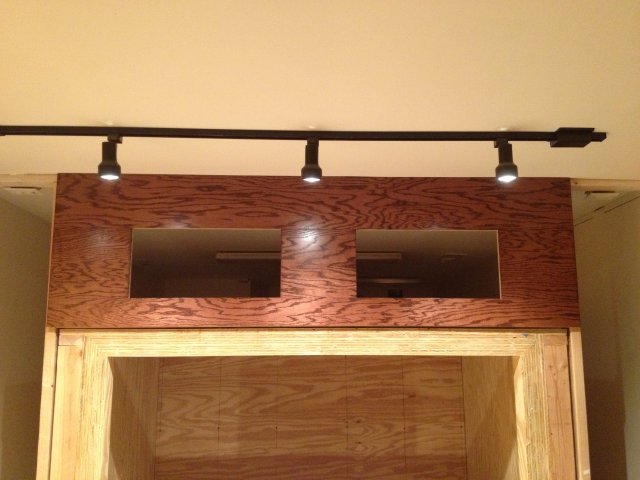
First the access over the tank and the stand cover.

IMG_0691.JPG

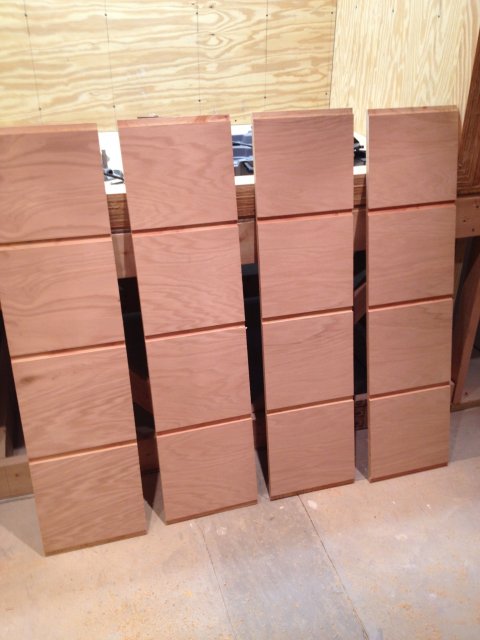
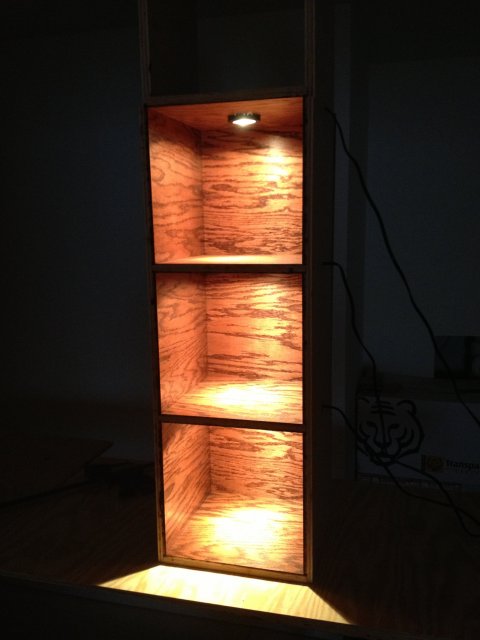
Then the shelving.

IMG_0685.JPG
IMG_0690.JPG

I used Red Mahogany #225 stain and Satin polyurethane on all the wood which gave me the dark grain I wanted without being shiny.

IMG_0698.JPG
IMG_0699.JPG
IMG_0697.JPG

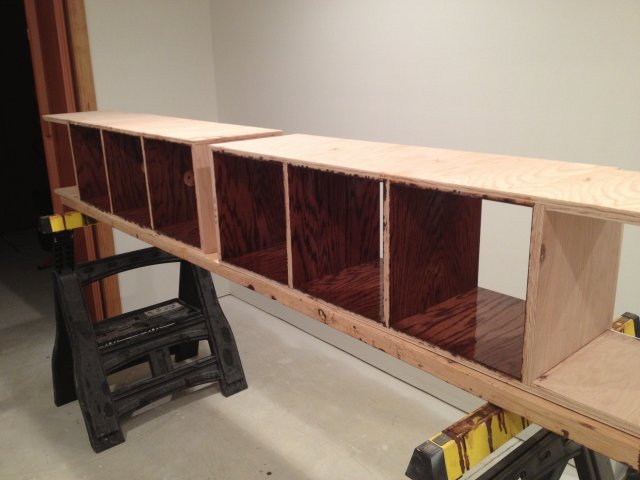
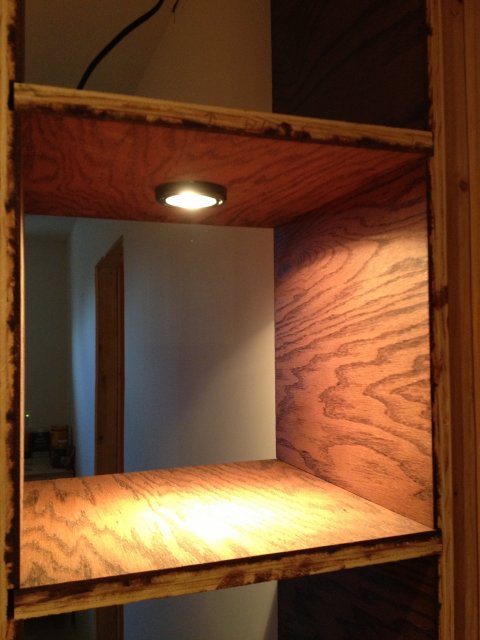
I drilled the shelves through the middle and cut a cup in them for the lights.

IMG_0695.JPG
IMG_0700.JPG

Once the parts were done, they were nailed in around the tank.

IMG_0717.JPG
IMG_0718.JPG
IMG_0735.JPG

Starting to take shape.

John
 
zoomed.com
hikariusa.com
aqaimports.com
Store