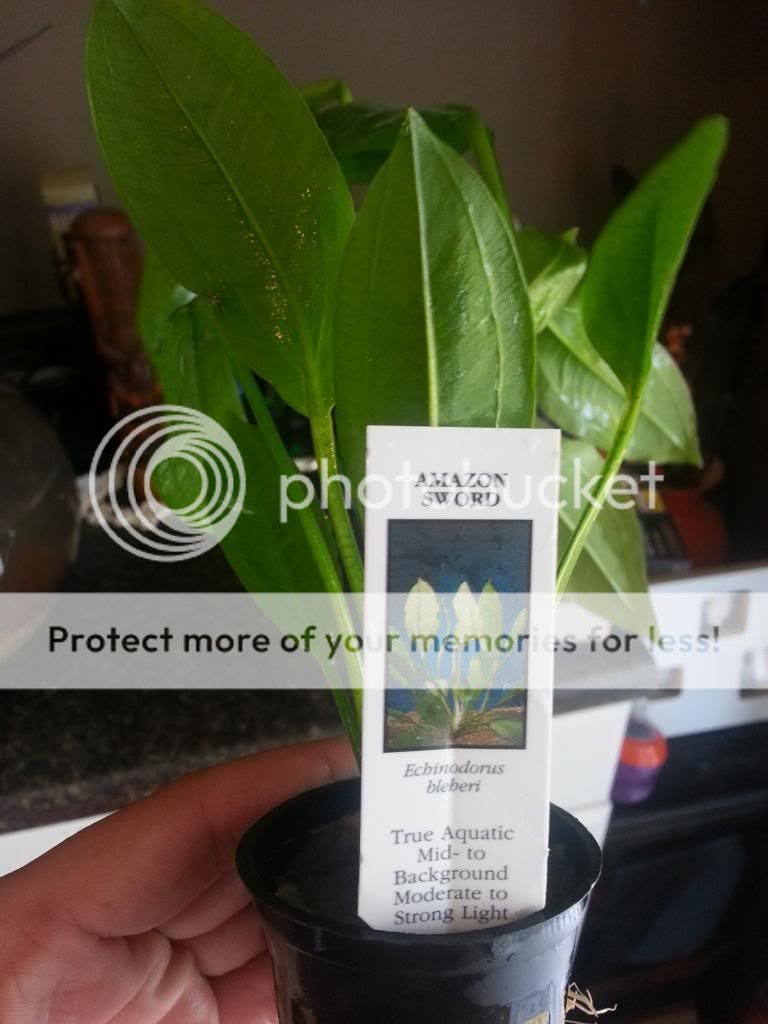
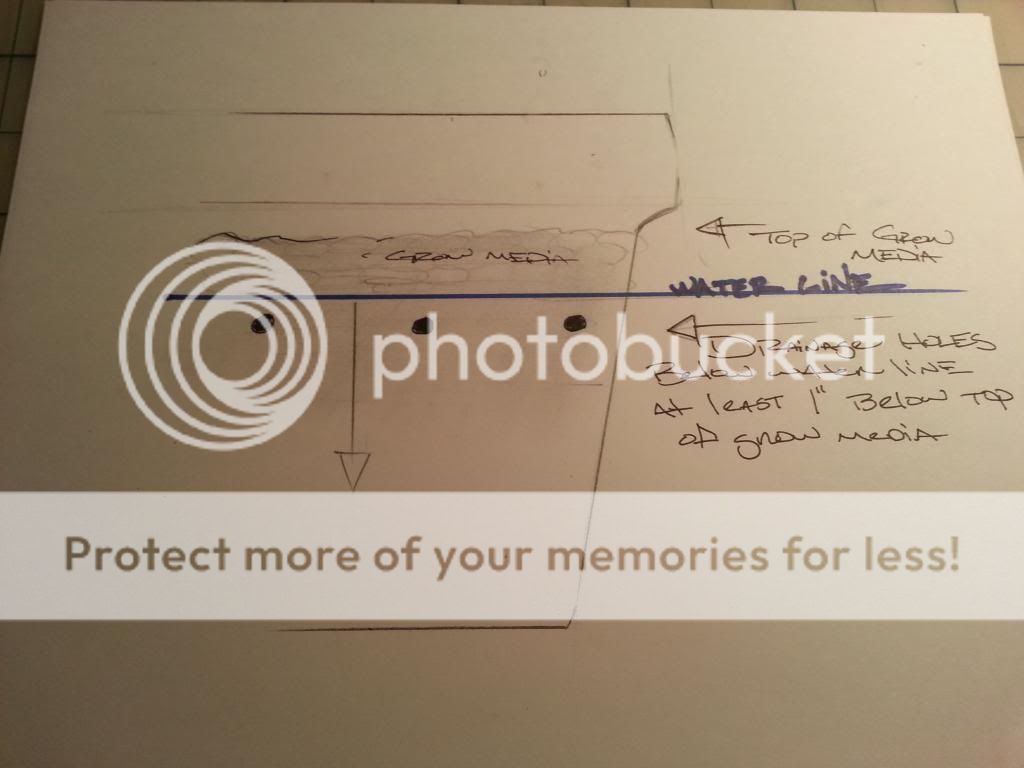
Well guys, I know the idea of putting a tiny fish in a tiny tank isn't the first thing on everyone's mind here but when putting a few different planters together the other day to spruce up the ole' homestead I decided it was time for a Betta. I had no intention however to spend any type of real money on this little setup so this is definitely more of the low budget way to do this (about $50).
I decided to run by Michael's and see what they had glass bowl wise, I was game for whatever as long as it had a descent enough footprint and water volume for a 1 to 2" fish. What I ended up with is a very traditional bowl, which is different than what I had envisioned but it has worked out well so far.

Ahhhhh rock stew, seems like almost every setup starts out this way, lol. I hadn't planned on picking up any new substrate/decor for this setup but Michael's was having a great sale that included 2lb bags of decorative rocks and stone for $1 a piece, so I grabbed a few.

I wanted to do a kind of hybrid build (shrimp bowl/betta bowl/aquaponic planter) so I started out with some premium top soil for my base substrate.

The script that stated "no rocks, sticks, etc." was of course, a bold face lie. But with a little monotonous picking through and sifting I was able to get my base substrate free from most extra debris.

While playing with dirt, I decided it was a good time to go ahead and clean up some sand for my top coat of substrate.

...Just incase anyone was wondering, I used this stuff, it was all kinds of dirty (took about 10 mins to run clear) but I already had it left over from a previous build.

What's this??? So far this has been working out well and hopefully continues to: I constructed a crude filter/aeration system for this bowl using a basic 10gal air pump and some little left over airline and fittings, etc.

In tank and roughly in place, held in with a suction cup and placed on the base layer of substrate. Here you can see the basic premise of my filter/aeration setup. I used a plastic T to split a single incoming airline so that I would be able to use one end to aid in aeration for future plants as well as adding a descent length of line and another stone to drive a diy sponge filter.

I had really debated doing a Wabikusa but decided against it so that I could add more water volume for my tank inhabitant. I wanted to add some terrestrial plants to the bowl setup and a small flower pot seemed like the easiest option; I used a left over flower pot that I had from one of my wife and I's failed attempts at an herb garden (what was I thinking, trying to grow stuff outside, in the dirt? lol). After a quick cleaning the flower pot was placed in the tank along with a layer of sand to hold down all the dirt. At this point I moved with air-stone for plant aeration inside of the pot to it's permanent home. (note: Using a larger circumference air-stone inside the pot may provide more overall aeration/happier plants, I used a small one because it was free but if I was to do it over agian I'd use a 2 or 3 inch disc.)

I may still go back and re-visit my diy sponge filter setup but until then it seems to be working just fine:
While my first attempt seemed to run the system very well, it was a bit noisy, so I ended up scraping it.

I ended up using a very similar version, that ended up being a little shorter, with way less intake holes than its previous version. Just a heads up, like all DIY sponges, any sponge would work here but I used a stock sponge intake for the Danner Mag 7.

Last shot for this part of the post...
Rough scaping in place along with a half fill on the flower pots media, I used Plant!t expanded clay balls for the hydrponic/aquaponic media here (had some left over from another build ) although I'm sure some larger gravel, lava, rock, pebbles, etc. would have worked here.

continued----->
I decided to run by Michael's and see what they had glass bowl wise, I was game for whatever as long as it had a descent enough footprint and water volume for a 1 to 2" fish. What I ended up with is a very traditional bowl, which is different than what I had envisioned but it has worked out well so far.

Ahhhhh rock stew, seems like almost every setup starts out this way, lol. I hadn't planned on picking up any new substrate/decor for this setup but Michael's was having a great sale that included 2lb bags of decorative rocks and stone for $1 a piece, so I grabbed a few.

I wanted to do a kind of hybrid build (shrimp bowl/betta bowl/aquaponic planter) so I started out with some premium top soil for my base substrate.

The script that stated "no rocks, sticks, etc." was of course, a bold face lie. But with a little monotonous picking through and sifting I was able to get my base substrate free from most extra debris.

While playing with dirt, I decided it was a good time to go ahead and clean up some sand for my top coat of substrate.

...Just incase anyone was wondering, I used this stuff, it was all kinds of dirty (took about 10 mins to run clear) but I already had it left over from a previous build.

What's this??? So far this has been working out well and hopefully continues to: I constructed a crude filter/aeration system for this bowl using a basic 10gal air pump and some little left over airline and fittings, etc.

In tank and roughly in place, held in with a suction cup and placed on the base layer of substrate. Here you can see the basic premise of my filter/aeration setup. I used a plastic T to split a single incoming airline so that I would be able to use one end to aid in aeration for future plants as well as adding a descent length of line and another stone to drive a diy sponge filter.

I had really debated doing a Wabikusa but decided against it so that I could add more water volume for my tank inhabitant. I wanted to add some terrestrial plants to the bowl setup and a small flower pot seemed like the easiest option; I used a left over flower pot that I had from one of my wife and I's failed attempts at an herb garden (what was I thinking, trying to grow stuff outside, in the dirt? lol). After a quick cleaning the flower pot was placed in the tank along with a layer of sand to hold down all the dirt. At this point I moved with air-stone for plant aeration inside of the pot to it's permanent home. (note: Using a larger circumference air-stone inside the pot may provide more overall aeration/happier plants, I used a small one because it was free but if I was to do it over agian I'd use a 2 or 3 inch disc.)

I may still go back and re-visit my diy sponge filter setup but until then it seems to be working just fine:
While my first attempt seemed to run the system very well, it was a bit noisy, so I ended up scraping it.

I ended up using a very similar version, that ended up being a little shorter, with way less intake holes than its previous version. Just a heads up, like all DIY sponges, any sponge would work here but I used a stock sponge intake for the Danner Mag 7.

Last shot for this part of the post...
Rough scaping in place along with a half fill on the flower pots media, I used Plant!t expanded clay balls for the hydrponic/aquaponic media here (had some left over from another build
 ) although I'm sure some larger gravel, lava, rock, pebbles, etc. would have worked here.
continued----->


