300 Gallon Acrylic moving damage

Ntichenor

Feeder Fish
Dec 22, 2023
3
4
3
48
Hi All,

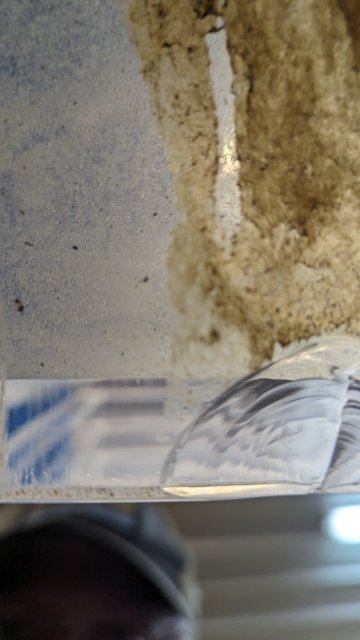
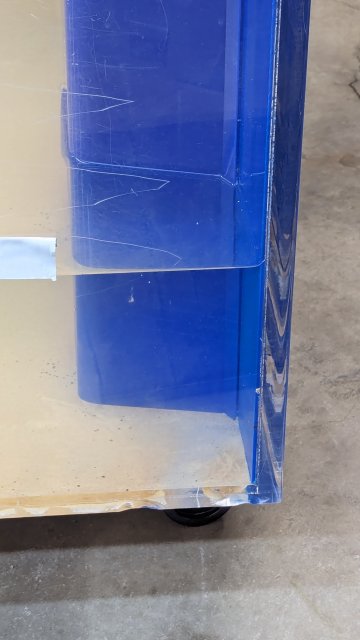
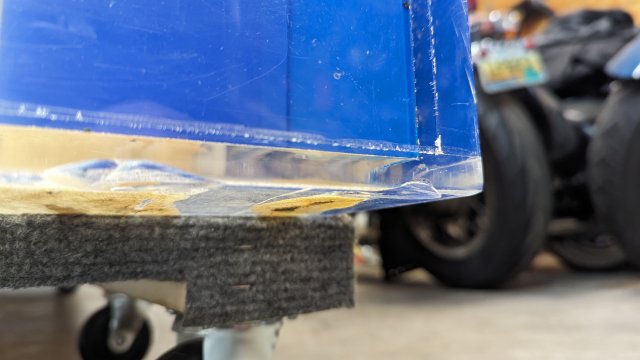
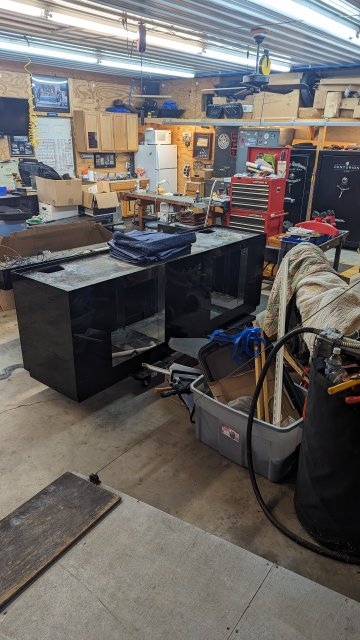
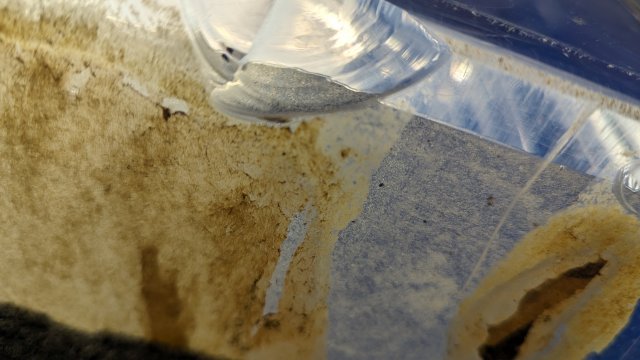
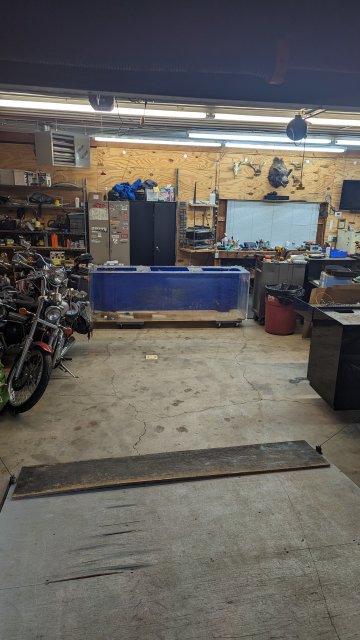
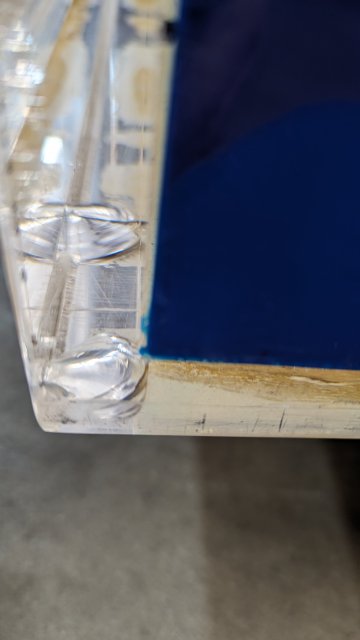
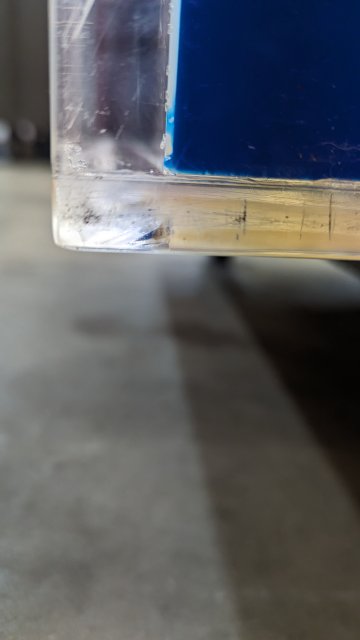
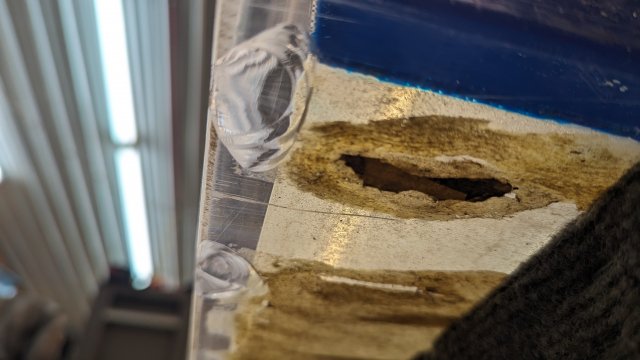
I just picked up a used 300 Gallon acrylic that is in great shape. The tank itself just needs to be polished. The question is, while loading the tank into my trailer the bottom edge of the side of the tank must of caught on one of the floor mooring plate/rings. The chips are on the outside of the tank but there is also an impact superficial crack between the two chips. The crack is 1.5 inches long just on the bottom acrylic. As it doesn't go through the entire bottom, I should be able to stop drill the crack and fill with Weld-On 14. I also read I can fix the chips via using Weld-On 40 and a poly dam. Please let me me know if I'm missing anything as this is my first Acrylic Tank.
1000003834.jpg

1000003835.jpg

1000003832.jpg

1000003833.jpg

1000003836.jpg

1000003830.jpg

1000003786.jpg

1000003831.jpg

1000003785.jpg
 
  • Like
Reactions: tlindsey

wednesday13

Silver Tier VIP
MFK Member
Mar 2, 2008
4,281
3,941
1,629
The deep south
Looks like u got lucky and the chunks are not into the seams, correct? I fixed a corner similiar to this before on a buddys tank. Was around a golf ball sized chunk taken out. I used polypropylene to dam/jig the corner and filled it in with weld-on #40. After that u can sand down flush and buff/polish it back to clear. Polypropylene and polyethylene both are repellent to weld on 40. Cheap poly can be had by buying a plastic cutting board. There usually stamped somewhere with what its made out of. You might be able to get scraps at a local acrylic type place also if u have one near by. If all else fails u can also order some small 4”x6” pieces or how ever large u need online for fairly cheap to use as a jig. Packing tape works well to hold the jigs in place and seal off anywhere u need. U can honestly just use packing tape to dam the glue also. Its not as clean for a flush straight edge but it works.

I tried zoomin in to see the crack… is it just a scratch? To my eye anyway it doesn’t look cracked from the pics i think its more of a scrape. If its just scraped id leave it be or u can fill it in with #40 also then sand flush if u want the bottom perfect. Not necessary to fill it tho as it looks to be just cosmetic.
If it is cracked into the bottom sheet, your correct. Drilling it on end will prevent it from running further. You can fill over it with #40 after you drill or put a 1/4” acrylic patch over top with #40 from the inside if its that bad.
 

tlindsey

Silver Tier VIP
MFK Member
Aug 6, 2011
23,405
24,315
1,660
Ohio
Hi All,

I just picked up a used 300 Gallon acrylic that is in great shape. The tank itself just needs to be polished. The question is, while loading the tank into my trailer the bottom edge of the side of the tank must of caught on one of the floor mooring plate/rings. The chips are on the outside of the tank but there is also an impact superficial crack between the two chips. The crack is 1.5 inches long just on the bottom acrylic. As it doesn't go through the entire bottom, I should be able to stop drill the crack and fill with Weld-On 14. I also read I can fix the chips via using Weld-On 40 and a poly dam. Please let me me know if I'm missing anything as this is my first Acrylic Tank.
View attachment 1532049

View attachment 1532050

View attachment 1532051

View attachment 1532052

View attachment 1532053

View attachment 1532054

View attachment 1532055

View attachment 1532056

View attachment 1532057
Welcome aboard
 
  • Like
Reactions: Gpdriftwood

Ntichenor

Feeder Fish
Dec 22, 2023
3
4
3
48
Looks like u got lucky and the chunks are not into the seams, correct? I fixed a corner similiar to this before on a buddys tank. Was around a golf ball sized chunk taken out. I used polypropylene to dam/jig the corner and filled it in with weld-on #40. After that u can sand down flush and buff/polish it back to clear. Polypropylene and polyethylene both are repellent to weld on 40. Cheap poly can be had by buying a plastic cutting board. There usually stamped somewhere with what its made out of. You might be able to get scraps at a local acrylic type place also if u have one near by. If all else fails u can also order some small 4”x6” pieces or how ever large u need online for fairly cheap to use as a jig. Packing tape works well to hold the jigs in place and seal off anywhere u need. U can honestly just use packing tape to dam the glue also. Its not as clean for a flush straight edge but it works.

I tried zoomin in to see the crack… is it just a scratch? To my eye anyway it doesn’t look cracked from the pics i think its more of a scrape. If its just scraped id leave it be or u can fill it in with #40 also then sand flush if u want the bottom perfect. Not necessary to fill it tho as it looks to be just cosmetic.
If it is cracked into the bottom sheet, your correct. Drilling it on end will prevent it from running further. You can fill over it with #40 after you drill or put a 1/4” acrylic patch over top with #40 from the inside if its that bad.
Thanks for the re-assurance. I believe I read about chip repair from one of your earlier posts. I got a better view of the crack and you are correct it was just a scratch. Just want to make sure I cover all the bases before I start polishing (lot of acrylic with the stand also being 100% acrylic). Whole reason for switching to acrylic was to decrease risk of leaks. I just pulled a 220 glass out after a seam started to fail and dumped 100 gallons into the carpet. Thanks again for the reply.
 

wednesday13

Silver Tier VIP
MFK Member
Mar 2, 2008
4,281
3,941
1,629
The deep south
Thanks for the re-assurance. I believe I read about chip repair from one of your earlier posts. I got a better view of the crack and you are correct it was just a scratch. Just want to make sure I cover all the bases before I start polishing (lot of acrylic with the stand also being 100% acrylic). Whole reason for switching to acrylic was to decrease risk of leaks. I just pulled a 220 glass out after a seam started to fail and dumped 100 gallons into the carpet. Thanks again for the reply.
Any time man 💀🤙… wish u luck with the repair. Ur headed in the right direction for sure. The fumes from 40 are pretty bad, wear a good respirator while working with it. Theres pics on here somewhere of the “chunked” repair i did ill try and dig up for ya. It was like 6-7 yrs ago now and was in much worse shape than ur working with. IMO sanding and buffing is more labor intensive and time consuming than the glue. Itell go quick and blend in to where u cant even see it. 40 is great stuff and very strong. If you have any questions about mixing the glue add them here and ill keep an eye on the thread.
 
  • Like
Reactions: tlindsey
zoomed.com
hikariusa.com
aqaimports.com
Store