MFKers,
This is my first post and if this thread needs to be moved to Setup I can delete and repost it or if you have mods and they wish to move it for me I would appreciate it. Long post ahead so my apologies for that but I hope for sound advice from the community.
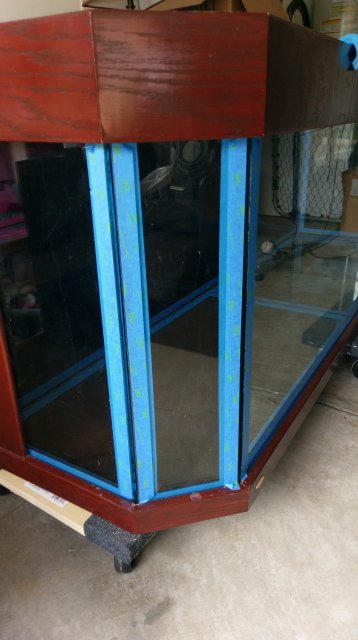
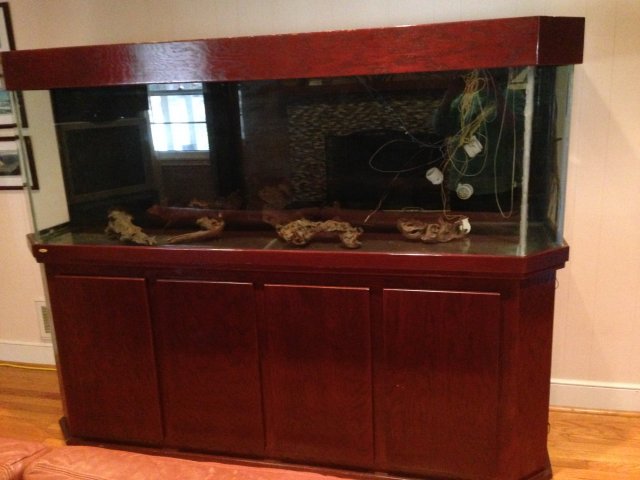
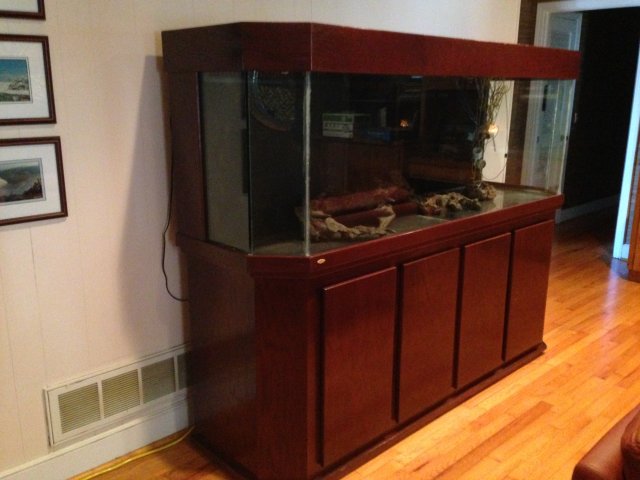
I have recently come into possession of a 175G Dutch Aquarium System Flatback Hex in need of a reseal at the very least and I am considering a slight modification and would like some advice. The story I was told was that the original owner purchased this tank years ago in Europe and had it set up and running in the States for years as well as a planted Tropheus tank. At some point he moved it from one room of his house to another and noticed a leak. He began the process of resealing it and it wasn't very pretty. If you are looking at the tank from the front the far right external hex seal appeared to be factory original, the second and third external seals(moving to the left) were ugly and definitely done freehand with no taping or thought given to it and the fourth seal on the far left was clean as a whistle. The lady I purchased the tank from said her husband began the process of resealing his tank and passed away before he could finish it and it has sat empty in her living room the past four years.
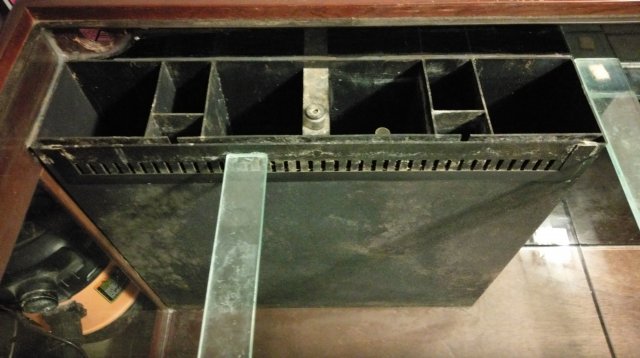
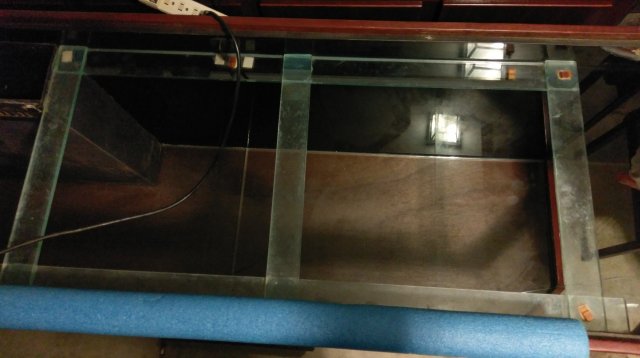
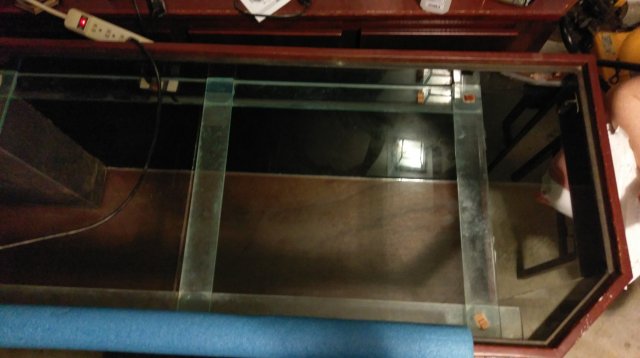
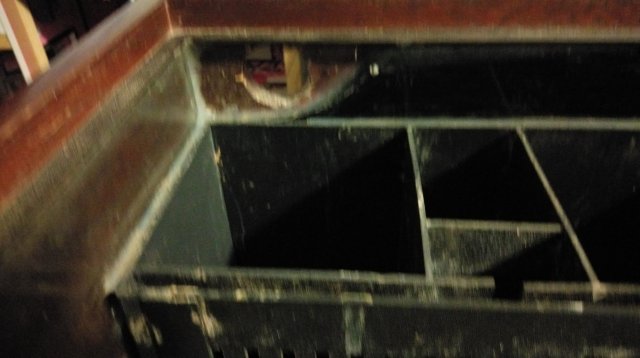
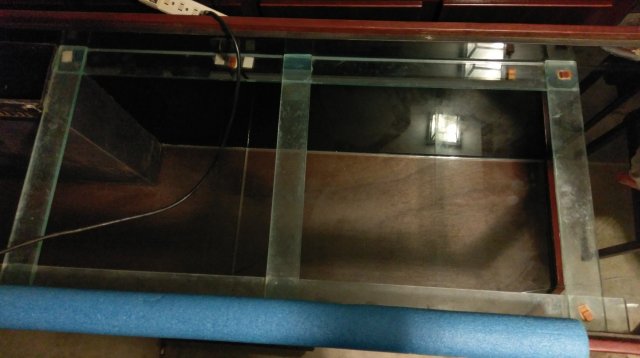
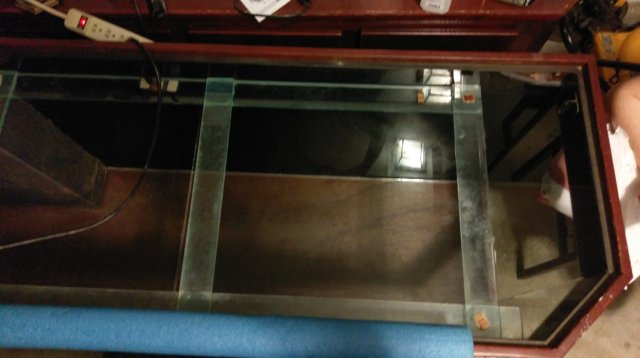
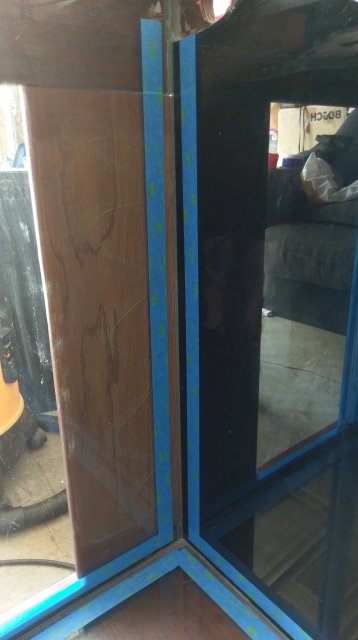
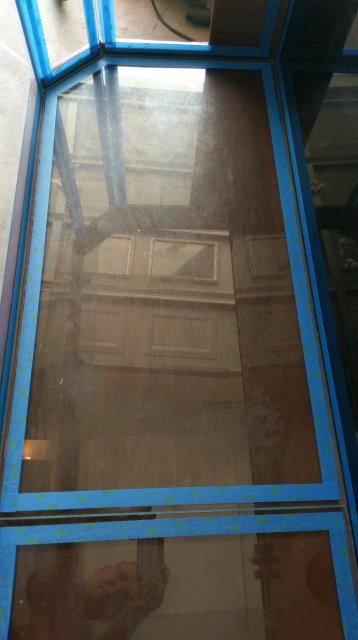
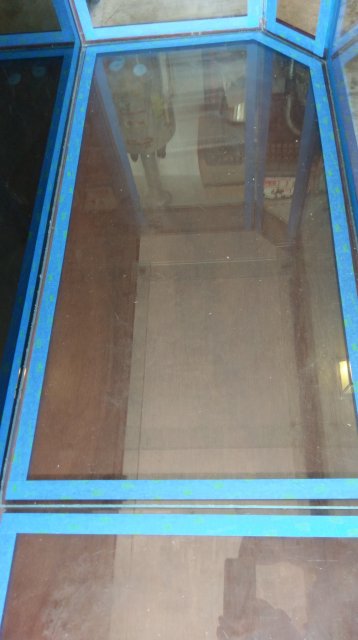
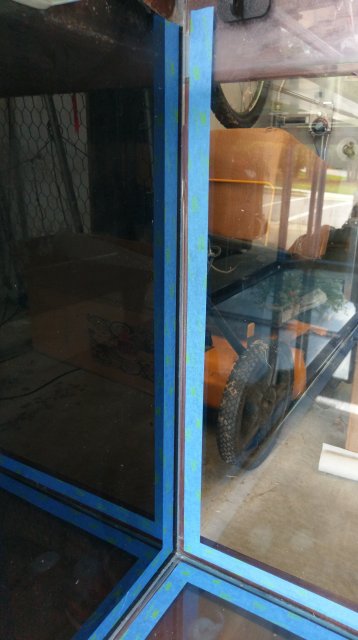
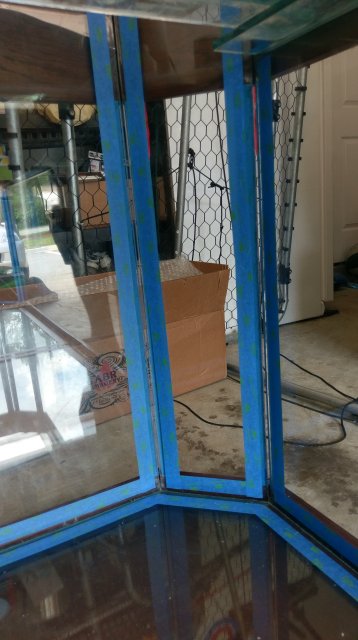
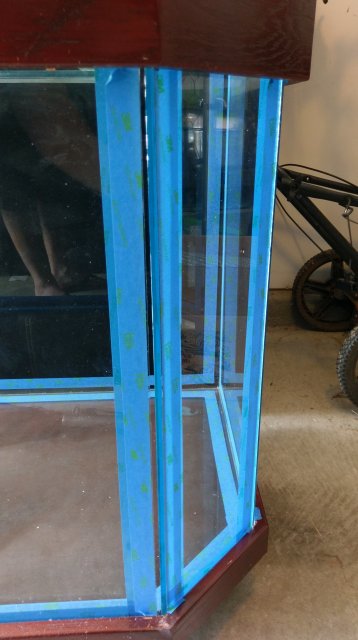
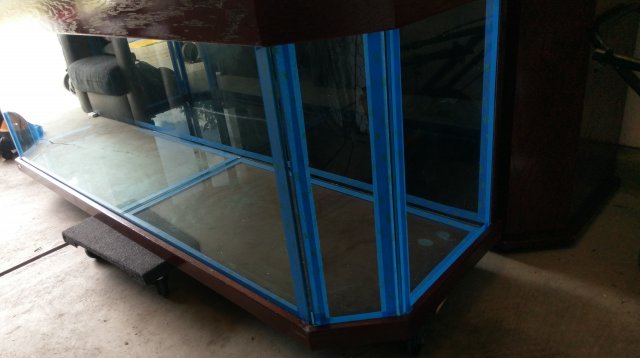
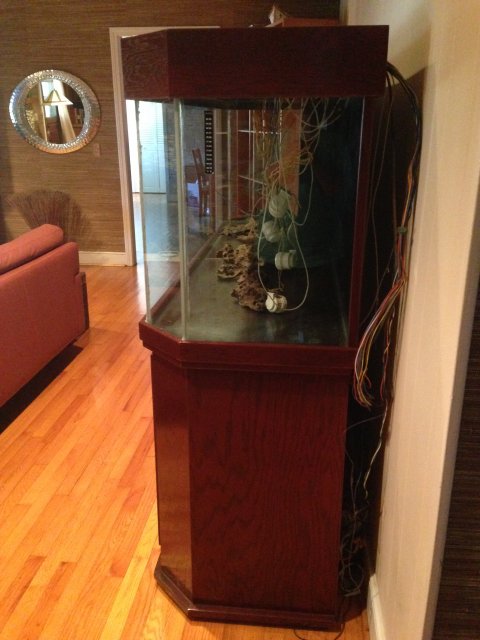
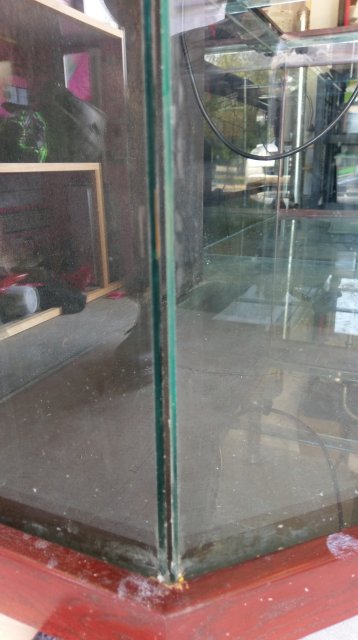
In the attached pictures you can see the tank has an integrated wood frame/canopy. The glass is attached to the inside of that wood top and bottom. You can also make out the two ugly seals if not just the right side seal. I have scraped all the interior silicone and about 99% of the four hex seams in preparation to rehabilitate this beautiful tank. My original idea was to just follow the umpteen YouTube videos I have watched and tape and seal it up with GE1, fill in the hex gaps with plenty of GE 1 and see where things went.
As my internet rabbit hole research went that evolved into Momentive RTV 108 for reasons you'll see below.
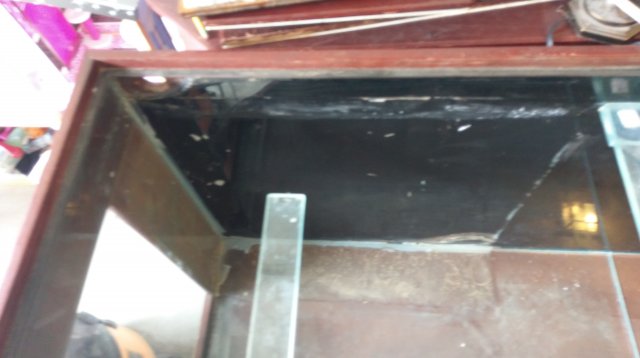
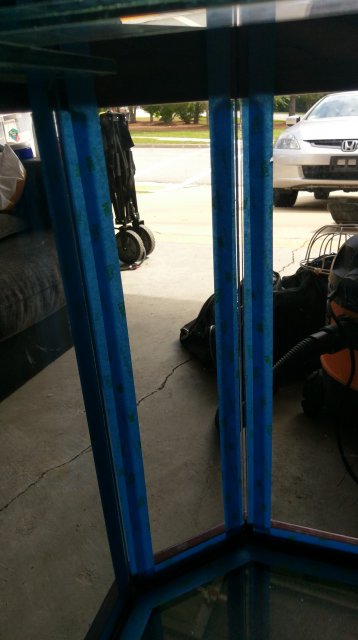
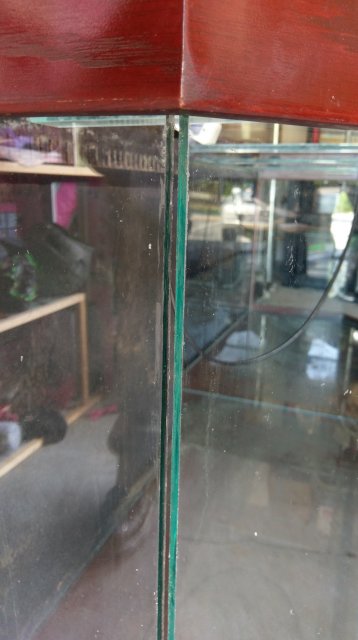
Now, as you can hopefully see in the other two pictures the hex gaps I mention are gaps indeed. For whatever reason in the manufacture of this tank the glass was not mitered and there exist triangular gaps at each of the hex locations. As I said above one of the seals appeared to be a very nice factory looking silicone strip that came out in one long strip. I am thinking(correct me if I am wrong) that the wood frame is providing quite a bit of structural integrity to the tank therefore the lack of mitering. Again with the internet research but it seems(correct if wrong yet again) that the Momentive RTV 108 is stronger than the GE1 therefore a better choice for filling these gaps for added strength and peace of mind. So the plan became to follow the umpteen YouTube videos I have watched and tape and seal it up with 108, fill in the hex gaps with plenty of 108 and see where things went.
Then my father-in-law suggested a slight modification. Triangular pieces of glass siliconed into the gaps to provide additional structural support. Since I do not believe I can post links as a new member I will entreat those of you who have stuck around this long to Google the following item, Simax Borosilicate Triangular Glass Rod. The link should be for Pegasus Glass. So his suggestion is to find a triangular glass rod like that of appropriate size not to completely fill the gaps but slightly smaller so as to still be able to get silicone in the space around it and then to well... follow the umpteen YouTube videos I have watched and tape and seal it up with 108, fill in the hex gaps with triangular glass rods, plenty of 108 and see where things go.
Your advice will be well appreciated and if things go to plan I hope to stay a community member once the tank is functional.


