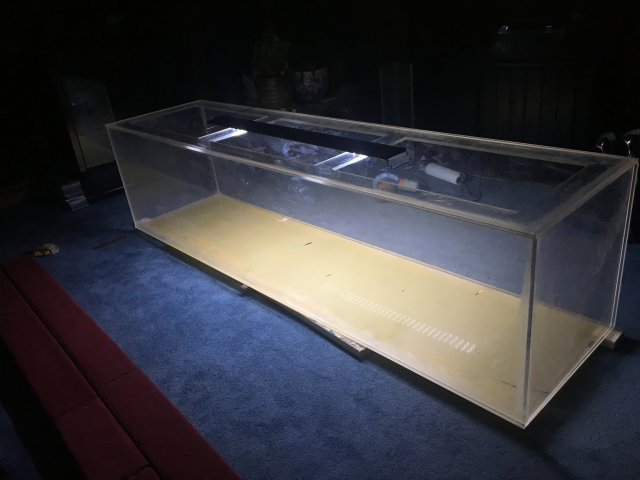
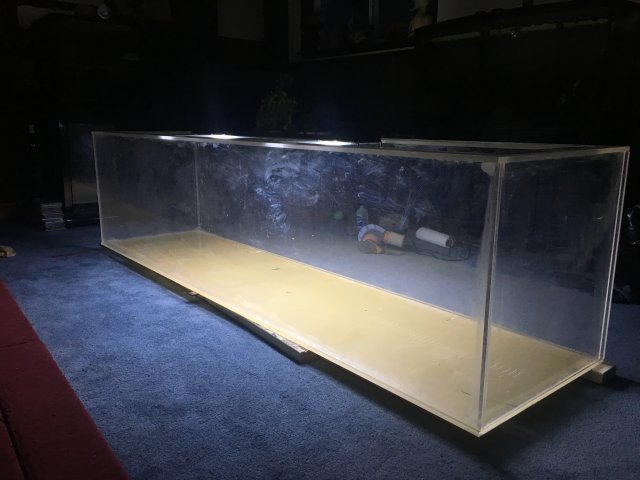
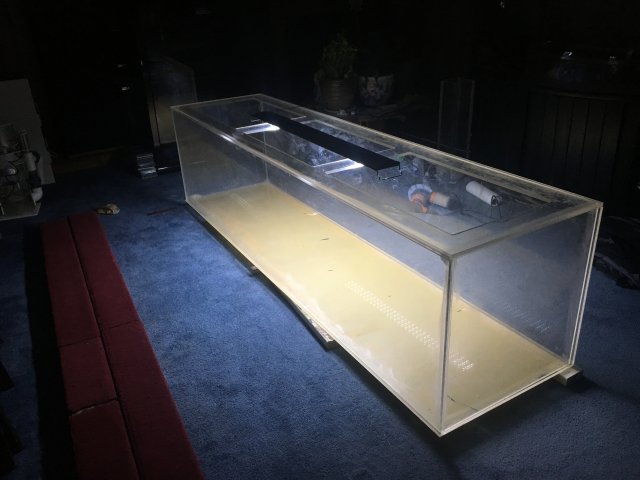
A few things I will be doing I do not recommend. I have a fair bit of expierience with acrylic and I know what I can get away with.
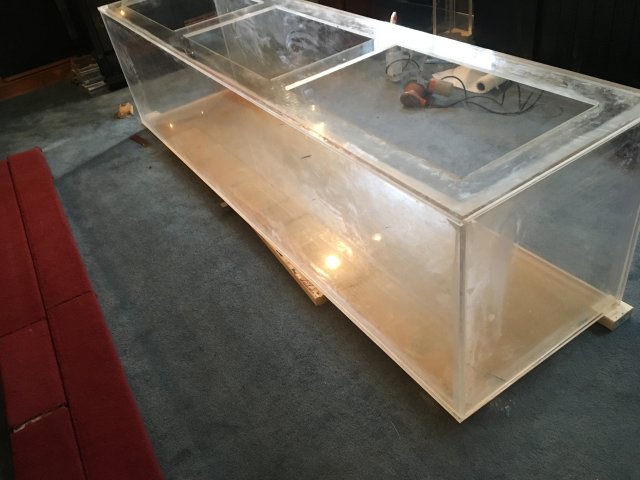
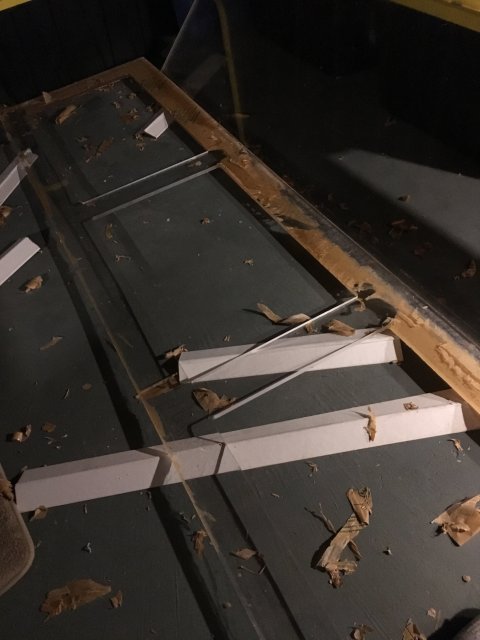
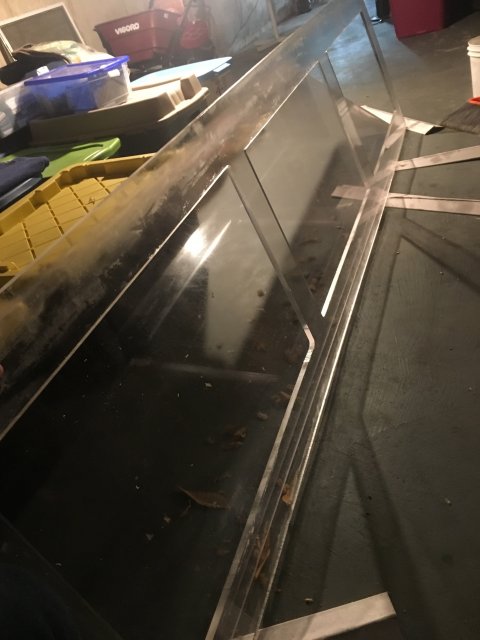
I started with a few sheets of 1/2” acrylic that have been sitting at my parents place. Left outside for over a year, sun, snow, and rain caked the paper masking into the acrylic. I hate wasting material so I decided to do something with the material as I am at their place for the holidays. I started by removing the paper masking. I let the acrylic soak overnight in a product called mask off. From there I peeled away as much of the paper as I could. What was left behind could not be easily removed. I took a razor blade and scraped off the rest of the paper. I understand razors will scratch acrylic but if you are good and careful you can slide it between the paper and plastic without scratching it. After the paper was removed the tank was wiped quickly with acetone to remove the residual glue (again I don’t recommend, it can cause hazing and crazing) however, I fully intend to sand and buff the entire tank afterwards so any crazing and scratches will be removed. From there I assembled the tank using pins (28 gauge wiring). My parents had only two small spring clamps so the tank was assembled with only that, 2x4s and a square. The two clamps were used to support the initial sides vertically while being welded to the back of the tank. After that, no clamps were used in the project. If you are building an acrylic aquarium you do not need to use clamps. All you need is a square, a couple 2x4s and shims. Shimming the pieces of acrylic is more effective than clamping them together.
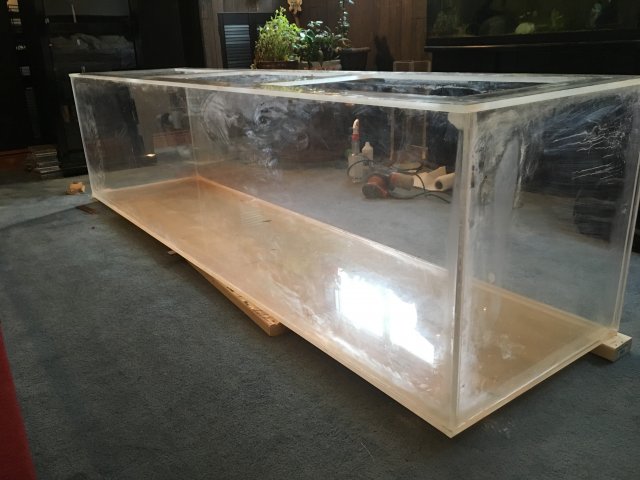
What still needs to be done is sanding and routering of the excess material unless someone buys it as is. All seams look crystal clear on the tank, it will be beautiful once finished.


