400g build

Backfromthedead

Potamotrygon
MFK Member
Jul 12, 2017
4,544
6,111
164
Fredericksburg va
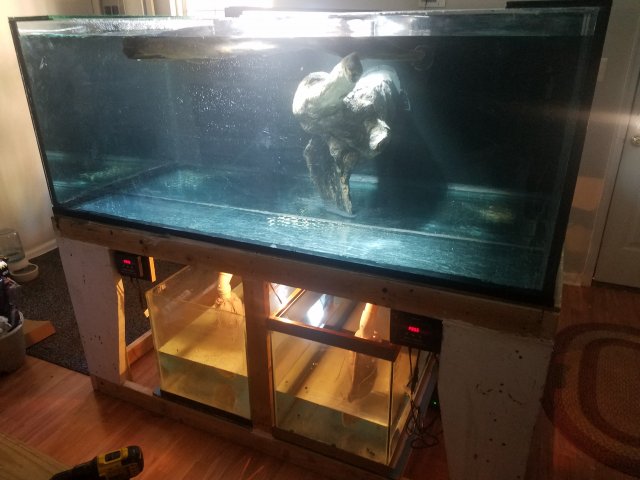
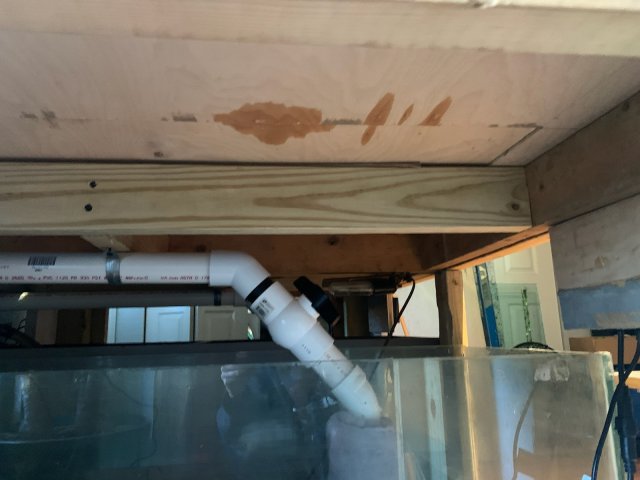
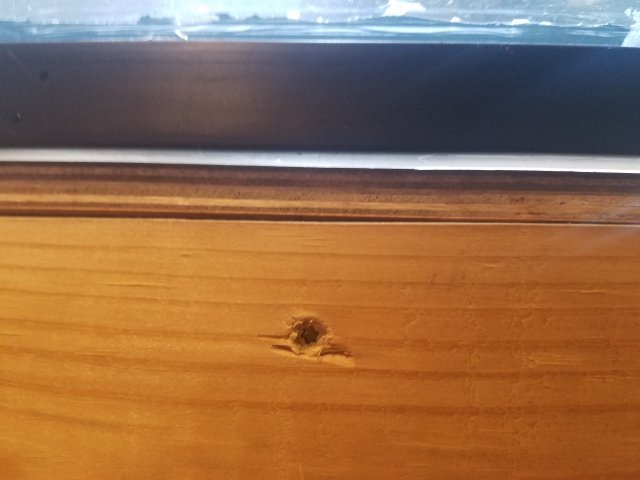
TheWolfman TheWolfman and D Devaji108 you both were right about a couple things. It looks like i will need a center post on the stand. Today, now on my third fill test, i got the tank about 2/3 full and noticed the double 2x4 beam deflecting in the middle, leaving about an 1/8" gap at center between the tank and stand.
20200502_085646.jpg

This couldve been exacerbating the leak issue before, as it appears that the four corner posts are indeed caving inwards once i get about 250-300 gallons on.

I will now have to drain and reconfigure the sumps and reinforce the stand i suppose, but at least i caught this issue before testing any further. If i work all day i could probably have it back into action by tomorrow.
 

Backfromthedead

Potamotrygon
MFK Member
Jul 12, 2017
4,544
6,111
164
Fredericksburg va
Up and running!
20200502_182948.jpg
It looks like my sumps will sit at about 9" water level with the dcp-10000s running 75-85%. I was hoping for 10-12" but even two 75s just dont hold the volume to account for flooding with my drains being 6" deep. I think it will work fine but by my calculations im running around 460 gallons total instead of the hoped for 500+.


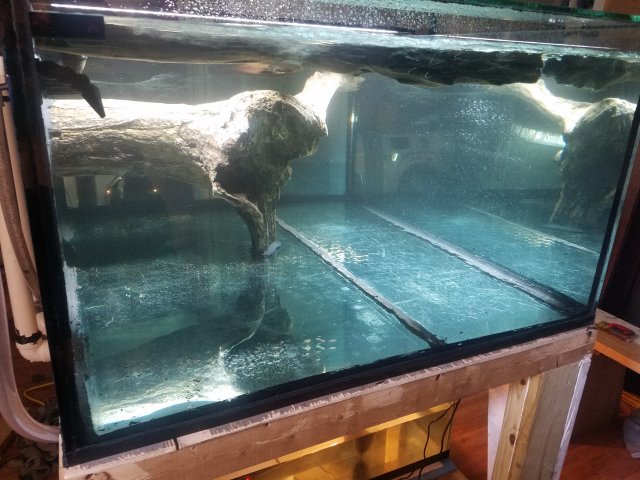
I cut the large driftwood on two ends and siliconed it between the back and bottom. It looks fantastic...hope it stays put there until its completely waterlogged.
20200502_182724.jpg

All leak activity has ceased except for a slow drip from one drain bulkhead which will be easily remedied.

Hope to have it in place and running and scaped in 2 weeks time. Thanks for reading everyone.
 

Backfromthedead

Potamotrygon
MFK Member
Jul 12, 2017
4,544
6,111
164
Fredericksburg va
Well we've downgraded back to terrarium status unfortunately.
9567.jpeg

Very slow leak, 2 gallons over 4 hours, this time from the seam between the two bottom panels. Admittedly i couldve make a thicker seal overlapping the panels, and i may have scuffed the existing one a bit when i was mounting my driftwood.

Gonna drain and attempt a repair....again.
 
  • Sad
Reactions: Jacob92677

Dalfrey86

Piranha
MFK Member
Apr 8, 2020
370
304
77
37
If not there are some awesome reptiles looking for a new home... I have no doubt you'll get this fixed and holding water in no time.

What products and techniques are you using for the repair? Any concerns with a cold seam between the new and old materials?
 
  • Like
Reactions: Backfromthedead

Backfromthedead

Potamotrygon
MFK Member
Jul 12, 2017
4,544
6,111
164
Fredericksburg va
If not there are some awesome reptiles looking for a new home... I have no doubt you'll get this fixed and holding water in no time.

What products and techniques are you using for the repair? Any concerns with a cold seam between the new and old materials?
Thanks for the support. I dont know what to do exactly. Tbh i have nothing but concerns atm. Right now all i have is a tube of ge 1 on hand. I'm thinking of acquiring a long piece of glass to brace the seam with.
 

Dalfrey86

Piranha
MFK Member
Apr 8, 2020
370
304
77
37
Thanks for the support. I dont know what to do exactly. Tbh i have nothing but concerns atm. Right now all i have is a tube of ge 1 on hand. I'm thinking of acquiring a long piece of glass to brace the seam with.
Would you.run into more issues since you would have 2 more seams to address? I'm not sure of the chemical interaction of GE 1 but if it is silicone it should stay a little bit flexible.

Is the leak from a seam in two pieces of glass?
 

Backfromthedead

Potamotrygon
MFK Member
Jul 12, 2017
4,544
6,111
164
Fredericksburg va
Would you.run into more issues since you would have 2 more seams to address? I'm not sure of the chemical interaction of GE 1 but if it is silicone it should stay a little bit flexible.

Is the leak from a seam in two pieces of glass?
Yes its the seam between the two panels on the bottom of the tank.
 

Dalfrey86

Piranha
MFK Member
Apr 8, 2020
370
304
77
37
Yes its the seam between the two panels on the bottom of the tank.
I am just assuming, but you have a structural support under this seam? Thinking the sealant would need to penetrate both sides of the joint and be physically supported.


This site has a list of products and techniques for application. One thing that stuck out to me is sending the joints to create a better bond. I don't think you would want an extreme bevel as that could weaken the glass at the joint but just enough sanding to rough up the surface.

I'm curious to see how this will turn out for your application. Have you posted photos of the joint? Might help come up with more options.
 
  • Like
Reactions: Backfromthedead
zoomed.com
hikariusa.com
aqaimports.com
Store