
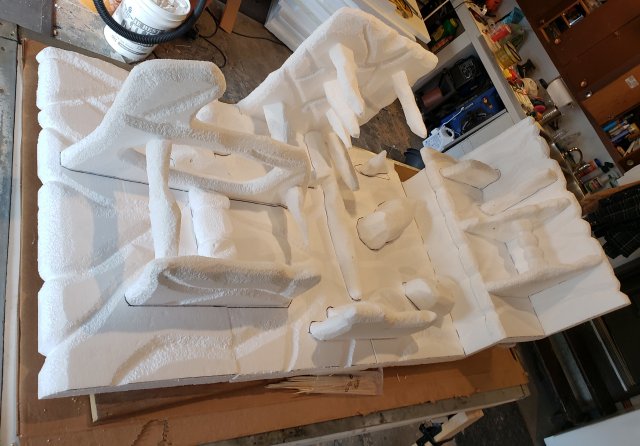
So after having a background color or black for a year I got bored of it and wanted to paint my background a dark blue...it turned out to be a lighter blue then I wanted  . So after these boring colors I wasn't happy with I decided to put my hand skills to the test. I'm no artist and never carved a single thing before but I figured it would be fun to try. So one day I found a huge pile of styrofoam online for free! So that's where I started. So a few weeks ago I picked up the styrofoam and in a matter or 5 days i took a pile of styrofoam and turned it into a background I'm excited to incorporate into my tank. I'm currently just letting the cement cure then going to seal the cement with a food grade concrete sealer and then also considering coat it with a clear coat but want to wait to see how well the sealant works. Its built into 7 pieces so i can fit it into my tank. I also sculpted features to help cover/blend seams. So in a few weeks after sealing and cycling the pieces in bathtubs I'll b taking on the hardest part of installing it into an established tank!

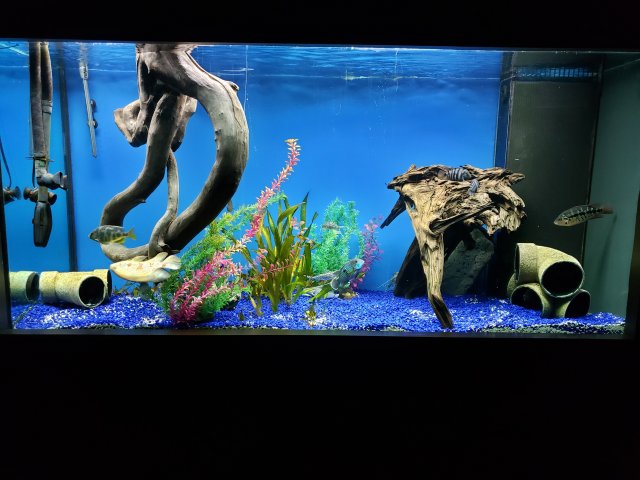
My current setup(fake plants and pipes are a temp addition just to add cover for a few new smaller fish I got)

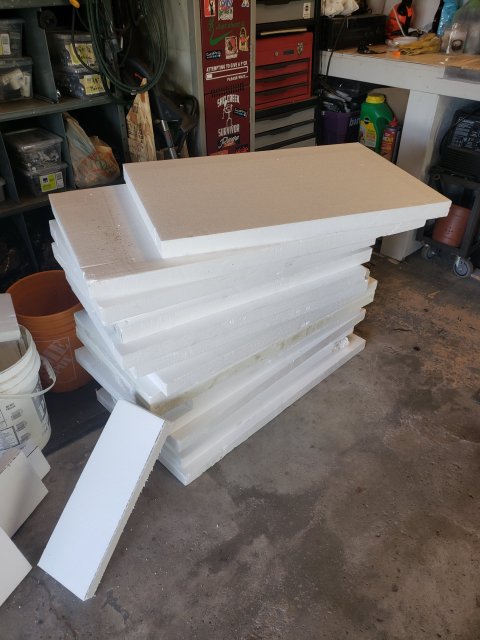
So much potential!

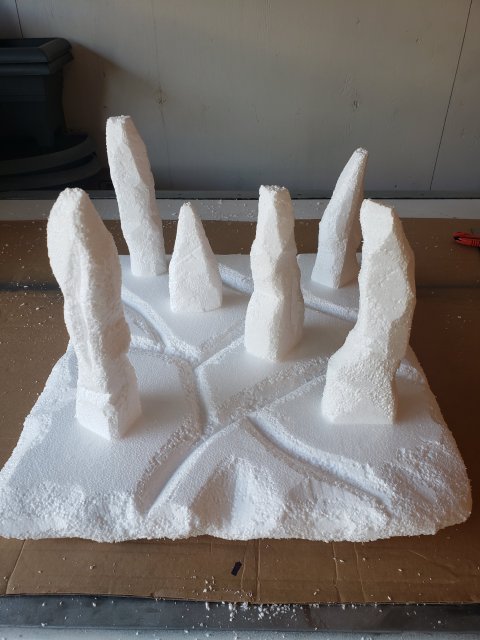
A piece that will hang/float at the top to mimic stalagmite in caves.

Corner part covering the overflow box


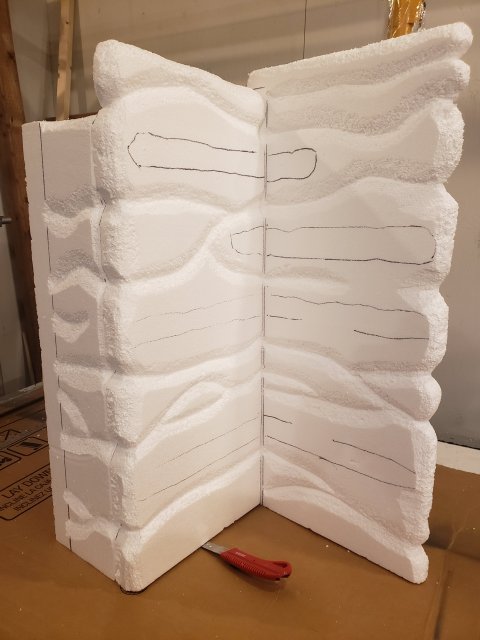
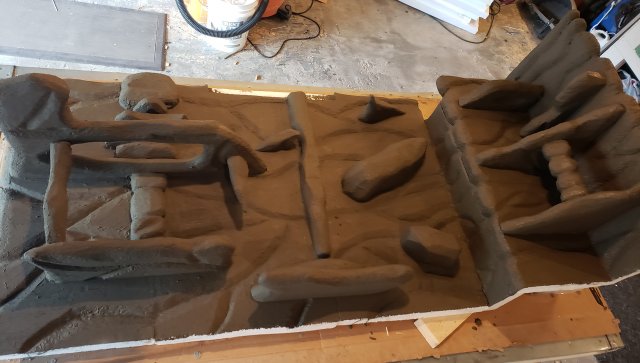
Carving done now for multiple base coats of cement

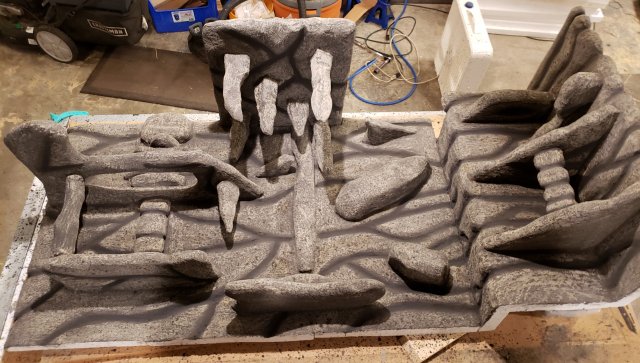
Base coat done and time for color and dimension!

I WANT TO PUT IT IN NOW!!!
But I cant for weeks for the safety of my fishies! So this is as far as I've gotten so far. So again in a few weeks after curing and cycling are complete I'll update with install pictures!

. So after these boring colors I wasn't happy with I decided to put my hand skills to the test. I'm no artist and never carved a single thing before but I figured it would be fun to try. So one day I found a huge pile of styrofoam online for free! So that's where I started. So a few weeks ago I picked up the styrofoam and in a matter or 5 days i took a pile of styrofoam and turned it into a background I'm excited to incorporate into my tank. I'm currently just letting the cement cure then going to seal the cement with a food grade concrete sealer and then also considering coat it with a clear coat but want to wait to see how well the sealant works. Its built into 7 pieces so i can fit it into my tank. I also sculpted features to help cover/blend seams. So in a few weeks after sealing and cycling the pieces in bathtubs I'll b taking on the hardest part of installing it into an established tank!My current setup(fake plants and pipes are a temp addition just to add cover for a few new smaller fish I got)
So much potential!
A piece that will hang/float at the top to mimic stalagmite in caves.
Corner part covering the overflow box
Carving done now for multiple base coats of cement
Base coat done and time for color and dimension!
I WANT TO PUT IT IN NOW!!!
But I cant for weeks for the safety of my fishies! So this is as far as I've gotten so far. So again in a few weeks after curing and cycling are complete I'll update with install pictures!
Attachments
-
 3.6 MB Views: 211
 -
 1.6 MB Views: 207
 -
 1.5 MB Views: 212
 -
 1.5 MB Views: 209
 -
 4 MB Views: 213
 -
 1.8 MB Views: 209
 -
 1.9 MB Views: 207
 -
 2.3 MB Views: 209


