Update on Acrylic Work

Lepisosteus

Potamotrygon
MFK Member
May 20, 2014
3,732
3,387
164
Ontario, Canada
I have been building acrylic tanks off and on now for around 8 years. There are probably 50-100 of my tanks floating around Ontario. A few years back I ordered around 46 sheets of 3/4” material as a friend and I were going to do a stingray breeding project consisting of 10 480 gallon tanks. The idea later transitioned into a coral farm which seemed more profitable at the time due to the decreasing ray prices. Neither plan ended up happening as life got in the way. So I sat on a lot of acrylic for a few years doing occasional off and on jobs. Currently we have 30 sheets left.

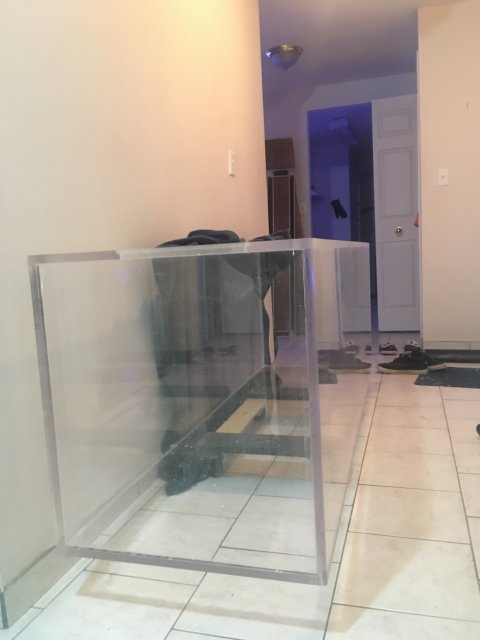
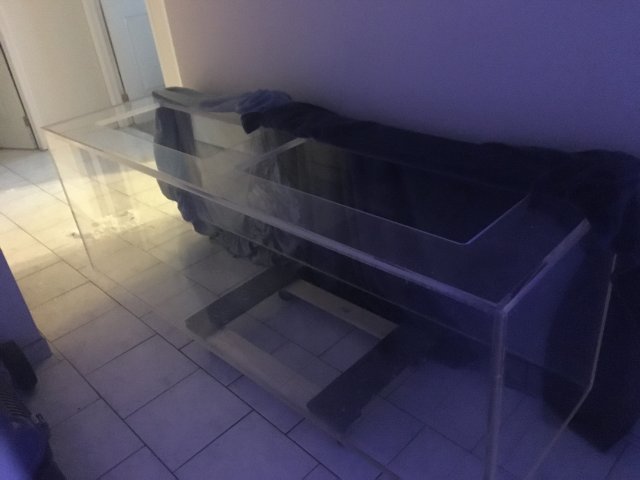
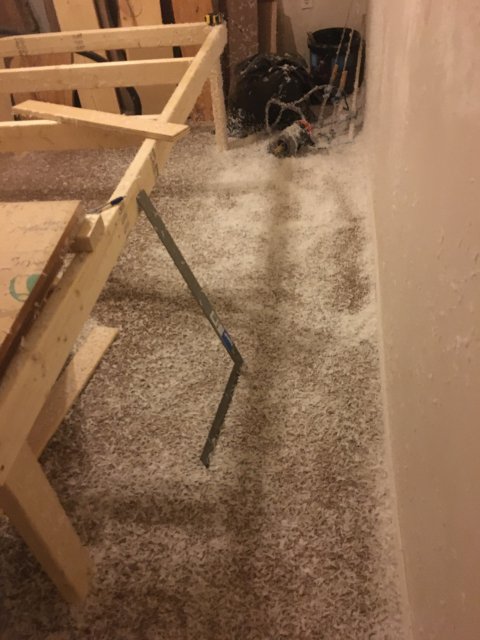
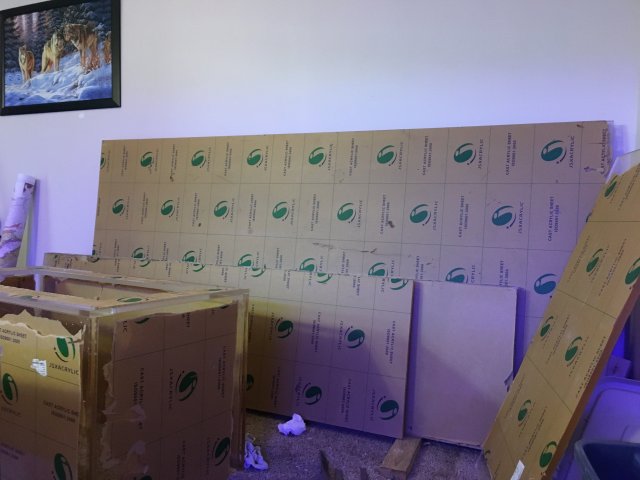
I recently got a new full time job just after graduating university which moved me into an apartment. This has hindered my ability to build tanks whenever I please. Most of my recent work has involved small builds and repairs. I recently said to myself “f*** it, I have been doing wood work in this apartment for almost a year now, never once got a noise complaint. I can get away with building a few tanks here and there. So I took 6 sheets up with me and started working. I’m currently on tank #3. The process is messy and I do plan to get the entire apartment professionally cleaned when all work is done. This thread will briefly go over a few of the builds, some tricks to working with acrylic and what I will personally get out of all this work. First two pics show some of the acrylic with a built 120 gallon, and the router/cutting room in the apartment.
0255246E-5033-4B5C-B7DD-D3429C2E9B16.jpeg

6B07B380-2866-4183-AD01-1F4B4365006B.jpeg
 

Lepisosteus

Potamotrygon
MFK Member
May 20, 2014
3,732
3,387
164
Ontario, Canada
First things first. How I go from a full sized sheet down to a perfectly glueable edge. I start with a skill saw attached to a rip cutting guide. I rip the sheets 1/4” bigger then I intend them to be. Following the rip cut I router all surfaces that will be glued using a 2-1/4 hp router with a double/triple flute flush bit with a 1/2” shank. I strongly recommend the 1/2” shanks, they will result in much cleaner edges.
 

Lepisosteus

Potamotrygon
MFK Member
May 20, 2014
3,732
3,387
164
Ontario, Canada
The solvent I use is critical to every build. I use 99.99% pure acetic acid mixed with 99.99% pure methylene chloride at a 3-7% to a 93-97% ratio depending on the work time I need and the temperature/humidity in the work area. On some smaller projects I have used weldon 4 with success. It is a good product if you do not do a lot of work. I need to buy the bulk ingredients though as I go through around 1L every 3 weeks.
I start by doing 1-5 test joints on scrap acrylic to get the ratio correct for the conditions in the room before I work on the main tank.
 

Lepisosteus

Potamotrygon
MFK Member
May 20, 2014
3,732
3,387
164
Ontario, Canada
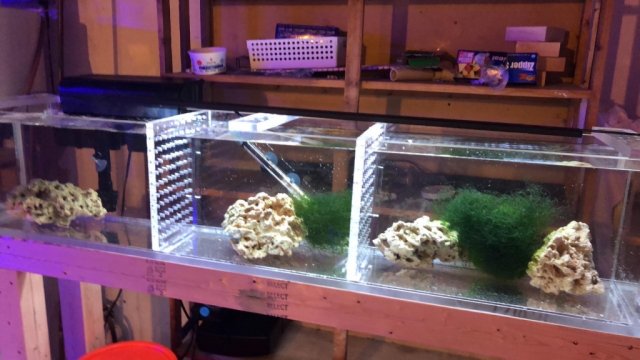
The first tank I did in the apartment was a test to see if I could get away with doing a tank. It was built to be a holding tank for a friend of mine who is opening up a shop. It was not meant to be pretty. Edges were not polished, solvent stains were not removed. He requested removable dividers and single strip bracing on top. I told him the tank could be rimless being 60x12x12 but he wanted the braces. Personally I don’t like them.

The bottom seam didn’t come out perfect. There are a few bubbles throughout but the tank is solid and overbuilt for the size. This will likely be the hardest build I will be doing as none of the material was precut to size.
1581208499690.jpeg
 

Lepisosteus

Potamotrygon
MFK Member
May 20, 2014
3,732
3,387
164
Ontario, Canada
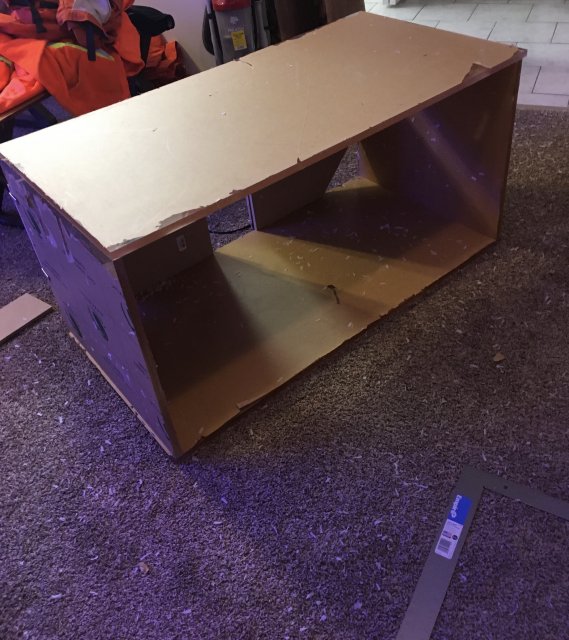
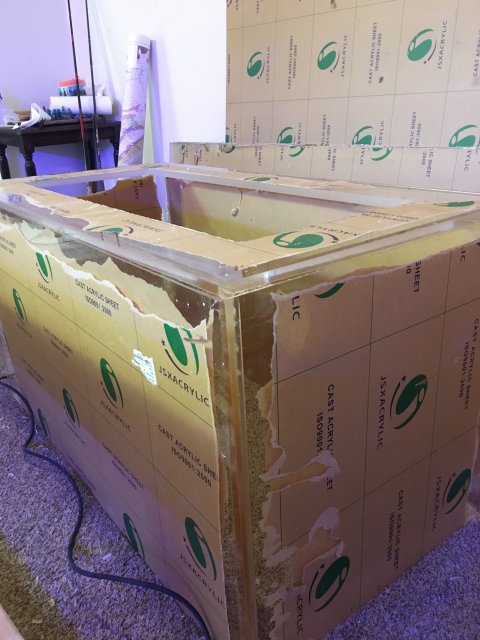
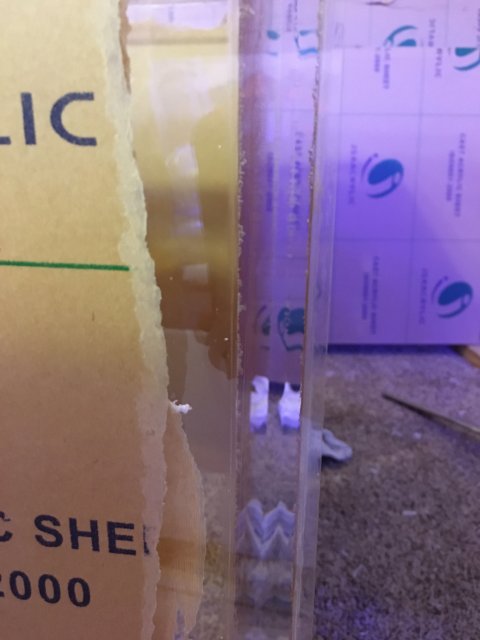
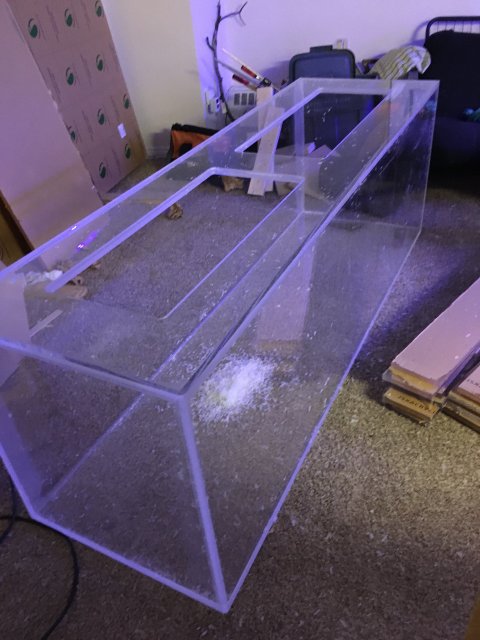
Second tank was a 120 gallon. 4x2x2. All seams will be polished with rounded corners on every display tank. All seams will be reinforced with weldon 40 which I will be showing how to do as well. This will be done after every tank is built so I can do them all at once. First pic shows how I test fit all pieces prior to assembling. The two jigs holding the tank together are constructed from MDF board and right angle metal brackets. Second pic shows the tank after assembly. Note the solvent blemishes in some areas that will be removed at the end during final polishing. Third pic shows the crystal clear seams. Note the small bubbles along the edge of the seam within the “fillet”. I will show a trick on how to remove these later on and a few tricks on how to get bubble free seams

B1D2F79E-2687-4FC1-B7F7-64C7B9F957D2.jpeg

8CF052E6-5EB8-4DB4-9D3A-2C64B5BD8F3A.jpeg

0AD6743E-6D7D-43BB-AE87-D4732B9C707A.jpeg
 

Attachments

Lepisosteus

Potamotrygon
MFK Member
May 20, 2014
3,732
3,387
164
Ontario, Canada
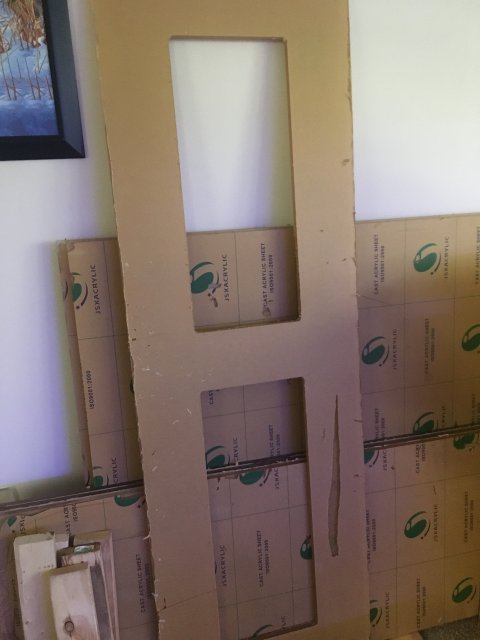
After all sides are cut and glued I work on the top brace. I start by marking out the access holes using a square and a pen. I then do a drop cut with the skill saw until I get about 1” away from all corners. I then use a jig saw to finish off the corners. Once the access holes are cut out I finish off the edge with a straight edge and a flush router bit.

This process I normally do on a CNC router but it can easily be done with regular tools. Took around 1 hour to do the brace for the 180.

ACA24CF3-3C68-4F83-BA46-CEB6ED21E563.jpeg
 

Lepisosteus

Potamotrygon
MFK Member
May 20, 2014
3,732
3,387
164
Ontario, Canada
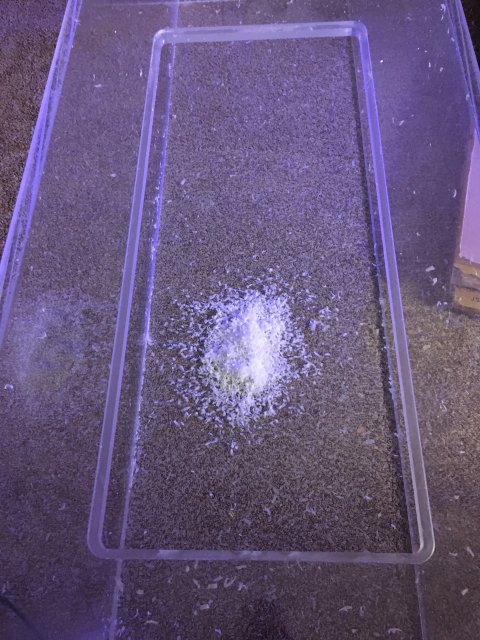
The 180 is almost finished. Openings have been routered to create a small lip for lids. The sides are rounded and I started polishing the edges.

The 120 will be routered with finish polishing started hopefully tomorrow.

the 240 4x4x2 has been going together perfectly so far.

I have a request to make 6 acrylic AIO frag tanks which I will be doing next. Then I will start on my personal build.

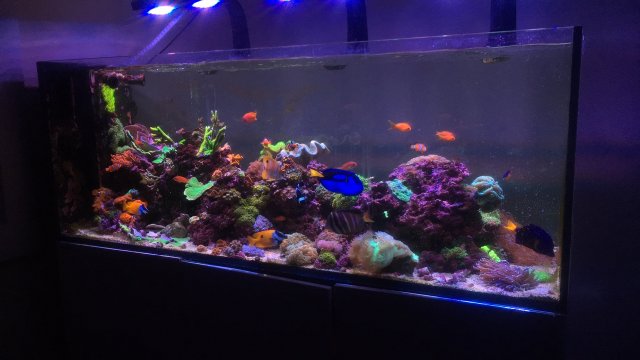
Last pic is an update on my reef.

AB039C31-82E2-4C38-8D72-99F9A2EFFEEC.jpeg

9CFAFE9B-F4C5-414C-86FC-28BB376BE76E.jpeg

86BF37B9-541A-4C63-98BC-0B7C75C2E219.jpeg
 

dr exum

Goliath Tigerfish
MFK Member
Sep 29, 2007
2,930
3,531
179
Northwest
Out of curiosity how much time is it taking you per tank? You seem to be churning them out at a fast rate...
 
  • Like
Reactions: fishhead0103666
zoomed.com
hikariusa.com
aqaimports.com
Store