30 gallon budget reef ready build!!

TheWolfman

Goliath Tigerfish
MFK Member
Sep 5, 2010
1,423
2,348
179
37
Long island, NY
Ok so I figured I’d document my project and share it with everyone, since I couldn’t find any rock solid info on retrofit overflows online.

This will be a build thread that I will update as I go along. The Idea is I’m trying to keep the budget as low as possible. The tank was from the dollar per gallon sale and it will eventually become a reef so, I will be keeping that in mind as I build.

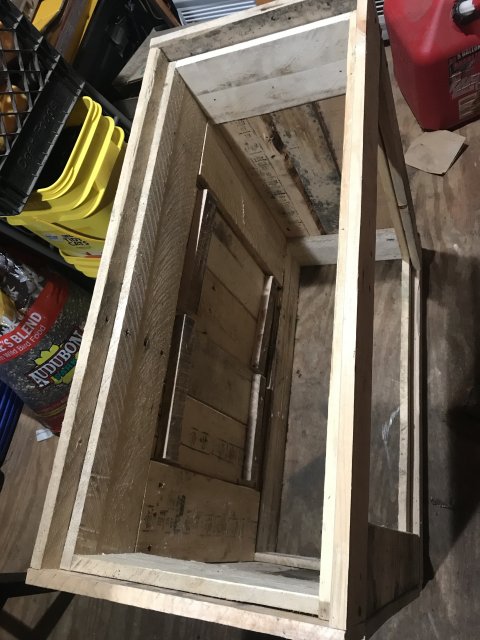
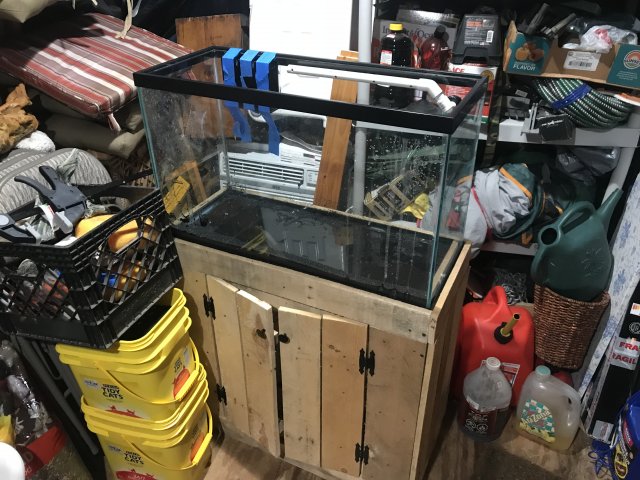
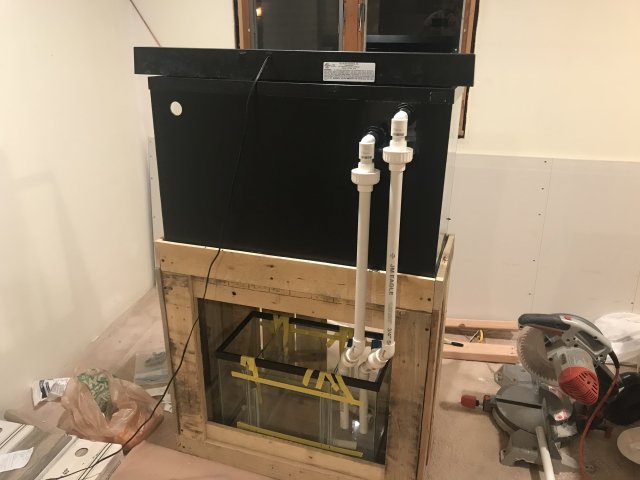
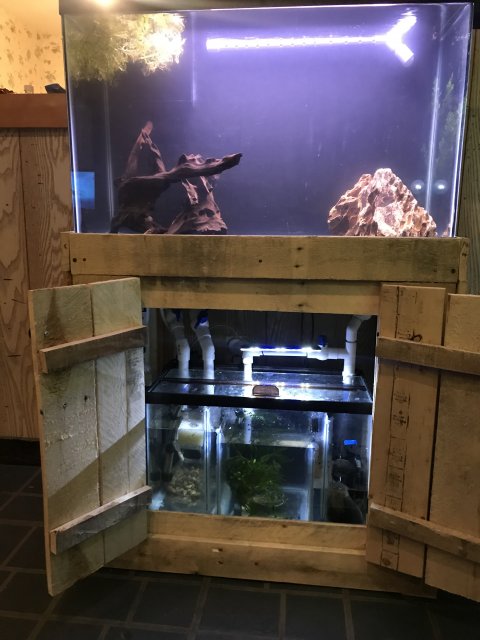
Ok I’ll start off with the stand I built it a year ago out off some recycled skids I acquired. It has a structural layer under the front paneling to hold the weight.
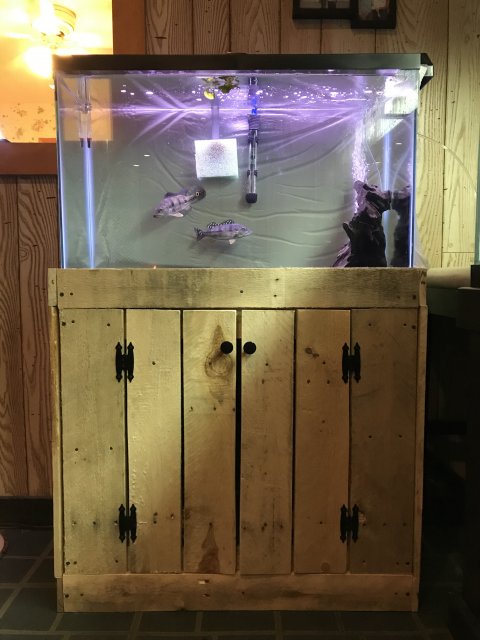
5BD9FA61-D709-49B7-9B2F-FB44B31D127D.jpeg
6E061274-1EF9-4885-850C-0D3E8D3F691D.jpeg

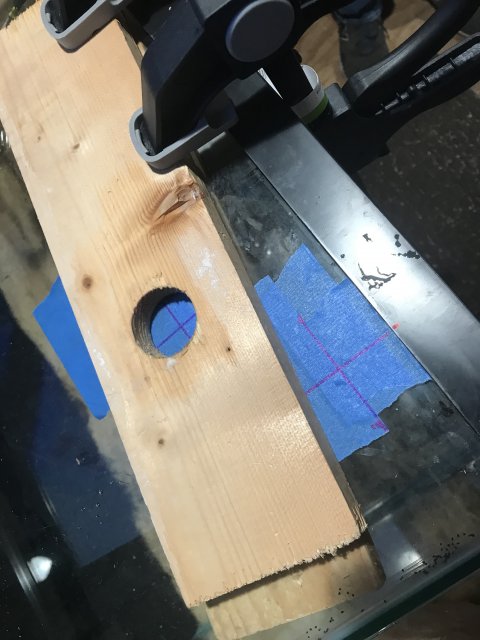
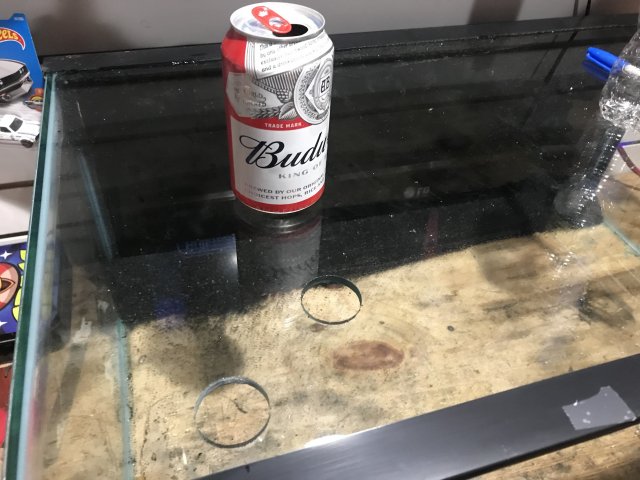
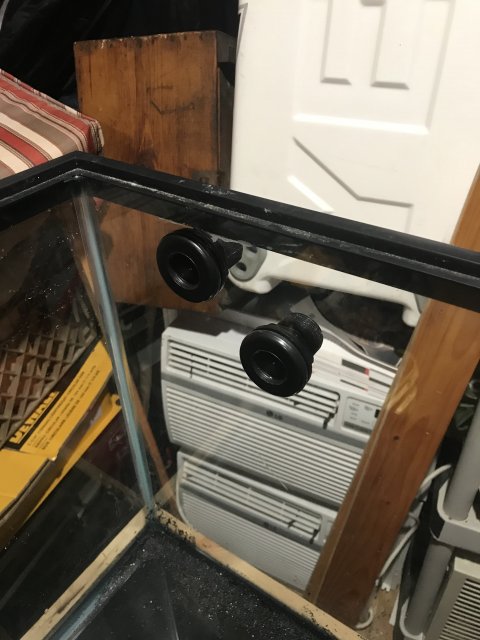
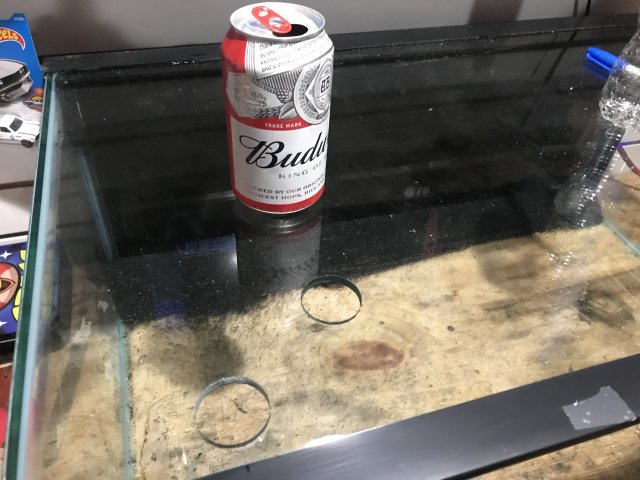
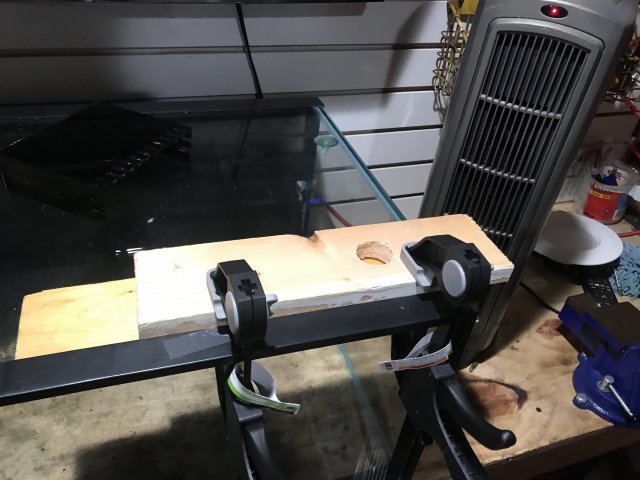
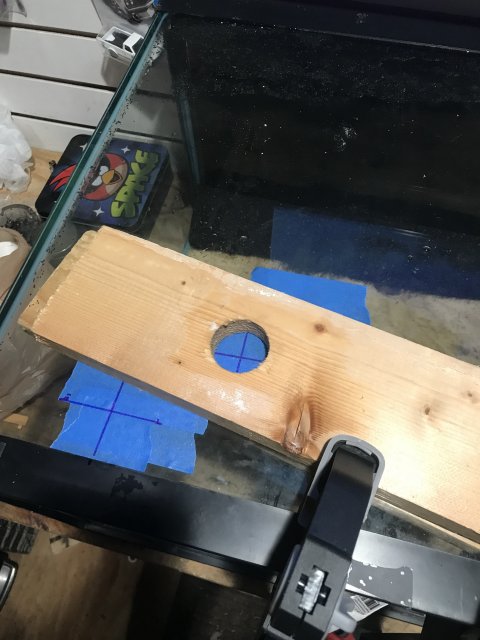
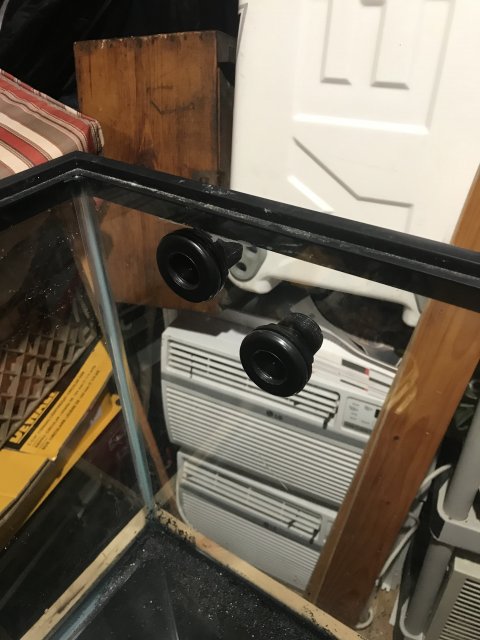
So I started working on the plumbing last night. I had to drill 3 holes for the bulkheads. To do that I used some scrap wood and some clamps. 86477A97-56EA-4462-8633-E78E7475CD85.jpeg58FC2FA3-D1E7-4E3F-8517-90B392372743.jpeg
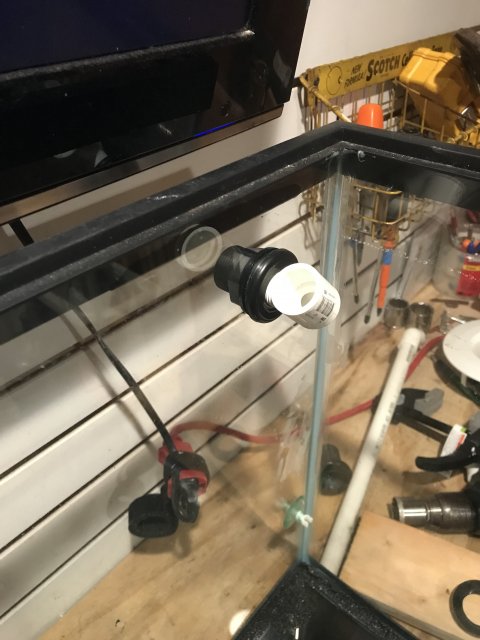
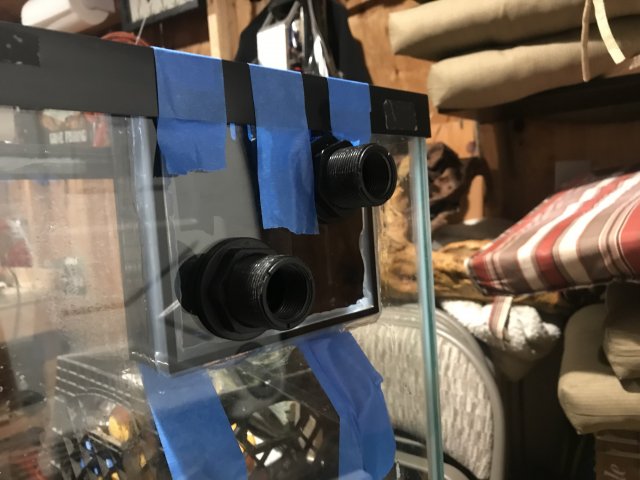
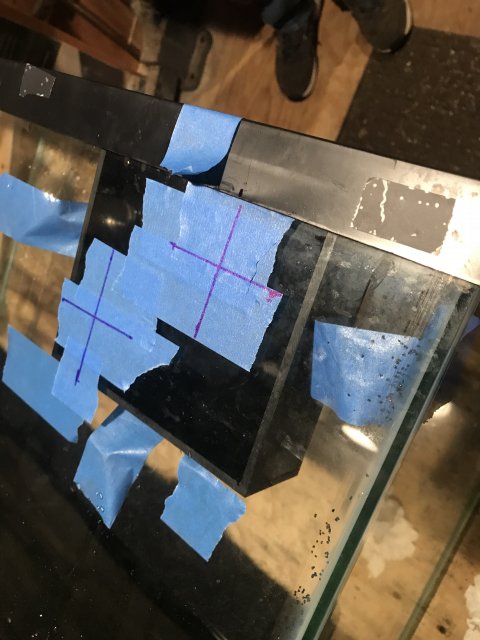
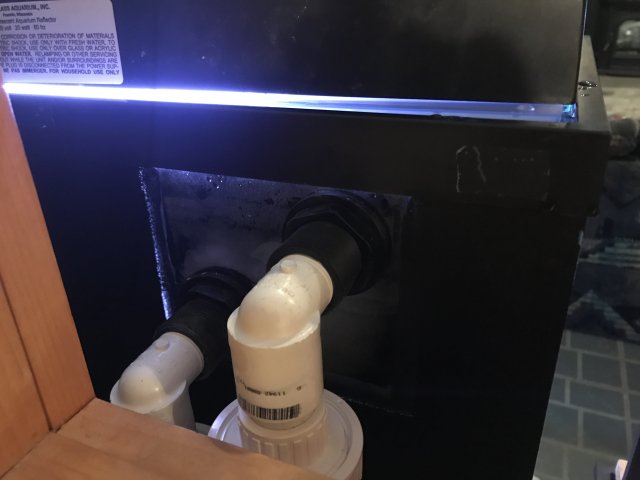
To setup the overflow I needed to mock up the overflow box and decide where to drill my holes. I was trying to keep the bulkheads as far apart as I could to make a syphon and a emergency drain.4CA883E2-AD34-4085-9C49-F785A708111F.jpeg 45D2C4EE-D0E0-464A-ABBA-948A53E84E18.jpeg0B8A255F-C52B-4777-9762-6E0034308C1F.jpeg28C04F38-2521-4E10-8436-AF6C46E52166.jpeg
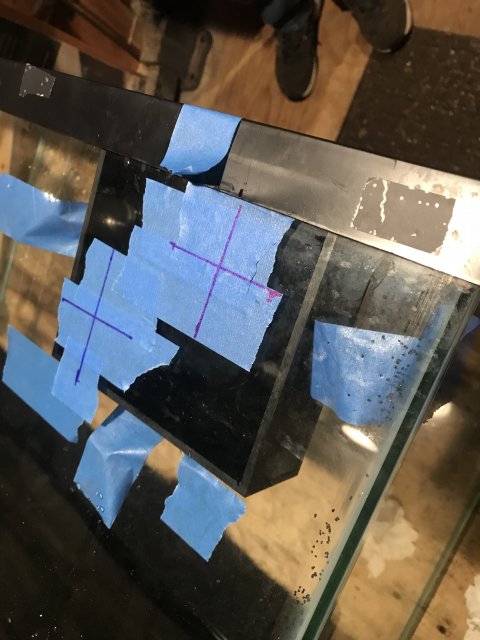
Next I needed to silicone in the overflow
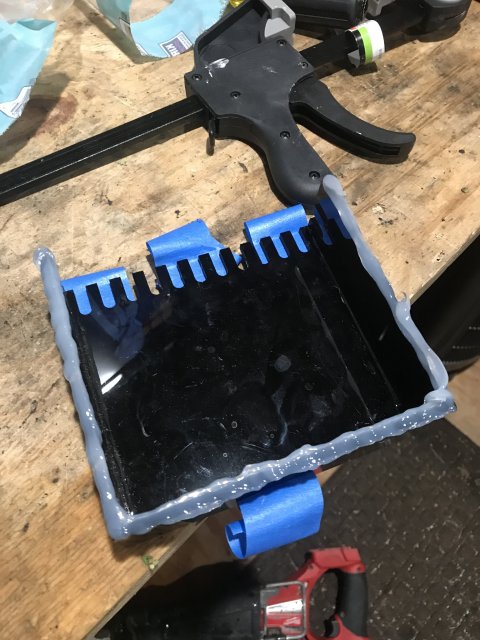
DE024626-5BC8-4D92-B5F9-BA1E5F47B076.jpeg 5D74D2B8-3090-4E01-935E-3A7465D6BA61.jpeg A5624AF3-13EC-407B-BE44-BA277450D6A9.jpeg
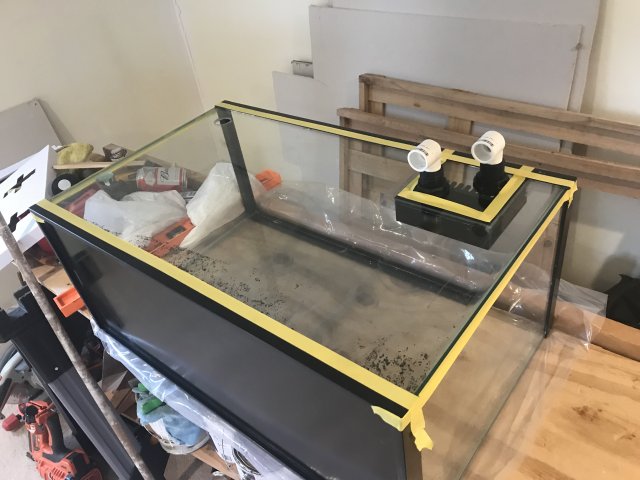
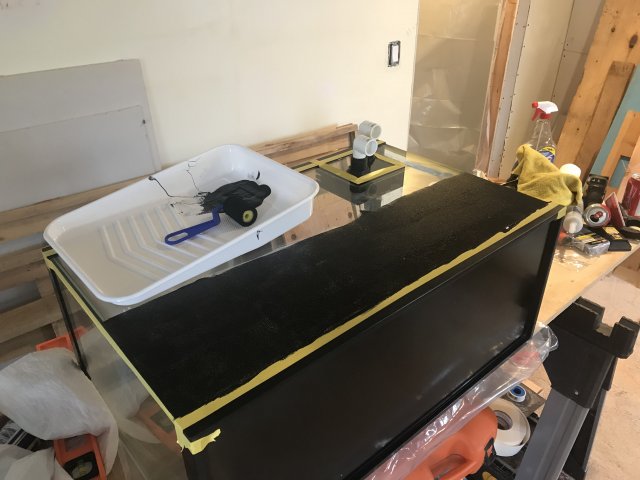
I’ll be painting the background and mocking up the rest of the plumbing next stay tuned.. 487A15A7-A4D7-4780-8B0E-11A3CF14D294.jpeg A64C60F3-553E-408D-BEED-E8FB77CD64CF.jpeg 1DA2DD7B-D1DD-4F51-ACB4-0447CC45D9E9.jpeg FEC0F9E2-400B-4180-80E0-49349DDA614C.jpeg
 

TheWolfman

Goliath Tigerfish
MFK Member
Sep 5, 2010
1,423
2,348
179
37
Long island, NY
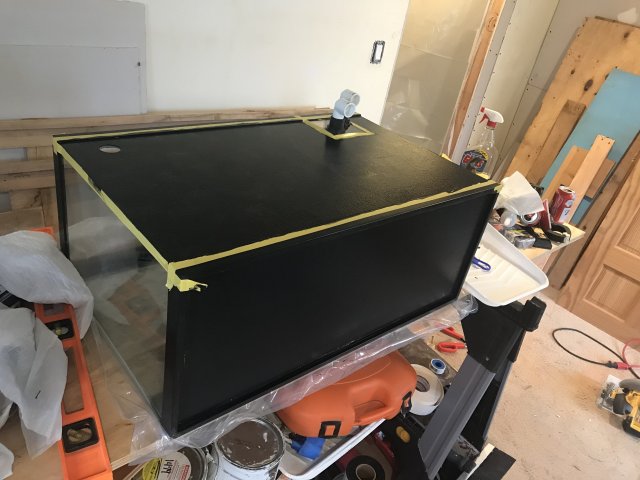
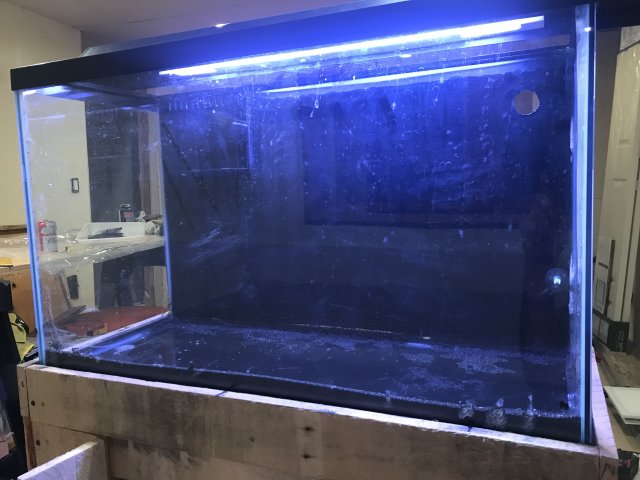
Ok so I taped out what I wanted black and painted the background and the bottom of the tank. I used some black acrylic craft paint and a foam roller. It took a few coats but it’s looking good. 3E7DEBF9-F4F8-4CBD-9163-CFD0845787C8.jpeg DECC79DC-8E8E-4C24-81DE-B476E5E46D5A.jpeg742A6505-9D6D-4A55-A8D3-0D782130E1FC.jpeg
I cut the glass for the bafflels in the sump and plan on siliconing it in later on tonight.
 

TheWolfman

Goliath Tigerfish
MFK Member
Sep 5, 2010
1,423
2,348
179
37
Long island, NY
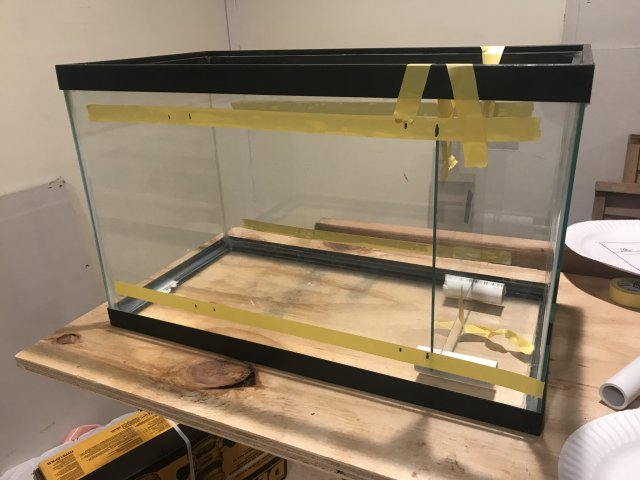
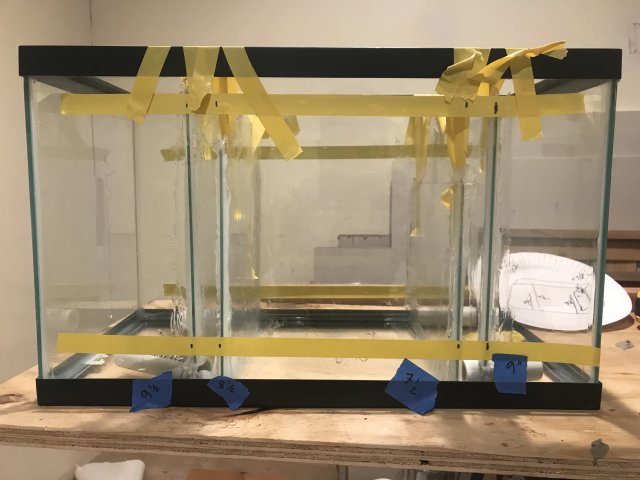
Last night I got the sump finished. I wish I would’ve taken more pictures but I’ll show you what I have. I bought a 36”x12” piece of plate glass and cut my own baffles. My first few cuts came out rough but luckily I was able to sand the glass down smooth and have the clean side of the glass facing up. A96B8E5E-90C6-4984-B285-031FD89D2F25.jpeg
I held the baffles in place with some electrical tape and then siliconed them before moving on to the next one.
B81F935F-BBBF-4554-8D82-2585B22EE713.jpeg
After I left it alone to cure before starting on the plumbing rough in.

I got the drains in last night before throwing in the towel for the night 217B8360-1E90-4296-A4BF-99FEF7D2E5B7.jpeg
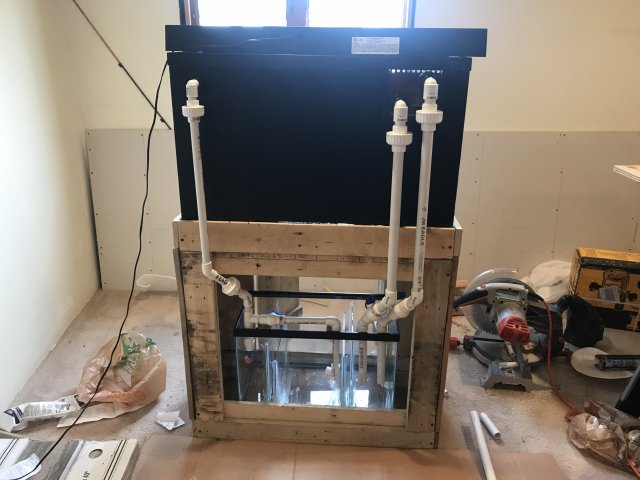
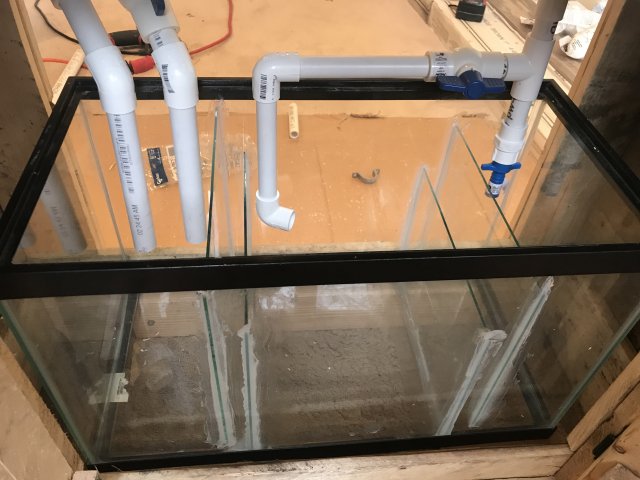
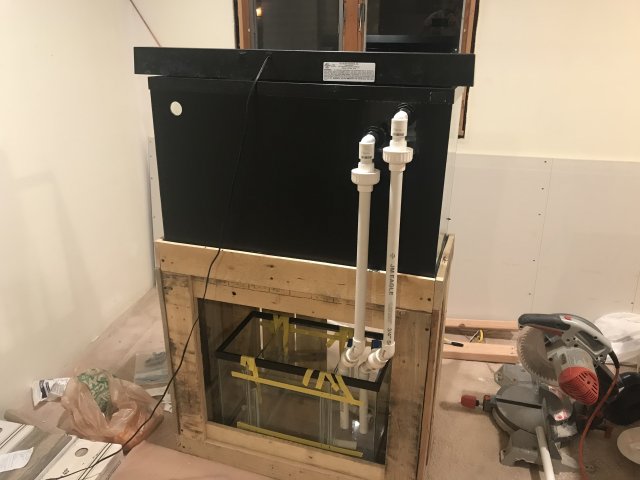
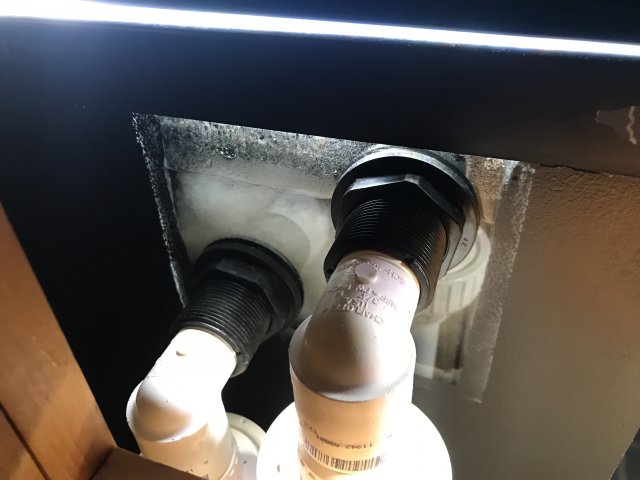
This morning I removed the tape in the sump and finished the rough in on the return side. I also put in a ball valve to divert any extra unwanted flow back into the sump to the refugeum. F7F5DC43-D22C-488C-A07C-878242B8811A.jpeg4CD57297-F80C-4E62-BCC4-54E107C9E318.jpeg
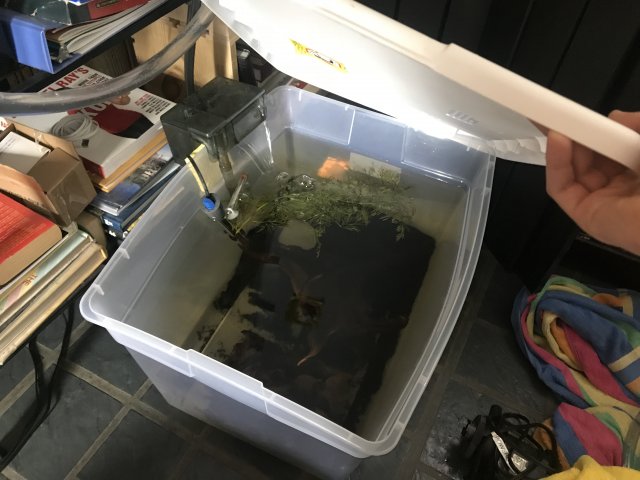
I still need to glue everything but that will happen soon. I need to get this tank up andrunning because I had to kick my pleco out of his tank to make the sump. C7B93E61-7F5B-41A9-841F-6F09B9CCF1A0.jpeg B4C52F9B-29D3-48E5-9F53-23788AA9F8B3.jpeg 56D4F686-EAE6-456D-944B-874F353A3015.jpeg
 
Last edited:

tlindsey

Silver Tier VIP
MFK Member
Aug 6, 2011
23,448
24,368
1,660
Ohio
Last night I got the sump finished. I wish I would’ve taken more pictures but I’ll show you what I have. I bought a 36”x12” piece of plate glass and cut my own baffles. My first few cuts came out rough but luckily I was able to sand the glass down smooth and have the clean side of the glass facing up. View attachment 1351749
I held the baffles in place with some electrical tape and then siliconed them before moving on to the next one.
View attachment 1351750
After I left it alone to cure before starting on the plumbing rough in.

I got the drains in last night before throwing in the towel for the night View attachment 1351756
This morning I removed the tape in the sump and finished the rough in on the return side. I also put in a ball valve to divert any extra unwanted flow back into the sump to the refugeum. View attachment 1351753View attachment 1351754
I still need to glue everything but that will happen soon. I need to get this tank up andrunning because I had to kick my pleco out of his tank to make the sump. View attachment 1351757 View attachment 1351752 View attachment 1351755

Looking good. Great feeling when you do diy projects.:)
 
  • Like
Reactions: TheWolfman

Glenn238

Plecostomus
MFK Member
Oct 11, 2018
174
136
61
32
Hey looks great I really have been getting the itch to set up a reef tank as well will you be using tap water or rodi water there are so many people that swear by rodi in reef tanks and than people that say tap water works fine
 

TheWolfman

Goliath Tigerfish
MFK Member
Sep 5, 2010
1,423
2,348
179
37
Long island, NY
Thanks the tanks going to be fresh water at first until I figure out what to do with my current stock. I will be going with RODI though when I go salt.
 

TheWolfman

Goliath Tigerfish
MFK Member
Sep 5, 2010
1,423
2,348
179
37
Long island, NY
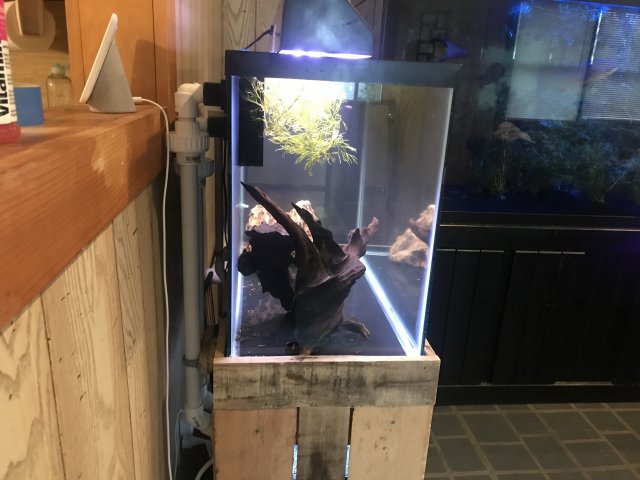
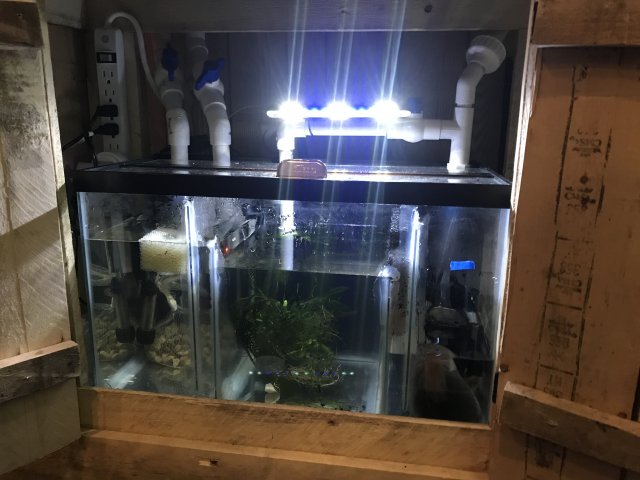
Ok so I was able to get this project finished up. I decided to paint the background of the sump too since I had the paint.


Nano overflow hides nicely in the black background.

D4CC4D9D-AB1E-4FAD-BF68-D0F711EE8DF4.jpeg FBCA6227-CE0C-475B-AD02-B3D2576C8F0D.jpeg

I put a light in the fuge and some plants that I transferred from a different tank that I shutdown to move the stock over.

DA3D0591-51E5-47A8-BE07-7439B7B0BF6D.jpeg

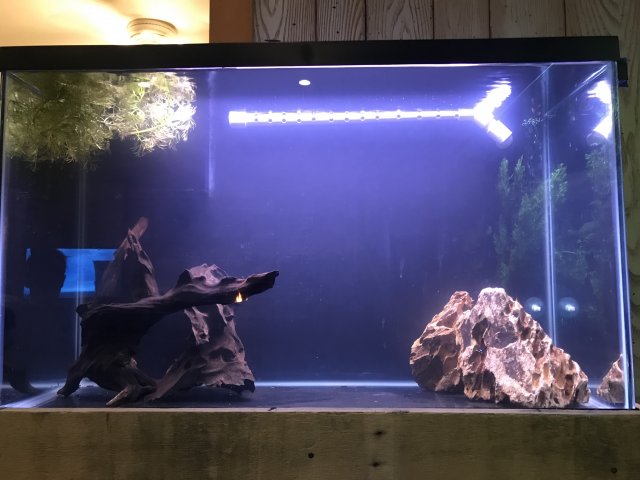
Right now it’s bare bottom but I will scape it soon when I get the chance and plant it properly.

3DBD5B4D-78AF-40B9-945C-FE584B99D4BC.jpeg
A1B77C5D-180E-4653-9231-BA8DE9D90236.jpeg

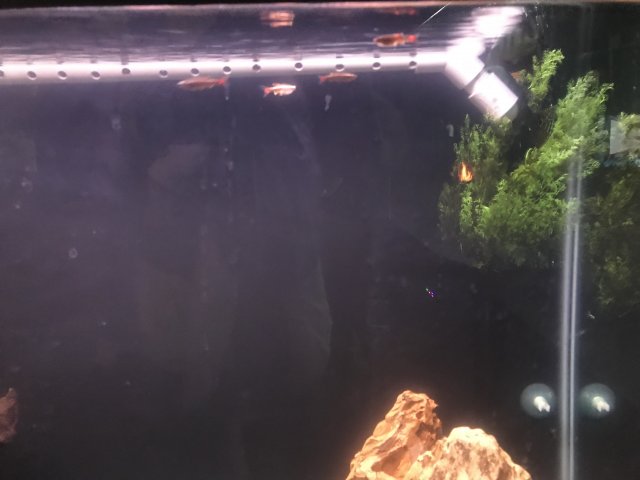
Current stock is 4 white clouds and my royal pleco who this tank was setup for.
A00A961F-417F-47B1-BC7B-87AE755C6126.jpeg
 

Lepisosteus

Potamotrygon
MFK Member
May 20, 2014
3,734
3,397
164
Ontario, Canada
You know of a good rodi system
Spectrapure. I have a 4 stage 90GPD couldn’t be happier.

TheWolfman TheWolfman Great build! The stand you made from old skies looks better than most I see. Wouldn’t quite call it a reef ready tank as it was most definitely not a reef ready. Would make a killer nano reef tank, I’m surprised your going planted.
 
  • Like
Reactions: TheWolfman

TheWolfman

Goliath Tigerfish
MFK Member
Sep 5, 2010
1,423
2,348
179
37
Long island, NY
Thanks, I guess your right but it certainly is ready now though lol. I’m going to switch it over to a reef eventually.
 

TheWolfman

Goliath Tigerfish
MFK Member
Sep 5, 2010
1,423
2,348
179
37
Long island, NY
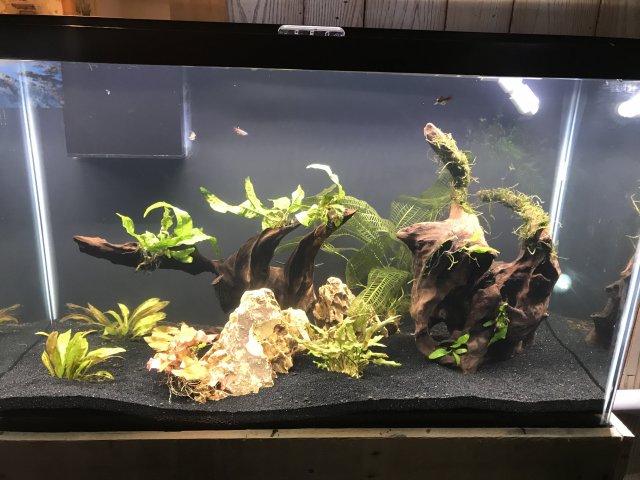
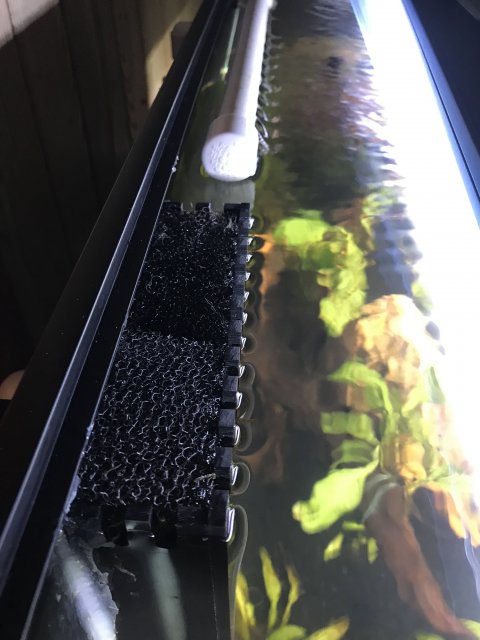
Ok I figured I’d give some closing remarks after running this setup for a few weeks. The overflow runs silent and I put some foam in it to keep my small fish from being washed down into the sump. I also have been putting floss in the overflow to polish the water. Just a note I have ran it with out the extra stuff in the overflow and it was still silent. I also included a picture of the scape for fun.

7B0414B3-8605-4803-A4A2-73DB46CDC2B1.jpeg 8BAB95EB-68A5-42AA-B7F2-EA429EEA2740.jpeg 5E693B04-6DFE-4A0C-AD69-4090DF83A4D9.jpeg
 
zoomed.com
hikariusa.com
aqaimports.com
Store