Side question - are you going to router those holes wider? If so please post that! Would love to do the same.
Sexy Plumbing - Island Tank
- Thread starter JK47
- Start date
No, I am not using the router to enlarge the holes. There was a 1/2" x 1/2" hollow square acrylic tubing around the top edge of the tank that I assume was used as a drip guard. The tubing was cracked and broken in many places and looked like crap. I used a hammer and chisel to break off most of the tubing then I used the router to smooth out the top and make it look like the tubing was never there.Side question - are you going to router those holes wider? If so please post that! Would love to do the same.
I actually like the idea of the drip guard around the rim... but they should have used a solid 1/2" x 1/2" square acrylic rod instead of hollow tubing. The tubing wasn't even sealed on the ends so dirt and gunk has gotten into the tubing making it look even worse.
I might enlarge the holes in the bottom. If I do I will use a hole saw and a plywood guide like is commonly used when drilling a glass tank. Basically I will drill a 2" hole in a piece of plywood with the hole saw. I will then clamp the plywood to the tank with the hole in the plywood over the hole I wish to enlarge and use the hole in the plywood to keep the hole saw from walking all over the place while drilling the tank.
If you want a really large hole for your center overflow I would still start with a plywood guide and drill a hole in the plywood the size I want for the tank. Clamp the plywood guide to the tank again. I would use a flush trim bit on the router to follow the plywood guide and make the corresponding hole in the tank.
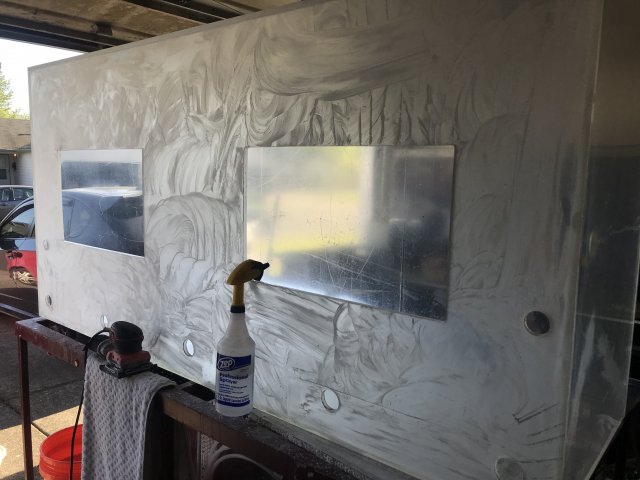
My plan is to spend more than I paid for the tank to buy a ghost type overflow box and install it on a side wall (I have thought of trying to make my own overflow after seeing the price of the ghost overflows).Sweet setup Michael! Nice job on the sanding as well. I took this one down to 600, 1200, 2000, 3000, Novus 3, 2 ,1. I'll get the buffing pics up tonight. I have the outer front and back panel left to finish once it's on the stand.
The center of the tank will be hardscape so no tower. There are three 1.5" holes on the back wall, upper right hand corner. I am building my own acrylic overflow so it's clean. Side wall is the return from the pump. Four OCD approved vertical black lines total.
View attachment 1320869
I am seriously considering using the bottom holes as returns from my sump. I am thinking I will run the sump return pipe in a loop over the top of the tank, back under the tank with a siphon break hole where the return loop goes above the tank water level. My thought is to make my stand ~6' 6" long and box in the 6" x 24" side of the tank between the stand and the canopy to hide the overflow pipes and the siphon break return loop. This will also give me a space to run wiring for the lighting etc. I am thinking that if I ever decide to go from a peninsula configuration to an up against the wall configuration the 6" box on the side of the tank hopefully won't look too bad.
I am a wood worker so my plan is a boxed in stand to match my kitchen cabinets to help it blend into the great room.
Last edited:
You had me at "Sexy Plumbing"...I always appreciate what's under the stand and plumbing ;-)
No, I am not using the router to enlarge the holes. There was a 1/2" x 1/2" hollow square acrylic tubing around the top edge of the tank that I assume was used as a drip guard. The tubing was cracked and broken in many places and looked like crap. I used a hammer and chisel to break off most of the tubing then I used the router to smooth out the top and make it look like the tubing was never there.
I actually like the idea of the drip guard around the rim... but they should have used a solid 1/2" x 1/2" square acrylic rod instead of hollow tubing. The tubing wasn't even sealed on the ends so dirt and gunk has gotten into the tubing making it look even worse.
I might enlarge the holes in the bottom. If I do I will use a hole saw and a plywood guide like is commonly used when drilling a glass tank. Basically I will drill a 2" hole in a piece of plywood with the hole saw. I will then clamp the plywood to the tank with the hole in the plywood over the hole I wish to enlarge and use the hole in the plywood to keep the hole saw from walking all over the place while drilling the tank.
If you want a really large hole for your center overflow I would still start with a plywood guide and drill a hole in the plywood the size I want for the tank. Clamp the plywood guide to the tank again. I would use a flush trim bit on the router to follow the plywood guide and make the corresponding hole in the tank.
Sounds like you have a stellar plan. You should post a build thread! I’m sure you have lots of great info for wood working too. My 2x6 game is strong but legit woodworking is better left to pros.My plan is to spend more than I paid for the tank to buy a ghost type overflow box and install it on a side wall (I have thought of trying to make my own overflow after seeing the price of the ghost overflows).
I am seriously considering using the bottom holes as returns from my sump. I am thinking I will run the sump return pipe in a loop over the top of the tank, back under the tank with a siphon break hole where the return loop goes above the tank water level. My thought is to make my stand ~6' 6" long and box in the 6" x 24" side of the tank between the stand and the canopy to hide the overflow pipes and the siphon break return loop. This will also give me a space to run wiring for the lighting etc. I am thinking that if I ever decide to go from a peninsula configuration to an up against the wall configuration the 6" box on the side of the tank hopefully won't look too bad.
I am a wood worker so my plan is a boxed in stand to match my kitchen cabinets to help it blend into the great room.
Edit: I think we are talking the same overflow design. Shadow (Synergy Reefs) vs ghost. Monster size for us FW guys
I was hoping you would pop in! Ain’t that the truth.You had me at "Sexy Plumbing"...I always appreciate what's under the stand and plumbing ;-)
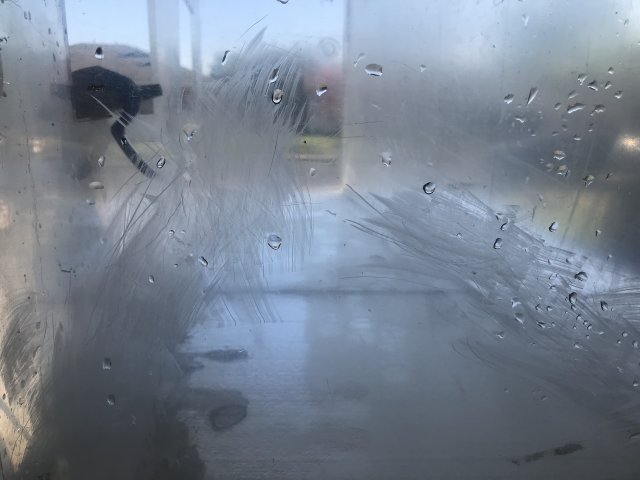
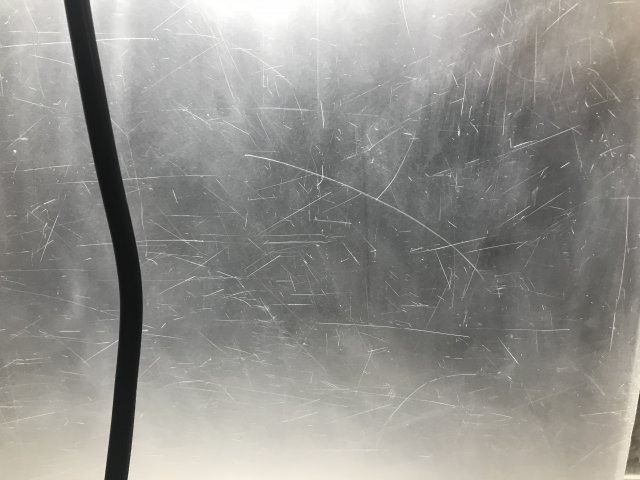
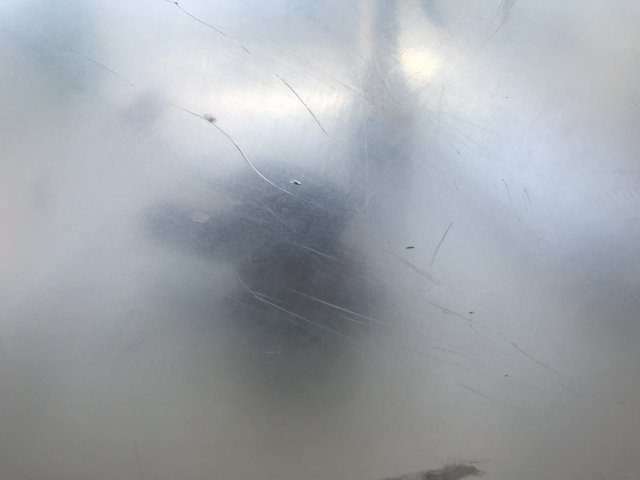
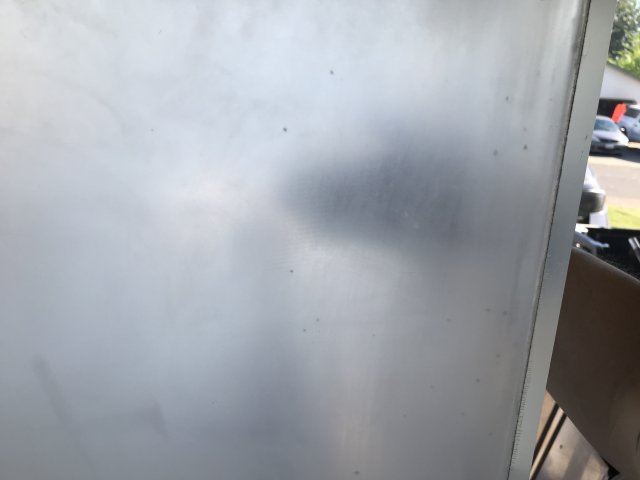
We took one panel all the way through buffing on to completion to make sure the deep scratches were out. The outside of the panel is not touched.
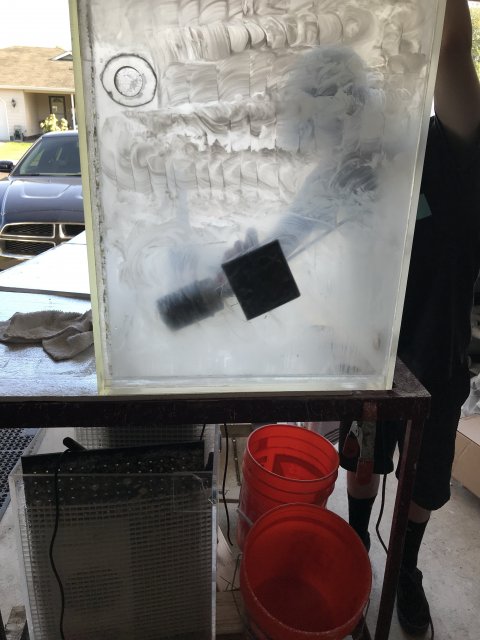
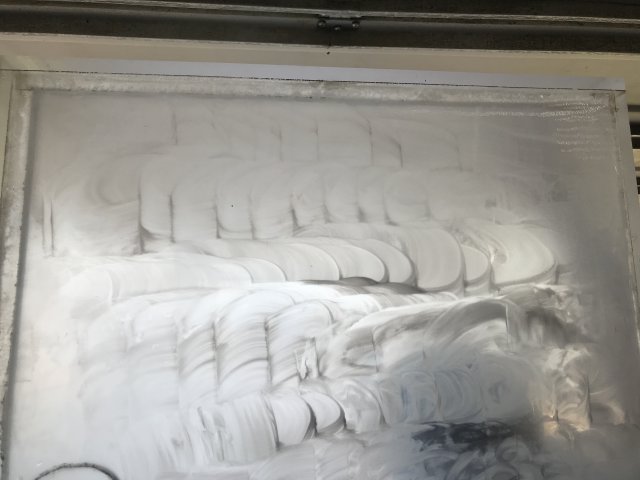
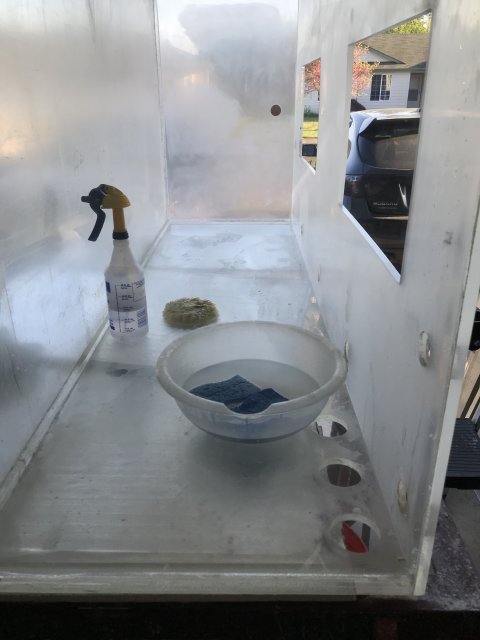
This is after Novus on the single panel as well (inside). It got the majority but we still included this panel in again as we worked through the other panels to avoid compound scratches.
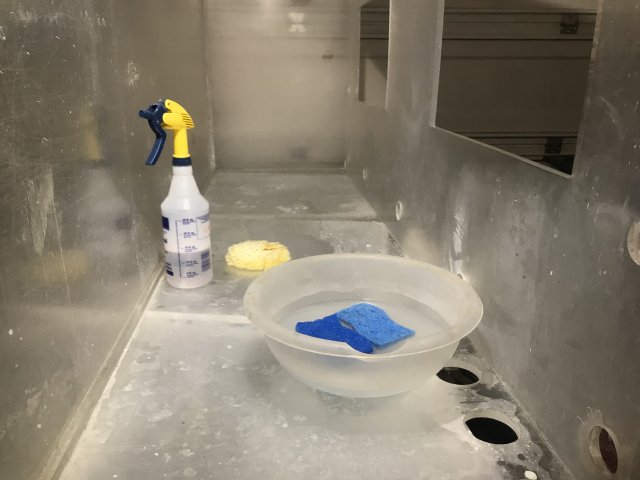


This is after Novus on the single panel as well (inside). It got the majority but we still included this panel in again as we worked through the other panels to avoid compound scratches.

That drives me nuts too. Trust me these are stellar. They make black somewhat rigid line hang straight down with a lot of air moving. No climb either. @ $12.99 for a six pack it’s hard to beatJK47 are the large round airstones that you trust to sit on the bottom of the tank? I feel like all of my airstones float which is a pain. I think some folks weigh theirs down but that’s going to be hard to do in a bare tank.
Senzeal 6pcs Fish Tank Air Stone 1.97" Ball Shaped Bubble Diffuser Air Stones for Aquarium, Fish Tank, Pump https://www.amazon.com/dp/B0721JV1GZ?ref=yo_pop_ma_swf
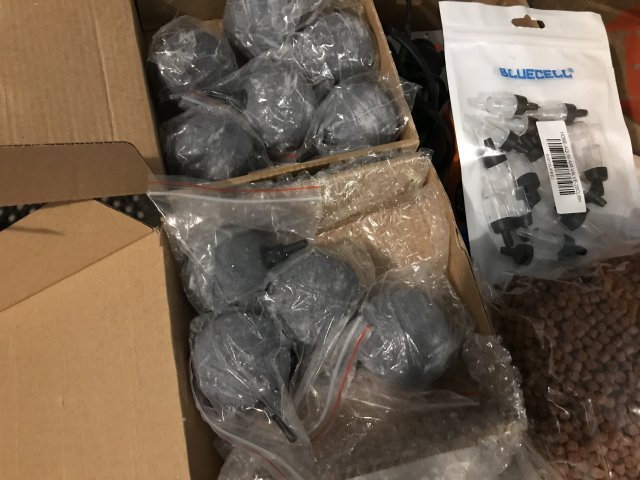
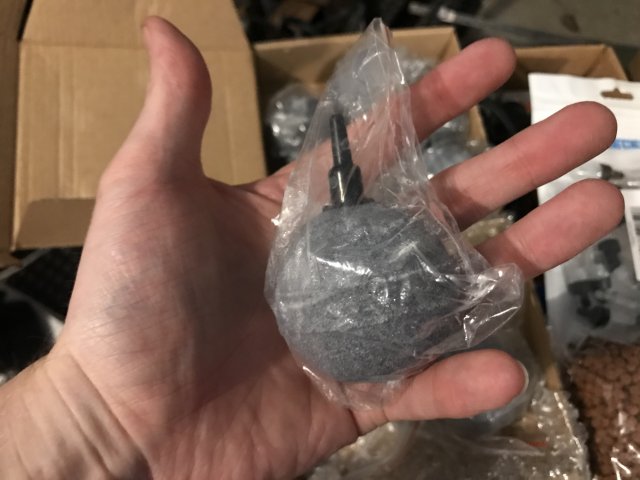
This tank won’t have an air stone running though. Easy to toss one over the side if needed.


