20g Long all in One Reef Build

Lepisosteus

Potamotrygon
MFK Member
May 20, 2014
3,732
3,390
164
Ontario, Canada
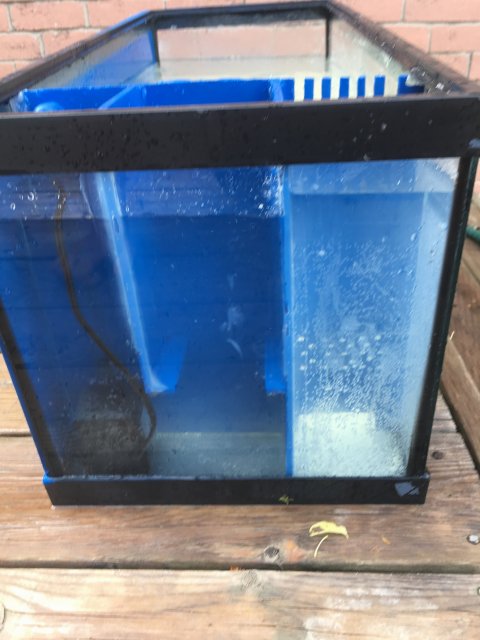
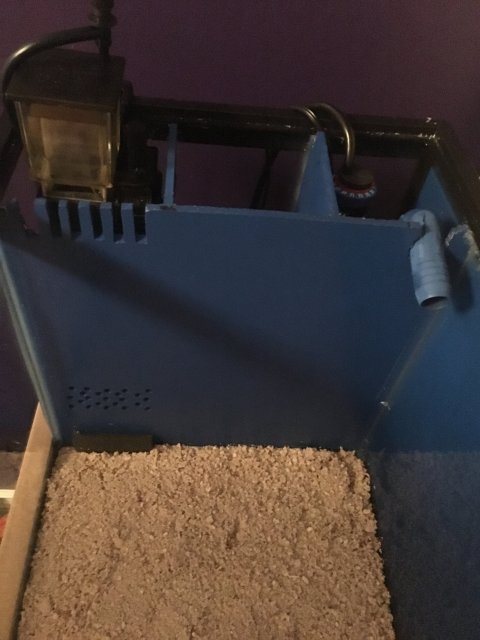
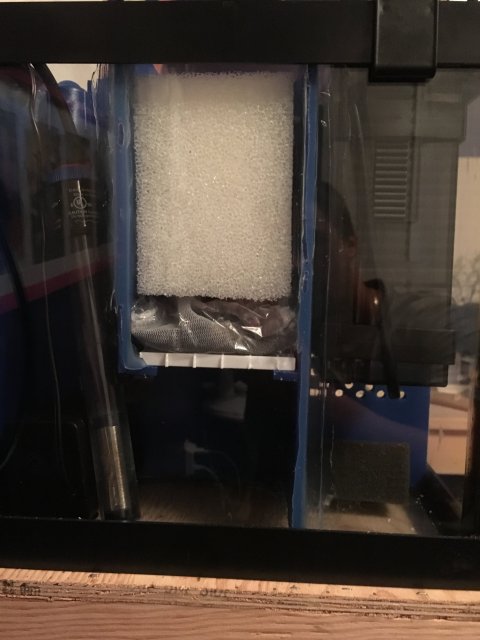
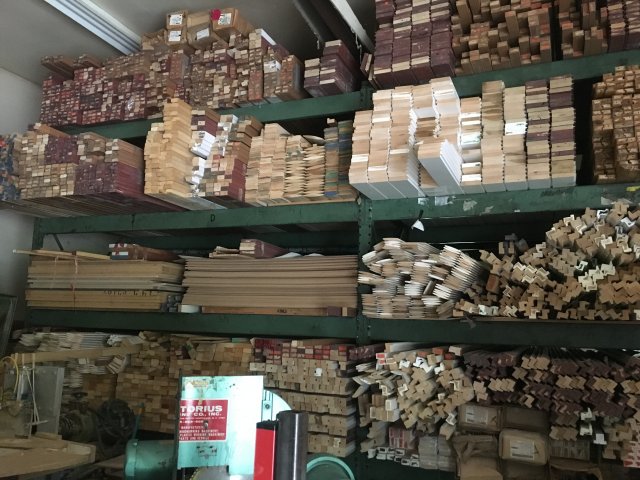
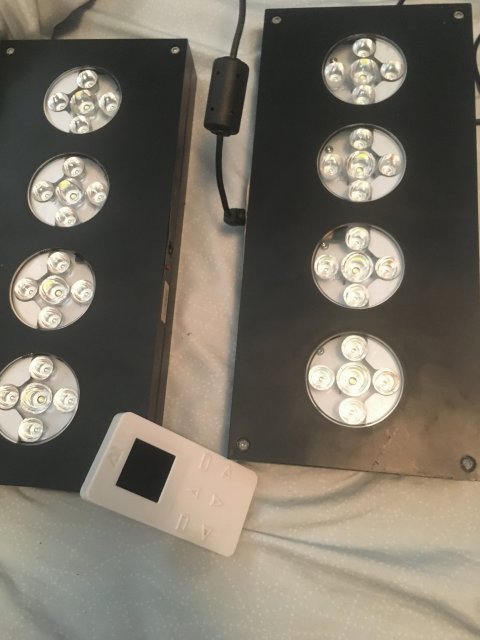
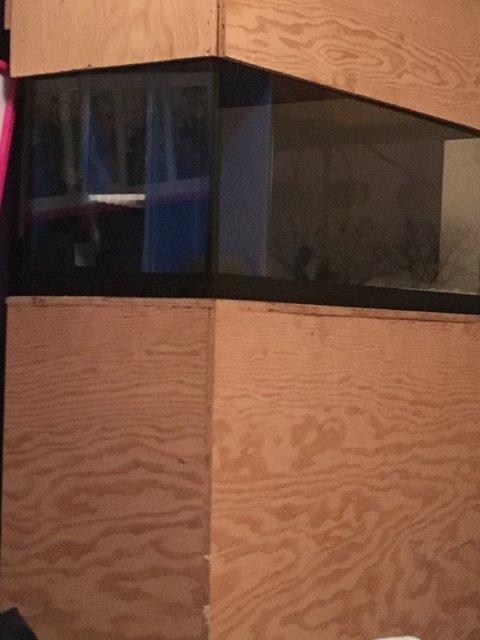
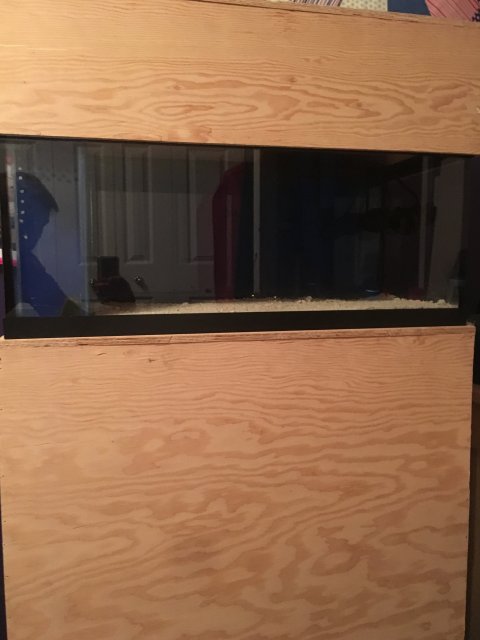
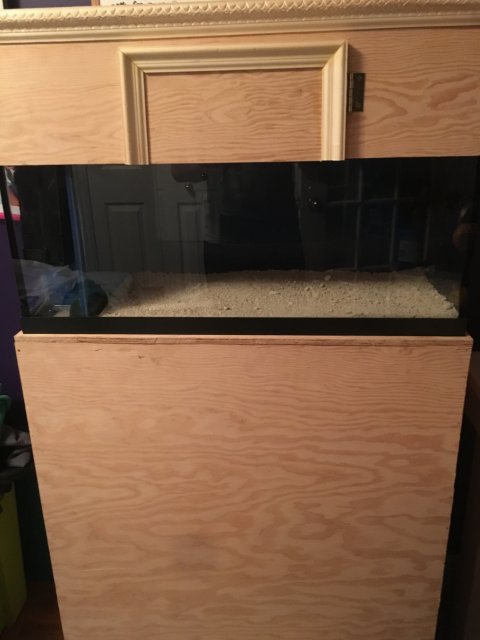
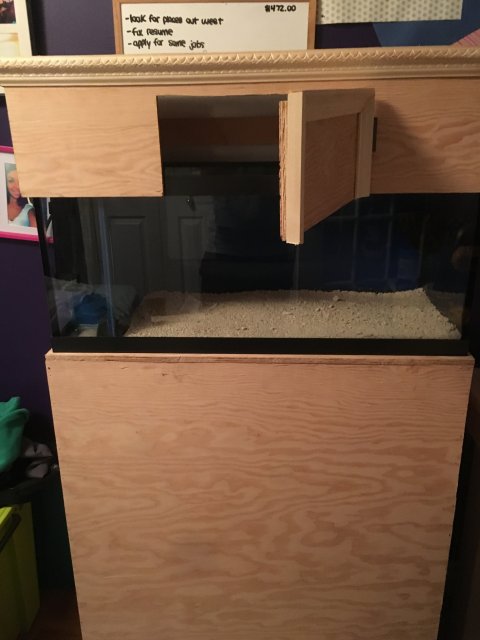
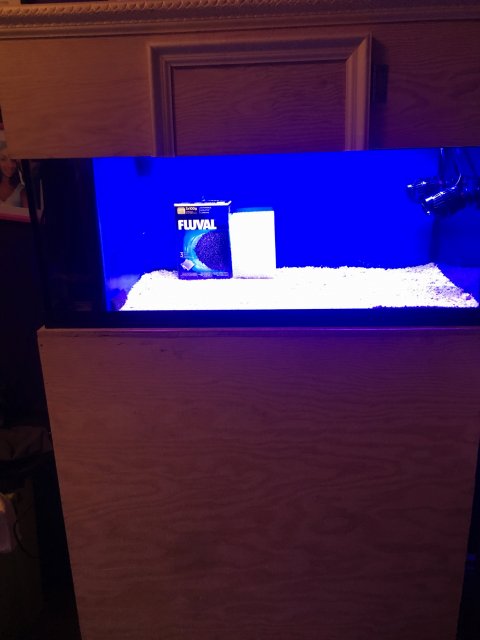
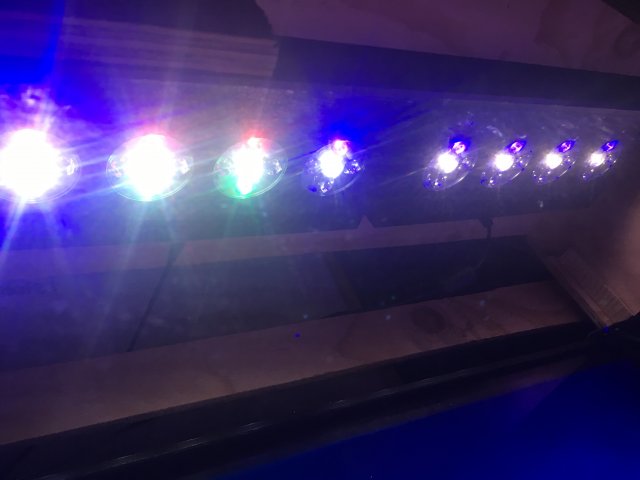
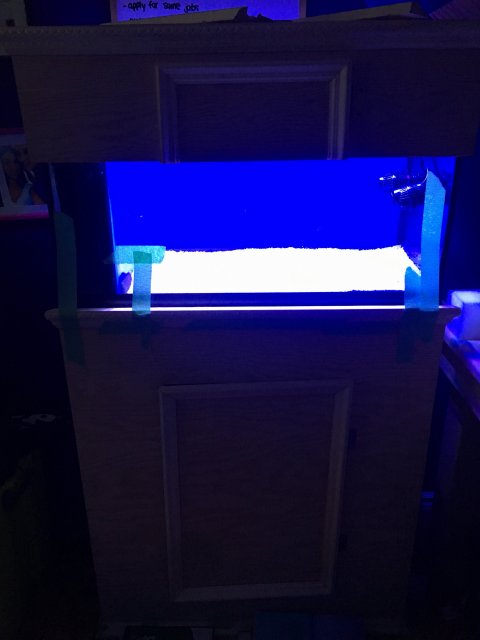
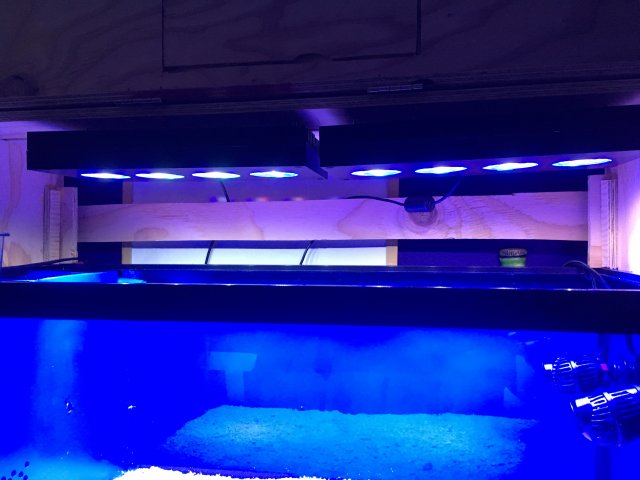
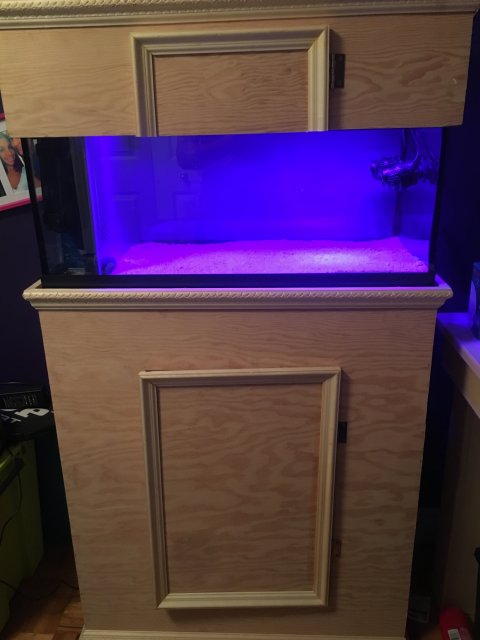
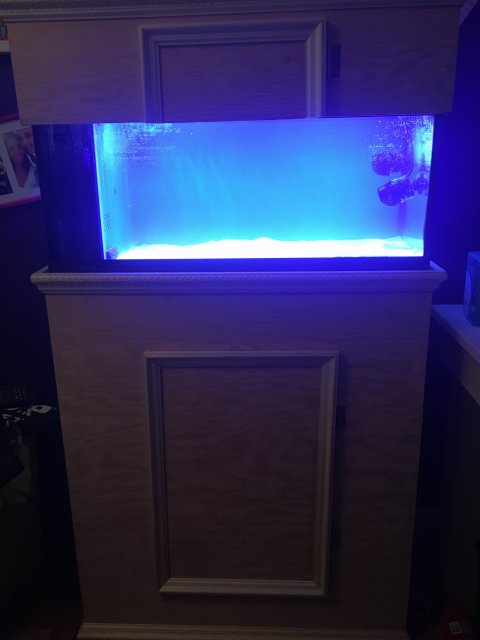
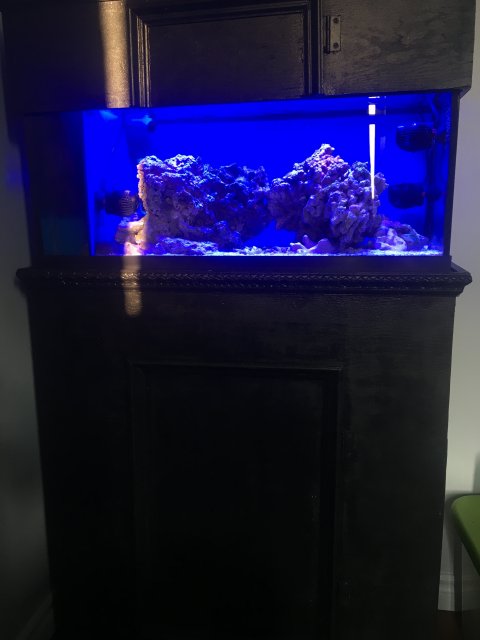
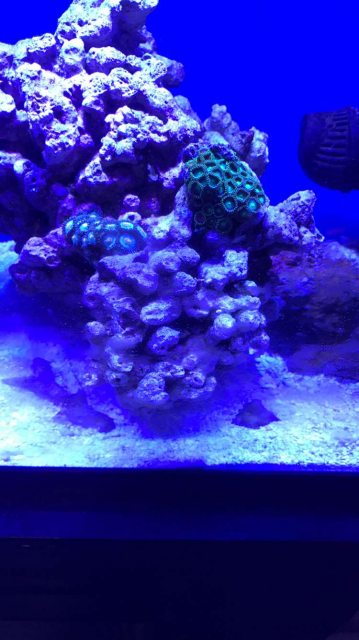
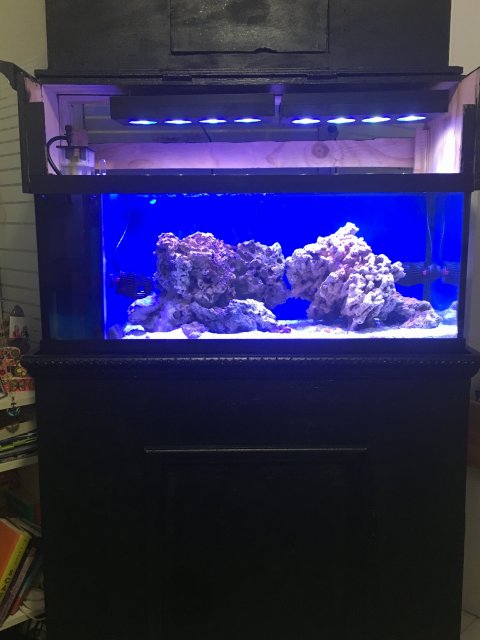
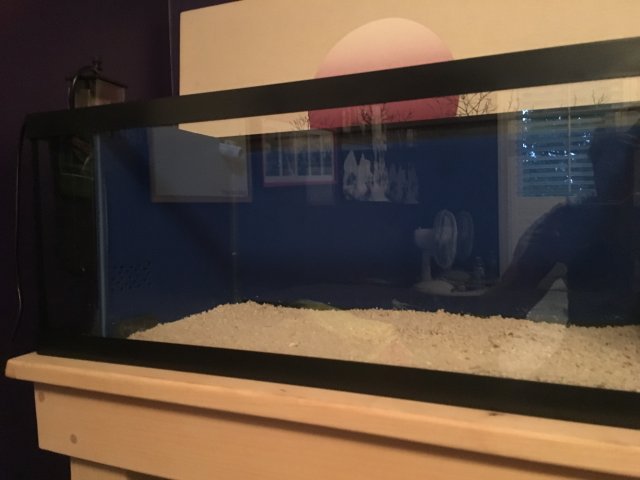
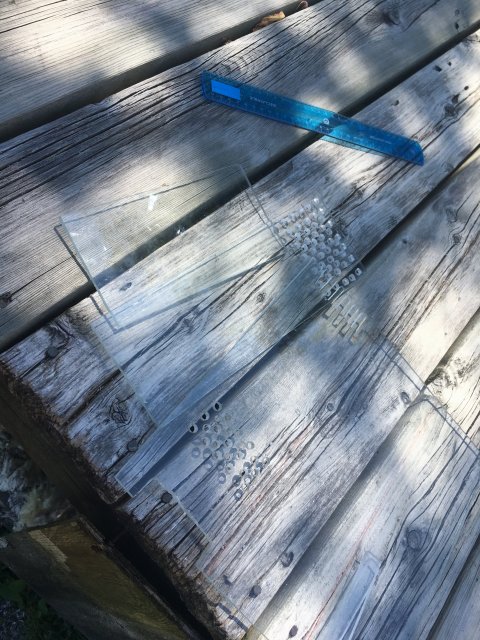
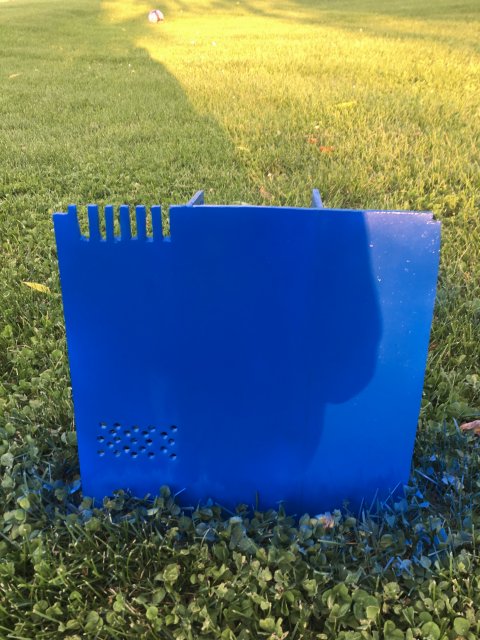
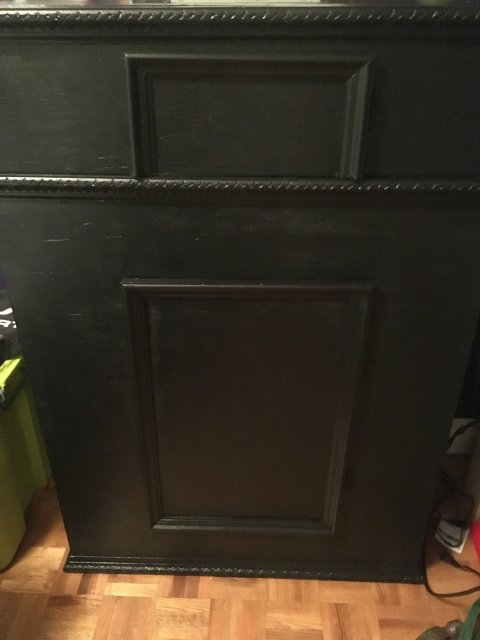
So to begin. The purpose of this project was to create an all in one reef aquarium that would challenge the fluval sea 13.5 gallon all in one reef while upgrading it in size while still being small enough to easily bring with me to university 3.5 hours away. The tank setup also needed to be bullet proof before I left for Europe which was a little over a week after initial construction. I then left for school 2 days after I returned so the system had to be running perfect. There will be a full price break down for this build. Prices will fluctuate depending on where you buy and whether you buy new or used. I will say what has worked well and what has not. So to begin this project, I first purchased a 20 gallon long aquarium. I painted the back of the aquarium blue with krylon fusion spray paint. The finished look was a very consistent color as it was painted in 3 separate coats. I then wanted to replicate the fluval sea so I had to create internal filtration so I went to Home Depot and I bought a 4x2' sheet of 1/4" clear cell cast acrylic that would later become the internal filtration. I then cut the acrylic sheet with a skill saw and created the overflow teeth using the saw. I cut out an additional hole at the bottom of the overflow as a backup to allow water to flow through after evaporation. I then drilled a series of holes around 1/4 the way up the overflow to again allow water to flow through if water level drops. The holes were drilled with a normal drill bit nothing special. This was redundant but will ensure filter always has water flowing through. I then drilled a hole in the direct centre of the overflow/wall piece to ensure water can always flow through into the pump chamber. Then three chambers were created using the acrylic again. The first baffle went from the bottom all the way to the top. Holes were drilled from around halfway to the top of the overflow. Each chamber was 4x5" in size. the 2nd baffle went around 3/4 the way down the overflow from the top. Two shelf pieces were added to this baffle to hold the media. All the baffles were glued together using silicone instead of using weld on. Silicone was used because of the low amount of pressure on the seams so it's more then capable of holding. I then cut a ridge out of the top of the overflow where the pump would return. The overflow was then spray painted with krylon fusion plastic the same blue as the background of the tank. The overflow was then siliconed onto the left side of the aquarium. The baffles were made 4"x5" in order to perfectly fit the fluval mini protein skimmer in the first chamber and the 320gph return pump into the last chamber as well as the eheim 50 watt heater. The middle chamber was filled with phosbond a bacteria Media, and a aquaclear 110 sponge cut in half with a fine sponge infront of it. At this point the filtration part of the aquarium was done. I spray painted the pvc fittings for the return the same color blue as the background and the overflow. Onto the lighting. For lighting this tank I chose to go with two aqua illumination vegas with their wireless controller. I went with one blue and one color led. When it comes to lighting a reef this is where you don't want to cheap out in my expierience. The lights had a retail value of $700 each new but lucky for me I have a friend who had a new set that never sold when he ordered them 2 years ago so he shipped them to me for $300 for the pair with the controller. The downside is there is no tank mount for these lights so they have to be hung above the tank. This is where I chose to create a custom stand and canopy for the 20 gallon long. The canopy was needed in order to mount the lights. I have now owned a few 300 gallon marineland deep dimension tanks and while thinking of a stand idea I had one of these sitting infront of me. So for this aquarium the stand and the canopy were both modelled and created the exact same way as the marineland Monterey stand and canopy. I used a full sized sheet of 1/2" pine plywood one side good and 2 pieces of Fiji style trim as well as 2 regular door trims. The total cost was free as we have a fairly large personal lumber supply at my house. I'm not going to go into the construction of the stand and canopy as it was all pretty straight forward. No screws were used, it was all done with an air nailer. The doors were added after the construction of the stand and canopy. I do not advise this. Add the doors first before putting it all together. After the stand and canopy were both finished they were hand painted with brush and roller a flat black color. The stand was then varnished with a spray gloss varnish making the stand and canopy a little more salt resistant. The tank was then filled and the whole system was tested. No flaws. Live rock was then added to the system. Was a live rock only system for around a week until parameters checked out. Cycling was done with a piece of shrimp and the colonized rock. The clean up crew was then added. 9 hermit crabs and 6 snails. The timing was good because the tank was expieriencing an algae bloom. Dang diatoms. A few days later the first pieces of coral were added to the system. Two zoanthid frags. Right after this I left for Europe for almost a month leaving the tank and the just added corals. I then returned and everything was doing amazing as I expected. The zoanthids have almost doubled in numbers now. The tank was then moved 3.5 hours north and set back up. Nothing else has changed since. A large coral order will be placed within the next few days. The tank will be a complete mix. Sps, Lps, softies everything.
IMG_3309.JPG

IMG_3253.JPG

IMG_3264.JPG

IMG_3273.JPG

IMG_3310.JPG

IMG_3428.JPG

IMG_3388.JPG

IMG_3234.JPG

IMG_3372.JPG

IMG_3373.JPG

IMG_3425.JPG

IMG_3426.JPG

IMG_3430.JPG

IMG_3432.JPG

IMG_3441.JPG

IMG_3442.JPG

IMG_3463.JPG

IMG_3467.JPG

IMG_3471.JPG

IMG_4249.JPG
 

Lepisosteus

Potamotrygon
MFK Member
May 20, 2014
3,732
3,390
164
Ontario, Canada
Now here is a complete cost breakdown of the system
Tank-$50
Overflow-$30
Spray paint-$5
Return pump-$20
3 nano koralias-$115
Protein skimmer-$90
Back up skimmer+sand+salt-$40
Lights-$300
Plywood+trim-free but evauluated at $120
Hinges-$10
Nails-free
Paint+varnish-$45
Live rock-$20
2 bags salt-$60
Dosing additives-$100
Filtering medias-$30
Refractometer+tds+pH meter-$80
RODI system-$90
Test kits-$30
Corals-To be determined so far $15
Potential apex system with wxm and pm1 module-$450
Potential upgrade mp10s with battery backup-$200

IMG_3863.PNG
 

Lepisosteus

Potamotrygon
MFK Member
May 20, 2014
3,732
3,390
164
Ontario, Canada
The flaws with the system as of now only the spray painted overflow on the inhabitant side. I can see future chipping occurring. The door on the canopy also was not needed as the entire front is hinged.

IMG_3492.JPG
 
  • Like
Reactions: J. H.

tlindsey

Silver Tier VIP
MFK Member
Aug 6, 2011
23,369
24,280
1,660
Ohio
So to begin. The purpose of this project was to create an all in one reef aquarium that would challenge the fluval sea 13.5 gallon all in one reef while upgrading it in size while still being small enough to easily bring with me to university 3.5 hours away. The tank setup also needed to be bullet proof before I left for Europe which was a little over a week after initial construction. I then left for school 2 days after I returned so the system had to be running perfect. There will be a full price break down for this build. Prices will fluctuate depending on where you buy and whether you buy new or used. I will say what has worked well and what has not. So to begin this project, I first purchased a 20 gallon long aquarium. I painted the back of the aquarium blue with krylon fusion spray paint. The finished look was a very consistent color as it was painted in 3 separate coats. I then wanted to replicate the fluval sea so I had to create internal filtration so I went to Home Depot and I bought a 4x2' sheet of 1/4" clear cell cast acrylic that would later become the internal filtration. I then cut the acrylic sheet with a skill saw and created the overflow teeth using the saw. I cut out an additional hole at the bottom of the overflow as a backup to allow water to flow through after evaporation. I then drilled a series of holes around 1/4 the way up the overflow to again allow water to flow through if water level drops. The holes were drilled with a normal drill bit nothing special. This was redundant but will ensure filter always has water flowing through. I then drilled a hole in the direct centre of the overflow/wall piece to ensure water can always flow through into the pump chamber. Then three chambers were created using the acrylic again. The first baffle went from the bottom all the way to the top. Holes were drilled from around halfway to the top of the overflow. Each chamber was 4x5" in size. the 2nd baffle went around 3/4 the way down the overflow from the top. Two shelf pieces were added to this baffle to hold the media. All the baffles were glued together using silicone instead of using weld on. Silicone was used because of the low amount of pressure on the seams so it's more then capable of holding. I then cut a ridge out of the top of the overflow where the pump would return. The overflow was then spray painted with krylon fusion plastic the same blue as the background of the tank. The overflow was then siliconed onto the left side of the aquarium. The baffles were made 4"x5" in order to perfectly fit the fluval mini protein skimmer in the first chamber and the 320gph return pump into the last chamber as well as the eheim 50 watt heater. The middle chamber was filled with phosbond a bacteria Media, and a aquaclear 110 sponge cut in half with a fine sponge infront of it. At this point the filtration part of the aquarium was done. I spray painted the pvc fittings for the return the same color blue as the background and the overflow. Onto the lighting. For lighting this tank I chose to go with two aqua illumination vegas with their wireless controller. I went with one blue and one color led. When it comes to lighting a reef this is where you don't want to cheap out in my expierience. The lights had a retail value of $700 each new but lucky for me I have a friend who had a new set that never sold when he ordered them 2 years ago so he shipped them to me for $300 for the pair with the controller. The downside is there is no tank mount for these lights so they have to be hung above the tank. This is where I chose to create a custom stand and canopy for the 20 gallon long. The canopy was needed in order to mount the lights. I have now owned a few 300 gallon marineland deep dimension tanks and while thinking of a stand idea I had one of these sitting infront of me. So for this aquarium the stand and the canopy were both modelled and created the exact same way as the marineland Monterey stand and canopy. I used a full sized sheet of 1/2" pine plywood one side good and 2 pieces of Fiji style trim as well as 2 regular door trims. The total cost was free as we have a fairly large personal lumber supply at my house. I'm not going to go into the construction of the stand and canopy as it was all pretty straight forward. No screws were used, it was all done with an air nailer. The doors were added after the construction of the stand and canopy. I do not advise this. Add the doors first before putting it all together. After the stand and canopy were both finished they were hand painted with brush and roller a flat black color. The stand was then varnished with a spray gloss varnish making the stand and canopy a little more salt resistant. The tank was then filled and the whole system was tested. No flaws. Live rock was then added to the system. Was a live rock only system for around a week until parameters checked out. Cycling was done with a piece of shrimp and the colonized rock. The clean up crew was then added. 9 hermit crabs and 6 snails. The timing was good because the tank was expieriencing an algae bloom. Dang diatoms. A few days later the first pieces of coral were added to the system. Two zoanthid frags. Right after this I left for Europe for almost a month leaving the tank and the just added corals. I then returned and everything was doing amazing as I expected. The zoanthids have almost doubled in numbers now. The tank was then moved 3.5 hours north and set back up. Nothing else has changed since. A large coral order will be placed within the next few days. The tank will be a complete mix. Sps, Lps, softies everything.
View attachment 1273338

View attachment 1273340

View attachment 1273341

View attachment 1273342

View attachment 1273343

View attachment 1273344

View attachment 1273346

View attachment 1273348

View attachment 1273349

View attachment 1273350

View attachment 1273351

View attachment 1273352

View attachment 1273354

View attachment 1273355

View attachment 1273356

View attachment 1273357

View attachment 1273358

View attachment 1273359

View attachment 1273360

View attachment 1273361


Great planning and great skills looks fantastic nothing like diy projects.
 

RD.

Gold Tier VIP
MFK Member
May 9, 2007
13,182
12,536
3,360
65
Northwest Canada
Nice work, Matt. You might get more interest if you have this topic moved to the Marine section?
 
  • Like
Reactions: tlindsey

Bertie

Jack Dempsey
MFK Member
Jun 1, 2017
201
75
36
28
London
Looks great, wish I could have a reef tank like that but I don't know if I want to turn my main display into a reef. I love freshwater to much.
 
  • Like
Reactions: tlindsey and J. H.
zoomed.com
hikariusa.com
aqaimports.com
Store