350 Gallon Tank/Fish Room Overhaul

Multitankitus

Gambusia
MFK Member
Sep 1, 2013
18
10
18
NC
Hello everyone, long time lurker, rare poster here. I've been keeping fish in various aquariums from 10-350g since about 8 years ago.

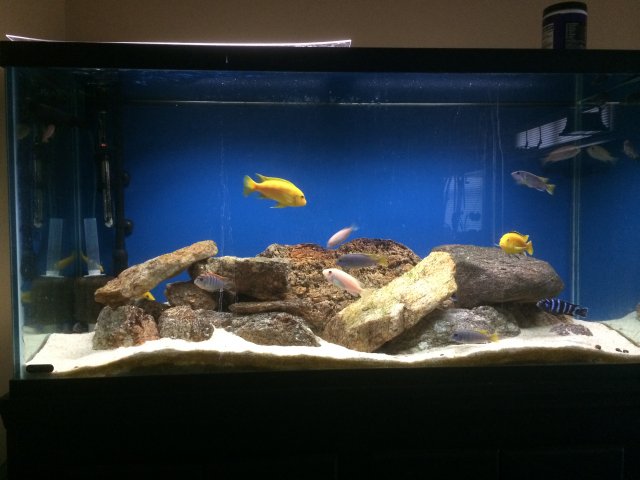
My larger tank career started with this 90 gallon and a bunch of African Mbuna about a year after setting up my first tank.
IMG_2995.JPG

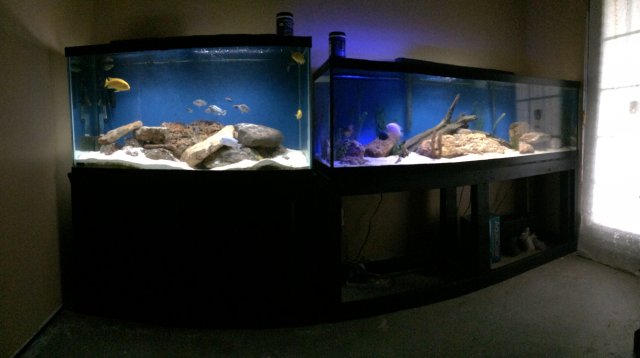
Soon enough I added a 125 gallon to the mix with mostly South American Cichlids.
2014-6-10 Tanks.JPG
IMG_3446.JPG

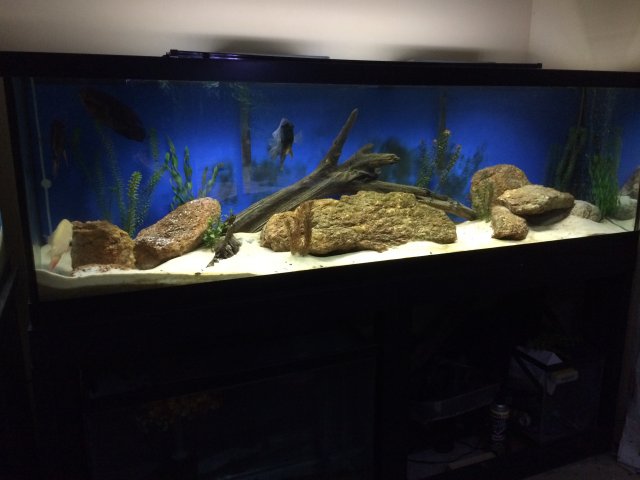
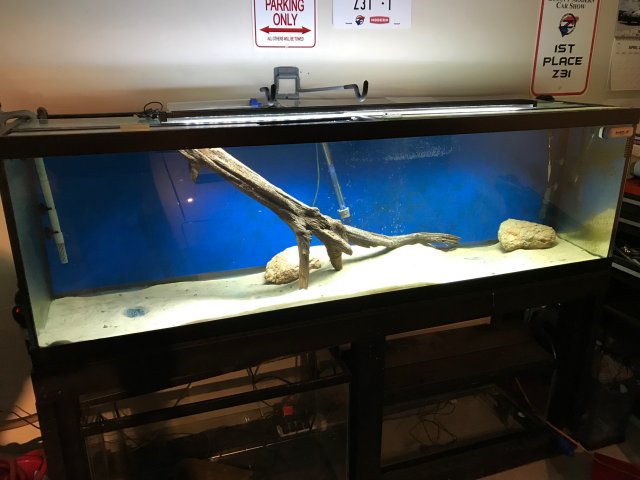
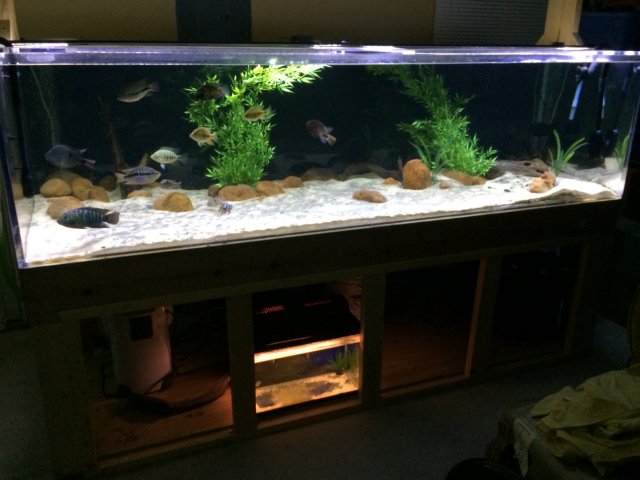
About 4 years ago I took it further and added a 350 gallon CA Cichlid tank to my partially finished downstairs.
IMG_3447.JPG

Now this looks more like it huh.
IMG_3448.JPG

Fast forward to today..... I've kept quite a few different species. I've made mistakes and learned a ton. My taste, priorities and finances have evolved to where I'm hitting the reset/upgrade button. Join me as I re-finish the room and completely overhaul the 350 Gallon setup.

The goals are as follows:
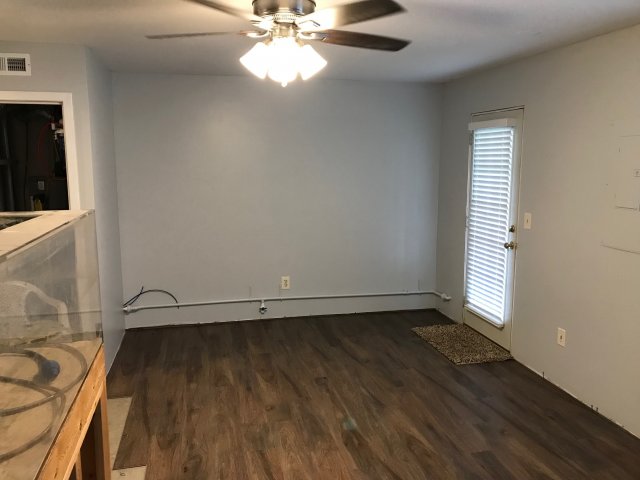
- Completely finish the downstairs bonus room and half bath (Was all half finished and just used for fish/storage). That's new floor, new paint, new water heater, new everything.
- Pair down my tanks (already sold the 90) and the 125 is in the garage with all remaining fish piled in. Haven't decided its future yet.
- Substantially upgrade the 350 while partially building it flush with one of the walls, incorporating a drip and auto water change/overflow setup which will be tied into my A/C drain running outside.
- Build new overflows, hard plumbing and new sump setup to accommodate large fish based on my experiences to date.
 
  • Like
Reactions: Backfromthedead

krichardson

Bronze Tier VIP
MFK Member
Jun 19, 2006
27,595
14,526
480
Datnoid Island
Looking forward to seeing more photos and great username btw.
 
  • Like
Reactions: Multitankitus

Multitankitus

Gambusia
MFK Member
Sep 1, 2013
18
10
18
NC
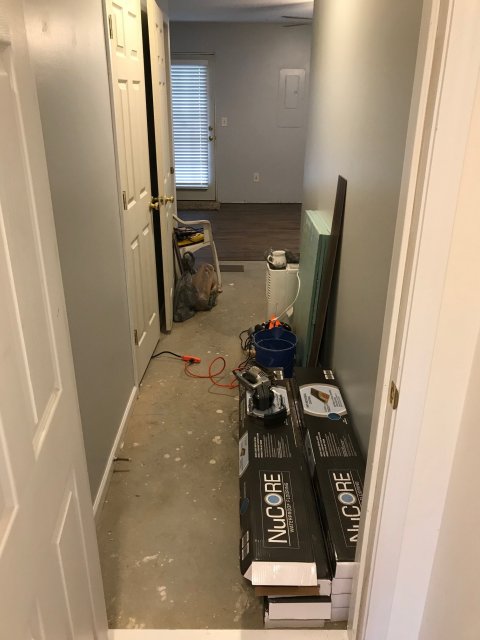
So, first things first I needed to get the room cleaned out. It wasn't just the three fish tanks. I had a plethora of smaller tanks mixed in and 60% of the room was used for storage of some rather large, heavy and not so fun to move items. Of course not to mention all the fish stuff you acquire remaining in the hobby for many years.
IMG_1472.jpg

I sold my 90 gallon, stand and all, to my cousin. Then I re-located my 125 to the garage to keep my remaining fish so I could tear down the 350 and open up space to start working on the room itself.
IMG_1473.jpg

I had a local HVAC guy come in and plumb up a vent. Would of like to run two but one was a couple hundred dollars to hook up while running a second would have been $$.

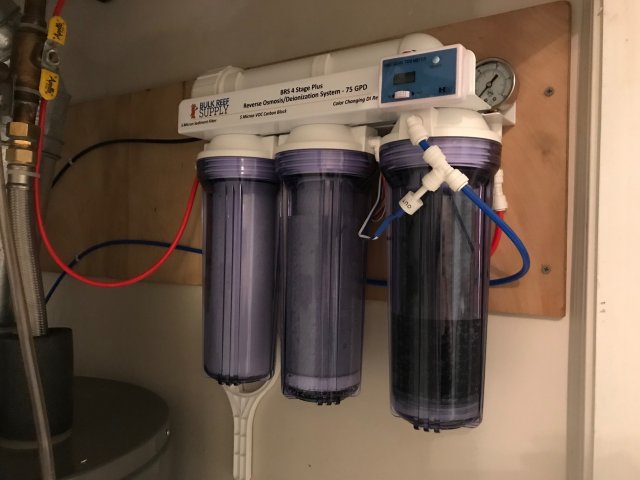
Then work commenced on the room itself. Since I was investing allot of time and effort into the room including a new floor I first replaced the 12yr old water heater. While doing so I also added a 3 stage water filtration system tied into the main water line. I don't plan to use the RO membrane and will bi-pass it for the drip, its there if I need it in the future though....The utility room wall is directly adjacent to one of the sides of the tanks final position. I cut a small opening and plumbed through to where the back side of the tank will be.
IMG_1495.jpg

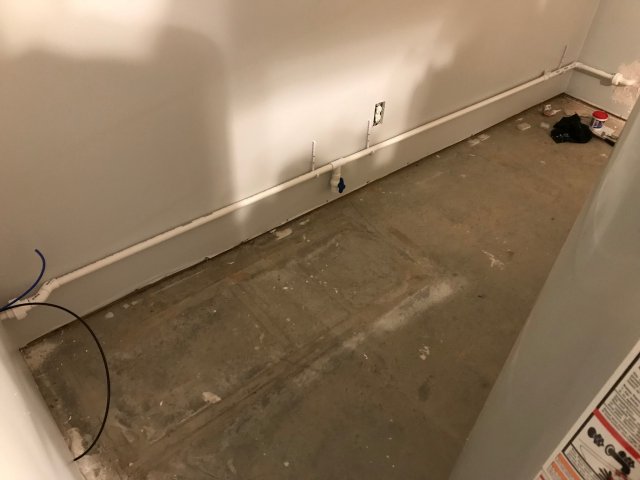
Along the back wall where the tank was going I ran a 3/4" drain line from my hot water heater/utility room and tied it into where my A/C condensate line came down in the wall and exited outside. I've added unions on both sides so I can easily remove or complete repairs to the entire section. A drain T is included for my de-humidifier which I plan to keep in the corner by the door and another with a ball valve is in plate to tie into the sump for the 350 when set up. This will be the overflow for my constant drip system. It will of course occasionally see overflow during power outages as well.
IMG_1506.jpg

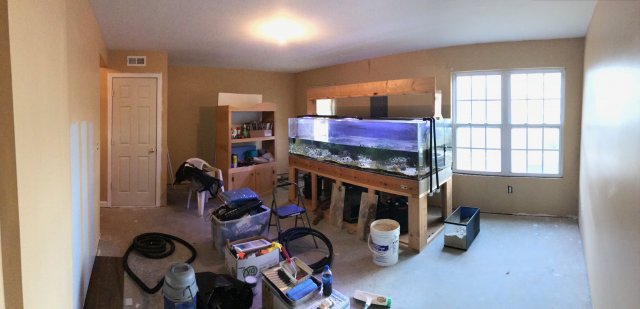
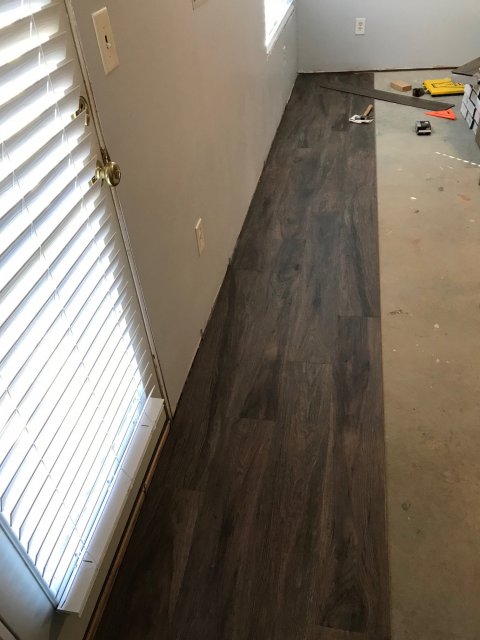
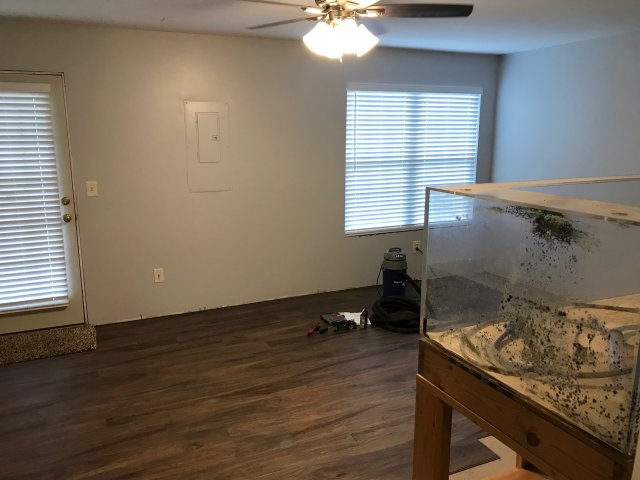
Picked out a color for the room and started painting. Once the paint was all done I added a new hall light and main room fan. I also added 2" faux wood blinds to the back door and window, this made the blinds in the rest of my house look meh (great, next project). Following this I had some buddies come over to help move the 350 out of the center of the room and into a corner so I could start on the new floor. I've got the floor completely over where the tank is going now. Time to clean the tank and start getting it ready to move. Before I put it in place I'm going to run the new overflows and plumbing along the backside. There will still be tons to do once its in place but this will limit the amount of work to do in the soon to be much more cramped space behind the tank.
IMG_1556.jpg
IMG_1573.jpg
IMG_1574.jpg

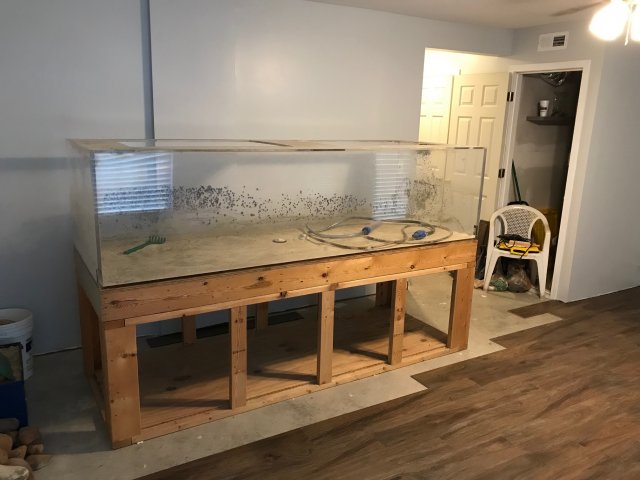
The tank will be lined up flush with the hallway wall/utility room and I will drywall the bottom of the stand so it appears as a continuation of this wall. You can see the drain line plumbed on the far wall where it is going below. Its intentionally angled down towards the outside wall to ensure the water finds its way out. I'll have to build a canopy for the top to finish everything off down the line.
IMG_1575.jpg

Up next, time to get the overflows on and the tank cleaned up. Going to need some advice on the plumbing side for the sump but I already have a pretty good idea of what I want to do.
 
Last edited:

Multitankitus

Gambusia
MFK Member
Sep 1, 2013
18
10
18
NC
Ok, so here's where I'm at.
IMG_1576.jpg

Tank is still in the corner but I've got the floor covering its final spot. I need to get the tank drilled for overflows and returns and move it to its spot. This will allow me to get the rest of the floor done and start ironing out plumbing/sump etc...

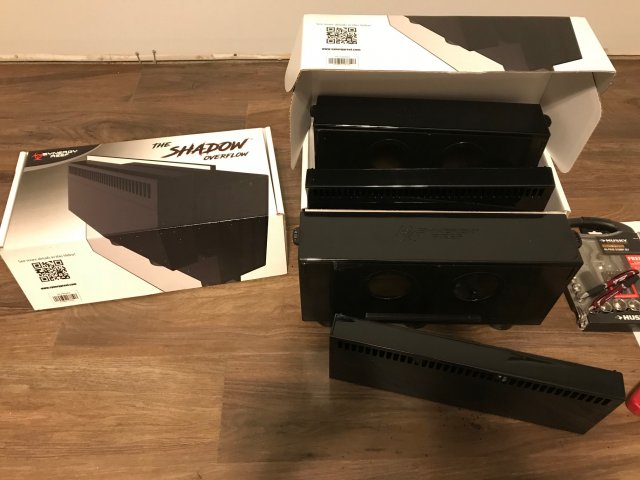
My 350 was originally drilled on the bottom with two large bulkheads. I think it was originally intended to be an island reef type setup. I decided rather than using stand pipes with those or installing large traditional overflows and weirs along the back to opt for the Synergy Reef Shadow overflow. I wasn't convinced that one would do a sufficient job of skimming and provide a good safety factor for drainage so I got two of them.
IMG_1579.jpg

For anyone not familiar, these are the 16" versions rated at 1500gph each. They both include 3 1.5" drains. I plan to set both up using the Herbie style and plumb both full siphons together through a 2" gate valve into the sump. The two 1.5" gravity drains I am thinking of reducing to 1" and the Teeing together into a single 1.5" where they would then go to the sump but haven't done all my research just yet. I intend to reduce the two e-drains to 1" but leave them separate where they will both flow into the sump and I can easily see/hear them.

I believe this should make for a pretty overkill setup on the drainage side which is good. I haven't figured out all the details on my pumps just yet but I'm expecting about 6x turnover or 2,100GPH actual flow. I'm definitely open to feedback and suggestions from you plumbing experts and haven't done anything permanent just yet.

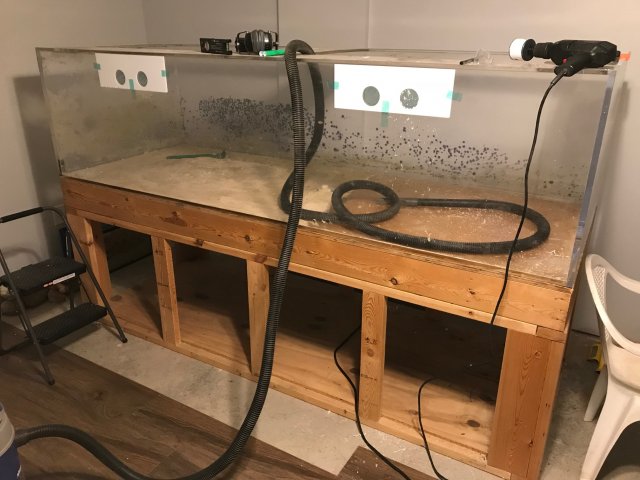
I've started by placing the templates and have drilled two additional 1.5" holes in the top bracing for return outlets, there is another 1.5" hole I intend to use as a return for my Eheim which will run a 36W UV from the sump straight back into the tank. My drill wasn't quite up to snuff for the 2.5" holes for the overflows so those will get done another day.
IMG_1580.jpg
 

Multitankitus

Gambusia
MFK Member
Sep 1, 2013
18
10
18
NC
Not sure why I typed Herbie style above, but I meant Bean Animal for the overflows. Won't let me edit.
 

PDRed302

Fire Eel
MFK Member
Aug 4, 2011
1,521
90
66
Fort Worth Texas
...Subbed

Awesome project, digging everything I've seen so far, lots of planning and patience. Keep it up and make sure to keep us posted!

One suggestion: you mentioned rocking the stand to make it look continuous with the wall. I would definitely suggest using Hardie board or green board vs regular drywall; this may already be your plan but it wasn't mentioned so I figured I'd throw in my .02 :)
 

Multitankitus

Gambusia
MFK Member
Sep 1, 2013
18
10
18
NC
Rooms all finished out so I'm back on the aquarium job now. Excited to get this done now that I can focus on the tank work.

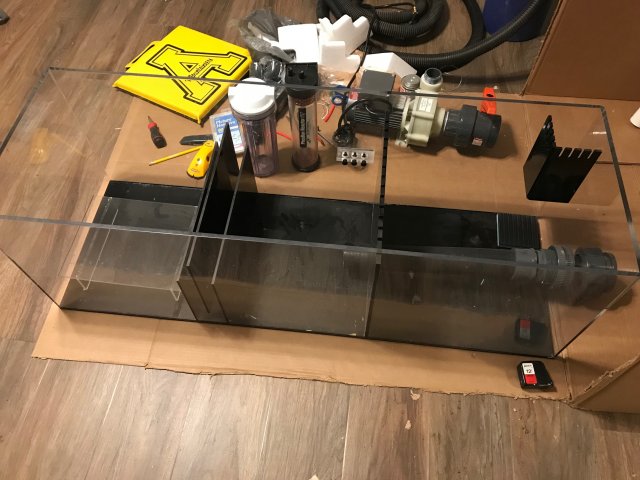
I picked up a practically new 55g ish acrylic sump. 3/8" acrylic with insides dimensions of 47"X15.25"X16".

Its set up a little odd and for a saltwater refugium setup but I plan to re-orient it for fresh and a more normalized flow from one end to the other.Sump.jpg

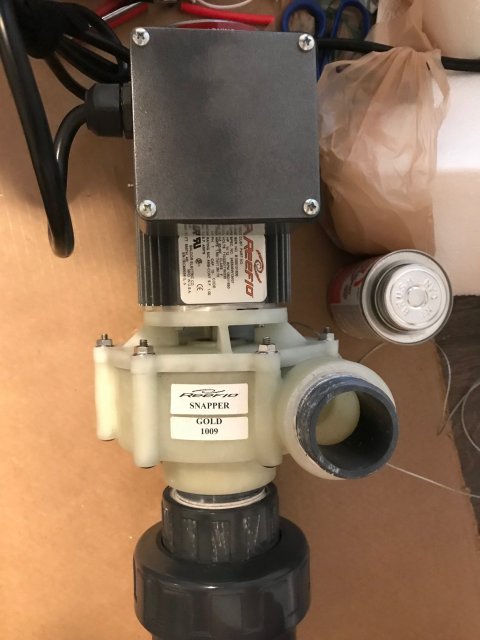
It also came with a Reeflo pump I am considering using but could help identifying the specs on. Labeled as a Snapper Gold 1009 but I don't find any exact matches online.
Reeflo.jpg

On the drain side, I have both Synergy overflows plumbed to the tank and 1.5" unions installed. That's a total of 3 1.5" drains per side, 6 total (2 will be emergency, 2 gravity and 2 full siphon). Now to determine how best to plumb this to the sump.

I am thinking about Teeing the full siphon lines together to a single 2" with a grate valve and dumping into the sump via 2 1.5" lines with 7" draw string filter socks. The gravity lines would remain separate and either run straight to the sump as 1.5" or get dropped down to 1" and each have its own 7" draw string filter sock making the total of 4 7" socks. Hopefully that will help keep the maintenance down some. The e-drains will get reduced to 1" and dump straight into the sump.

Any thoughts? I'll try and draw something up when I get the chance.
 
  • Like
Reactions: JK47

Multitankitus

Gambusia
MFK Member
Sep 1, 2013
18
10
18
NC
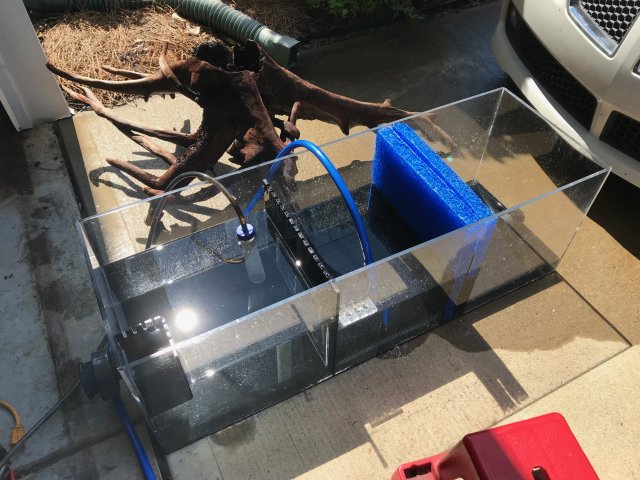
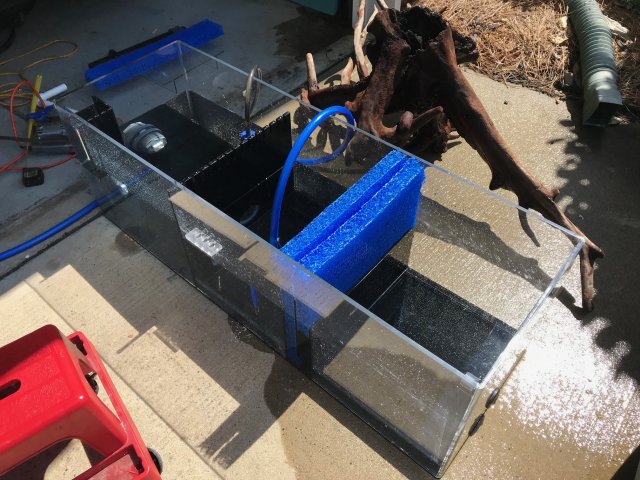
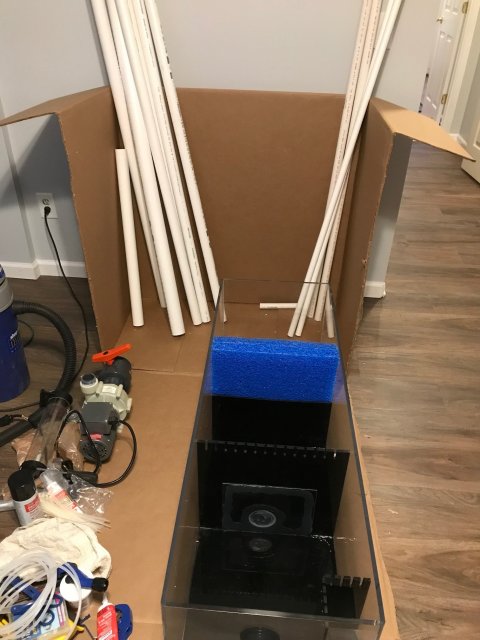
Was able to get a little work done on the tank this weekend. Re-configured the sump from a somewhat odd saltwater refugium setup to a standard flow through design. Sealed up the large bulkhead which was there for the old Reeflo pump and also added a 3/4" bulkhead to the pump area for my drain (drip overflow).

Leak tested the sump, all went well. Washed it and a big piece of wood I bought down and cleaned them both up.
IMG_1818.jpg
IMG_1819.jpg

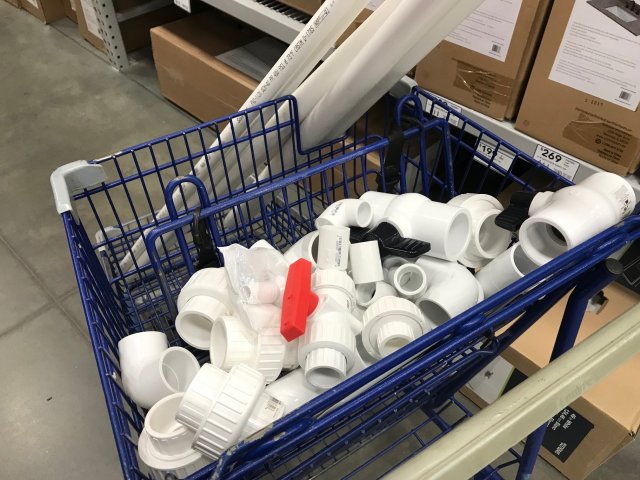
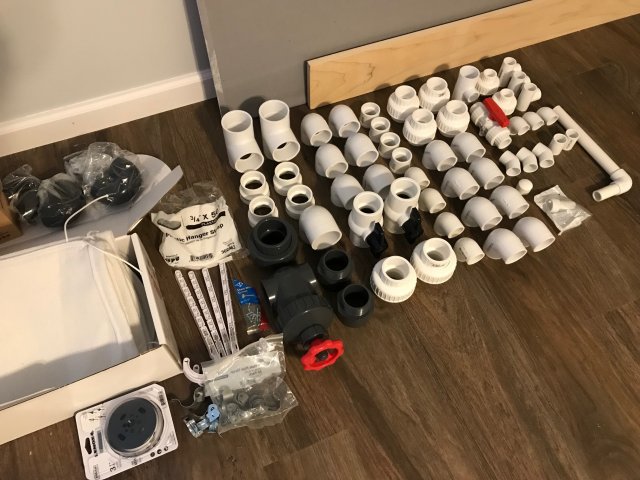
Shopping for more fittings... don't suppose any of you guys know that feeling huh....
IMG_1821.jpg

So much money in plumbing. Could have bought a decent tank for what's gone into the plumbing. If it looks overly complicated its because it is...
IMG_1822.jpg
IMG_1823.jpg

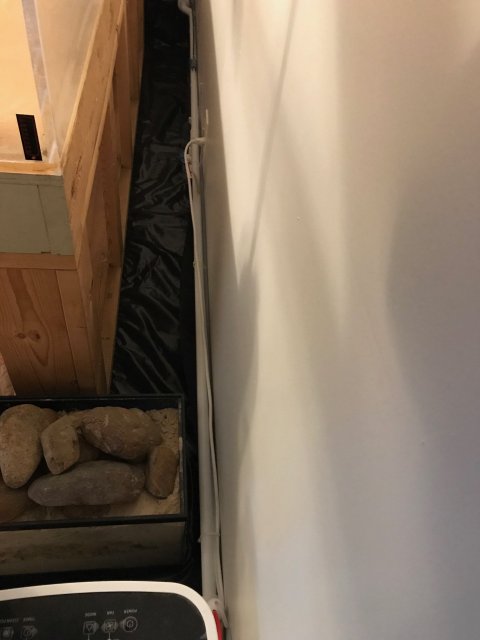
Parting shot for the day shows behind the tank. I have a drain line running across the back wall which ties into my A/C condensate line going outside. Towards the bottom of the pic you can see where I have the drain for the de-humidifier and RO waste water line going into it as well. I don't intend to use the RO membrane for the drip and I closed the valve on this line for the time being and removed the membrane. If I ever did decide to though its hooked up and ready to go.IMG_1824.jpg
 
  • Like
Reactions: JK47

Multitankitus

Gambusia
MFK Member
Sep 1, 2013
18
10
18
NC
Forgot to mention that I decided against using the Reeflo pump which came with the sump. It just wasn't going to flow as much as I wanted (Old Snapper 2400gph model). I ended up with 2 DCP-10000's.

One of these two will run a small manifold with one connection for my 36W UV from the previous setup. The other connection will go straight into the second chamber to circulate the K1 media with a union ball valve for flow control. The UV will also counter flow in this area to help. I'm going to give this a shot instead of using an air pump and see how it goes.

I also have two marine pure 8X8X4" blocks going in, and a 1.5" thick blue mesh pad which I've inserted to separate the pump chamber from the K1 chamber as I plan to run the water higher than the second divider level.
 
zoomed.com
hikariusa.com
aqaimports.com
Store