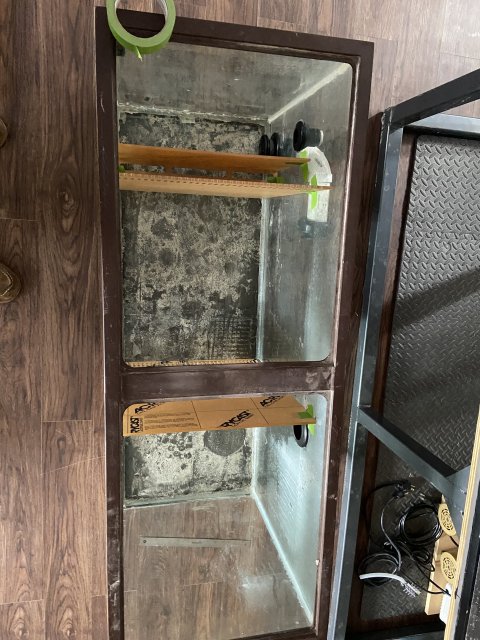
I've been wanting to start a thread for my tank but didn't want to start it to soon since I knew it would be a long process. I figured I'm close enough to the finish line that I can post the progress now and you guys can see the completion within the next month.
My plan is to eventually have a few types of schooling fish along with 1-2 stingrays in this tank when it's complete.
Back in August I purchases a 76"x37"x29" tank (350g) and a 90g sump from DB junkie
. I was in the process of moving so wasn't able to do much work on the tank right away. Heres a picture of when I picked it up, DB had some friends over helping him move tanks around that day which was very helpful.
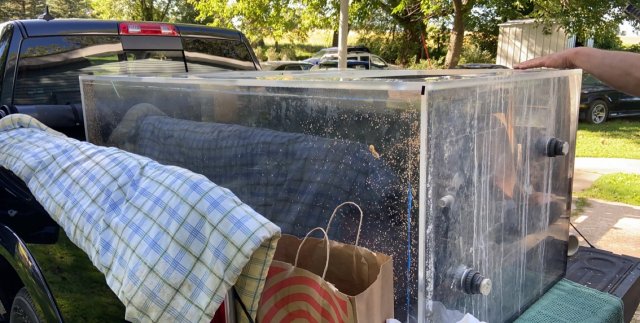
I think DB said the guy he got it from used it as a reef tank originally? I think that's why there's a ton of holes in the tank for plumbing more water movement. My plan is to just use a couple for filter returns. More on that later.
When I first got the tank I did some sanding and buffing of the glass to get rid of some of the bigger scratches using 180 grit sandpaper, working my way up to 3000grit. Then finishing with Novus1-2-3 polishing. This was a much bigger process than I anticipated and I did a lot of re-sanding and re-buffing. Not sure if I would do this again in the future or just live with the scratches.
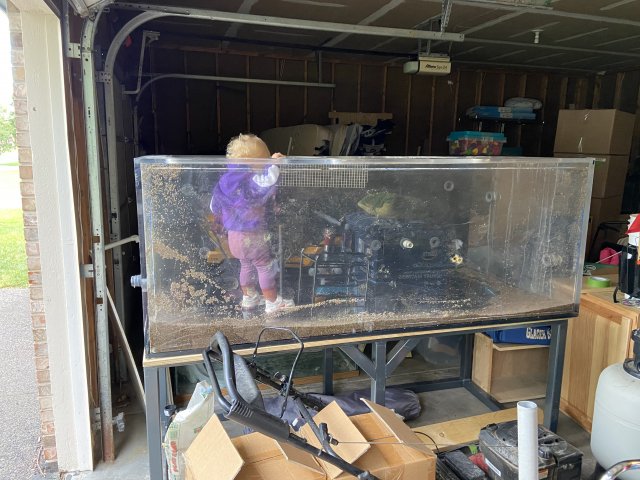
2 year old daughter for scale. This was before I did any sanding. You can see a pretty big scratch in the lower left hand corner of the front display side of the tank.
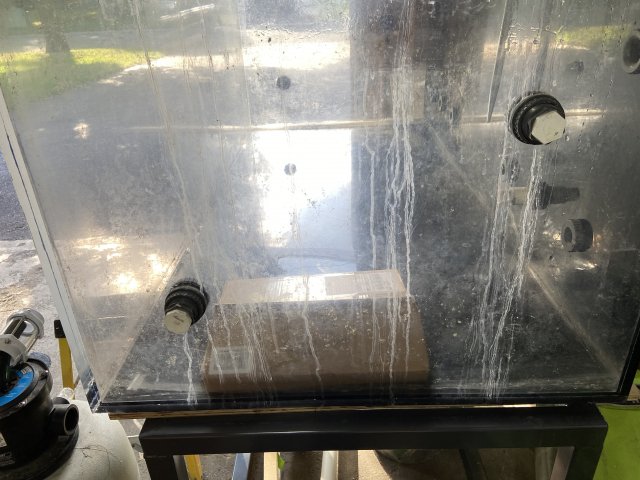
Picture above was before I did anything to the tank, I decided to do test out sanding/buffing on this side of the tank 1st because it will be up against a wall in my basement. So I'm not as worried if I screw this side up.
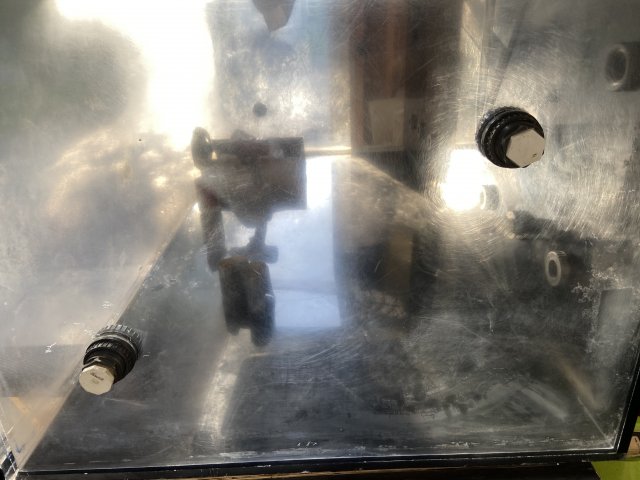
It's been a while since I took these pictures so I'm not 100% sure where this was in the sanding process, but I think this was after doing half the sanding? Maybe up to 1200/1500 grit?
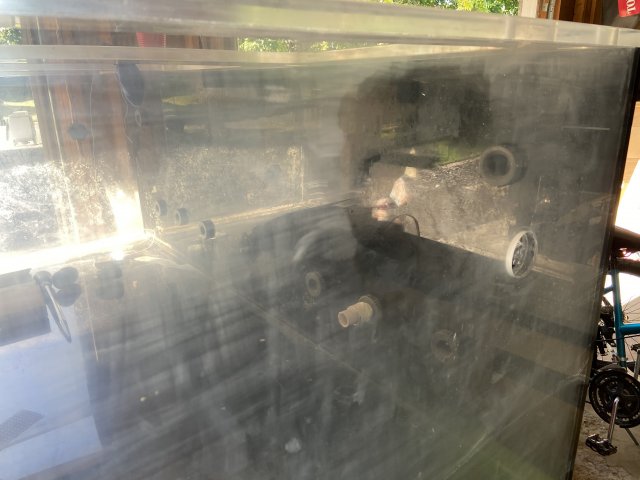
I'm pretty sure this was after I was done with 3000grit sand paper. At this stage I was kind of scared because I did NOT think the novus would buff out this haze.
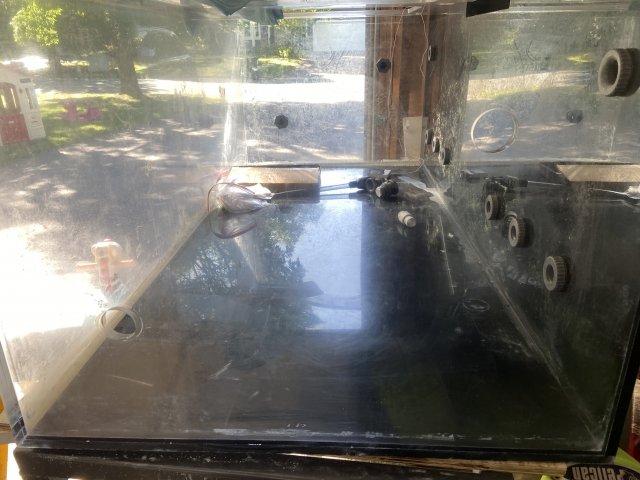
Then this picture was after doing the Novus. I was pleasantly surprised how much haze it removed but you can still see a fair amount of the swirls from sanding... This is where I wasn't sure how much to redo and how much time I wanted to spend trying to get perfection.
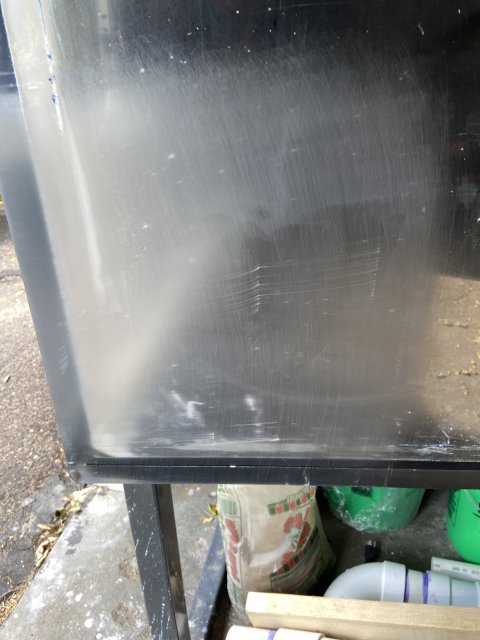
I forgot to take a picture of this big scratch in the lower left hand corner (the horizontal lines in the middle of the image above), but I mentioned it in a few pictures before in the image with my daughter. This one was pretty deep and I wasn't sure if it would come out. I actually started with 80 grit sandpaper on this specific area. It was not a fun process watching the acrylic turn to a frosted glass look.
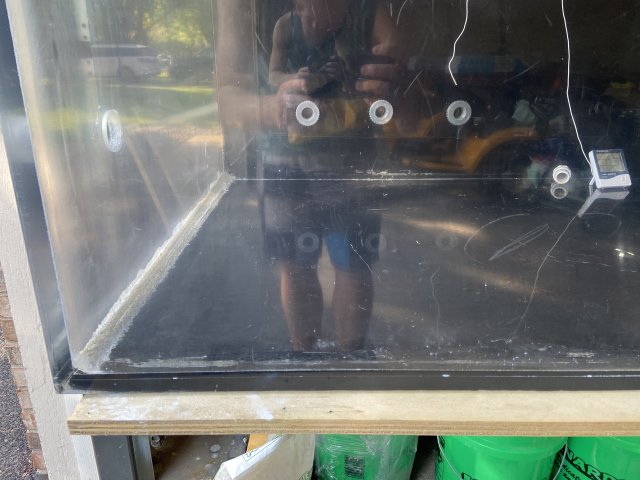
And here's how it came out after at least 2 hours of sanding and buffing just this small corner area. The inside had not been sanded/buffed yet so you can still see a lot of scratches on the acrylic. Those will come off later.
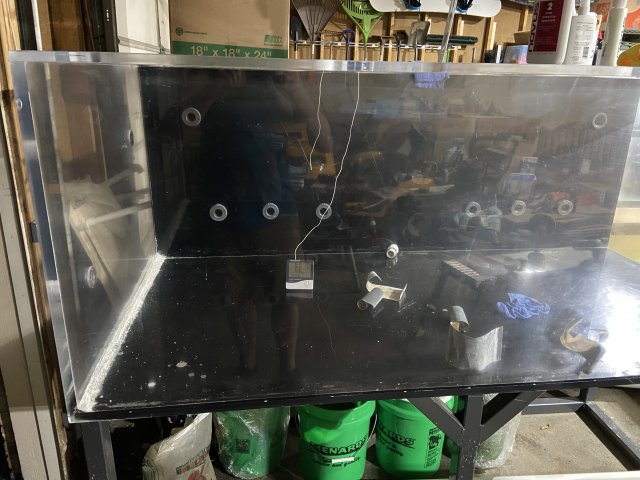
Here's another picture of this area after some more re-sanding and buffing. Man this is time consuming.
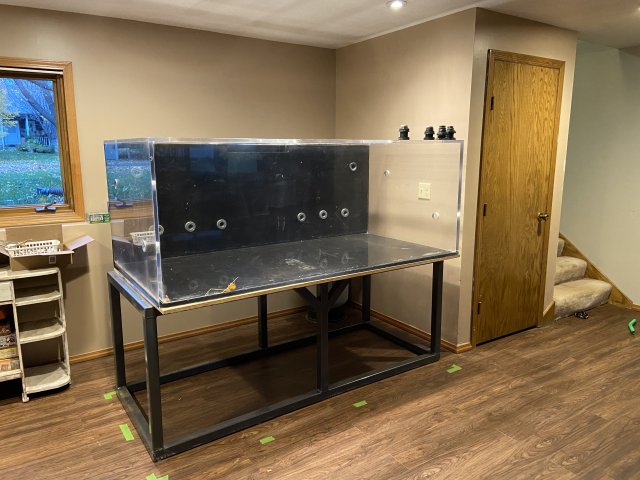
Back in mid-October I moved the tank into the basement where it will be permanently but I had to take a break on setting up the tank to get other house projects done to keep the wife happy.
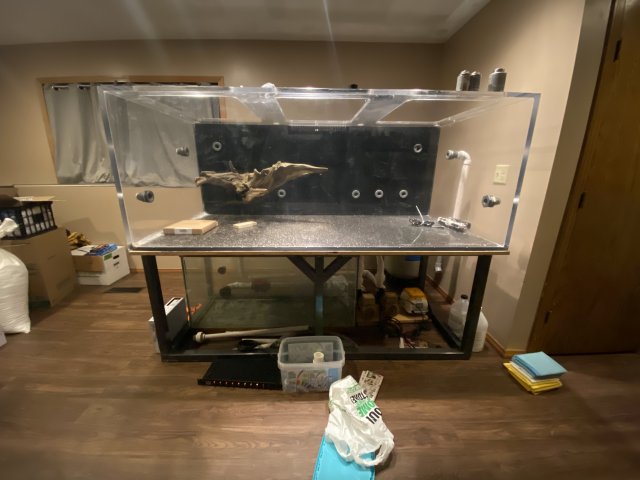
The steel stand is actually about 5" narrower than the tank is, I think DB said this was done so the stand could fit through normal width doors? Anyways, it came with some additional wood braces that were used to lift the stand up a couple more inches and to hold the overhanging part of the tank. I want the tank to be at it's current height shown in the picture above so I'll be making some new braces to put in the front portion of the tank.
While I was doing other house-reno tasks, I was able to get a few small fish things accomplished between the months of Nov-Dec-Jan.
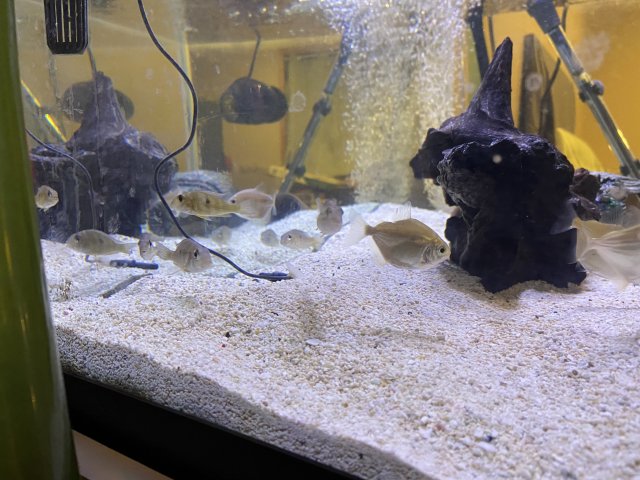
I had a 40g breeder sitting around so we decided to get some schooling fish to start growing out that would eventually go in the big tank. We're starting off with 4 silver dollars and 7 Tapajos Geophagus.
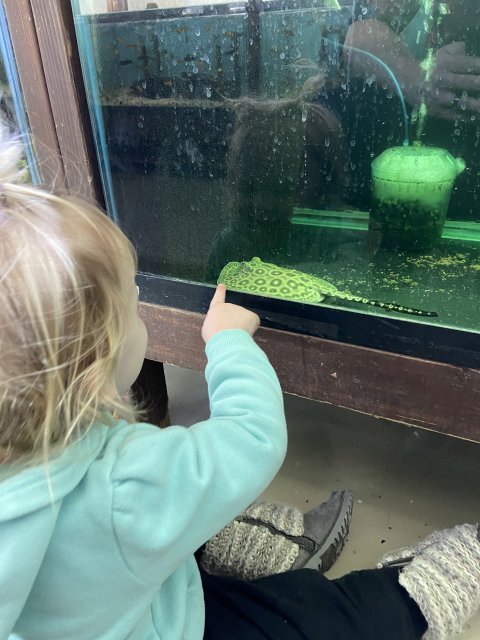
The LFS also had some stingrays to check out which was neat.
I used to keep saltwater fish so I'm pretty familiar with most saltwater equipment and I've been wanting to get something to help control/automate my tank more while I'm gone or when I just don't have time for some tasks. So I decided to buy an Neptune Systems Apex. I set it up on the 40 breeder tank to get dialed in and understand how it works before it goes on the big tank. This thing is AMAZING. It's more tuned for the saltwater community but it still has a ton of functionality for the freshwater world as well.
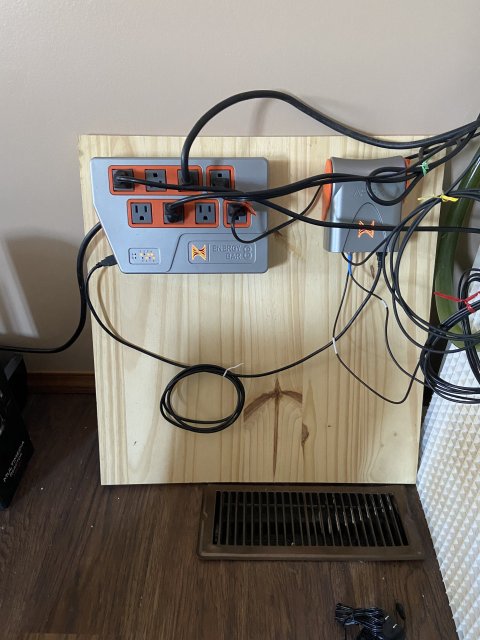
Right now I've got everything from the 40 breeder plugged into this energy bar and it monitors each device's wattage use so I can tell how much money I'm spending each month on the tank (right now it's about $20 per month for this 40g tank). I also have the ORP/PH/temp probes in the tank to determine water quality/health of fish. I just wish they had something to measure ammonia/nitrite/nitrates. This thing is super helpful for turning the lights on/off throughout the day and a great option for monitoring heaters in your tank. It turns my heater on/off at specific temperatures and will notify me if the temp goes outside of a set range (which would most likely mean the heater is broken).
We have a bathroom in our basement that rarely gets used so I decided to commandeer this location as my fish room. I've installed some filters in the closet and eventually would like to get a 40-60g holding tank to put in the closet for water storage/ATO.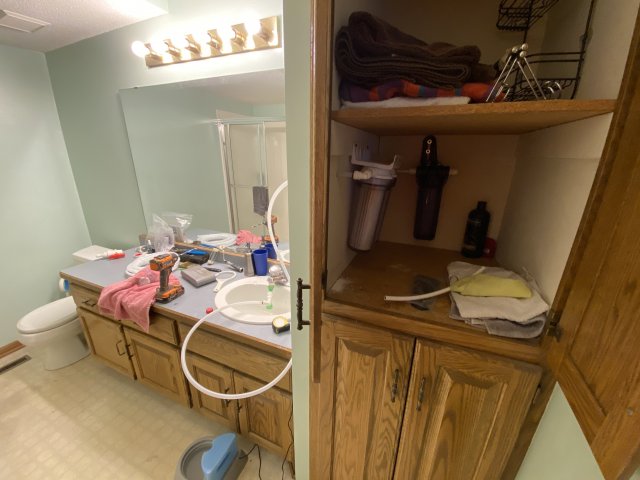
It's plumbed with 3/8" water lines. This is so much faster at filling tanks than the standard 1/4" tubing that comes on most RODI filters.
I used to have a 125g tank in my old house that I sold. The person that bought the tank from me didn't want this piece of driftwood I had so I decided to keep it anyways. I took it off the granite slab it used to be attached to and drilled a 1.5" diameter hold through the bottom and attached it to some PVC and stuck it on the backwall of the tank. I think it turned out pretty neat.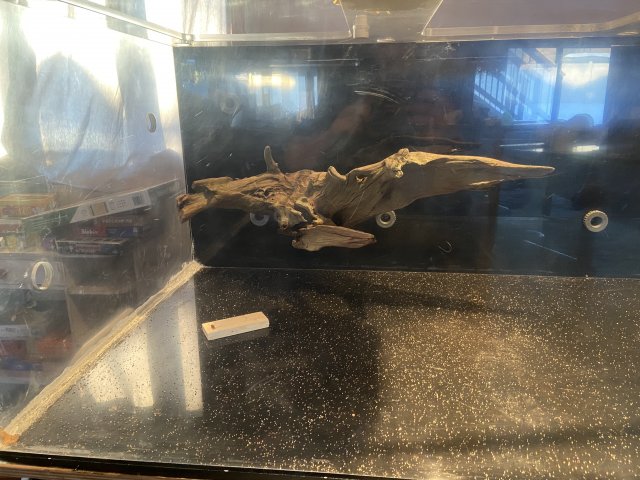
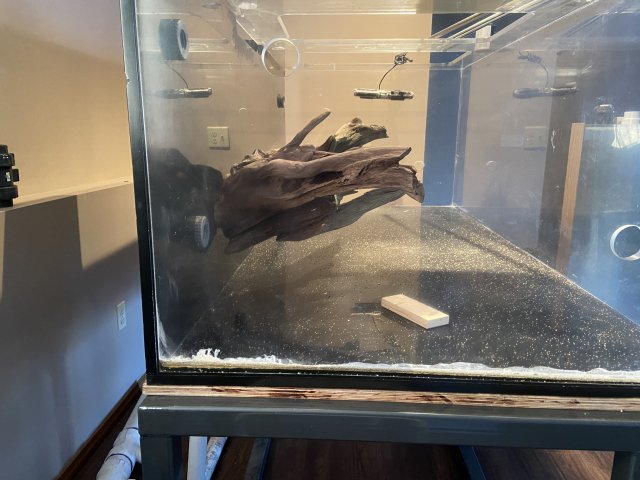
As you can see in the picture above, I finally got done with home-reno projects and was able to spend more time on the tank plumbing.
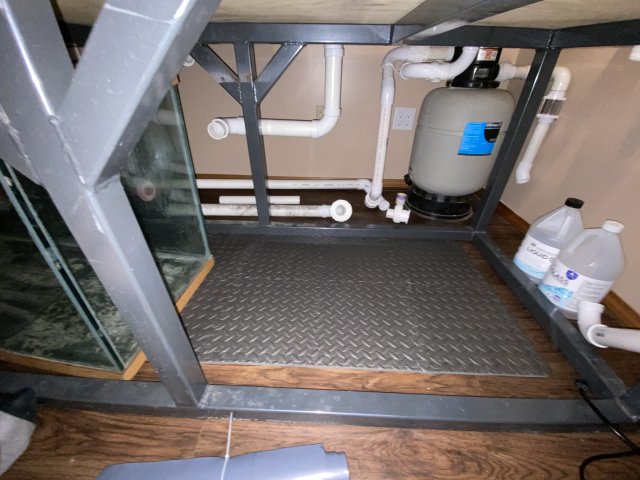
I've learned that everything in setting up a large tank takes twice as long as you initially expect. The plumbing took me about a week to get figured out from initial ideas to cutting/gluing together. I'm about 90% complete with plumbing now. I think I'm going to take it all off and spray paint the outside of the pipes to give it a more clean look, even though it wont be showing.
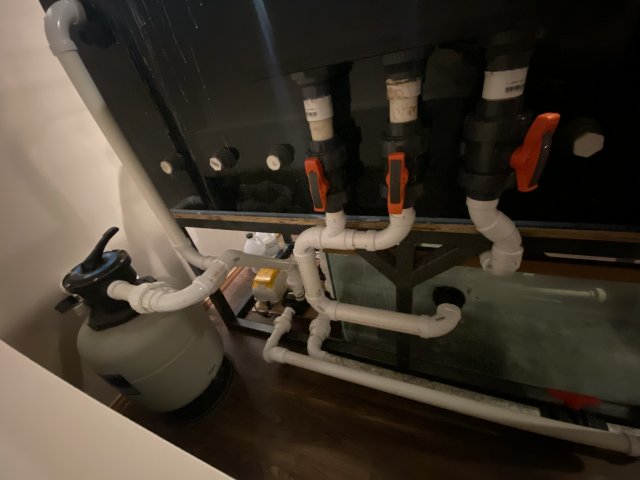
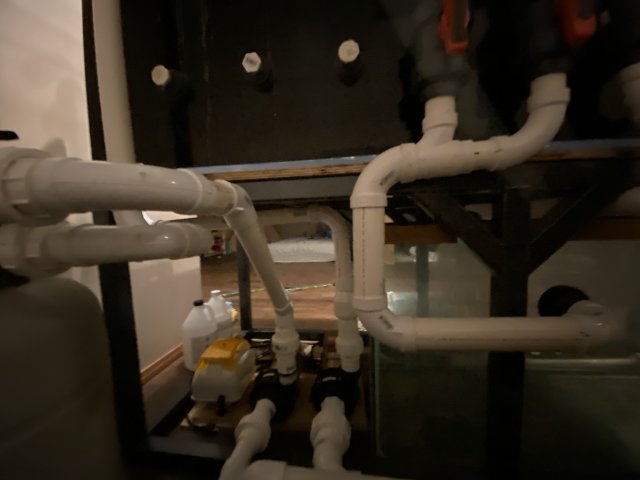
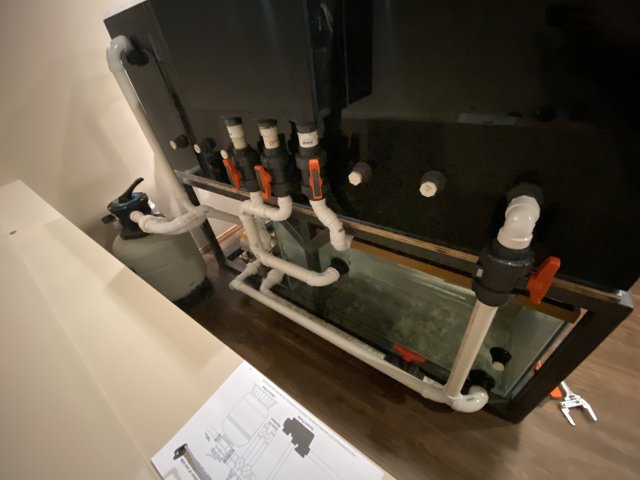
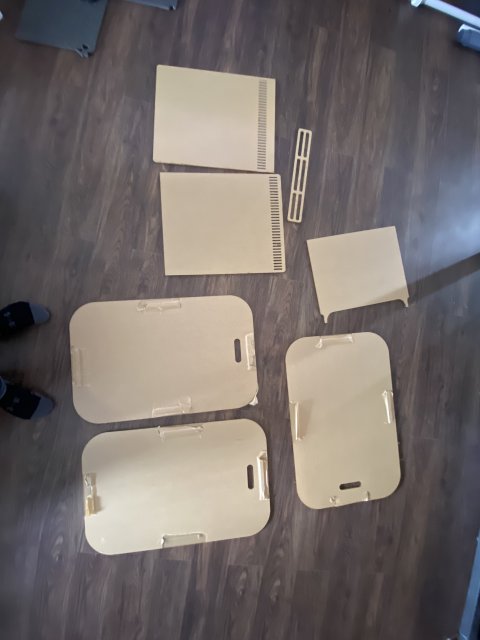
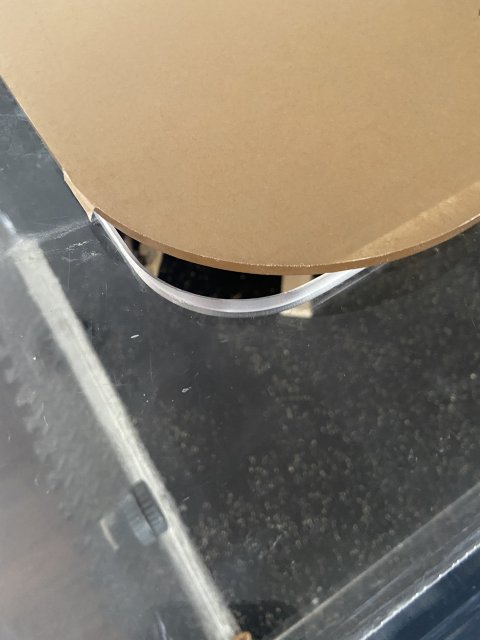
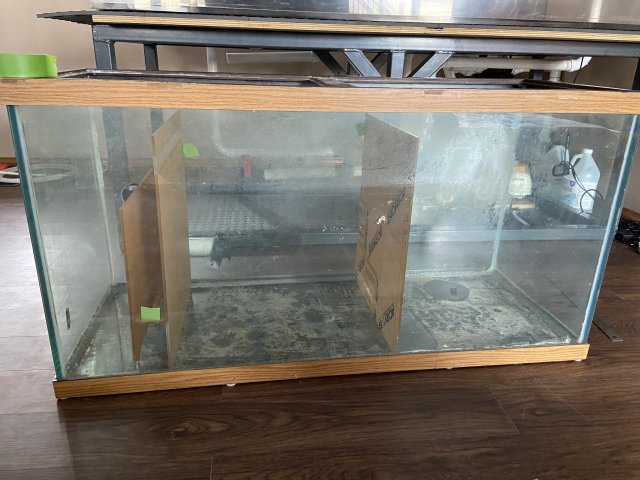
This could be a good segue into the filtration I've decided to use. I'm using the 90g tank as a moving bed filter filled with K1, the inlet hole that was already drilled into the side of this tank was a little low so hopefully it works out. I currently have a guy cutting acrylic baffles for me to put in. Hopefully those arrive soon.
I also got an Ultima II 2000 from DB. He was actually just the middleman in exchanging the filter from someone else to me. But I plan on having the Ultima being the main workhorse for this tank and then the 90g sump will help offload the ammonia spikes when I backflush the Ultima. I've heard some people say the Ultimas can cause ammonia spikes after backflushing, not sure if thats true or not, but figured having 2 independent filter systems cant hurt anything.
Both filters will be ran using reeflo dart/snappers. And I have an alita40 (I think?) That will be creating the moving bed in the sump as well as powering an airstone in the display tank. Not sure if this air pump will be overkill, but I've heard good things about the Alita brand so figured I would try one out.
Looks like I can't attach anymore pictures so I'll have to end this text and start the tread. Hope you guys like the build.
My plan is to eventually have a few types of schooling fish along with 1-2 stingrays in this tank when it's complete.
Back in August I purchases a 76"x37"x29" tank (350g) and a 90g sump from

I think DB said the guy he got it from used it as a reef tank originally? I think that's why there's a ton of holes in the tank for plumbing more water movement. My plan is to just use a couple for filter returns. More on that later.
When I first got the tank I did some sanding and buffing of the glass to get rid of some of the bigger scratches using 180 grit sandpaper, working my way up to 3000grit. Then finishing with Novus1-2-3 polishing. This was a much bigger process than I anticipated and I did a lot of re-sanding and re-buffing. Not sure if I would do this again in the future or just live with the scratches.

2 year old daughter for scale. This was before I did any sanding. You can see a pretty big scratch in the lower left hand corner of the front display side of the tank.

Picture above was before I did anything to the tank, I decided to do test out sanding/buffing on this side of the tank 1st because it will be up against a wall in my basement. So I'm not as worried if I screw this side up.

It's been a while since I took these pictures so I'm not 100% sure where this was in the sanding process, but I think this was after doing half the sanding? Maybe up to 1200/1500 grit?

I'm pretty sure this was after I was done with 3000grit sand paper. At this stage I was kind of scared because I did NOT think the novus would buff out this haze.

Then this picture was after doing the Novus. I was pleasantly surprised how much haze it removed but you can still see a fair amount of the swirls from sanding... This is where I wasn't sure how much to redo and how much time I wanted to spend trying to get perfection.

I forgot to take a picture of this big scratch in the lower left hand corner (the horizontal lines in the middle of the image above), but I mentioned it in a few pictures before in the image with my daughter. This one was pretty deep and I wasn't sure if it would come out. I actually started with 80 grit sandpaper on this specific area. It was not a fun process watching the acrylic turn to a frosted glass look.

And here's how it came out after at least 2 hours of sanding and buffing just this small corner area. The inside had not been sanded/buffed yet so you can still see a lot of scratches on the acrylic. Those will come off later.

Here's another picture of this area after some more re-sanding and buffing. Man this is time consuming.

Back in mid-October I moved the tank into the basement where it will be permanently but I had to take a break on setting up the tank to get other house projects done to keep the wife happy.
The steel stand is actually about 5" narrower than the tank is, I think DB said this was done so the stand could fit through normal width doors? Anyways, it came with some additional wood braces that were used to lift the stand up a couple more inches and to hold the overhanging part of the tank. I want the tank to be at it's current height shown in the picture above so I'll be making some new braces to put in the front portion of the tank.
While I was doing other house-reno tasks, I was able to get a few small fish things accomplished between the months of Nov-Dec-Jan.
I had a 40g breeder sitting around so we decided to get some schooling fish to start growing out that would eventually go in the big tank. We're starting off with 4 silver dollars and 7 Tapajos Geophagus.


The LFS also had some stingrays to check out which was neat.
I used to keep saltwater fish so I'm pretty familiar with most saltwater equipment and I've been wanting to get something to help control/automate my tank more while I'm gone or when I just don't have time for some tasks. So I decided to buy an Neptune Systems Apex. I set it up on the 40 breeder tank to get dialed in and understand how it works before it goes on the big tank. This thing is AMAZING. It's more tuned for the saltwater community but it still has a ton of functionality for the freshwater world as well.

Right now I've got everything from the 40 breeder plugged into this energy bar and it monitors each device's wattage use so I can tell how much money I'm spending each month on the tank (right now it's about $20 per month for this 40g tank). I also have the ORP/PH/temp probes in the tank to determine water quality/health of fish. I just wish they had something to measure ammonia/nitrite/nitrates. This thing is super helpful for turning the lights on/off throughout the day and a great option for monitoring heaters in your tank. It turns my heater on/off at specific temperatures and will notify me if the temp goes outside of a set range (which would most likely mean the heater is broken).
We have a bathroom in our basement that rarely gets used so I decided to commandeer this location as my fish room. I've installed some filters in the closet and eventually would like to get a 40-60g holding tank to put in the closet for water storage/ATO.

It's plumbed with 3/8" water lines. This is so much faster at filling tanks than the standard 1/4" tubing that comes on most RODI filters.
I used to have a 125g tank in my old house that I sold. The person that bought the tank from me didn't want this piece of driftwood I had so I decided to keep it anyways. I took it off the granite slab it used to be attached to and drilled a 1.5" diameter hold through the bottom and attached it to some PVC and stuck it on the backwall of the tank. I think it turned out pretty neat.


As you can see in the picture above, I finally got done with home-reno projects and was able to spend more time on the tank plumbing.
I've learned that everything in setting up a large tank takes twice as long as you initially expect. The plumbing took me about a week to get figured out from initial ideas to cutting/gluing together. I'm about 90% complete with plumbing now. I think I'm going to take it all off and spray paint the outside of the pipes to give it a more clean look, even though it wont be showing.


This could be a good segue into the filtration I've decided to use. I'm using the 90g tank as a moving bed filter filled with K1, the inlet hole that was already drilled into the side of this tank was a little low so hopefully it works out. I currently have a guy cutting acrylic baffles for me to put in. Hopefully those arrive soon.
I also got an Ultima II 2000 from DB. He was actually just the middleman in exchanging the filter from someone else to me. But I plan on having the Ultima being the main workhorse for this tank and then the 90g sump will help offload the ammonia spikes when I backflush the Ultima. I've heard some people say the Ultimas can cause ammonia spikes after backflushing, not sure if thats true or not, but figured having 2 independent filter systems cant hurt anything.
Both filters will be ran using reeflo dart/snappers. And I have an alita40 (I think?) That will be creating the moving bed in the sump as well as powering an airstone in the display tank. Not sure if this air pump will be overkill, but I've heard good things about the Alita brand so figured I would try one out.
Looks like I can't attach anymore pictures so I'll have to end this text and start the tread. Hope you guys like the build.


