Another DIY Plywood Build 400 gallon - Mostly Pics =)

  • We are currently upgrading MFK. thanks! -neo

Arkangel77

Piranha
MFK Member
Aug 19, 2009
545
110
76
Carriere
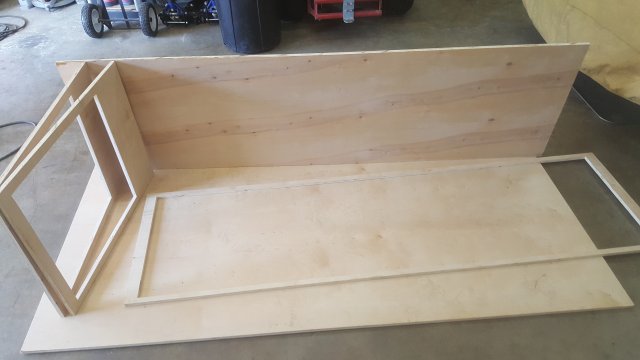
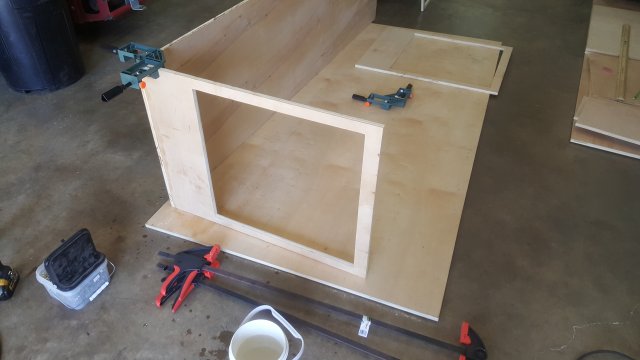
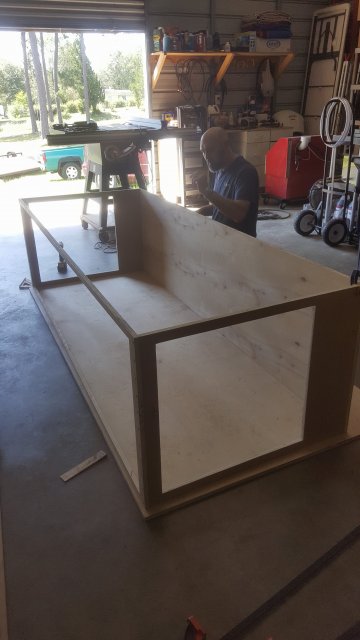
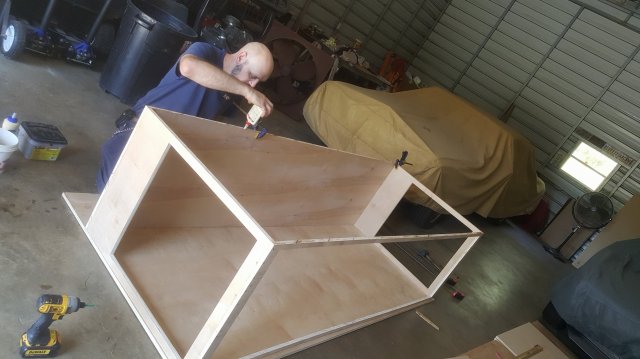
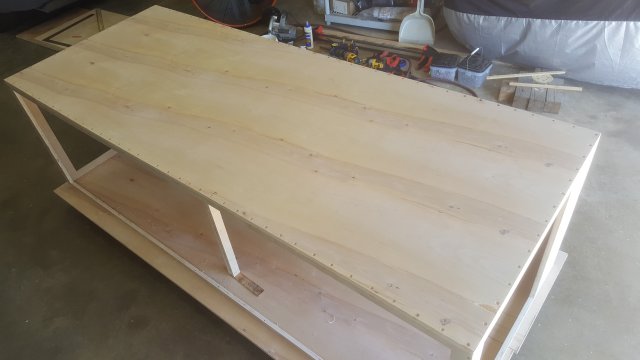
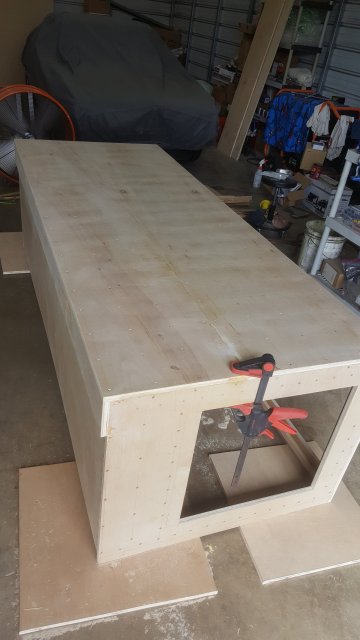
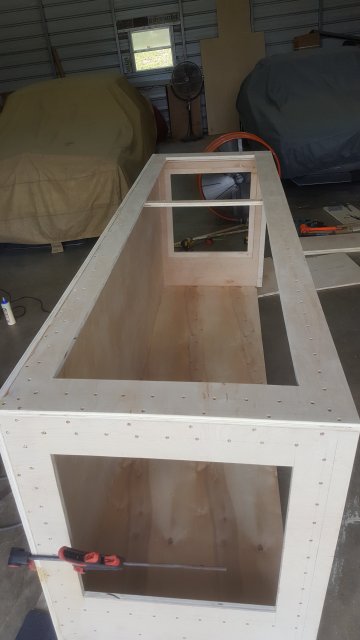
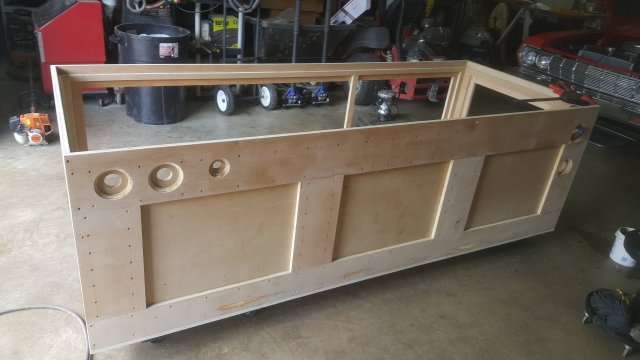
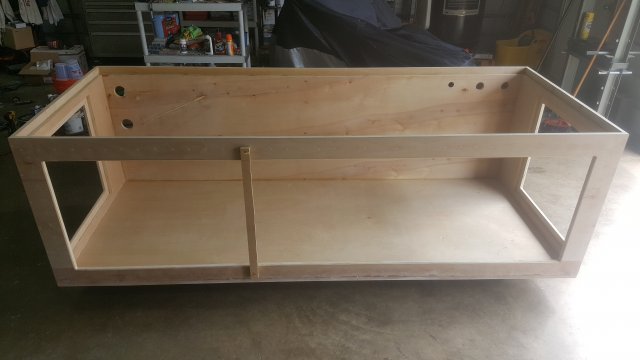
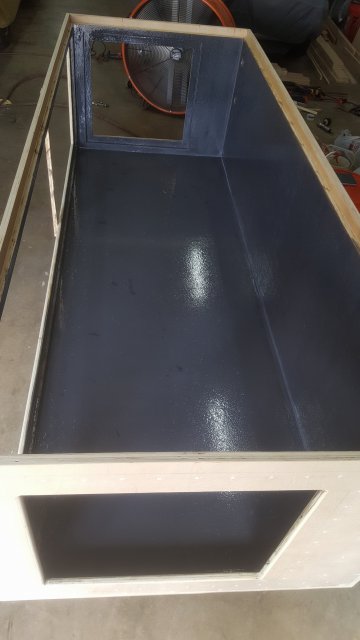
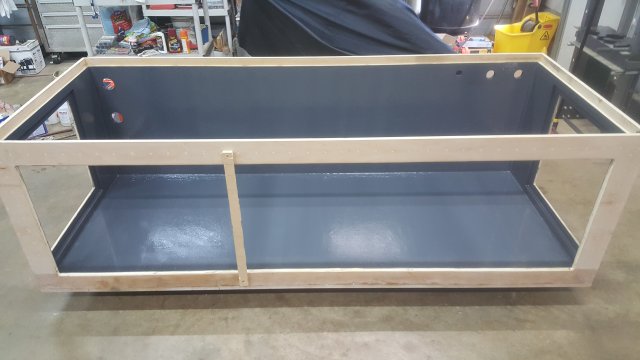
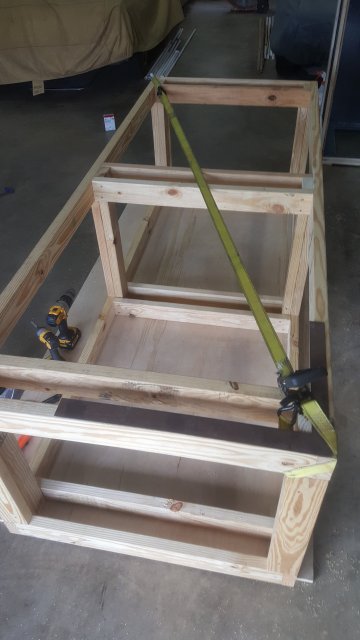
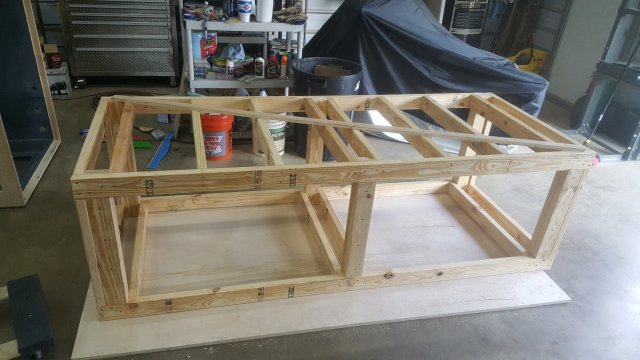
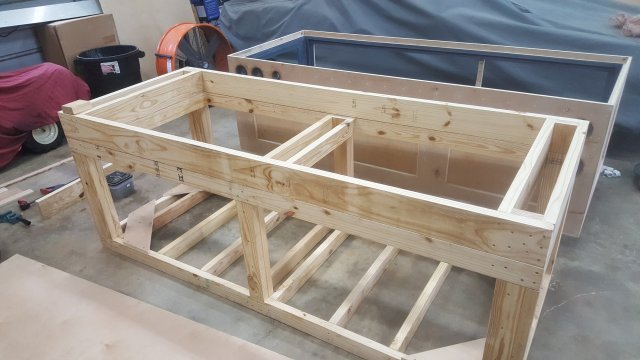
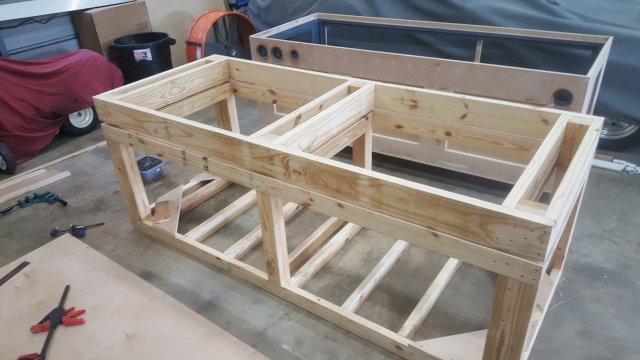
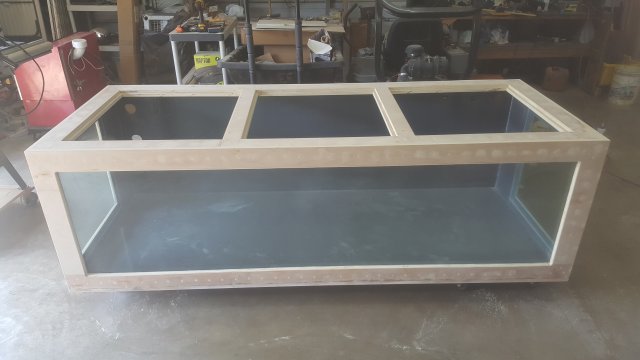
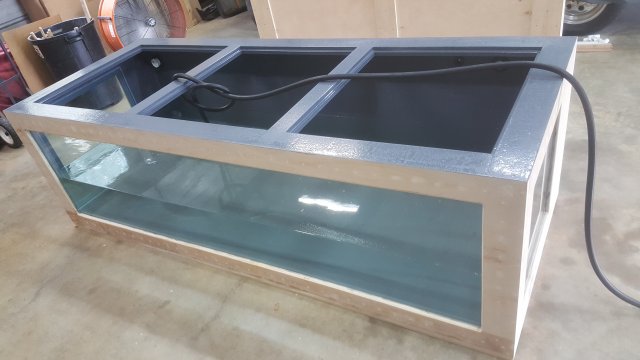
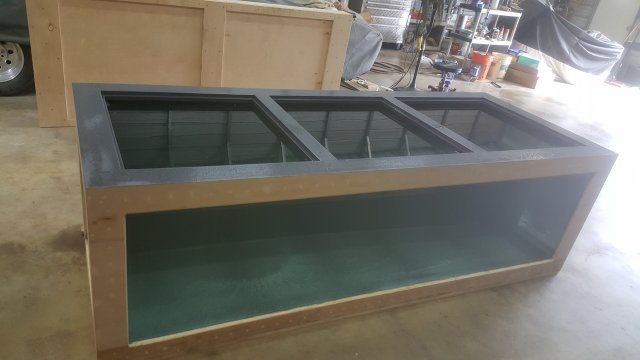
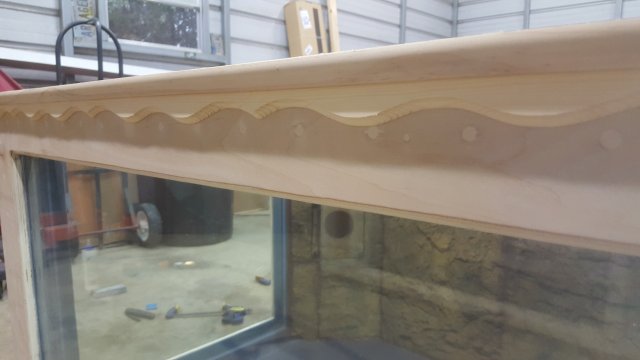
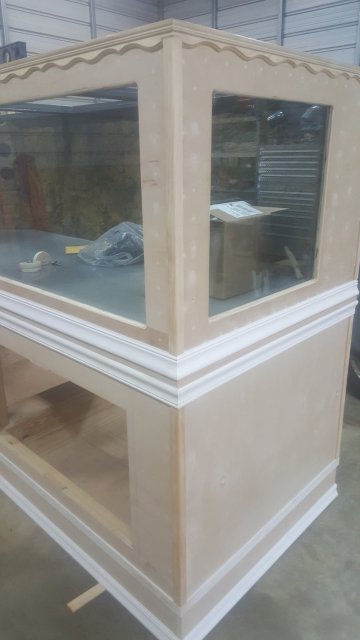
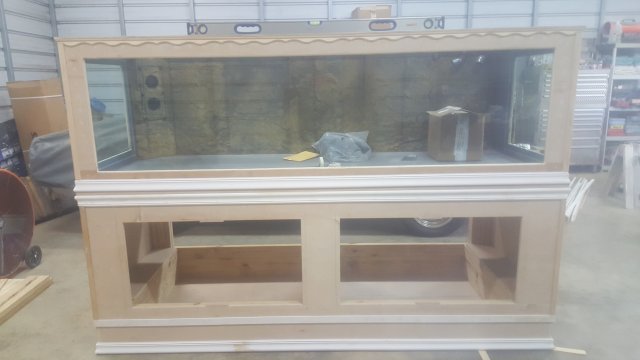
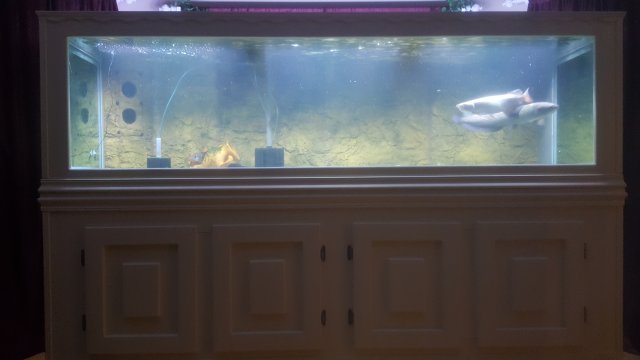
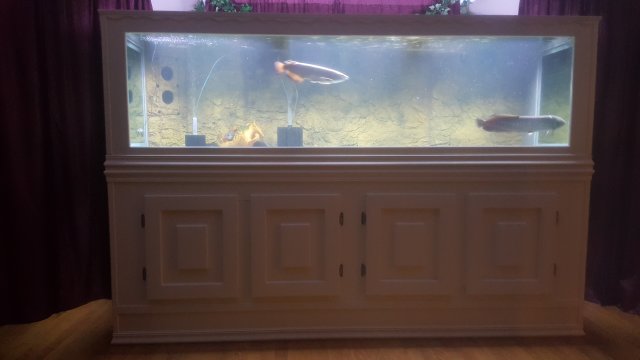
So this build was 100% inspired and modeled from the DIY King, I get tons of info from him. I did things differently in some ways and in others I copied him exactly. I also got TONS of info from guys hear and old build threads. I used MAX ACR to seal the Inside. Dimensions are 8' wide 3' deep 30" tall. Let me start posting some pics.

20170905_145904.jpg

20170907_104051.jpg

20170907_104046.jpg

20170907_105846.jpg

20170907_112906.jpg

20170907_112936.jpg

20170908_132601.jpg

20170908_160359.jpg

20170908_173126.jpg

20170908_173134.jpg

20170910_155402.jpg

20170910_155824.jpg

20170913_213010.jpg

20170915_123817.jpg

20170915_123824.jpg

20170920_103648.jpg

20170920_134051.jpg

20170922_144220.jpg

20170922_144259.jpg

20170926_183742.jpg
 
  • Like
Reactions: JK47
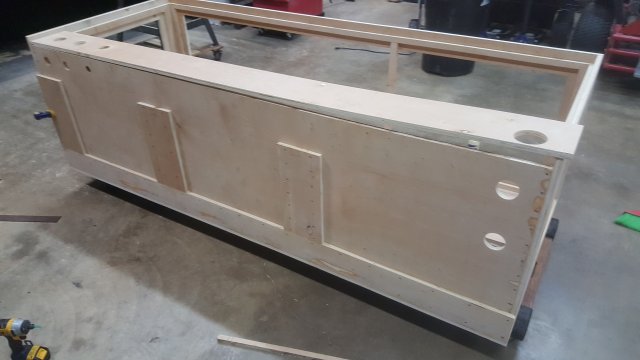
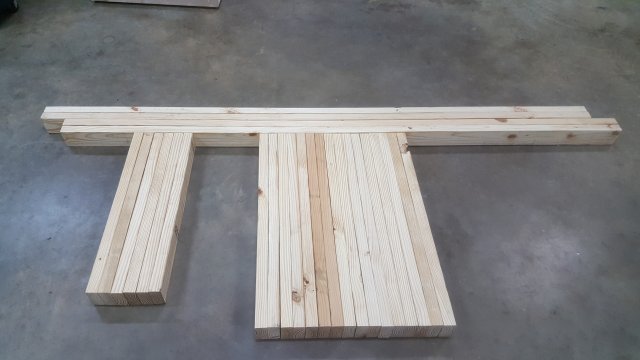
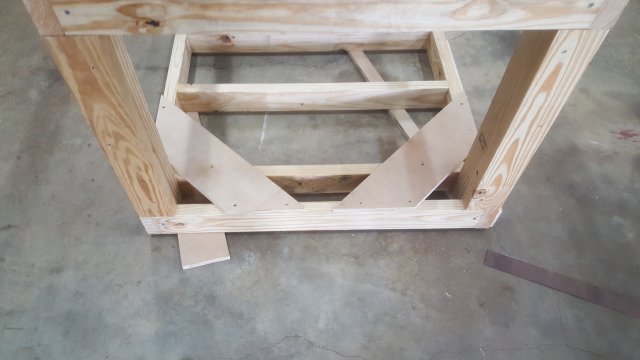
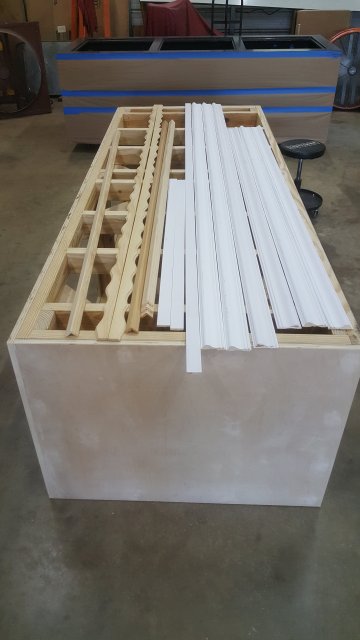
The stand was built in 2 parts. I needed to be able to get this threw a 30" doorway - so that took a little extra work .

20170927_193541.jpg

20170928_165508.jpg

20170928_174302.jpg

20171002_134223.jpg

20171002_163548.jpg

20171003_083507.jpg

20171005_083936.jpg

20171005_083941.jpg

20171006_172332.jpg

20171008_162531.jpg

20171010_205133.jpg

20171010_212846.jpg

20171013_133017.jpg

20171014_102450.jpg

20171016_044334.jpg

20171016_044343.jpg

20171020_141903.jpg

20171020_151627.jpg

20171014_130233.jpg

20171014_172436.jpg
 
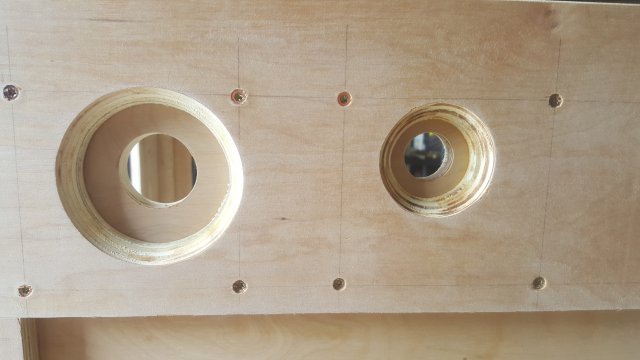
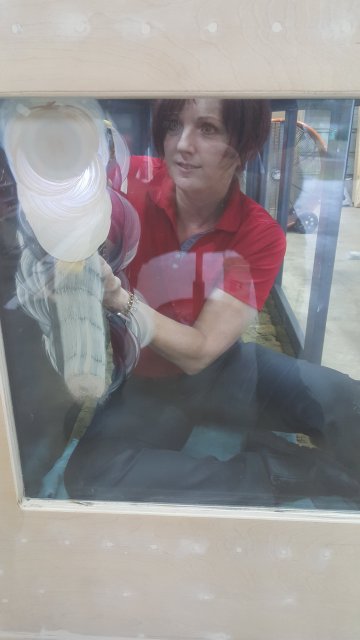
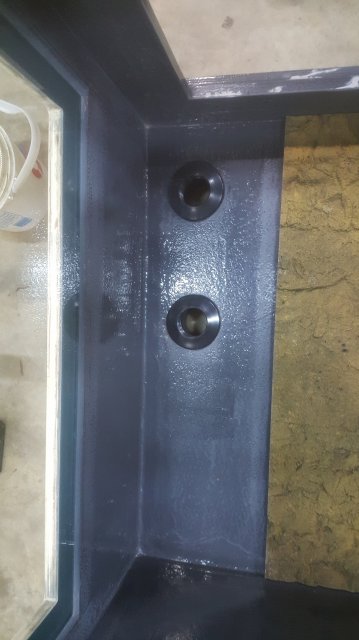
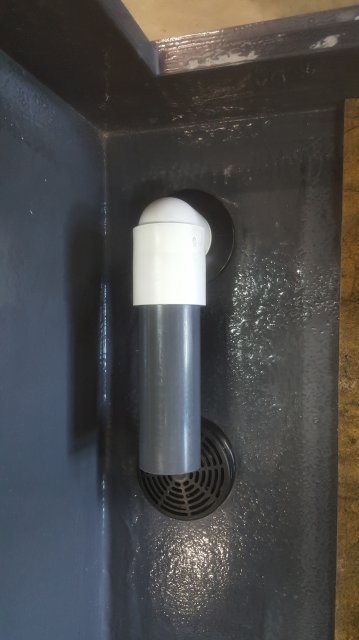
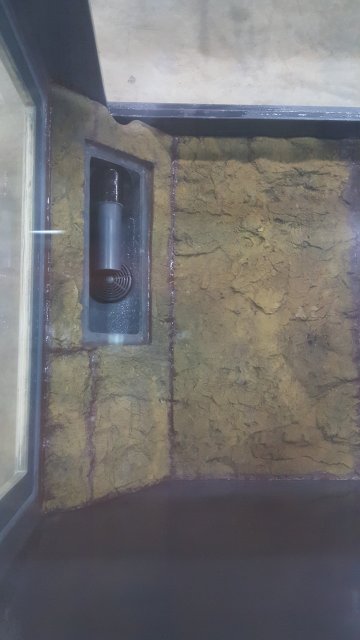
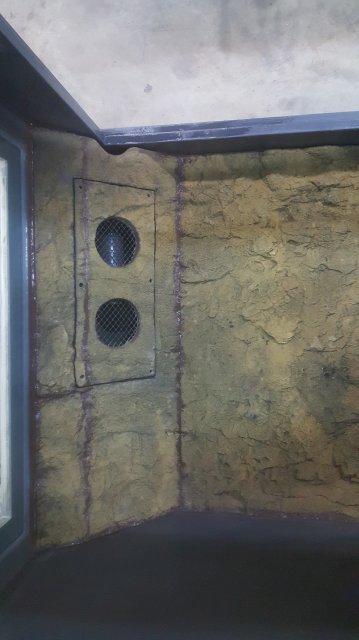
You get to see a pic of my Beautiful helper - wife decided she wanted to do some polishing =). I installed a 3D foam background from universal rocks! I like these foam backgrounds cause you can buy in pieces then cut the to fit! I Hide the heaters in the corner with the water intake pipes / fittings.

20171101_155110.jpg

20171024_142941.jpg

20171030_113324.jpg

20171107_043958.jpg

20171110_202405.jpg

20171111_192107.jpg

20171110_202332.jpg

20171111_211411.jpg

20171112_165621.jpg

20171123_165637.jpg

20171123_165554.jpg

20171121_095744.jpg

20171121_095749.jpg

20171121_110400.jpg

20171121_184322.jpg

20171121_184759.jpg

20171121_194625.jpg
 
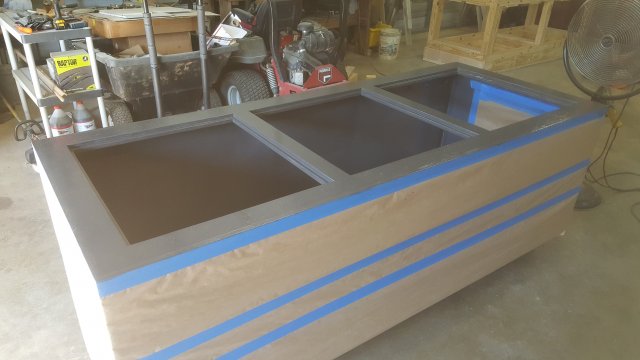
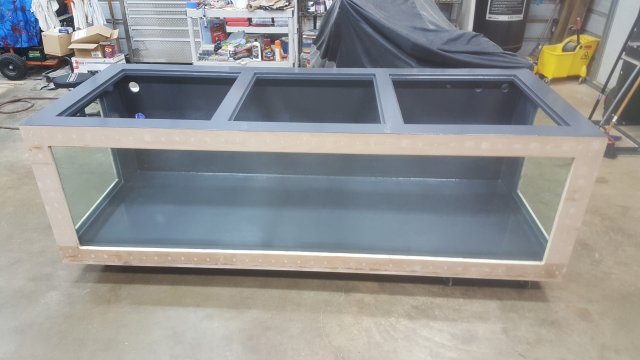
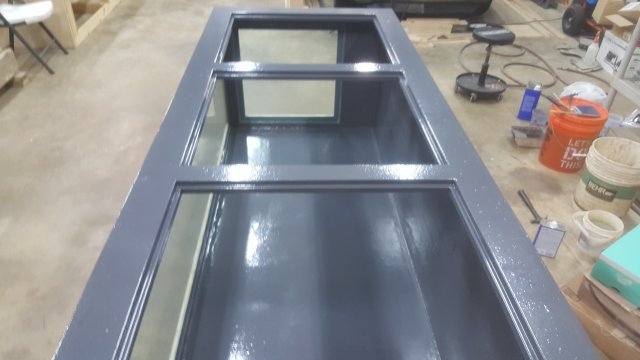
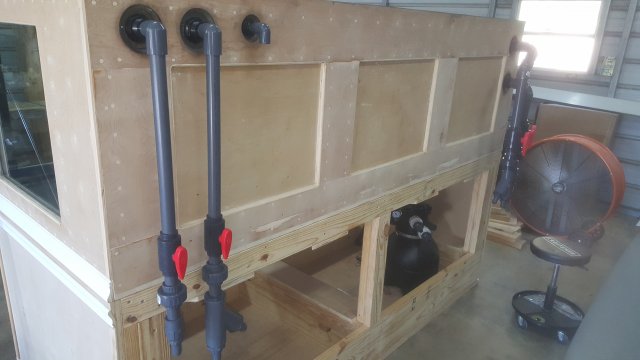
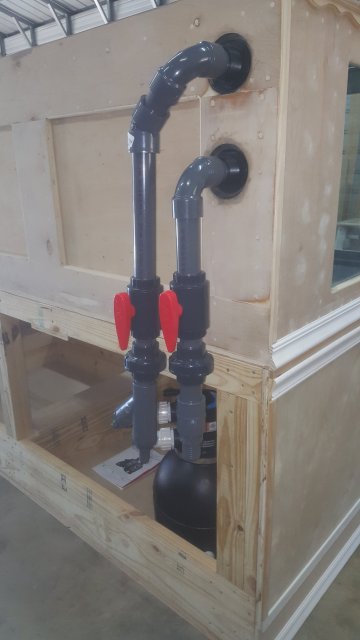
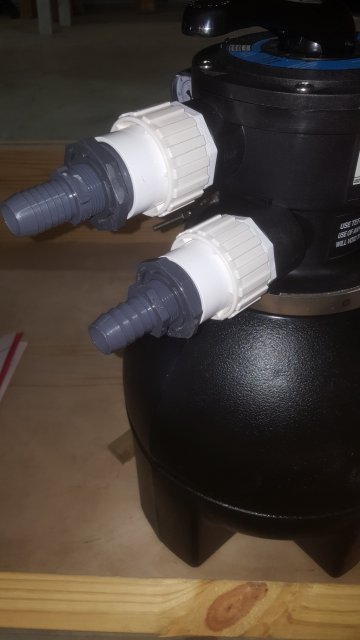
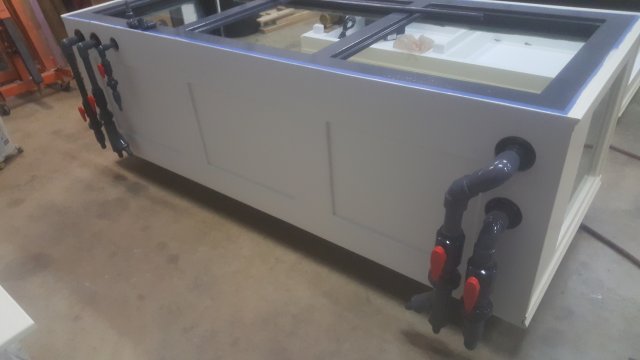
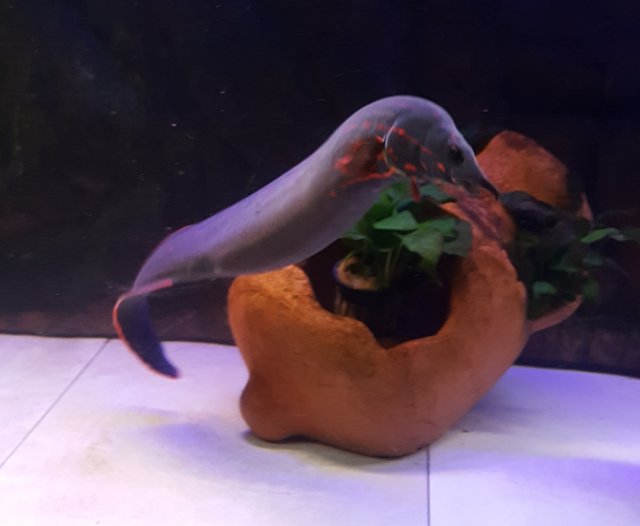
Working out the pluming ( Thank you JK47 for all the help!). No pics of painting , cause its painting .... lol and after me and 5 guys moved out the 210 we moved in the 400 - that was a crazy day! PS - Got a pic of my eel BOB cause you could not see him in the other shots =)

20171128_134733.jpg

20171128_134747.jpg

20171128_132024.jpg

20171128_132111.jpg

20171128_134757.jpg

20171215_190801.jpg

20171220_080005.jpg

20171221_202327.jpg

20171221_202335.jpg
 
Let me know if you guys got any questions - I will be happy to pass on any Info I can =)
 
You said your made changes to what dyi king. What changes did you make. Also what thickness of glass did you go for?

If you don't mind me asking what was you final cost for tank and stand minus the background and filtration. Curious if the extra glass and woodwork made this expensive.
 
You said your made changes to what dyi king. What changes did you make. Also what thickness of glass did you go for?

If you don't mind me asking what was you final cost for tank and stand minus the background and filtration. Curious if the extra glass and woodwork made this expensive.

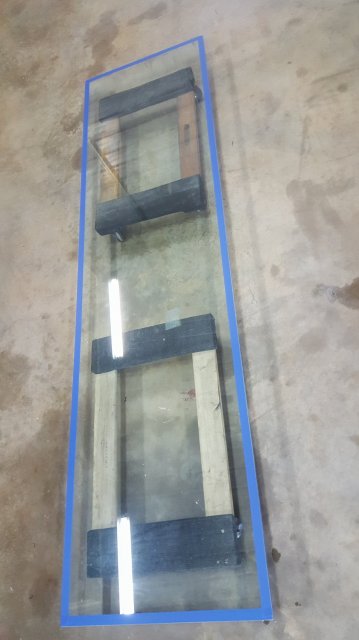
I used 1/2" thick glass, got it from two broken 240G that I bought to fix, which I then broke again trying to move it solo ... lol, Total about $300 in those tanks so u could say that's what I paid for the glass I guess?

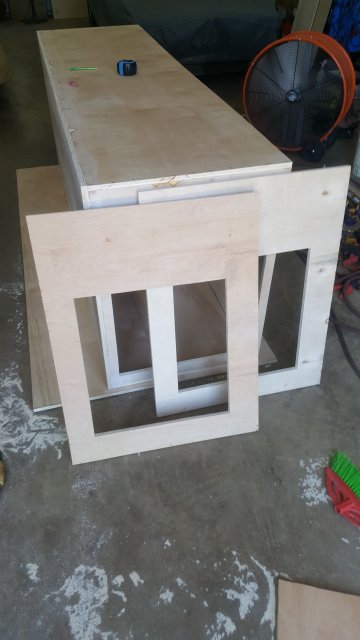
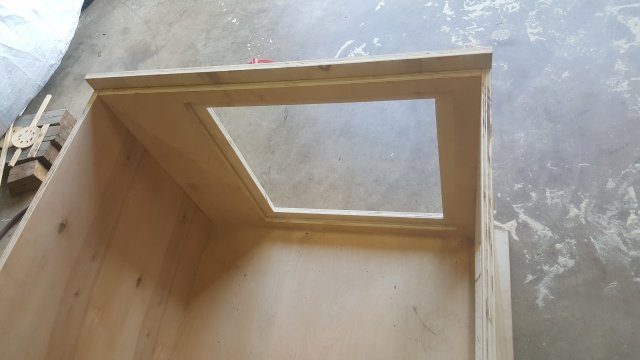
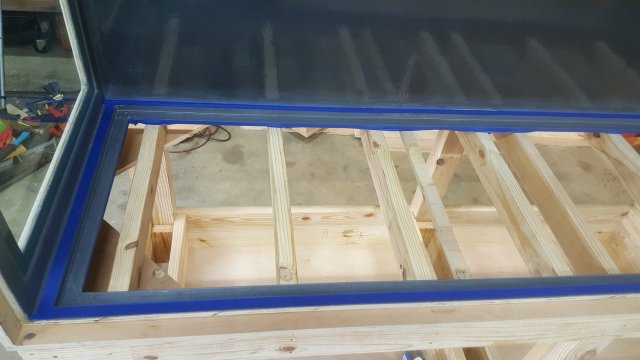
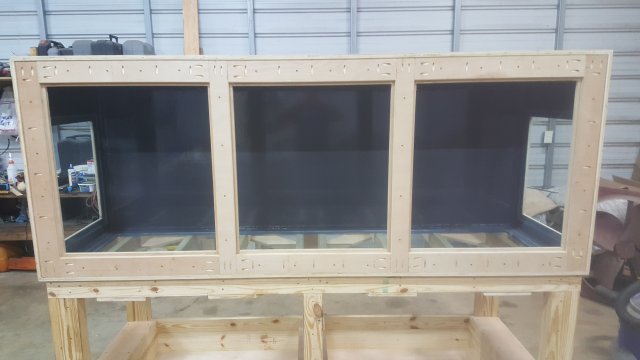
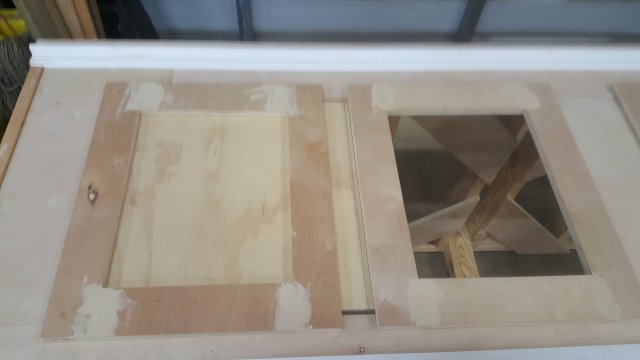
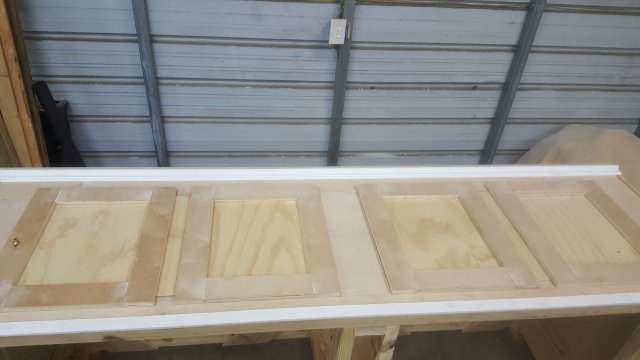
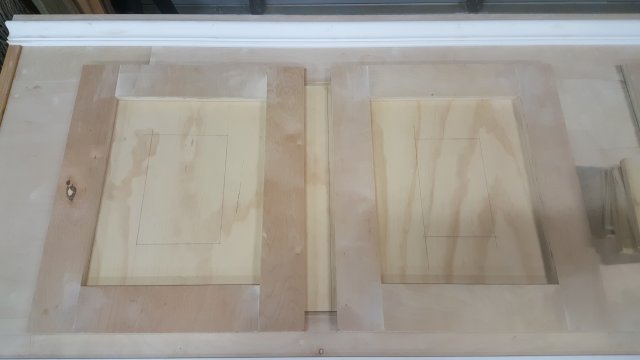
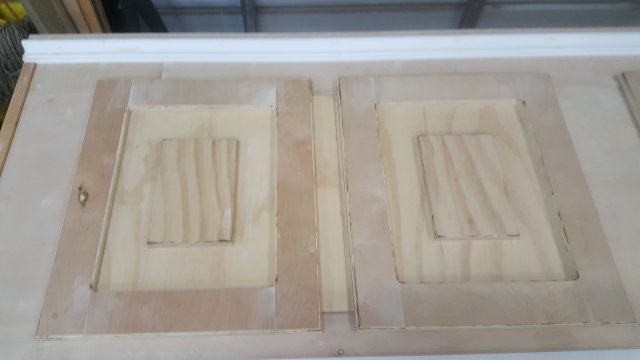
As for what I did differently, i used Max ACR not Pond Armor but I did use fiberglass in the corners. I did not make a frame for the glass to sit in after I made the tank, I cut one window out of the plywood larger than the other then used that lip to set the glass into. I also used slightly smaller ledges to set the glass into - not sure But If Joey left a 2" lip to set his glass into all the way around, i only did a 1.6" lip. I did that to give more viewing area and to try and clean it up a bit. Also dident want a Huge plywood lip at the bottom so I kept those areas of wood to a minimum. I used many more screws than he did and as u can see I drew grids to keep everything evenly spaced! I installed side viewing panels and he did not. I think most everything else was done same as he did.

As for what It cost, easier to say what materials I used lol, kinda lost track. Not counting the filters or pluming, Not counting the 3 Glass tri-fold lids which were $200 easy, and Not counting background.

got plywood on sale, Birch Finish grade - 6 sheets = $225
Used Tanks for Glass - $300
Pile of screws $100 easy
2 bottles of wood glue $20?
Max ACR and color tint $200 ish
Brushes, rollers, pans, scale and whatever for Max Acr $100 ?
Fiberglass for corners $30?
Craig jig, screws and wood Plugs $100 or so
7 or 8 tubes of silicone $60 ish

Also spent an easy $275 on molding for the tank and stand (stand prices are not included)
Paint & primer was another $125 (Sherwin Williams marine)

Prices are as close as I can remember - But you can at least get the Idea.

Arkangel77
 
I also noticed that you did not do external bracing unless you count the molding. Not sure if that’s good or bad.
 
I also noticed that you did not do external bracing unless you count the molding. Not sure if that’s good or bad.

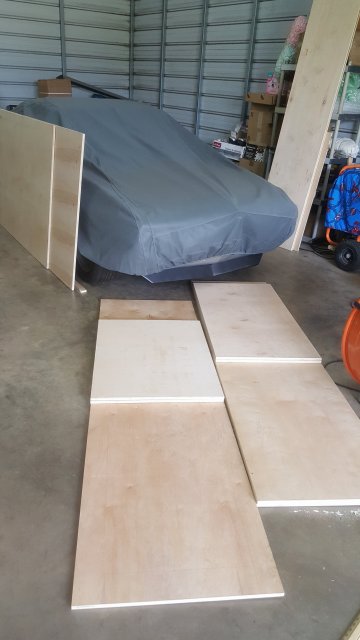
two layers of 3/4" plywood, glued and screwed together. Its Supper strong!
 
MonsterFishKeepers.com