Bottom Drilled or Side Drilled?

side/back or bottom-drilled?

  • side

    Votes: 3 15.8%
  • back

    Votes: 7 36.8%
  • bottom

    Votes: 8 42.1%
  • various places

    Votes: 0 0.0%
  • none drilled

    Votes: 1 5.3%

  • Total voters
    19

Ulu

Potamotrygon
MFK Member
Dec 13, 2018
1,843
3,135
164
The Sunny San Joaquin
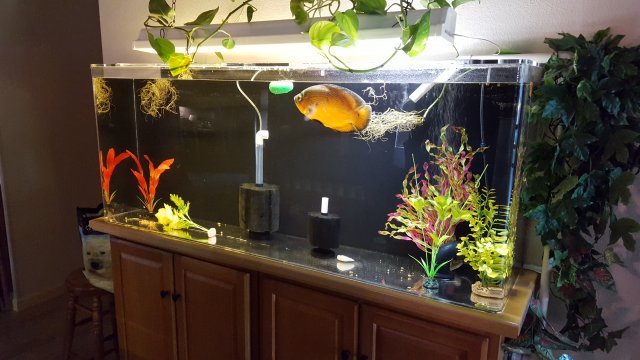
I bought a new hole saw and I am going to bottom drill the custom-built 75g acrylic tank. I'm gluing up the plumbing and preparing to measure and drill.

I'll post some photos in my thread called Plannimg First big DIY Systems.

Thanks to all the members who gave me their opinions and ideas. That's why I really come here. It's not all just about me showing off. Really, I promise, it's not. ;)
 
Last edited:

Ulu

Potamotrygon
MFK Member
Dec 13, 2018
1,843
3,135
164
The Sunny San Joaquin
Backfromthedead Backfromthedead Yes, that's the idea, but a little too robotic looking for me. I'm going to build something on the same principal. Open drain, return line and throttled drain in some big plastic mushroom looking thing from PVC.
Well that didn't work out with my plans, and the pre-made thing was so expensive and ugly I could not justify it.

I'm just going to run an ordinary return line up through the canopy. I made a drain so large it's never going to clog. :)

( I probably just jinxed myself.)
 

pacu mom

Goliath Tigerfish
MFK Member
Jun 8, 2006
3,314
2,114
179
northern CA
pacu mom pacu mom That sounds really interesting but I still can't quite figure out how your filtration connects to all those pipes. You must have a lot of hoses or some large manifold with lots of clamps or unions.
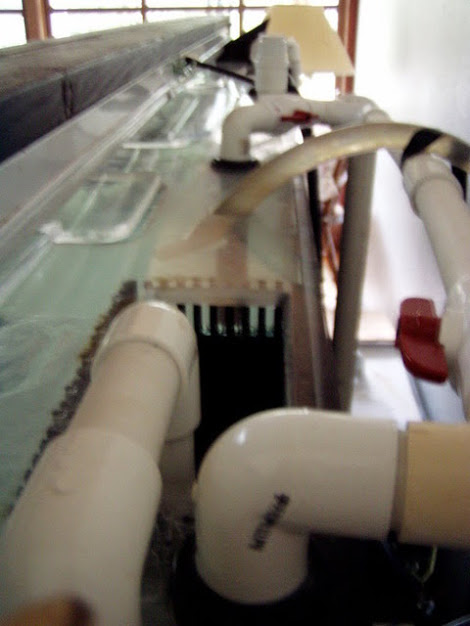
We haven't been able to set up the big tank due to family illness which keeps me away from home and unable to complete the backgrounds. Here's a pic of the little 300 gallon tank. On the right are two poop sucker pipes with a return line from the FX5 with UV sterilizer taped to the PVC. The mechanical filtration return comes up through the overflow box seen on the left. There is a third poop sucker pipe at the far end of the tank, and the return from the wet/dry filter is on that end.

1374346


On the big tank, the poop sucker uptakes will be connected similarly with valves on each uptake (in case we break a bulkhead or pipe). The returns will also be coming down from the top of the tank, so it will get pretty crowded up there. The biggest problem with all the pipes up there is that I will have difficulty climbing down into the tank. Can't really put the pipes on the back of the tank, as we have external overflow boxes there. There will be a lot of plumbing. It will be pretty busy inside the tank with the eight returns from the sump and the eleven pipes.

1374352

I know what I want, it just has to be executed.
 
  • Like
Reactions: Ulu

pacu mom

Goliath Tigerfish
MFK Member
Jun 8, 2006
3,314
2,114
179
northern CA
The paint looks great. Did you use acrylic paint?
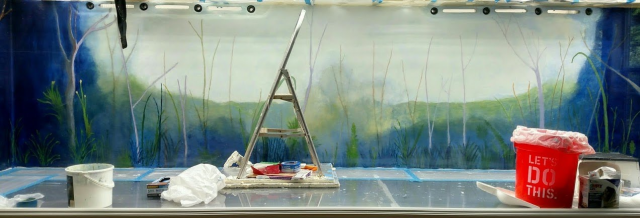
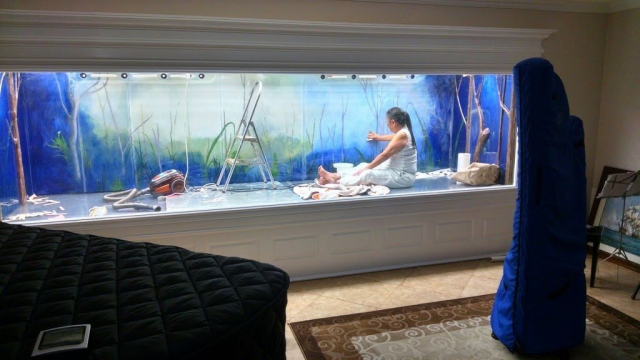
Yes, but I messed up the clear epoxy sealer and have to roughen the whole thing up and try again. I had a lot of orange peeling, and took a dremel to every little pit and divot. I had contamination (epoxy dust). Actually, I hired an artist to paint the panels, but with the distortion, etc., I essentially had to repaint the backgrounds. I was horrified after we installed the panels to discover that my repair repainting was too blue. I joined all the seams for a seamless background on the sides and back of the tank. I repainted half of the background numerous times before I was satisfied with it. Project is on hold while I deal with family illness.

1374353
 
  • Like
Reactions: Dloks and Ulu

Sharoncthompson

Feeder Fish
MFK Member
Aug 2, 2017
5
11
8
64
Off-hand I'd say about half of those things are not exclusive to bottom drilled tanks, by any means.

Also I cannot think of a single thing supporting that statement that the filters will last longer
The filter will last longer because there is less energy required to pump the water into the tank and no one is debating how many of the reasons applies to tanks that are not drilled.
 

Ulu

Potamotrygon
MFK Member
Dec 13, 2018
1,843
3,135
164
The Sunny San Joaquin
I thought we were debating the differences and advantages.

In the end I did bottom drill the tank 2.5" just for the drain.
20190617_195343.jpg

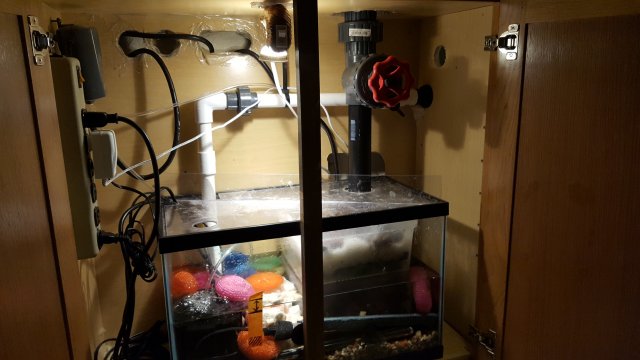
I'm not running an Emergency Drain because my sump doesn't have enough pumpable water in it to ever flood the tank.
20190618_091633_001.jpg

If the drain clogs the pump will start spitting noisy bubbles and I will know to clean the strainer.
 

Ulu

Potamotrygon
MFK Member
Dec 13, 2018
1,843
3,135
164
The Sunny San Joaquin
. . . And this morning the bulkhead is seeping.
Fortunately, straight down the pipe, into the sump.
But now I'm wishing I'd glued it instead of relying on a gasket.

I should have cut more access in the cabinet (it has an inner top in the cabinet, below the birch top) but my wife was already on the warpath about sawdust in the house.

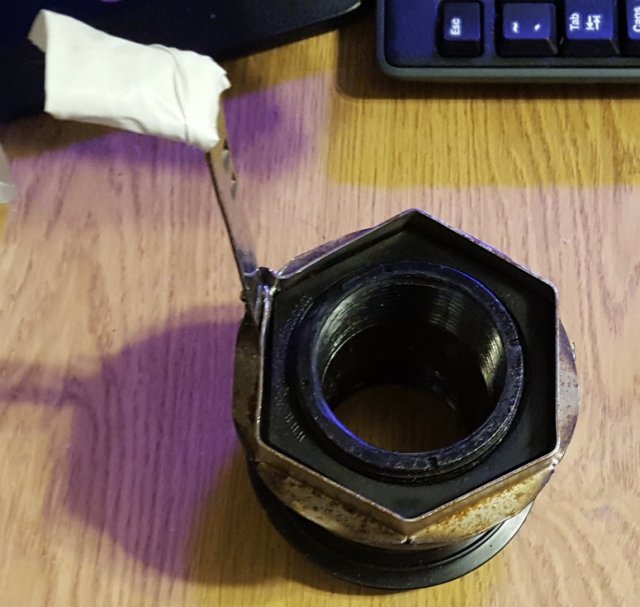
I decided I could make a special close quarters basin wrench to tighten it if necessary.

Urrrrgh . . . . . . it's necessary.
 

Ulu

Potamotrygon
MFK Member
Dec 13, 2018
1,843
3,135
164
The Sunny San Joaquin
I really should have made a bigger access hole and it's certainly not a very neat one. I had to go through the tabletop plus the 3/4" inner panel, and there is a 3/4" air space. The truth is I always knew I could make this wrench and so I wasn't so worried about clearance. That is until I actually needed this wrench.
20190623_091642_resized.jpg

Anyhow that bulkhead is waaaay up there and to get to it I had to remove the valve and the union that screws into the bulkhead. I knew better than to glue this thing!
20190623_185426.jpg

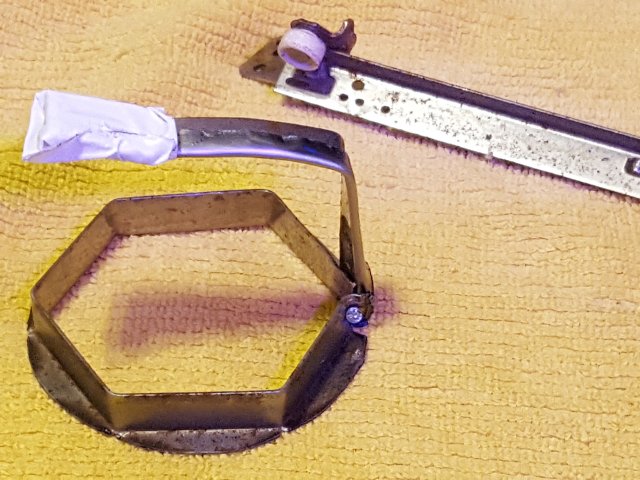
So I built this wrench from an old drawer slide. The first time the bulkhead was still not tight enough, so I modified the handle for extra torque, drained off 15 gallons of water, took off the valve and Union again and torqued it down as tight as I could with this device.
20190623_185312.jpg

In the photo I included an unmolested drawer slide, for comparison to the one I fabricated.

On the first reassembly there wasn't enough Teflon tape on the threads and I had to tighten it too much. It leaked a little there and it leaked a little bit at the bulkhead and it leaked a little bit at the union o-ring too!

Modifying the wrench allowed me to get the bulkhead tight enough. Some extra Teflon tape was a no-brainer, but the union was a problem.

The sealing surface on the part which I glued to my $65 valve was not very smooth. The plastic had a textured surface instead of being flat and smooth.

By manipulating the entire valve and Union Assembly as a unit I was able to dress the sealing surface with three grades of paper until I got a nice finish on it that would seal.

I said a little prayer to the gods of all the fishes in water and put it back together.

Those gods have not Smiled On Me lately, but today they Smiled On My Oscar and everything is leak free now.

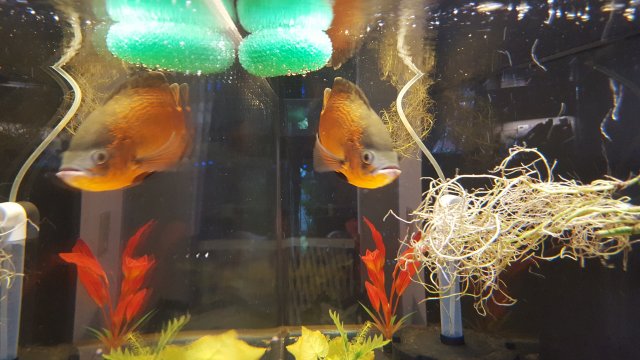
But in spite of my good luck, Felix is not happy about being moved from tank to tank to tank, and he still hates me.
20190619_065935.jpg
 
zoomed.com
hikariusa.com
aqaimports.com
Store