Huh, I thought I'd put this build log here ages ago, apparently not! So, here it is copied from my local NZ forum...
So, I bought some cheap LED strip lights and put them into my 4ft, 400L tank.
So, a bit of a build log:

Day 1, 0 hours.
Here's the tank hood, was 6 24 watt CFLs(3 burned out) and two 4 foot fluoros(Dead)

Day 1, 1.5 hours
All the old lights pulled out, cleaned up, a bit of bleach and meths to clean up the wood. And I've started cutting wires ready to solder to the LED strips

Day 1, 2.5 hours
Pre-tinning the wires and then pressing down onto the little copper pads seems to work...HORRIBLY, These things are horrible to solder, little tiny pad and melty plastic all around it?!? Ok, well, I managed to do it, kinda ugly...But ok.

Day 1, 3.5 hours
Slowly working through all the strips, one by one and throwing them in a pile....
Day 1, 4 hours
Laying them out in the hood, piling anything convenient on top of them to keep them from rolling up...

Day 1, 4 hours
I swear, I didn't do that....

Day 1, 5 hours
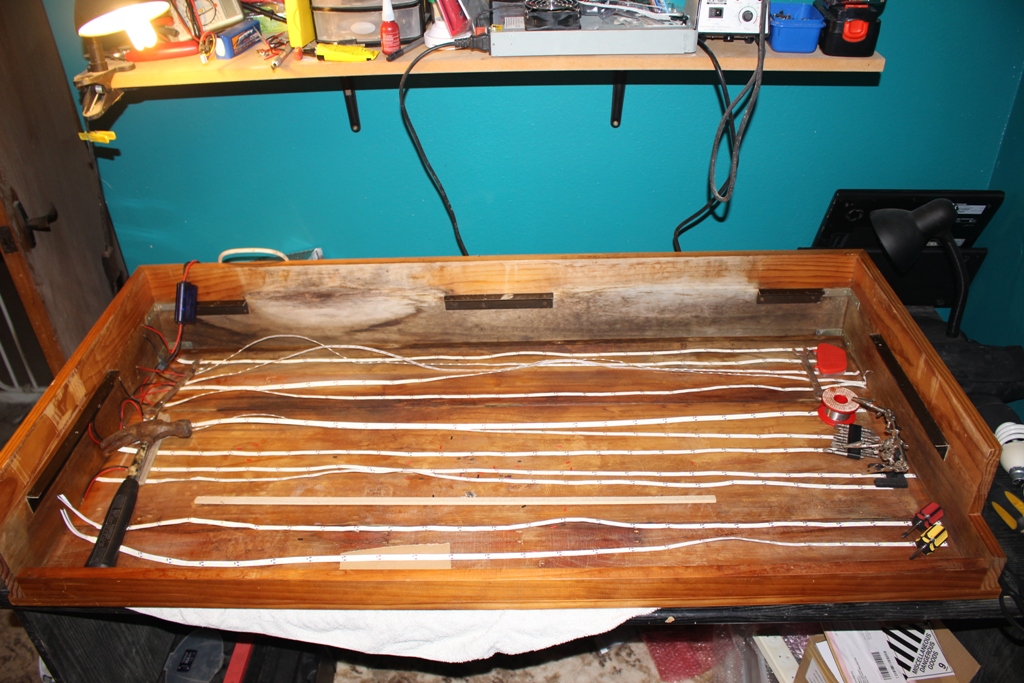
All laid out, wires all joined together...

Day 1, 5 hours
Ugh...That looks horrible. I'll figure out how to tidy it up tomorrow.
Day 2
I can't be bothered with it...
Day 3
Oh, I know, I'll get some brass rods and solder the wires to it like bus bars. It will look cool! Should make expanding it easy too.
Day 4
Can't get to a place to buy the rods.
Day 5
Got them!

Day 6
AHHH, this looks even worse! I didn't consider how much heat it would take to solder to giant rods, big, ugly cold solder joints EVERYWHERE.
And I ended up pulling off half the solder pads and wires from the LED strips. I'm going to have to start this all over.

Day 7 Hour 1
Got some chocolate blocks/ screw terminals, should work a little better....

Day 7 Hour 2
Looking much more tidy now.

Day 7 Hour 4
I cut ends of the strips off, left the entire solder pad this time, should only lose a little bit of light.
New wires soldered on, went MUCH better this time. Same process, pre-tin the wires then press down on the solder pads.

Day 7 Hour 5
First set plugged in and powered up! Oops, one strip isn't working... Just didn't get the wire into the terminal before screwing it down so it came loose.

Day 7 Hour 6
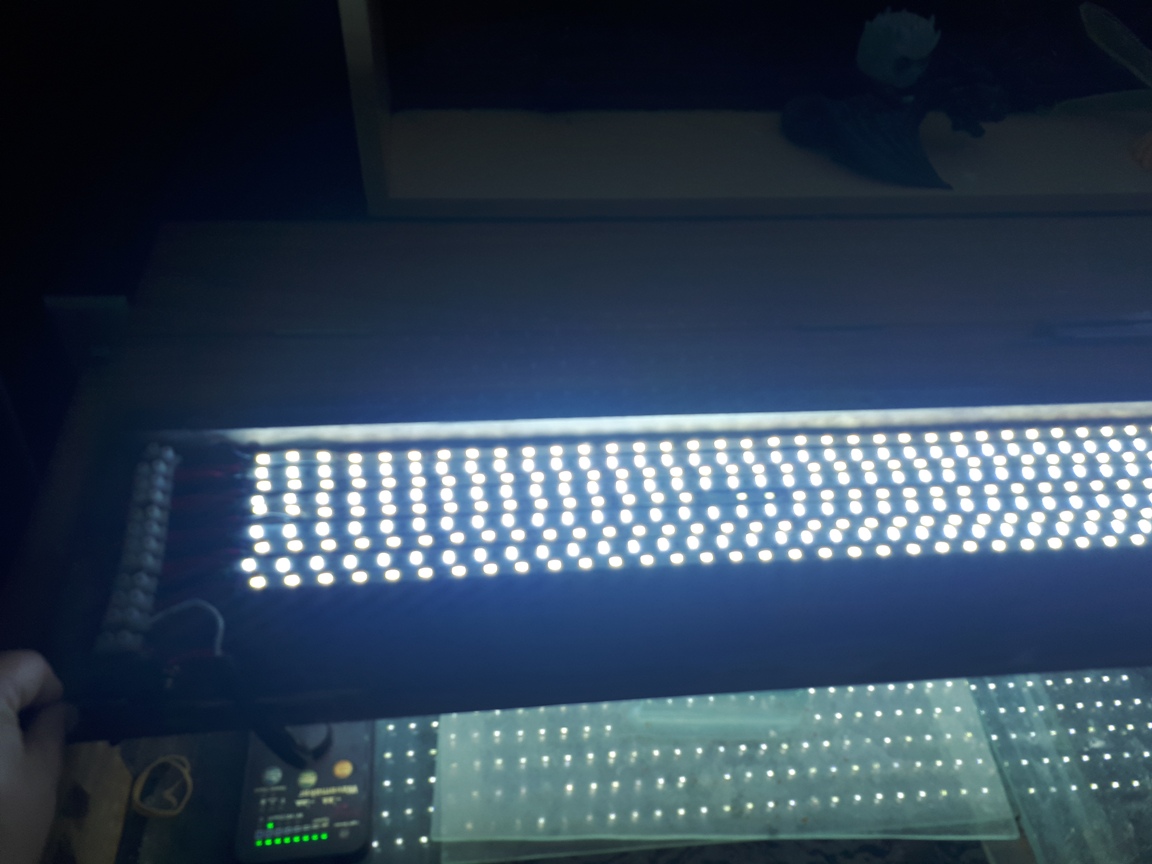
The rest of the strips are wired in and powered up, I've adjusted the voltage on the power supply to 13v and it's drawing 90 watts.

Ok, 12.85 volts, the voltage dropped a little...

Day 7 Hour 7
All ready to go, I've put some liquid electrical tape where the wires are soldered to the strips, and on each of the solder pads the rest of the strips. I've put on the sides too there, so hopefully it will hold the strips down, the adhesive backing isn't the greatest.
Oh, and there are a couple LEDs in the lower right that are dead. I...Uhh....May have not noticed that strip fall on the floor at some point and then I may have stepped on it...

Day 8
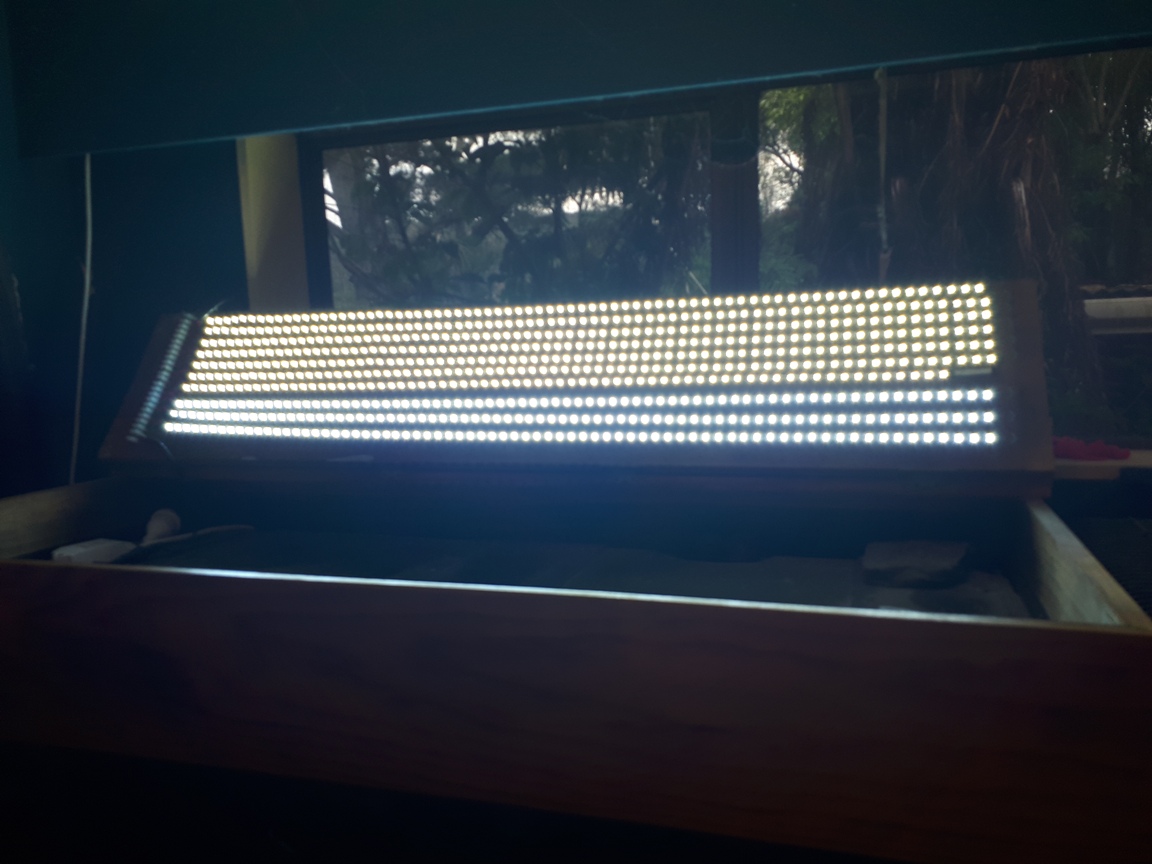
Fish are happy to have some light, I think.
I turned the voltage back down to 12v, the lights are drawing 60 watts at this voltage. They look brighter than the 3, year or so old 24w CFLs, but that's not hard. It's a moderate brightness, I'd say, not really bright but good. I'm pretty happy with them. I think I'll buy more strips and add a bit more power.
The parts:
The LEDs
https://www.amazon.com/gp/product/B00D83BGVS/ref=oh_aui_detailpage_o00_s00?ie=UTF8&psc=1
Total about $25
The power supply, 150w 12v
https://www.amazon.com/gp/product/B00DECSE8G/ref=pe_2602560_239856390_em_1p_0_ti
Bought locally, $80
All the wires, screw terminals, solder etc you can find anywhere, I'm not going to link to those. A wire stripper, liquid electrical tape, odds and ends another $50 NZ
Total cost: About $155
Maybe I should have spent a little more and bought a nice LED fixture....Oh well.
A small addition...

Now the front panel of LEDs is on a switch, so it automatically turns off when I open the lid. That means I don't get blinded every time I want to feed the fish.
This was in the original plan, but ended up being dropped because I was getting impatient.
I used a screw to give some adjustment in the switch otherwise it would have been just luck if I got the switch to turn on and off correctly.
So, I bought some cheap LED strip lights and put them into my 4ft, 400L tank.
So, a bit of a build log:
Day 1, 0 hours.
Here's the tank hood, was 6 24 watt CFLs(3 burned out) and two 4 foot fluoros(Dead)
Day 1, 1.5 hours
All the old lights pulled out, cleaned up, a bit of bleach and meths to clean up the wood. And I've started cutting wires ready to solder to the LED strips
Day 1, 2.5 hours
Pre-tinning the wires and then pressing down onto the little copper pads seems to work...HORRIBLY, These things are horrible to solder, little tiny pad and melty plastic all around it?!? Ok, well, I managed to do it, kinda ugly...But ok.
Day 1, 3.5 hours
Slowly working through all the strips, one by one and throwing them in a pile....
Day 1, 4 hours
Laying them out in the hood, piling anything convenient on top of them to keep them from rolling up...
Day 1, 4 hours
I swear, I didn't do that....
Day 1, 5 hours
All laid out, wires all joined together...
Day 1, 5 hours
Ugh...That looks horrible. I'll figure out how to tidy it up tomorrow.
Day 2
I can't be bothered with it...
Day 3
Oh, I know, I'll get some brass rods and solder the wires to it like bus bars. It will look cool! Should make expanding it easy too.
Day 4
Can't get to a place to buy the rods.
Day 5
Got them!
Day 6
AHHH, this looks even worse! I didn't consider how much heat it would take to solder to giant rods, big, ugly cold solder joints EVERYWHERE.
And I ended up pulling off half the solder pads and wires from the LED strips. I'm going to have to start this all over.
Day 7 Hour 1
Got some chocolate blocks/ screw terminals, should work a little better....
Day 7 Hour 2
Looking much more tidy now.
Day 7 Hour 4
I cut ends of the strips off, left the entire solder pad this time, should only lose a little bit of light.
New wires soldered on, went MUCH better this time. Same process, pre-tin the wires then press down on the solder pads.
Day 7 Hour 5
First set plugged in and powered up! Oops, one strip isn't working... Just didn't get the wire into the terminal before screwing it down so it came loose.
Day 7 Hour 6
The rest of the strips are wired in and powered up, I've adjusted the voltage on the power supply to 13v and it's drawing 90 watts.
Ok, 12.85 volts, the voltage dropped a little...
Day 7 Hour 7
All ready to go, I've put some liquid electrical tape where the wires are soldered to the strips, and on each of the solder pads the rest of the strips. I've put on the sides too there, so hopefully it will hold the strips down, the adhesive backing isn't the greatest.
Oh, and there are a couple LEDs in the lower right that are dead. I...Uhh....May have not noticed that strip fall on the floor at some point and then I may have stepped on it...
Day 8
Fish are happy to have some light, I think.
I turned the voltage back down to 12v, the lights are drawing 60 watts at this voltage. They look brighter than the 3, year or so old 24w CFLs, but that's not hard. It's a moderate brightness, I'd say, not really bright but good. I'm pretty happy with them. I think I'll buy more strips and add a bit more power.
The parts:
The LEDs
https://www.amazon.com/gp/product/B00D83BGVS/ref=oh_aui_detailpage_o00_s00?ie=UTF8&psc=1
Total about $25
The power supply, 150w 12v
https://www.amazon.com/gp/product/B00DECSE8G/ref=pe_2602560_239856390_em_1p_0_ti
Bought locally, $80
All the wires, screw terminals, solder etc you can find anywhere, I'm not going to link to those. A wire stripper, liquid electrical tape, odds and ends another $50 NZ
Total cost: About $155
Maybe I should have spent a little more and bought a nice LED fixture....Oh well.
A small addition...
Now the front panel of LEDs is on a switch, so it automatically turns off when I open the lid. That means I don't get blinded every time I want to feed the fish.
This was in the original plan, but ended up being dropped because I was getting impatient.
I used a screw to give some adjustment in the switch otherwise it would have been just luck if I got the switch to turn on and off correctly.