My first fish room

  • We are currently upgrading MFK. thanks! -neo

Matteus

Potamotrygon
MFK Member
Jan 6, 2018
3,154
5,225
164
40
Canada eh
So I have been talking about moving across the country since I first arrived here at mfk. The main stipulation I had for the move was I’m not into it unless I get a good sized fish room since our last place was too small to have very many big tanks.

I have finally made the move, and just recently realized the only pics I have of my house are of the fish room.

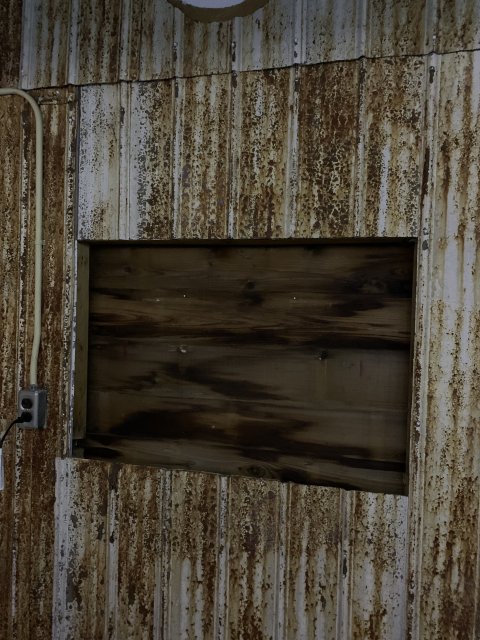
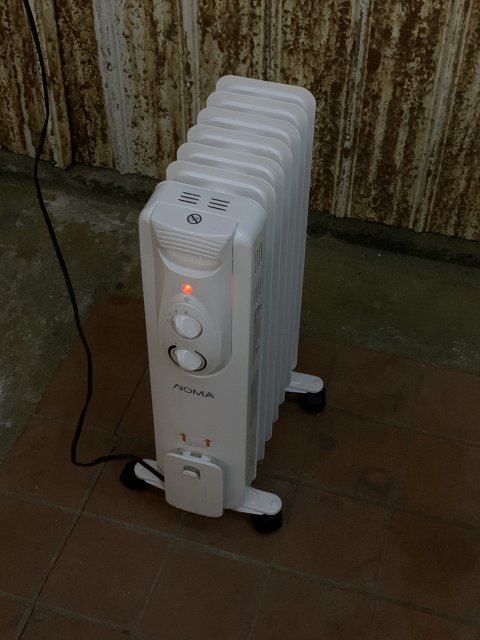
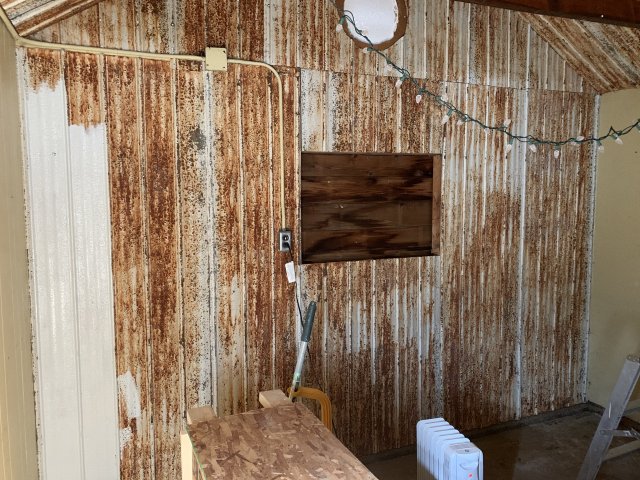
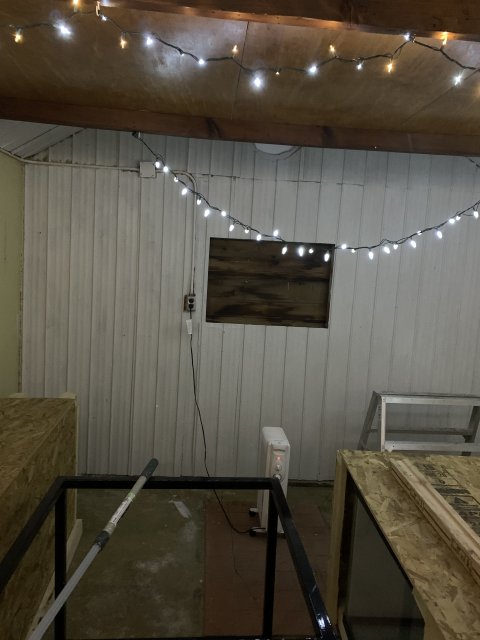
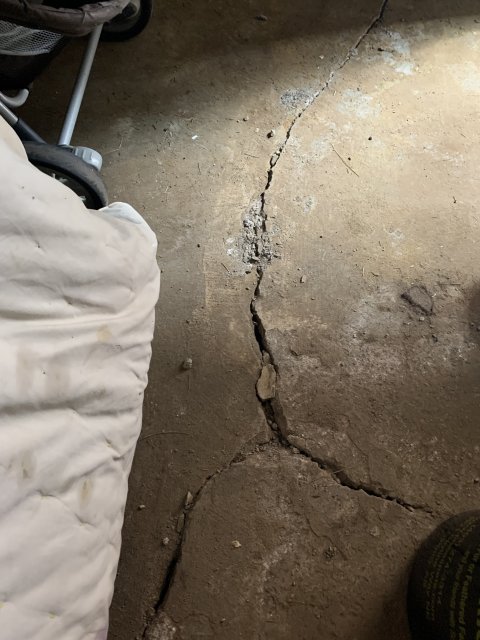
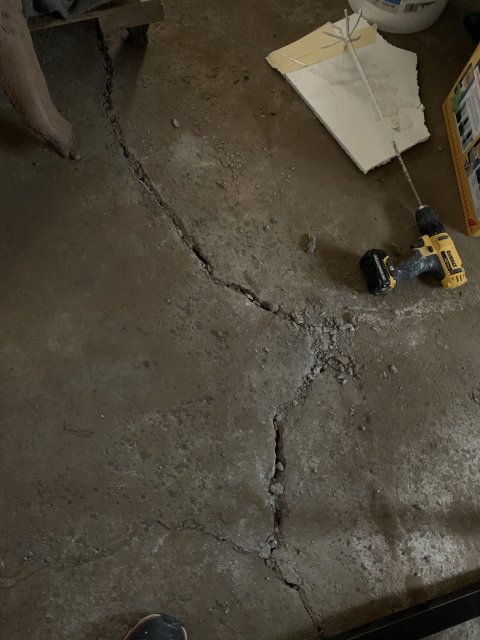
it was the garage that was previously set up as a party room. Unfortunately I didn’t think to get a picture of it before i started tearing it up to do what I wanted. It originally had a wood burning stove as a heater but the previous owners took it with them. So they essentially left a few big holes in the walls where it used to vent out of. I had to use a space heater to keep my tanks from dropping below freezing.

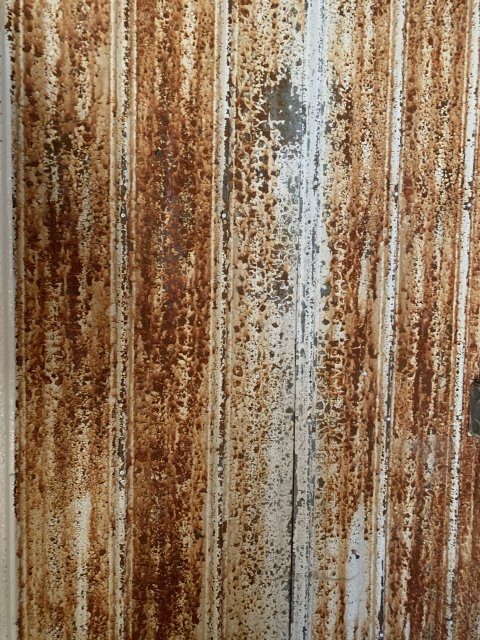
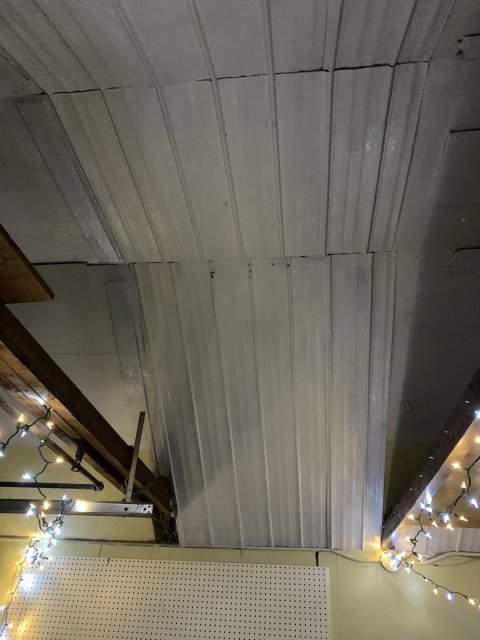
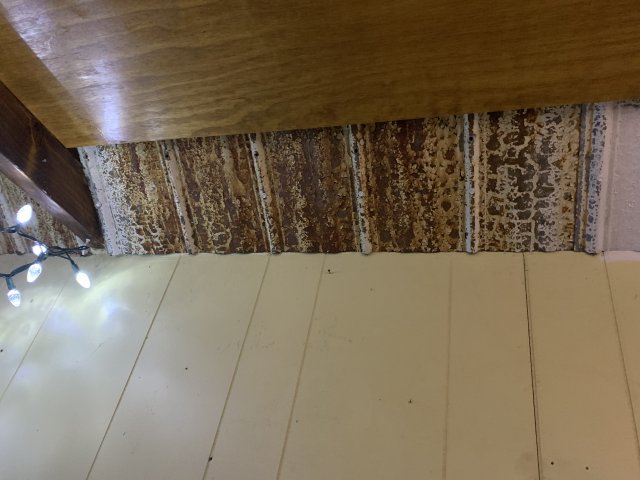
the funny looking walls are tin panels that were previously painted but the paint was peeling and rusting. Really ugly look and lots of work to try and fix it properly.
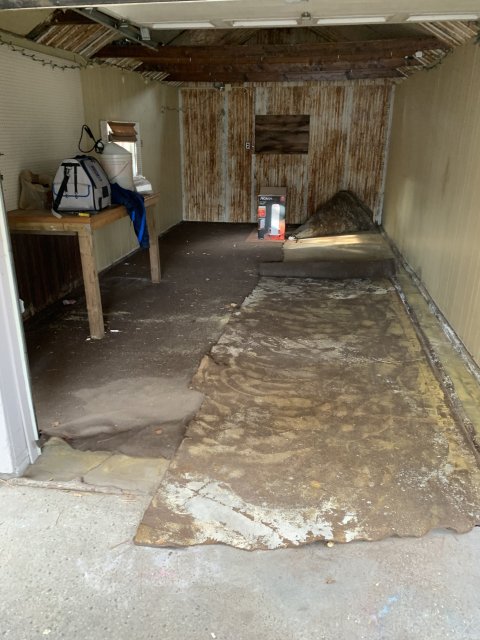
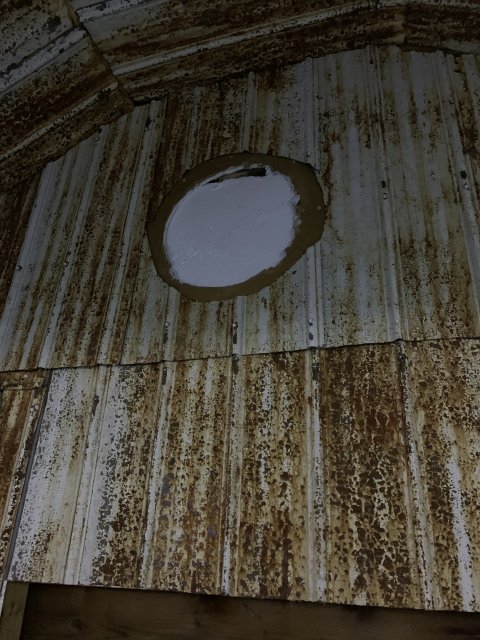
C546C034-B778-433C-8BDE-F1A0D459E509.jpegFCA740B4-F6E1-44AB-BBFD-775E8F665B52.jpegFDC16101-7DDB-4597-9094-5D81ED24D4BE.jpeg9209424A-2310-4C6B-8A93-02C2B153DCD4.jpeg
 
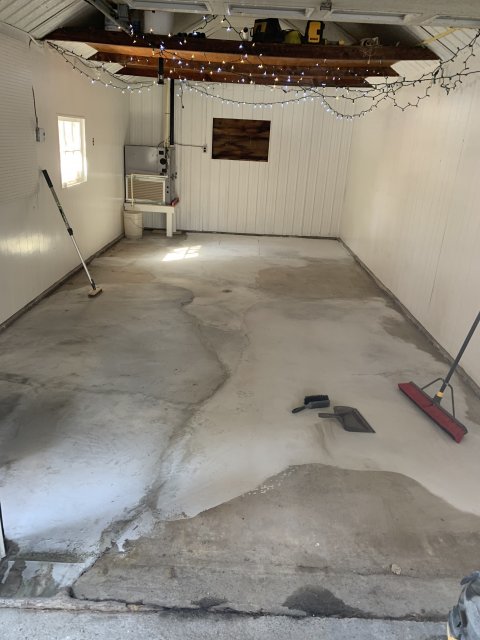
I pulled out all the carpet, and workbench. I painted over the rusty walls and ceiling panels with a heavy duty industrial primer. I forgot to wear my respirator and got punch drunk off the fumes. Didn’t think it would take so long to do but ended up being in the enclosed area about 2 hrs. When I realized I was so buggered up I had this feeling I should get out of there. So I grabbed the can and read the label and turns out if I stayed I could have actually caused some serious damage and or die from prolonged exposure. So basically I almost died doing this.

after that was all finished I used a very high end moisture resistant epoxy I had left over from a previous job to paint from the ceiling to the floor. The idea of that is to slow down the process of mold/ rotting etc.

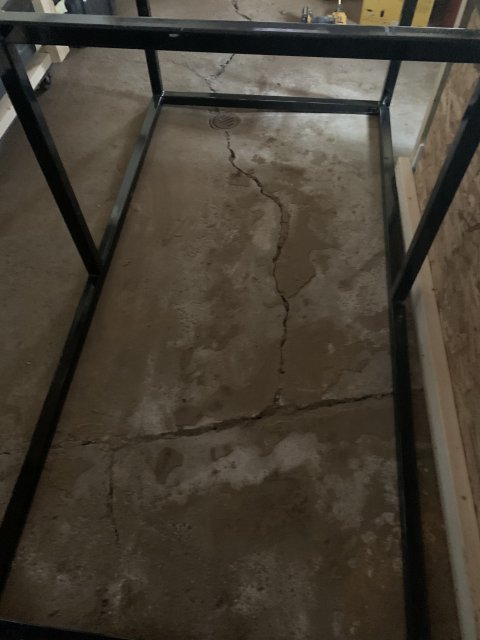
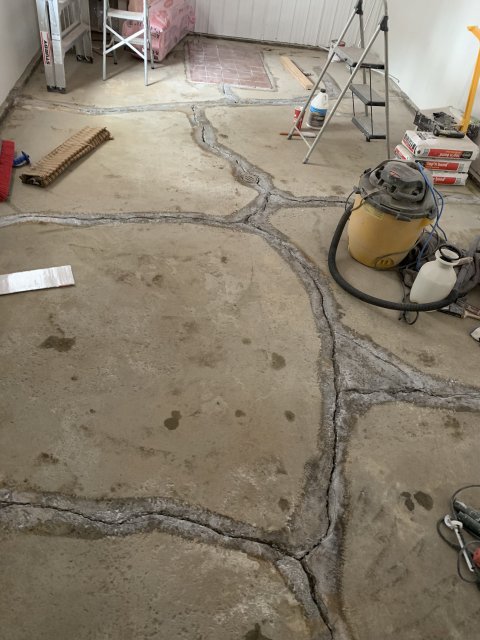
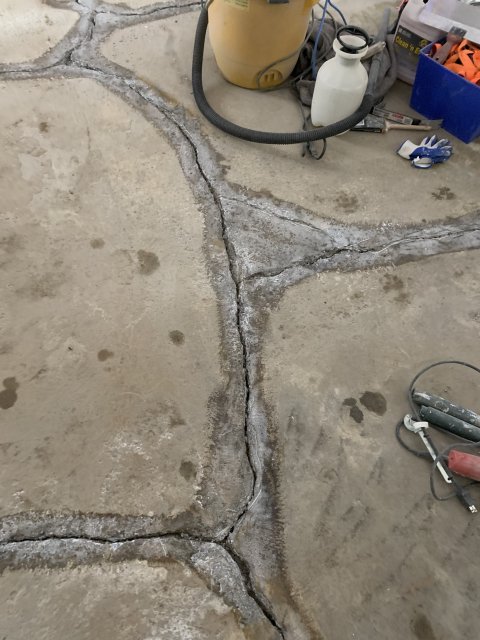
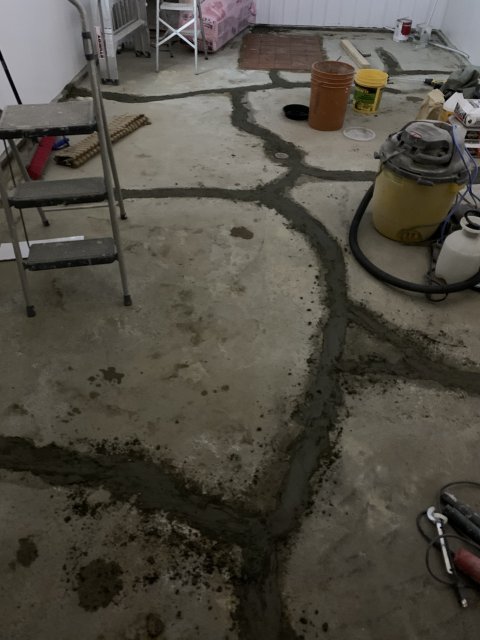
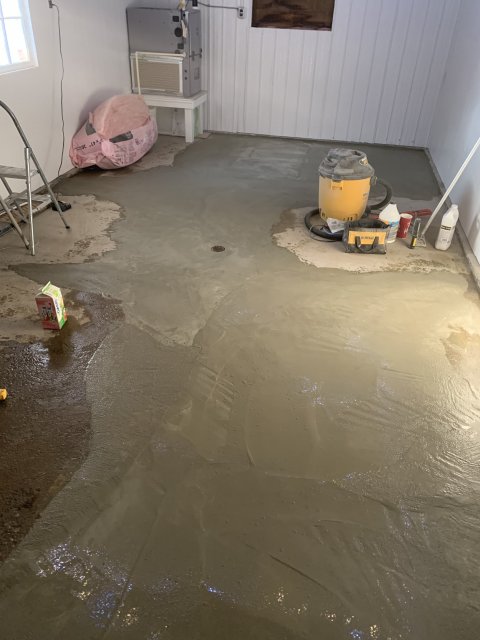
after that was done I patched up the cracks in the floor with hydraulic cement, then floated it out with some concrete mix that I thought was self levelling but realized after it was too late that it wasn’t.

64A47E01-C7A6-4623-AEDA-A9F9C4EEA901.jpeg

E545F65E-00B9-4D74-8E37-DD136A9E7A94.jpeg

E9BC94EC-5467-48C0-B6F7-AA97459DE1F1.jpeg

34D8D319-69EB-4342-BD85-9CFB5C0ED51D.jpeg

204F3F2E-B4DE-4FA5-AE2D-AD48CDAD0C37.jpeg

76F58B6F-51F6-4572-B12A-8486A91CF5FE.jpeg

64E483FD-15F9-444E-AB2D-0002AE3F6D01.jpeg

28EFD3ED-31C0-468A-BDE9-4EC167D93305.jpeg

77671E43-04BD-4674-AAE4-BCCB8257E98B.jpeg

E15B0109-CCEC-450F-BA58-548D94EBAA17.jpeg

63FF7AB7-0FF4-44A0-84BB-647D05F2C509.jpeg
 
This whole process was a seriously uphill battle. Every time I tried to get somewhere, it felt like 1 step forward and 2 steps back. The work in this garage shouldn’t have been more than a week beginning to end, but it has taken months to get to this point.

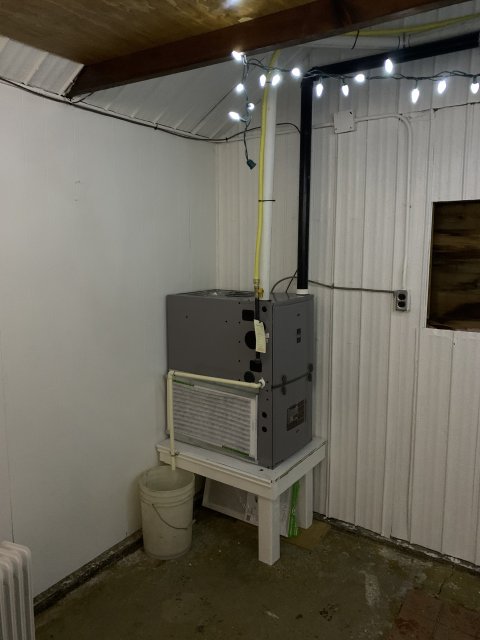
I had to get a heater installed but that took forever, and I couldn’t do the next steps until the heater was installed. We went waaay over budget, and I have been super frustrated with both the progress and how imperfect things have been from beginning of the project, to date. 1A97AD4C-B907-47F4-BBA0-991C3049FFF5.jpeg64CC0B67-026E-4129-9532-D34C084FAB39.jpeg352B9FC6-2446-424B-BADD-0F5A3D4A98EA.jpegE42E3A21-AF0A-4C1E-AB7B-FB6F717480D2.jpeg
 
The biggest stress point for me was that my rays have been at a friends place until I am able to bring them here. It was supposed to be around 2-4 months but turned into 5-6. A big thank you to Gumby79 Gumby79 for everything.

I have planned to do fancy epoxy floor on this project but the day I was about to start it, I realized that I needed to wait 28 days before o could start because the concrete wasn’t cured until then.

I was ready to give up by this point. But my wife came through and suggested that I should just set up the rank and paint around it. Not ideal and definitely not part of the plan. But I had to do something because I needed to get my rays home because my friend needs the space and I already feel like garbage because they have been at his place for so long already.
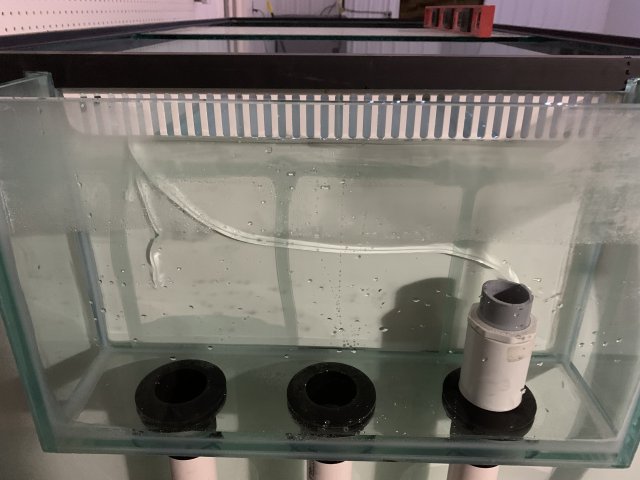
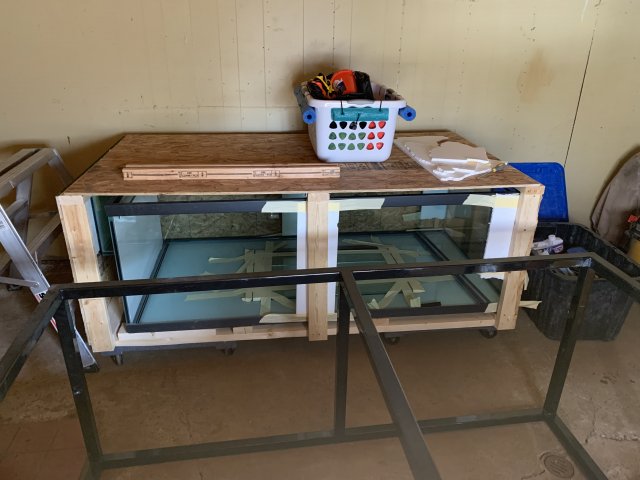
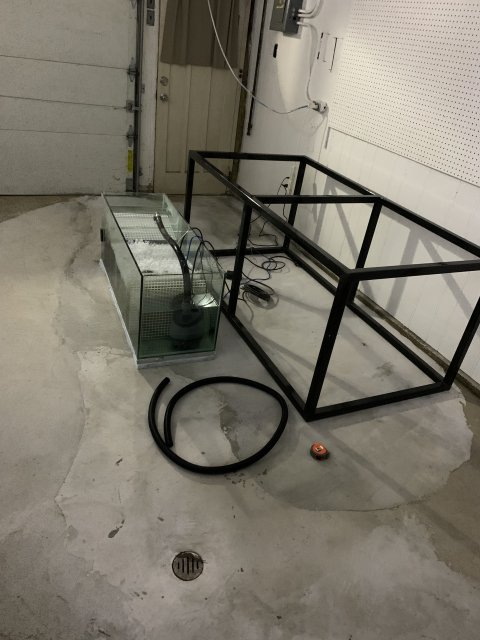
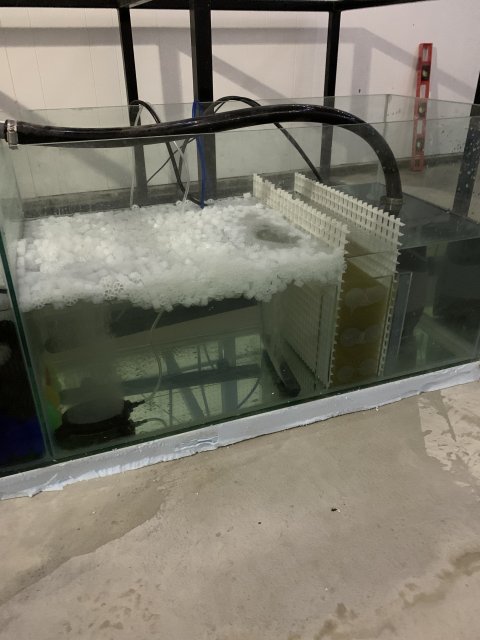
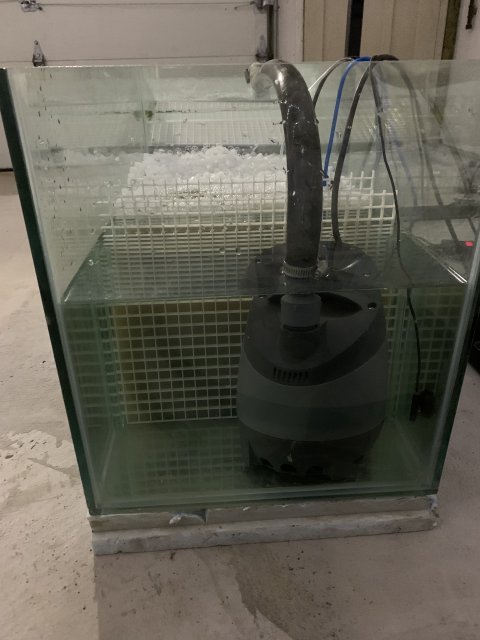
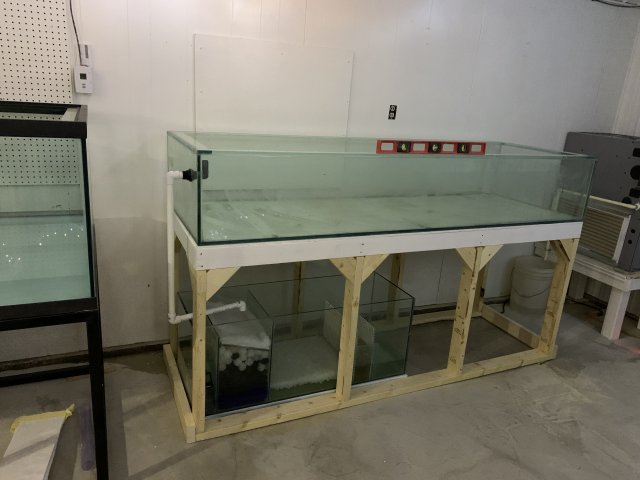
so I moved the tank into the garage and started working on the sump set up and plumbing.

7214BC7D-25DC-4D9D-967F-7AB0F4A4ACDE.jpeg

EFC8EC83-C064-4DED-9E94-5F19AF191EE3.jpeg

60E06C57-BB59-4B60-B0BC-587179F56A8E.jpeg

DBA24F3D-73AA-4F8A-96BC-0DE633EDCC29.jpeg

4B61BB80-4EA4-4A3B-8EF0-F587CB2FE039.jpeg

2FEFB555-54C2-4EAB-B0F7-D0599E5561ED.jpeg

CA78DA37-AA0E-401E-BC39-277EEEF588BA.jpeg
 
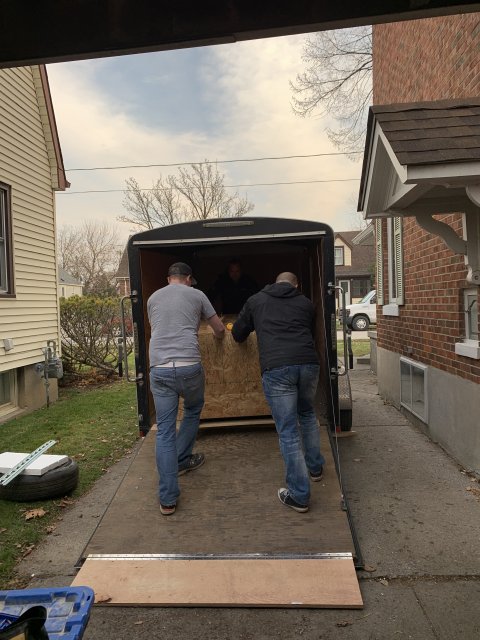
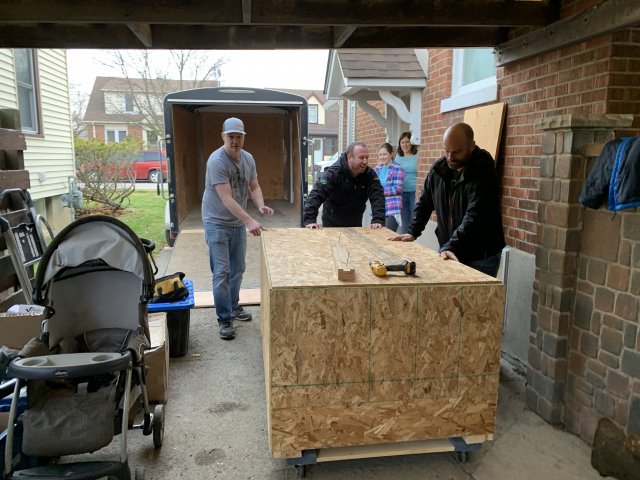
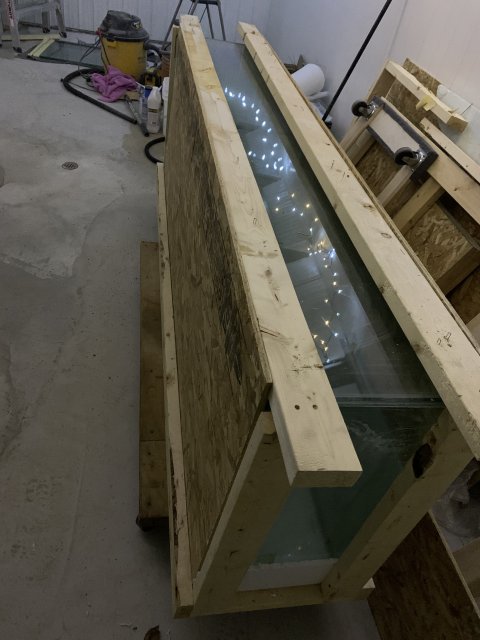
So I have bent over backwards to get this tank here safe and sound. It has been a mission that I have stayed true to. I paid extra to get it crated and bought dollies to make sure the crate would be on wheels. I paid a friend to modify my trailer to make sure the wheels would roll into my trailer. I even paid to have the trailer stored in a heated garage while we were looking for a house to buy here. I have done all the stops to protect this tank from the elements.

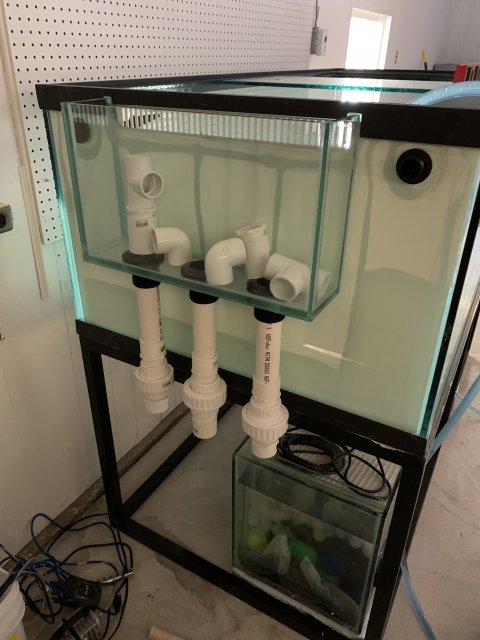
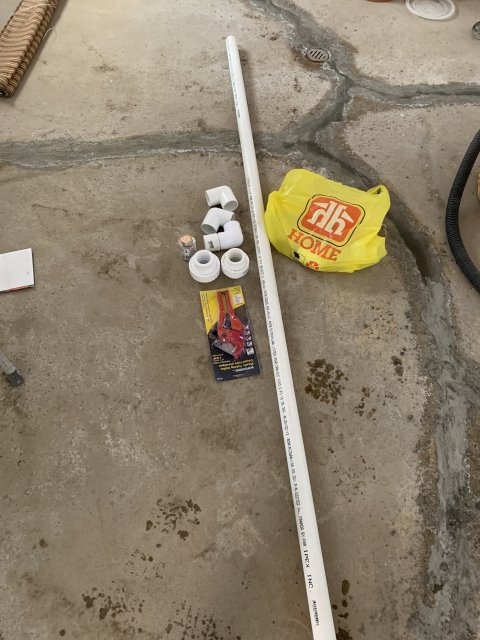
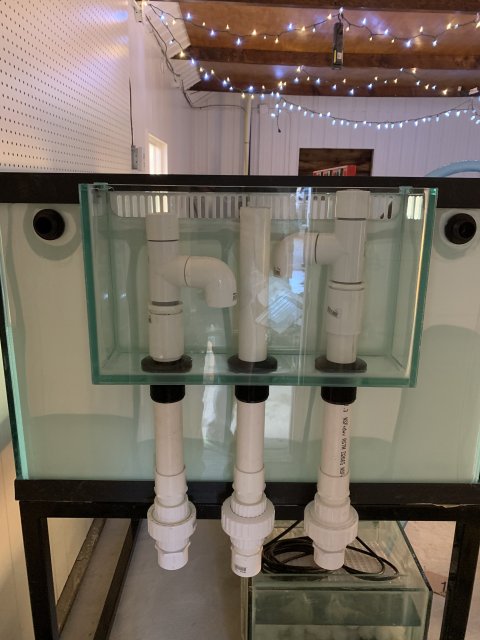
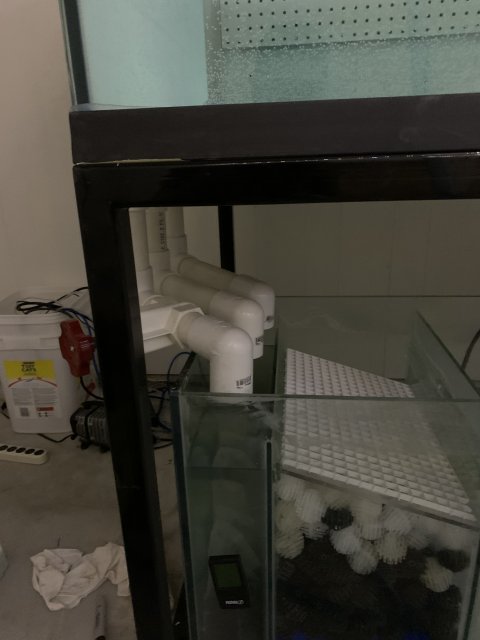
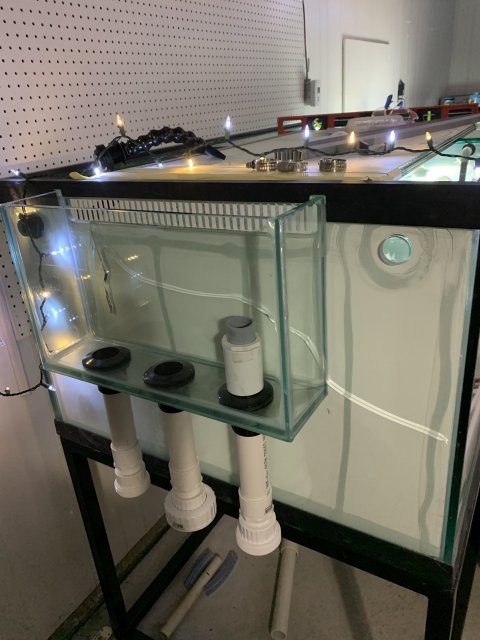
I have only seen a friend briefly plumb one of my tanks 1 time before and I didn’t even really pay too close of attention. But I had the idea of how to do the plumbing. It should have only taken an hour or two at max. But it somehow took 2-3 days to get it complete. There is something tobe said about taking inventory of all the parts you need, then still needing 1 more part- about 5-6 times. Then just as you think you have it figured out the hard ware store is closed. I had to do a hybrid of about 3 different stores because they are very limited in my small town as to what they have in each store.

but in the end, I Mickey moused the bean animal and figured out all the plumbing. I got it all dry fit and looking good. Glued it all in and it’s mint. Started my leak test and the only issue was a small dribble at the unions that can be fixed easily with thread tape.

AHA SUCCESS!!!!

oh wait- the water coming out of my hose bib was straight hot water. And the water inside the tank was already cooled to roughly 55. I take the hose out of my over flow. Just as I am about to drain it I hear a fish keepers worst nightmare noise CRACK!!

the back panel cracked and my heart shattered with it. I was literally crushed at a time where the only hope I was holding onto was adding a stupid little goldfish that my neighbor gave me to my tank. 10 minutes before I could add fish, I cracked the worst possible panel to replace on my brand new tank.

F97BC8CA-74BB-4960-ADAC-9D891F1281E8.jpeg

B028E719-560E-4DC3-B9D6-A4389A52501B.jpeg

828AA88A-986E-4EDD-8591-9A07F7FB1714.jpeg

AE9ADFF5-BE25-4FFC-9C56-214F100A1D05.jpeg

2C62E3BA-A2BA-43F1-8AFC-9C21B5846011.jpeg

7BCE4683-693E-40FB-B78A-A36D8B03B95B.jpeg

E4A38F5C-2790-406D-87B7-B48C3F4AE5F0.jpeg

3DE086E2-6453-4ABE-B68F-CA4E040F19C5.jpeg

FE7109AA-56A9-4B92-872F-B55FE7141C3E.jpeg
 
So I grabbed 2 beers and started draining the tank that was roughly half full. My wife asks, “is it safe to stand here?” I said “probably not” and just as I said that the crack went all the way across the back panel. So I stood back and sipped my beer and contemplated suicide.

luckily I have a great group of friends who support and love me even though I can be a bit dramatic at times.

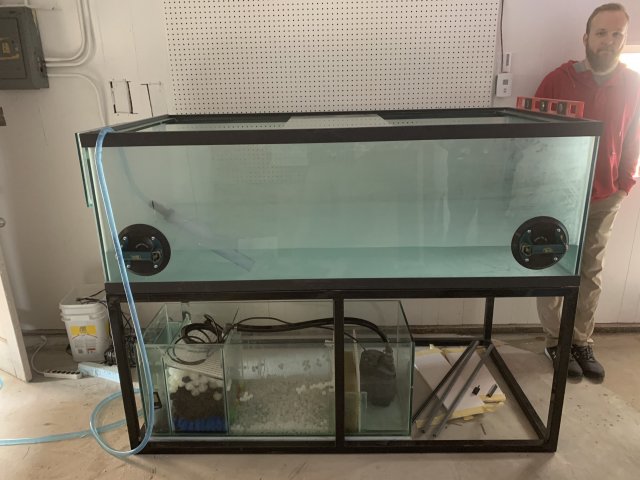
once again ready to give up, my wife comes through with a mint idea. She says “why don’t you set up the other tank and just bring the rays over , while you get that other tank fixed at your leisure?” So I took a few days to mentally recover and started on the next project.

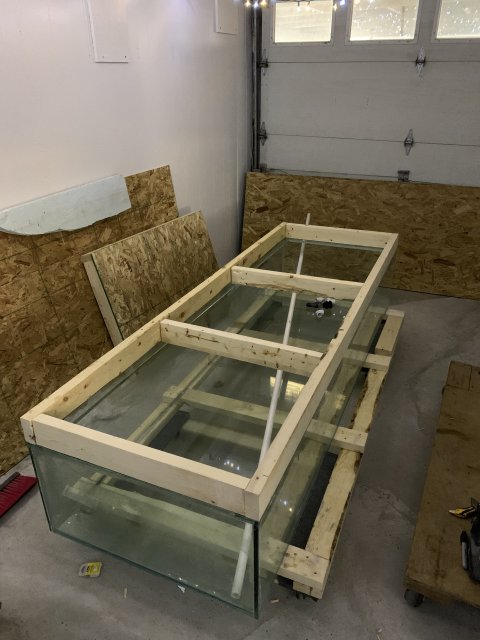
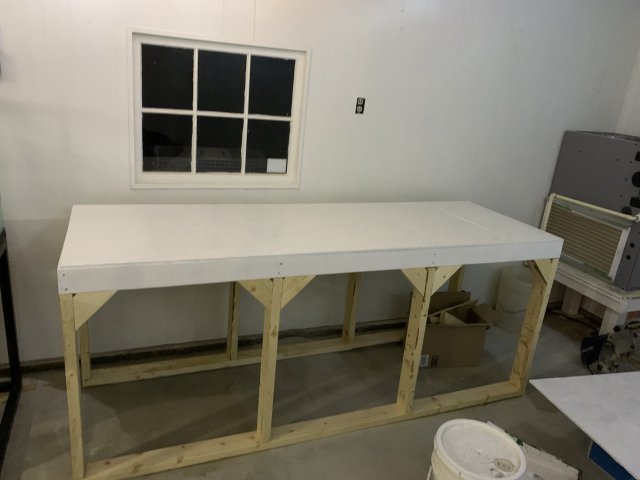
the other tank I had was an intended pup tank that was 89x29x14. Super weird dims but I got it for cheap and customized it to somewhat of my liking. I pulled apart the crate that one came in so I could build a stand. Even recycled most of the screws. Once again I had a friend build a previous stand for me once before, so I just made a basic stand similar to his design based off of what we wood I had available. No plans or experience, but got it done in 2 days - even though it was only - day of work B7070DB8-25DC-4F26-857D-36967BDB14FB.jpeg99807F71-EA89-41A0-B01A-010DC2B4EEB3.jpeg656282B2-4887-463D-B499-8420D911BB19.jpegA6930574-3649-4E36-8C44-4FF687AFF712.jpeg050B14F2-60DF-4E22-83F5-0B6979F6D0B1.jpeg7B839945-0900-4C18-84DC-24B980BB31AF.jpeg3CF5DDB6-FF68-4148-95FE-757D44009B4B.jpeg
 
Man, oh man. It was like reading a gooey feel good factor book and then the main character gets run over by a bus. What a bummer.

What I will say though, bad luck aside, is that you've got a nice bit of space going on there. Great potential and i'm sure in a few months you'll be reaping the rewards of your hard work, and hopefully no more awful news, my heart can't take it, lol.

Oh, and if you've got plans to throw those lights away, i'd reconsider. We put some Christmas lights up about 4 years ago, see picture below, and at night time they just seem to give something extra to the room. We loved them that much they've been up ever since.

With the light from the tank you seem to get a nice ambience going on, lol.

20190929_183529.jpg
 
MonsterFishKeepers.com