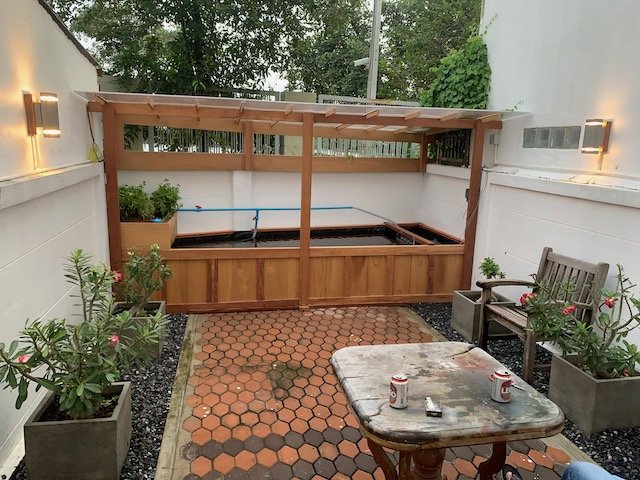
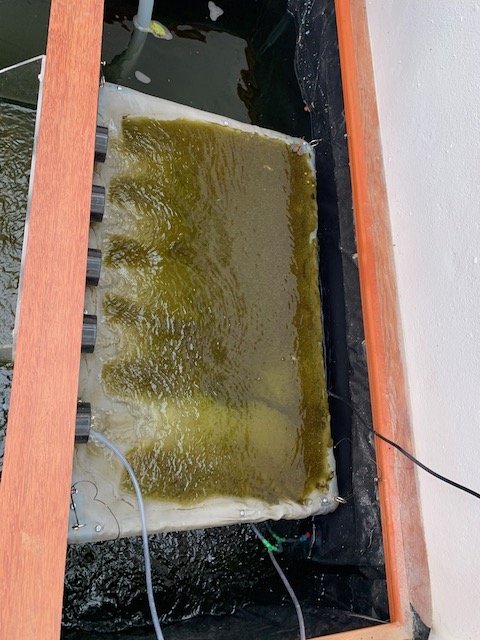
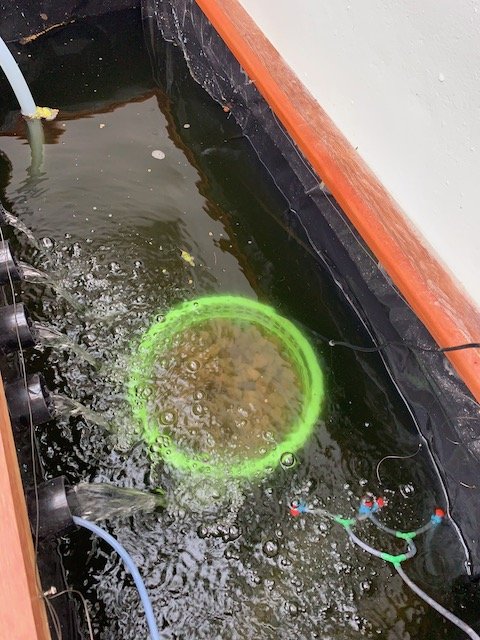
The Pond...

Luc70

Dovii
MFK Member
Jan 8, 2009
731
359
102
Bangkok, Thailand
Not made any pictures of the progress last weekend, guess it'll have to wait till after this weekend.
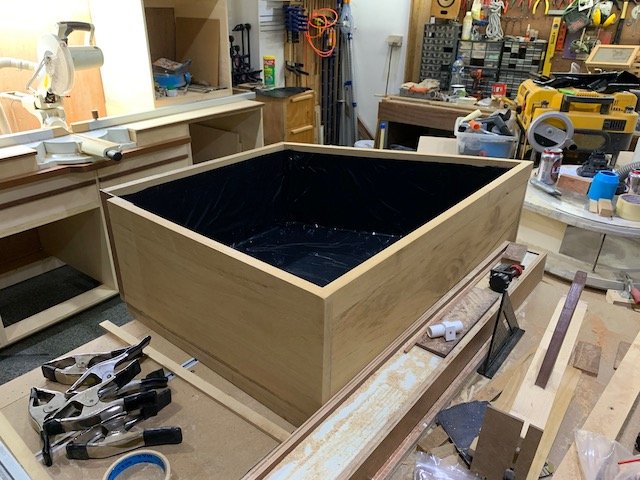
Did get the first grow-bed close to finish. Liner glued in as well.

IMG_2343.jpeg

Needs another sanding and PU layer.

IMG_2341.jpeg

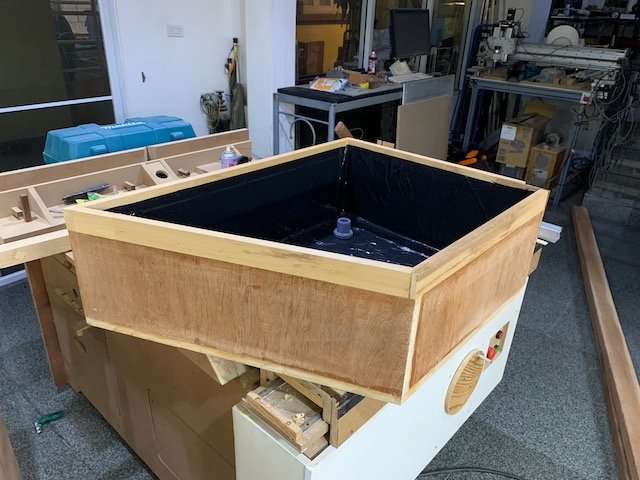
The backside. Used old plywood pieces for that and the top 50mm is normal wood used for the rest of the bed.
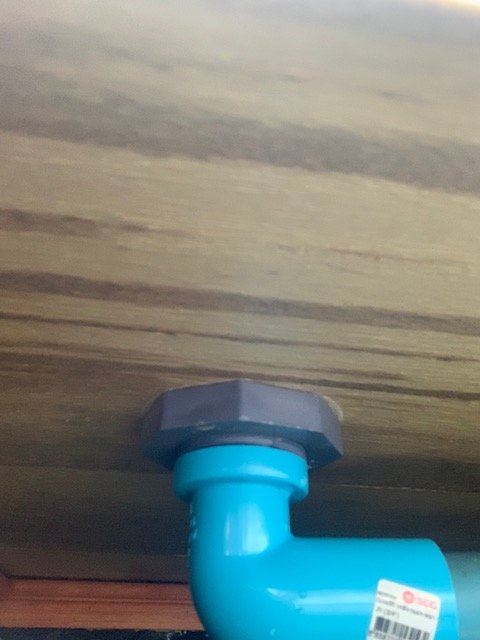
Got 3/4" bottom drains for the Bell-syphon.
Should be able to test-fit and leave it in place this weekend to wait for the syphon parts to install.

Weekend will be to install the remaining 2 wall lights, switch and connect everything to the mains.​
 
  • Like
Reactions: deeda and Iamfish

Luc70

Dovii
MFK Member
Jan 8, 2009
731
359
102
Bangkok, Thailand
Gotta love Mondays
2 days of hard work paid off, even with lots of rain, concentrated in 2 hours, flooding lots of roads around the house.

Target was to finish the electrical part and to install the first grow bed and test it.
Electrical part was a real challenge and with a last ditch effort, I was able to run the pump and switch on the light at around 6pm yesterday evening.

But lets not get ahead of ourselves.
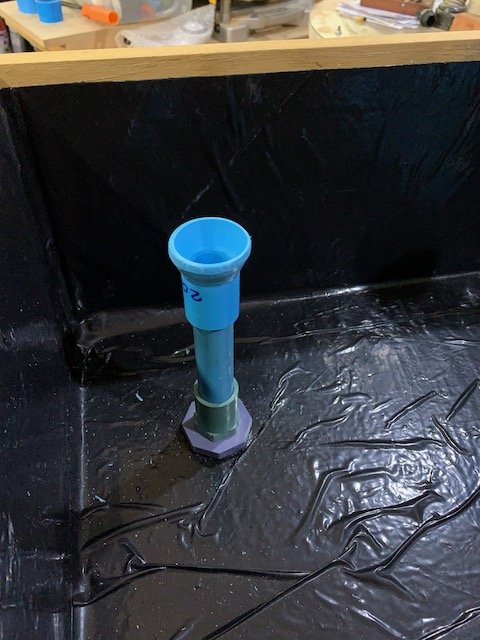
IMG_2354.jpeg
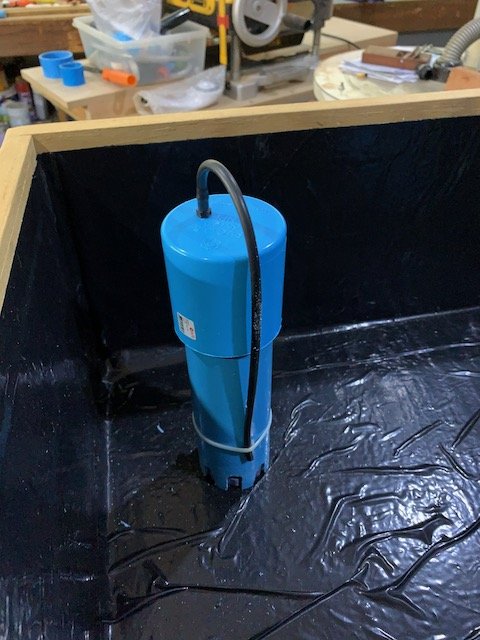
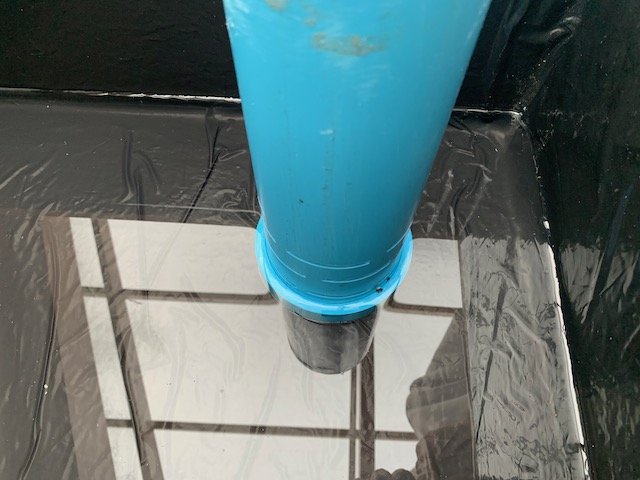
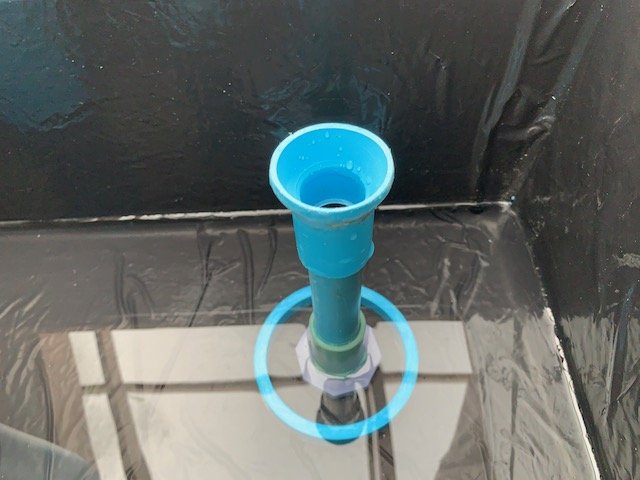
Bulkhead and standpipe done.

IMG_2352.jpeg

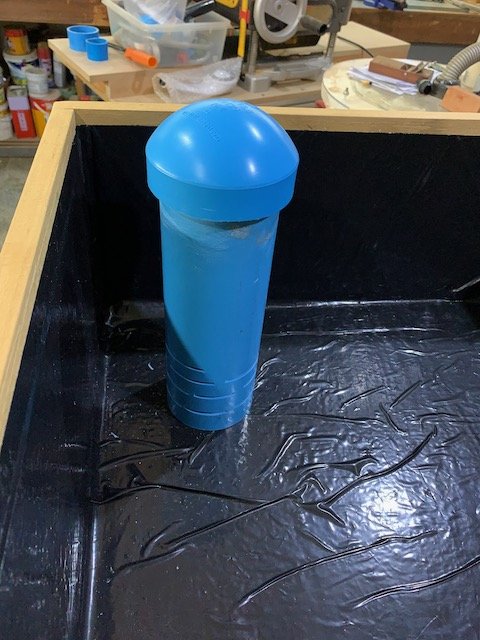
That needs a Bell of course, with a syphon breaker.
The openings at the bottom serve 2 purposes.
First, the openings fit exactly around the 8 corners of the bulkhead. Gives a nice and stable footing
Second, of course, the openings are high enough to also let water into the bell.
IMG_2348.jpeg

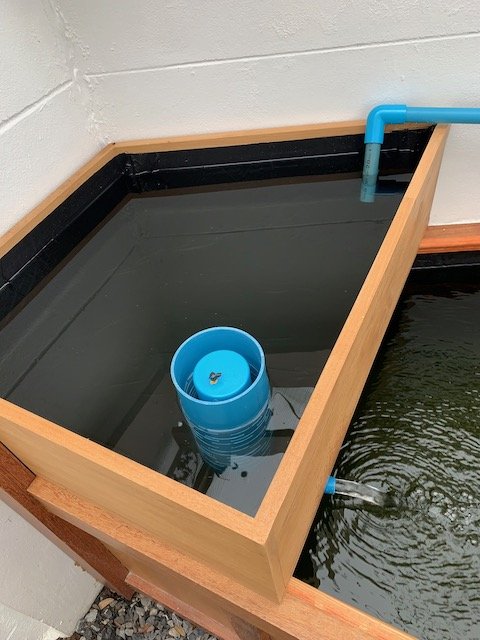
And the bell of course gets a media-guard and cover.
Still thinking to maybe spray the cover and guard white.
Will be testing it continuously without media later this week and see how it holds up.
IMG_2359.jpeg

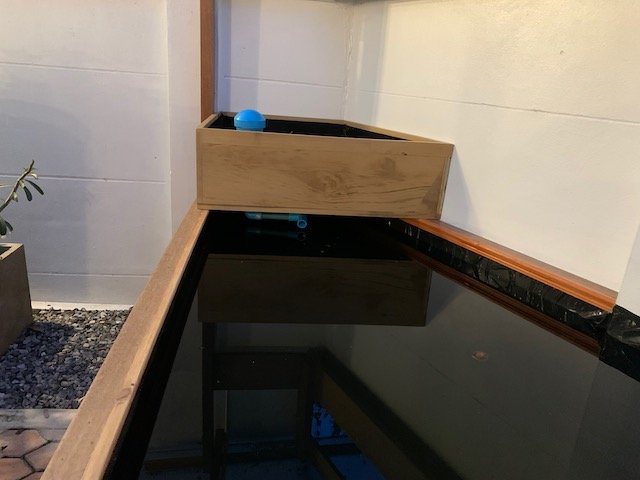
Media Bed in its final place. The bottom outlet is 'S' shaped, 3/4" size.
Works very well in the current setup to get the syphon going.

Now the funny thing when I tested it:
I had the water-hose running full speed, filling it up.
Certain moment it nicely started the syphon, emptying.
But it kept on going past the syphon-breaker air hose until it reached the openings at the bottom of the bell.
All the while, the water hose still running, and it then stopped the syphon perfectly.
Need to check a bit more and see how it goes.

So then, on to the electrics. Nasty job, lol.. Some mistakes that cost extra work as well, but without sparks, booms and bangs, it's all connected now.
IMG_2358.jpeg
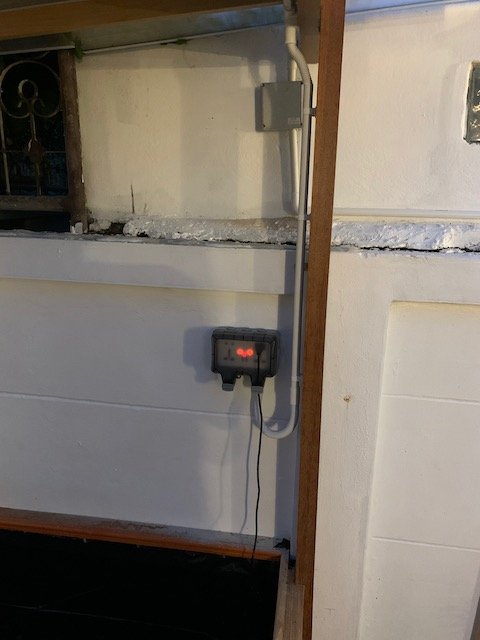
The outlet for pumps and other (future) equipment.
Initially, I mistakenly switched the 3 cables for this one with the 2 lights to the right.
So when testing the cables with a plug, before connecting to the house system, I had 2 lights working and the box..
Easy fix though, install the grey wall-box, switch the cables and it's now a sweet looking setup.
The box is IP66 rated, so no worries about water/rain. Clicks securely closed with the two grey tabs at the bottom.
Was a 30 USD box, but worth the money sure.
IMG_2365.jpeg
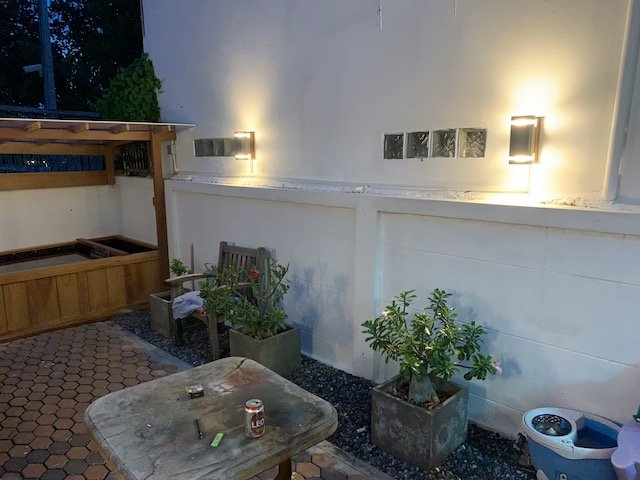
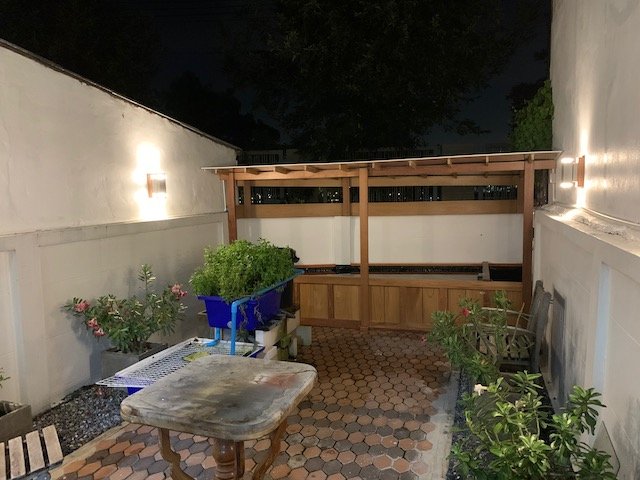
Now that's a whole new look! Very happy with how that turned out.
4 wall lights, each 2x5w LED. Metal enclosure, so all 4 are grounded.

They're supposed to be mounted directly on the wall with the cable already installed, but I can't chase cables in those walls as they belong to the neighbours.
So had to make something for that.
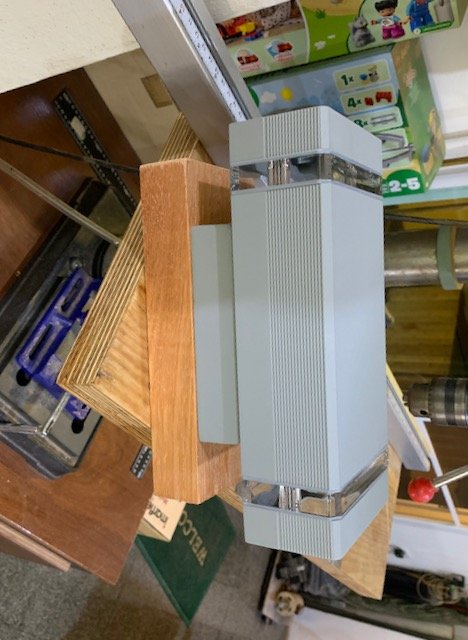
IMG_2336.jpeg

left-overs from the pond build. There's a 20mm hole from the bottom up to the middle of the block.
Then I used a 25mm bit to drill from the front down to that 20mm hole.
Had to pull the cables through there, and then mount the lamp and connect everything.

Took some effort, but it's all solid and even looks good.
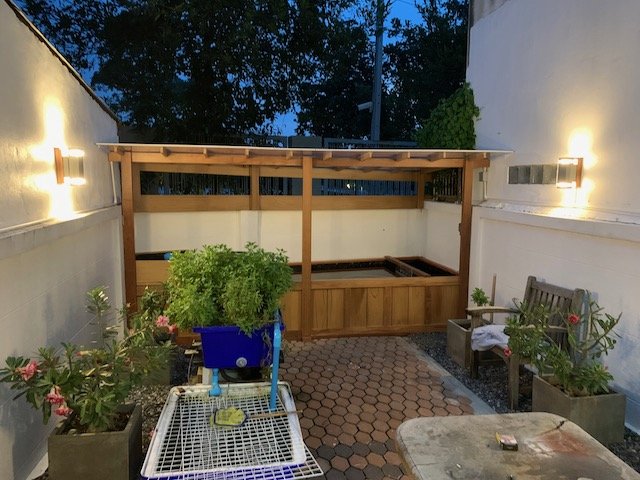
IMG_2357.jpeg

IMG_2361.jpeg

Really makes a very big difference. Happy with it, so now can focus again on the pond and get it running.

More to come

Cheers,
Luc​
 
  • Love
Reactions: deeda

Luc70

Dovii
MFK Member
Jan 8, 2009
731
359
102
Bangkok, Thailand
Did a quick check on the pond after work.
All working well, pump running 12 hours now.. nice to water flowing.
Forgot to make some pictures of how the media guard is kept in place.

IMG_2371.jpeg

Cut a ring from the endcap that goes on top.
Epoxied it to the bottom.
Media guard fits securely in there, no shifting at all.

IMG_2372.jpeg

Without the bell and media guard.

IMG_2370.jpeg

Checked for leaks.. all seems to be good!
I had about 100mm below the Media Bed. Still 30mm above the water level..
Gotta love a tight fit!​
 
  • Like
Reactions: deeda

Luc70

Dovii
MFK Member
Jan 8, 2009
731
359
102
Bangkok, Thailand
We're Baaackk!
Monday again and the pond running now.
Started with getting the grow-bed running and after a few tries balancing out the water-flow, it was running ok.

IMG_2401.jpeg
Enlarged the media-guard to 4" and was able to put in a larger 6mm syphon breaker.
Also hot-glued a small cup at the lower end of the tube to make the break faster.
Works like a dream, stops flowing almost instantly.

IMG_2398.jpeg
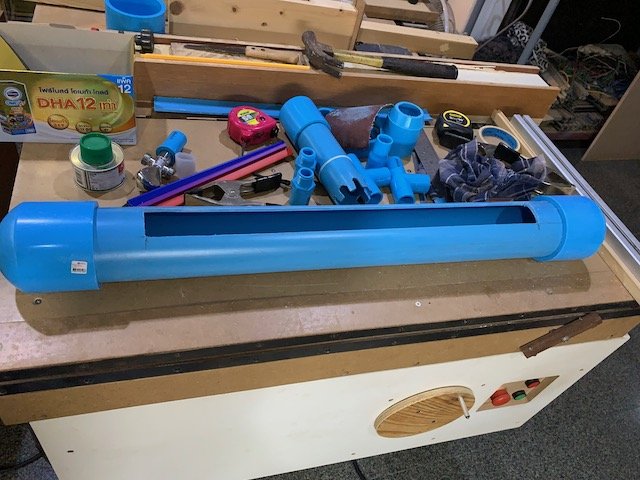
Had this nicely done for the sieve in the filter, to receive the water from the bulkheads.
Didn't work out as I hoped after drilling the holes for the bulkheads on the back-side.

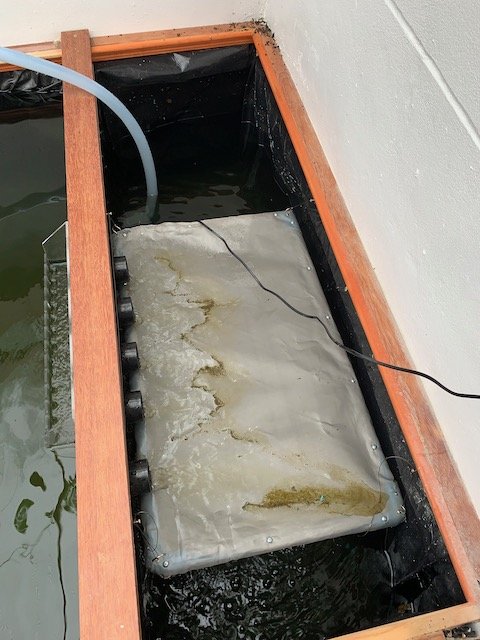
IMG_2403.jpeg
So with 4 screws and some hooks, I simply fitted it like this first.
Will make a new 3" receiving tube and it will then get a larger slope down towards the right side so the gunk will collect inside the tube.
Overall, quite impressed how much rubbish is collected. Should be doing a real nice job when it's properly installed.

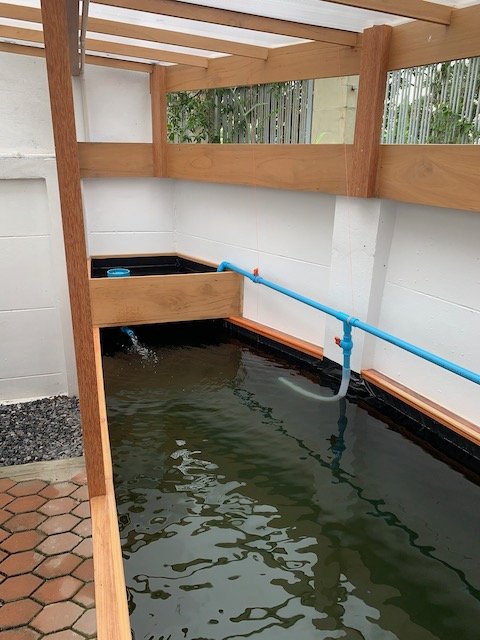
IMG_2405.jpeg
Temporary pipes installed. 2 taps to arrange proper flow to the grow-bed.
It's hanging from the roof with a couple of strings.

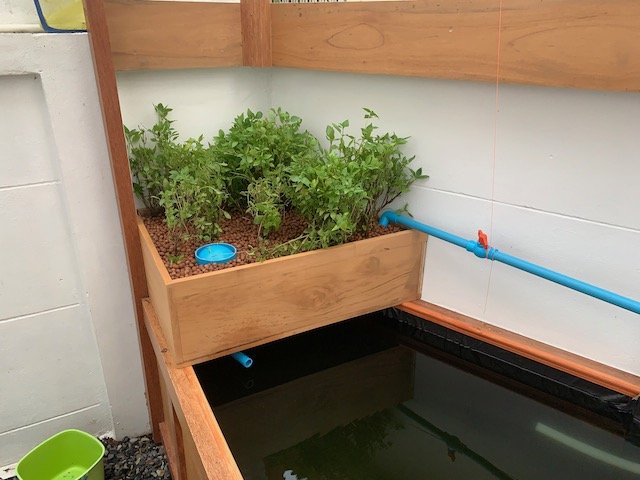
IMG_2407.jpeg
And finally, the grow-bed filled up. There was a good bucket full of lava-stones mixed into the old bed.
Sorted them all out and then used the old laundry-basket from the old prefilter and placed that inside the sump under the sieve.
Needed about 20 litres more clay-balls to fill the grow-bed so there's plenty of extra filter media and a much larger water volume.
There was some very light algae growth showing up now, so I'm curious to see how the filters will take care of that.

IMG_2411.jpeg
And cleaned up the old setup. All stowed away in the corner behind where I'm standing to make this picture.
The old air stones where all dropped into the sump, the air-disk into the pond. So there's loads of extra oxygen going in.
Lots of things to do, but with the fish in, first need to have a look for a couple of weeks at how it's all behaving.

Cheers,
Luc
Plenty of things still to do,
 

deeda

Silver Tier VIP
MFK Member
Mar 26, 2008
4,019
2,915
1,279
Medina, Ohio
Beautiful job Luc! The build was well documented and I enjoyed all your updates along the way. Looking forward to continuing tweaks to the system.
 

Luc70

Dovii
MFK Member
Jan 8, 2009
731
359
102
Bangkok, Thailand
Beautiful job Luc! The build was well documented and I enjoyed all your updates along the way. Looking forward to continuing tweaks to the system.
Hello Deeda, thanks for the compliment. Sure enjoyed it as well. Took quite a bit longer than expected, but made it to first base!

Checked yesterday after work, sieve full of gunk, so while not perfect, it does take out a lot of rubbish.
In part this is also caused by the sieve hanging at a very shallow angle. I've increased the angle a bit, see how that goes.

IMG_2417.jpeg

That's quite a load..Replaced the two steel cables with a couple of electric cable ends to make it easier to take out and clean.
Will get working on the collector pipe at the end of the sieve tonight.

IMG_2418.jpeg
There's the bucket full of stone, all full of bacteria already, so they must be having a feast right now.
More coming their way when the algae start to die off!

Cheers,
Luc
 

Luc70

Dovii
MFK Member
Jan 8, 2009
731
359
102
Bangkok, Thailand
Bit of an update: Leaking!
Levels in the filter/sump dropped unusually fast, and after 2 days, the left side front showed wet spots at the lower beam.
I moved the pump from the sump into the main pond to check if it was maybe one of the bulkheads, but the leaking stopped once the water levelled out below the bulk-heads.
So having eliminated that, there where 3 possible leak-areas:
1. Liner in the pond or sump damaged (but it would have to be somewhere at the very top of the water-level, since it stopped after dropping below the bulkheads)
2. The grow bed is leaking and water getting behind the wood/liner in one of the corners
3. One of the folds in the corners dropped below the water-level

Saturday I removed the grow-bed, temporarily installed the old plastic grow-bed over the sump and reversed direction of the water flow.
Now the water is pumped out of the pond through a 2 meter perforated pipe at the far left side of the pond, then pumped directly into the growled and with the bell-syphon, released into the sump below it.
Water then flows through the bulkheads back into the pond.

After 4 days running, all the wet spots on the left side of the pond are gone. So that eliminates the sump from having problems.
Since the wet-spots where at the left side, I suspect that one of the folds there is dipping below the water-surface, so I'll need to remove the skirting there and check that out. Will have to wait a couple of weeks, want to see how it runs first, getting plants grow back into shape and the fish getting used to everything.

The grow-bed needs a re-work, as it started expanding from moist. So need to re-think how to build those fail-safe.
All in all, lucky it's something at the higher levels in the water, so no need to pump everything out and find a leak somewhere.
Annoying sure. But some problems are to be expected.

Cheers,
Luc
 
  • Like
Reactions: deeda
zoomed.com
hikariusa.com
aqaimports.com
Store