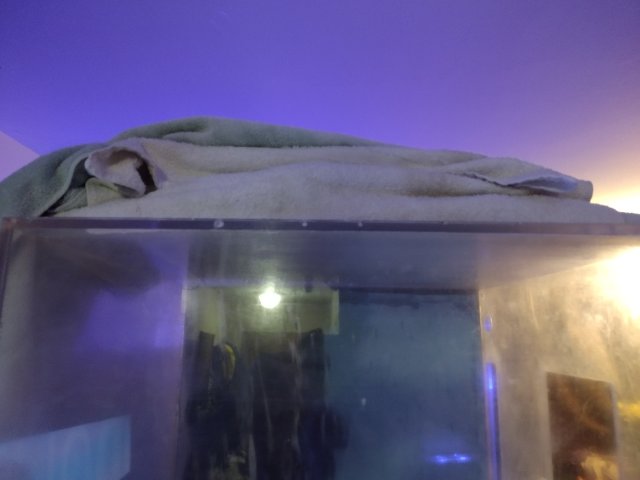
Used Acrylic tank bubbling...please help

onsloth

Feeder Fish
MFK Member
Jan 4, 2024
35
13
8
39
Correct… ratio will be the same no matter what ur measuring with. 100ml to 5ml… 100g to 5g… you can use measuring cups/spoons also if u do the conversions. Can google how many ml are in a tsp/tbsp/cup. I used to just use a measuring spoon for the hardener and a mixing cup marked with ml for the other part.
Ive been reading your other thread and saw your pic of the tip and pour method.
How exactly do I do the side crease if the top front seem is now angled with "triangle" Weldon40 seal?
Do you tip n pour every crease to reinforce old tanks?
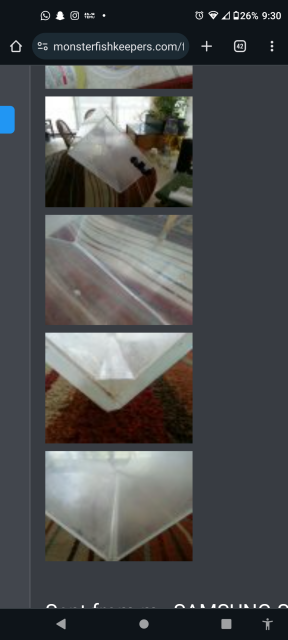
Screenshot_20240526-213035.png
 
  • Like
Reactions: wednesday13

wednesday13

Silver Tier VIP
MFK Member
Mar 2, 2008
4,527
4,419
1,629
The deep south
Ive been reading your other thread and saw your pic of the tip and pour method.
How exactly do I do the side crease if the top front seem is now angled with "triangle" Weldon40 seal?
Do you tip n pour every crease to reinforce old tanks?

View attachment 1543119
#40 adheres to itself very well… you just tip and pour again flipping the tank around to work on 1 seam at a time. It will adhere and self level right over the seams that were already poured. Yes, ive done every seam on tanks, even up under the top like u need to do.
 
  • Like
Reactions: onsloth

onsloth

Feeder Fish
MFK Member
Jan 4, 2024
35
13
8
39
#40 adheres to itself very well… you just tip and pour again flipping the tank around to work on 1 seam at a time. It will adhere and self level right over the seams that were already poured. Yes, ive done every seam on tanks, even up under the top like u need to do.
Thanks again for all the advice. I also saw that I should be leaving each seem to dry for a couple hours. And here I thought I'd be done with the tank and a day or two with all the seams lol.
 
  • Like
Reactions: wednesday13

wednesday13

Silver Tier VIP
MFK Member
Mar 2, 2008
4,527
4,419
1,629
The deep south
Thanks again for all the advice. I also saw that I should be leaving each seem to dry for a couple hours. And here I thought I'd be done with the tank and a day or two with all the seams lol.
Any time man 💀🤙… and yeah the 40 heats up alot and needs time to cool down before u move to the next seam. Its kinda a slow process. Well worth it in the end tho. If you rush it the crazing will be bad/worse
 
  • Like
Reactions: onsloth

jhonnyannan

Feeder Fish
Dec 6, 2020
3
3
8
21
Personally, I'd go for Weld-On 4 or 16 for those bubbles. It's good to address them before they potentially worsen. Plus, it'll give your tank a cleaner look, which might indeed help if you decide to sell it later on.
 

onsloth

Feeder Fish
MFK Member
Jan 4, 2024
35
13
8
39
Personally, I'd go for Weld-On 4 or 16 for those bubbles. It's good to address them before they potentially worsen. Plus, it'll give your tank a cleaner look, which might indeed help if you decide to sell it later on.
I tried to inject the areas with 4 and only a little bit took. I couldn't get it into the seams for the majority of the bubbles. If 4 couldn't get it, 16 won't.
 
  • Like
Reactions: wednesday13

onsloth

Feeder Fish
MFK Member
Jan 4, 2024
35
13
8
39
Any time man 💀🤙… and yeah the 40 heats up alot and needs time to cool down before u move to the next seam. Its kinda a slow process. Well worth it in the end tho. If you rush it the crazing will be bad/worse
I was also thinking of just doing the top seems.
The bottom has no bubbling and the top side just has this much bubbling at each side.
Just to get started on this fill up soon lol.
 

onsloth

Feeder Fish
MFK Member
Jan 4, 2024
35
13
8
39
Any time man 💀🤙… and yeah the 40 heats up alot and needs time to cool down before u move to the next seam. Its kinda a slow process. Well worth it in the end tho. If you rush it the crazing will be bad/worse
Oops I didn't attach picture

IMG_20240529_181502307.jpg
 

onsloth

Feeder Fish
MFK Member
Jan 4, 2024
35
13
8
39
I was also thinking of just doing the top seems.
The bottom has no bubbling and the top side just has this much bubbling at each side.
Just to get started on this fill up soon lol.
Sor
Any time man 💀🤙… and yeah the 40 heats up alot and needs time to cool down before u move to the next seam. Its kinda a slow process. Well worth it in the end tho. If you rush it the crazing will be bad/worse
Sorry to keep bothering you lol.
What did you think about me just not doing the front sides being there's only a few bubbles. I was thinking about just doing front and back top, on the sides of the top
 

wednesday13

Silver Tier VIP
MFK Member
Mar 2, 2008
4,527
4,419
1,629
The deep south
Sor

Sorry to keep bothering you lol.
What did you think about me just not doing the front sides being there's only a few bubbles. I was thinking about just doing front and back top, on the sides of the top
Using around 75-100ml per seam u should have enough to do the whole tank with 1 pint kit. If you up it to 200ml per seam ud need 2 pints for the whole tank. In the bigger picture of $80 and some time its well worth it to never worry again. I have one tank i did every seam but the top. It bothers me every time i look at it and i wish i did the whole thing. Ive looked at it for 10yrs now and i regret it every day 😂.

At the least i would get 1 pint for $35-40 and do every seam where there are bubbles. The tank is showing signs of stress/age, y not make the seams new again. Thats just me personally tho. Much easier to do it now then tear down and do it again after its full of water/fish.
 
  • Like
Reactions: onsloth
zoomed.com
hikariusa.com
aqaimports.com
Store