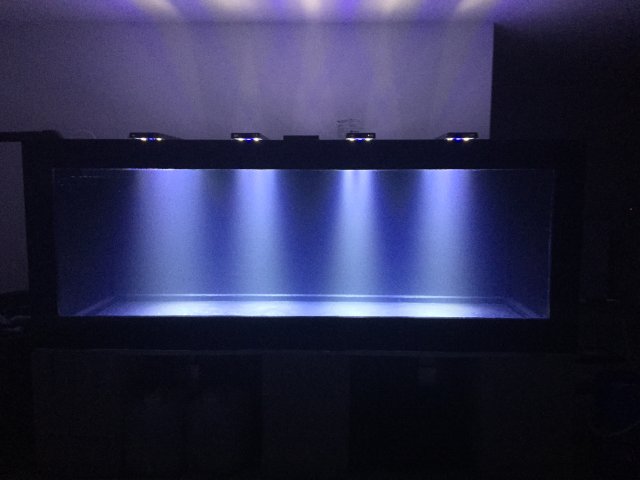
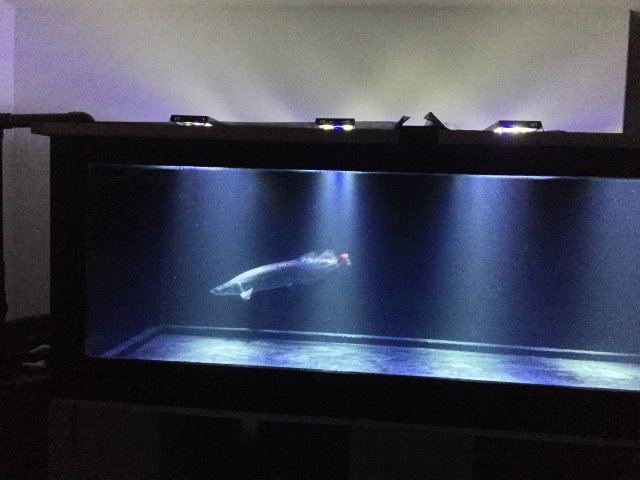
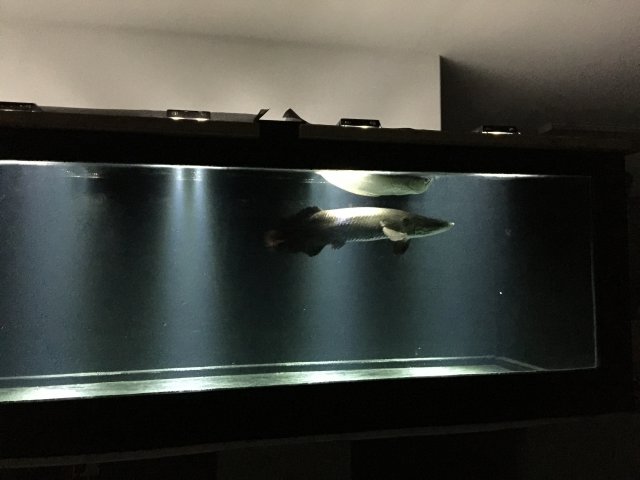
So first off let me apologize in advance for the heavy pic load, but I think that's the point of this thread right?
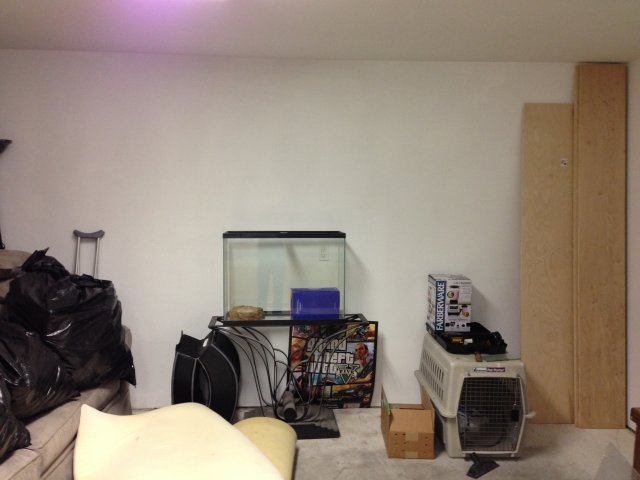
So the main reason for this build was an Arapaima that was gifted to me from a friend that knew I keep monster fish. As soon as I saw the bag I knew I was going to need a huge tank and soon. Unfortunately for me, I had never built a tank larger than 10 gallons and surely had never even thought about a plywood aquarium. So I googled how to keep a monster arapaima and found a thread here on MFK. So I immediately signed up and started researching and asking questions. This build is the result of MFK and I am greatly appreciative to all who took the time to answer my questions and help me along the way. So lets get to the build.
I didn't want to get too crazy with the build since I had never done a plywood tank before, so I decided to make this tank with dimensions of 96" x 48" x 36" The most frequent question I get when my friends see it is "If a piece of plywood is 96" x 48" why didn't you just go 48" high?" The answer to that is because of water pressure and glass thickness. Also, it allowed me to use one piece of ply for the short sides of the aquarium, and still have enough scrap to make a center brace and an overflow box. Being that this is just a test tank I didn't want to spend more than $2500 on this tank because I knew I would be building a bigger tank almost immediately after building this one, as it is nowhere near big enough to house this fish for it's whole life.
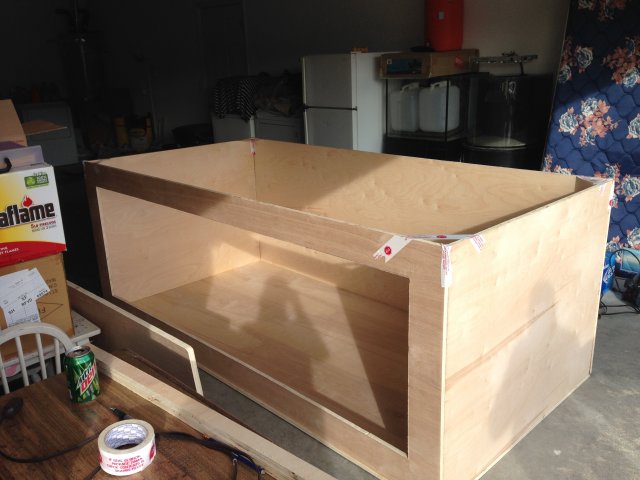
It is big, don't get me wrong. I got inside for a size reference.
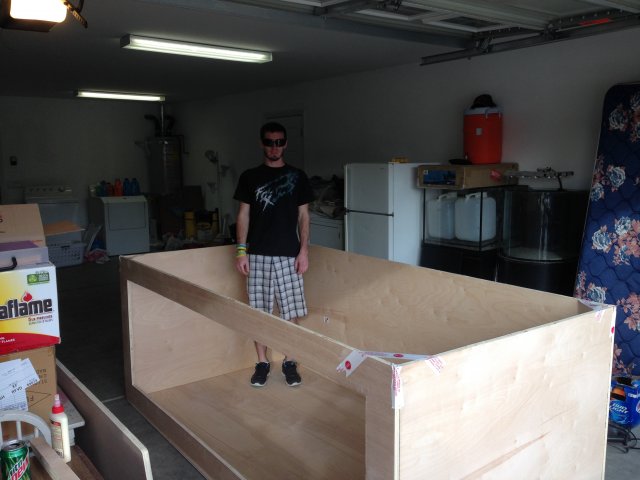
After my perfect job of holding the sides together, It was time to glue and screw so it could be moved around without it falling to pieces.
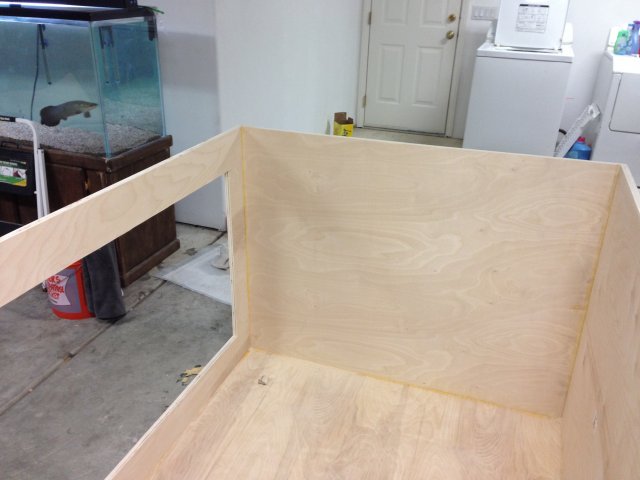
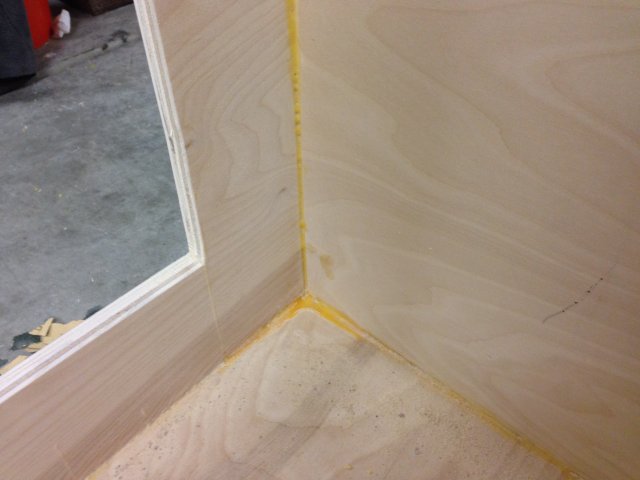
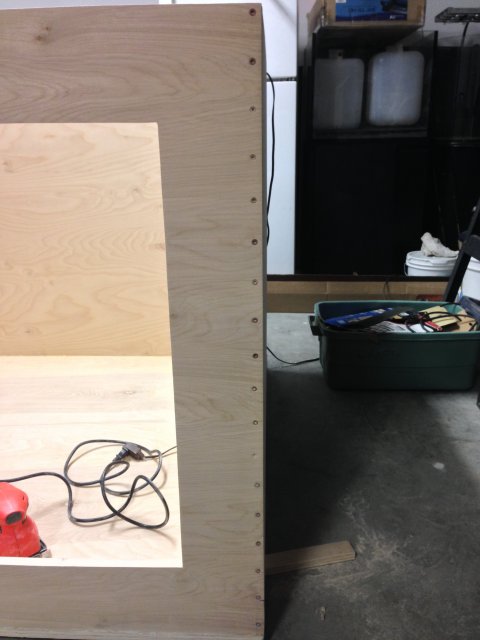
After gluing and screwing, I sanded everything down and prepped for epoxy. And then I ran into a problem. The tank that the fish was in, was the only place I could put the tank I was building..so a painstaking move was devised...
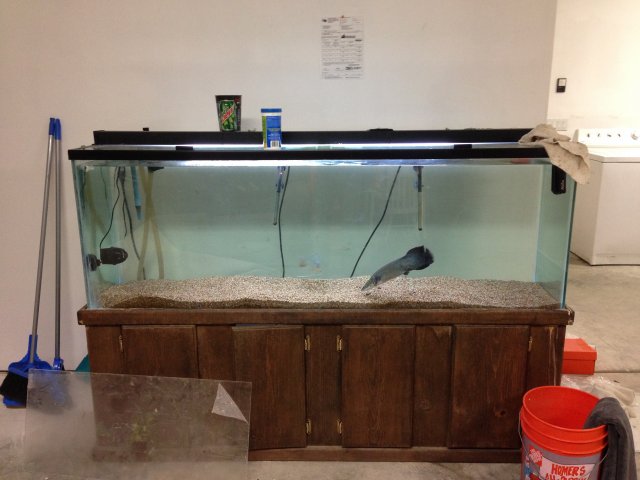
That was a PITA to move with just 2 people...but once it was moved I could get the stand in place and put the tank on top of it.
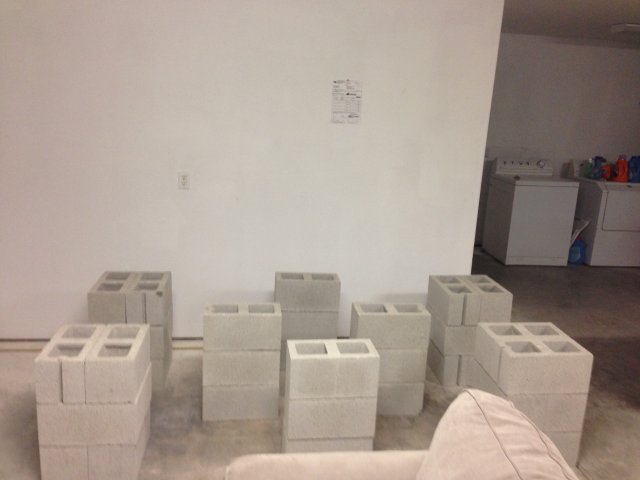
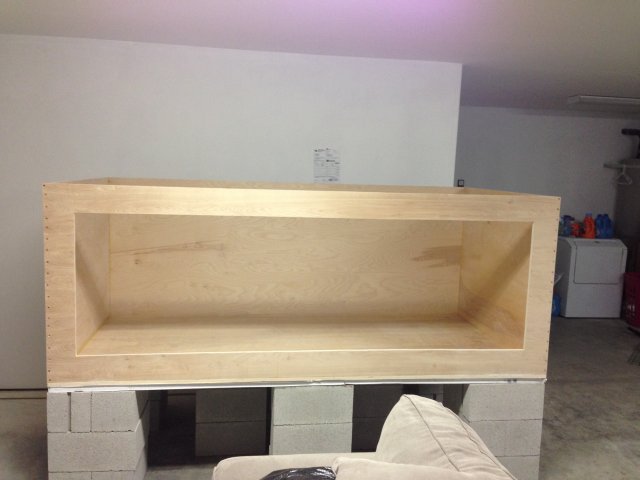
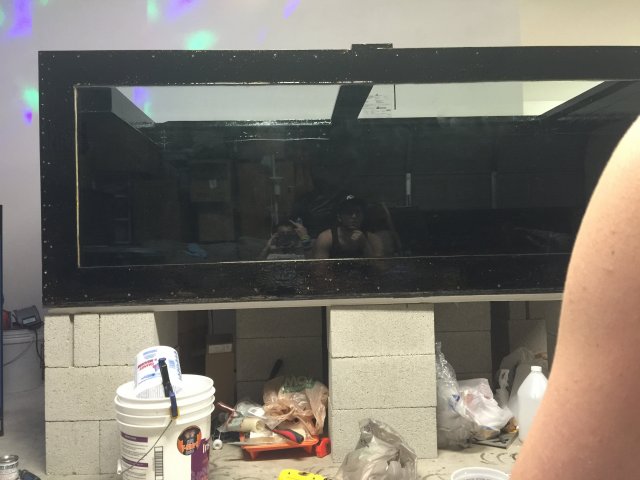
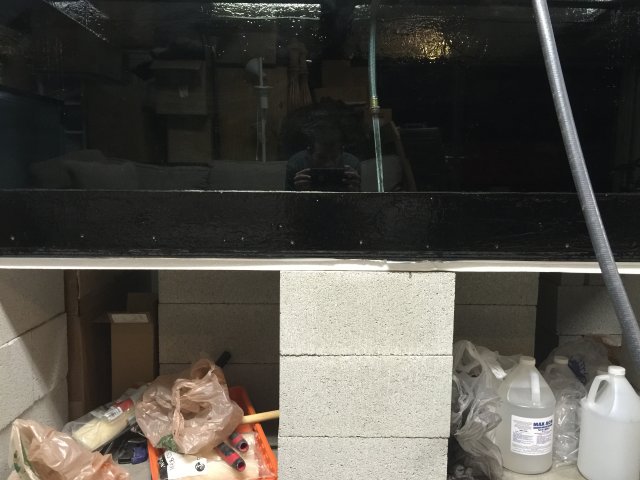
I went with cinder blocks for two reasons. First, it was cheap. Cost me $40. Second, its easily transportable and takes up less space than a wooden stand would if I have to move it. I put a piece of 3/4" foam on top to act as a cushion, level out any imperfections on the blocks, and also protect the wood from the blocks with the amount of pressure that would be on it from the water.
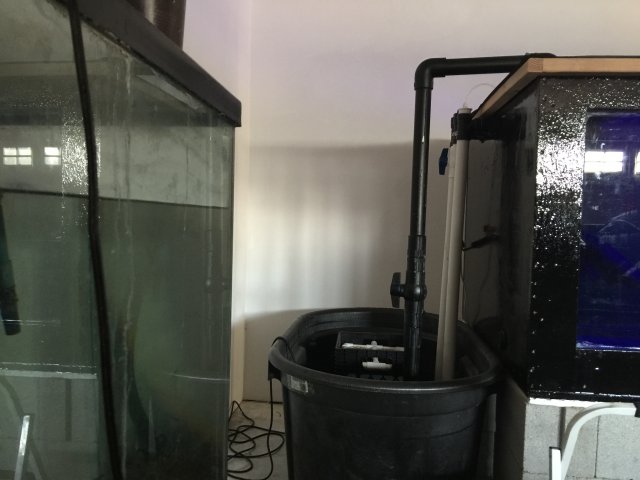
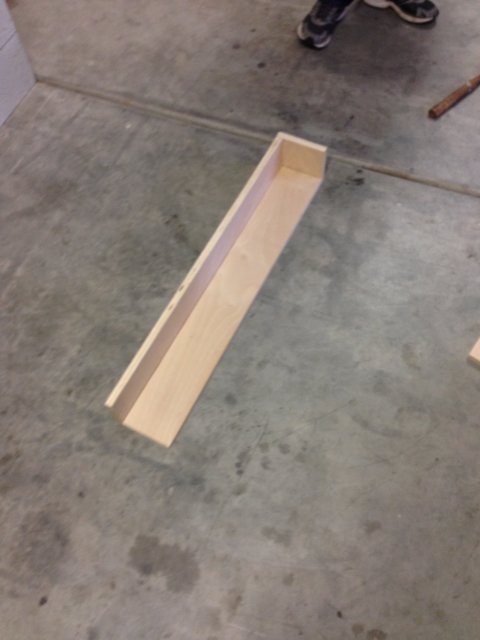
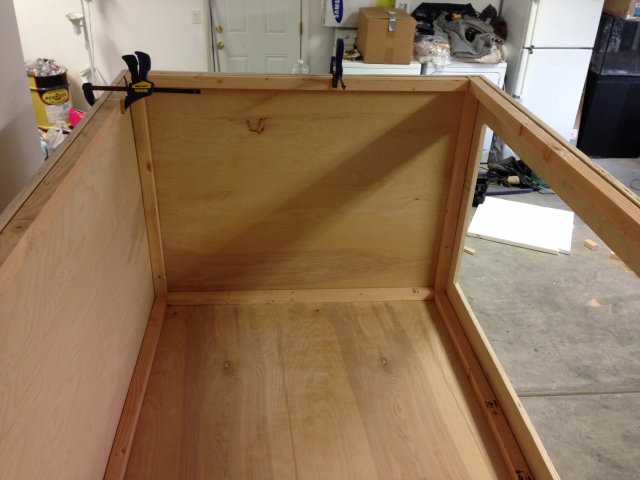
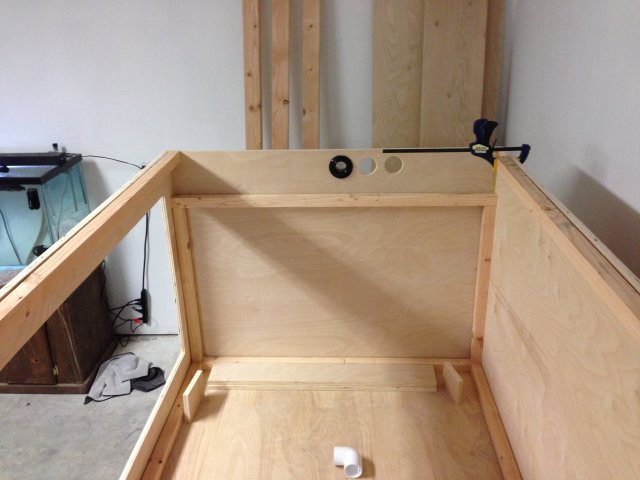
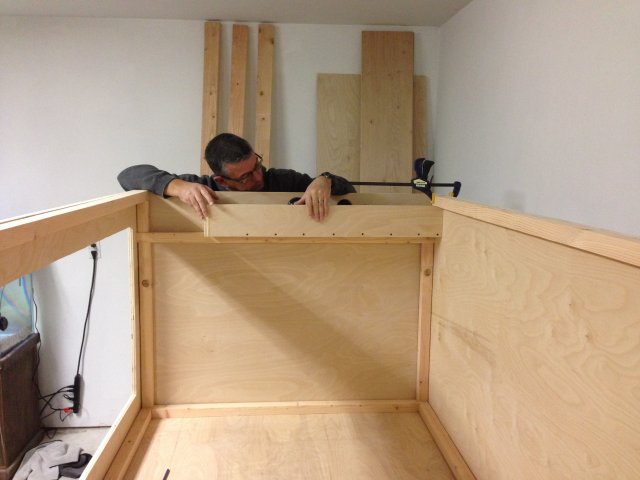
Next was installing the braces, drilling the holes for the overflow, and installing the overflow itself.
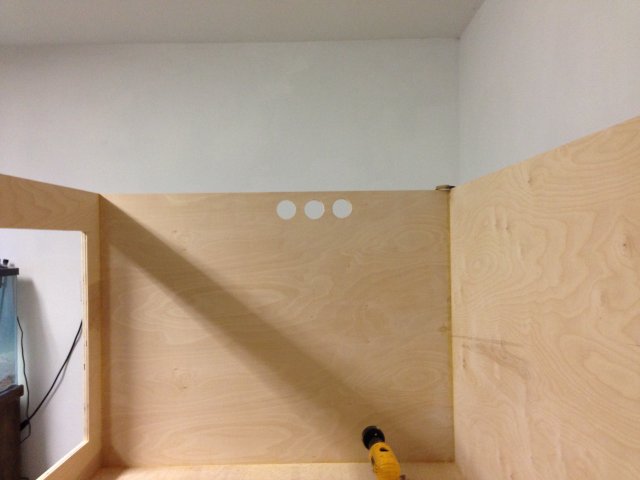
Now this is where I messed up. I meant to make the center hole 1/4" lower than the two outer holes, but I fixed that issue later with the 90's that are in the overflow box. Real easy fix.
After all that was glued and screwed into place, it was time to epoxy and add the window. I went with Max ACR because it was cheap and effective. I ended up ordering 4.5 gallons and only using 4 gallons. I probably put overkill on the inside as far as waterproofing goes, but I wanted to be sure. I ended up using close to 3 gallons just for the inside, and the other gallon I used epoxying the outside of the tank.
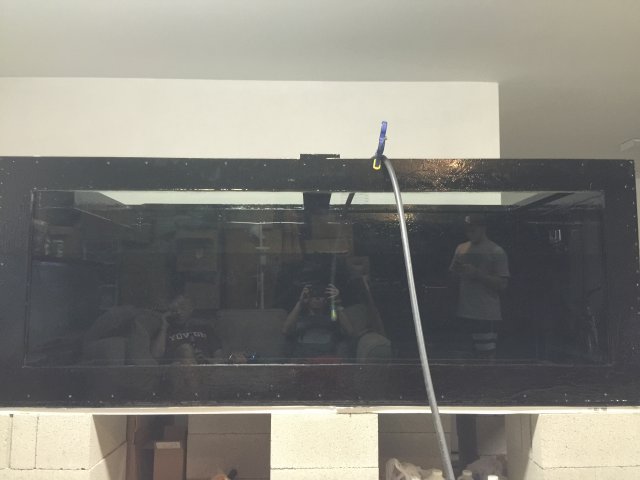
The glass window is 92 3/4" x 32 3/4" x 3/4" I left a little bit of space on each side of the window because I didn't want any issues with the glass fitting, and I epoxied the wood where the window was going before hand so I knew I added some thickness there as well.
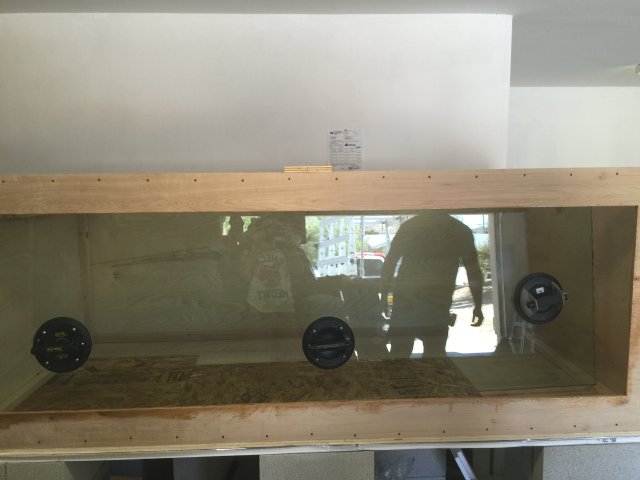 I used epoxy to hold the window to the wood. Max ACR bonds to both glass and wood very well. Pulled the window into place, applied pressure and let it sit for a week.
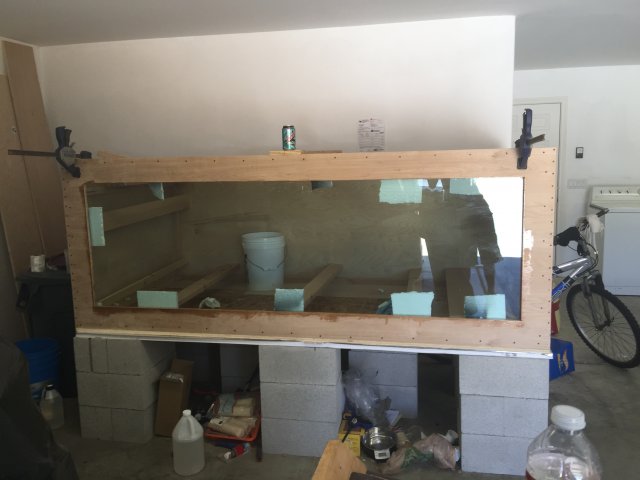
Next was epoxying the inside. I epoxied everything all at once, starting on one side and wrapping around to the other, and then doing the bottom last working toward the side I started on. (Note: epoxy heats as it hardens, as I'm sure you already know, working in a closed box that heats up as time goes on is not very fun.) At times it was pushing 115 degrees inside the tank while we were working. I would advise having plenty of water on hand to stay hydrated. Also, make sure you can collect sweat instead of letting it drip on the tank, the epoxy won't adhere to it and will create bubbles or low spots that the epoxy will avoid. Water and towels are a must have close by if you have to work inside of a tank this size.
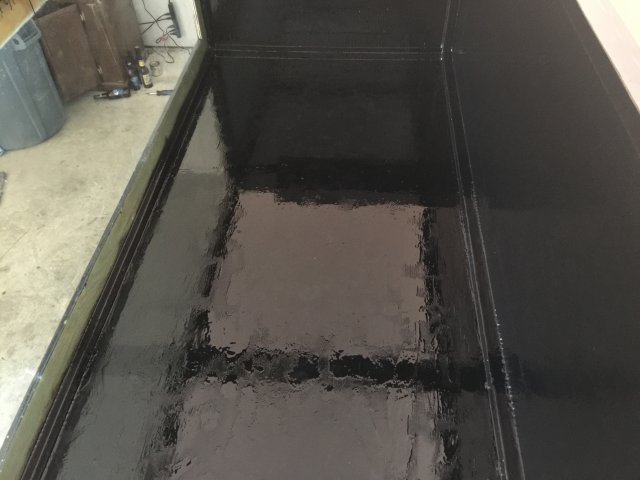
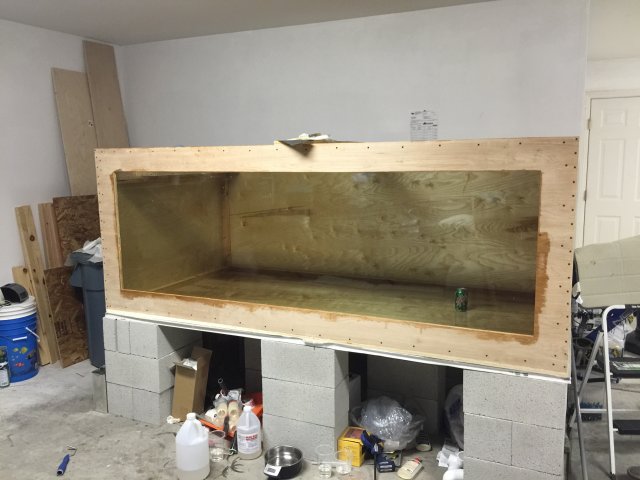
These are some shots of the inside of the tank after being epoxied..You can't really see it but there ise fiberglass cloth in all the seams, going vertically and horizontally. I did this for waterproofing and extra strength in the corners.
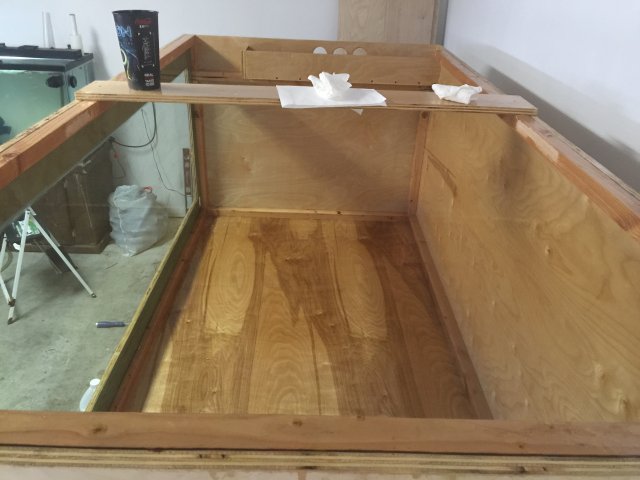
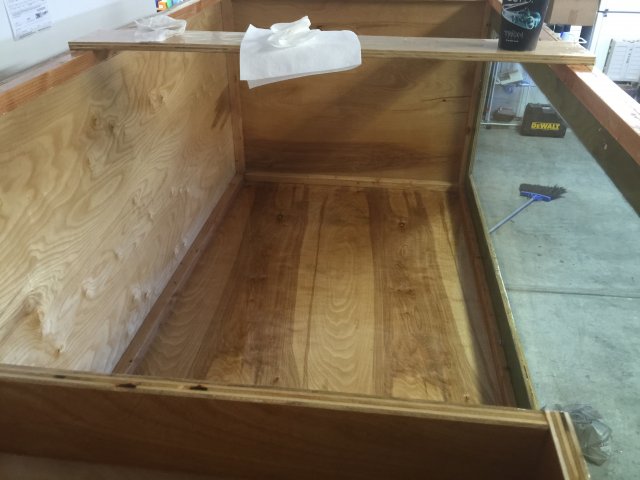
After all the clear epoxy was done, I went mixed in my colorant that I ordered along with my epoxy and made it a nice background color. I chose black because blue reminded me too much of a fish store and I didn't want to look at the tank I built and be reminded of a fish store. That and I didn't think red, yellow, or green would look very good either..hahaha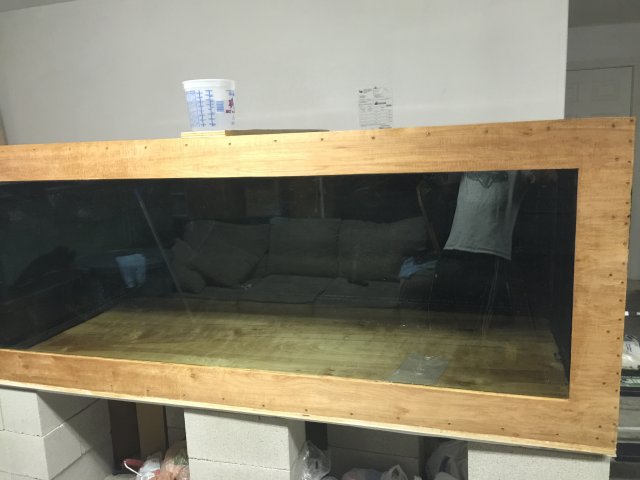
I had also started on the outside of the tank at this point.
So the main reason for this build was an Arapaima that was gifted to me from a friend that knew I keep monster fish. As soon as I saw the bag I knew I was going to need a huge tank and soon. Unfortunately for me, I had never built a tank larger than 10 gallons and surely had never even thought about a plywood aquarium. So I googled how to keep a monster arapaima and found a thread here on MFK. So I immediately signed up and started researching and asking questions. This build is the result of MFK and I am greatly appreciative to all who took the time to answer my questions and help me along the way. So lets get to the build.
I didn't want to get too crazy with the build since I had never done a plywood tank before, so I decided to make this tank with dimensions of 96" x 48" x 36" The most frequent question I get when my friends see it is "If a piece of plywood is 96" x 48" why didn't you just go 48" high?" The answer to that is because of water pressure and glass thickness. Also, it allowed me to use one piece of ply for the short sides of the aquarium, and still have enough scrap to make a center brace and an overflow box. Being that this is just a test tank I didn't want to spend more than $2500 on this tank because I knew I would be building a bigger tank almost immediately after building this one, as it is nowhere near big enough to house this fish for it's whole life.

It is big, don't get me wrong. I got inside for a size reference.

After my perfect job of holding the sides together, It was time to glue and screw so it could be moved around without it falling to pieces.


After gluing and screwing, I sanded everything down and prepped for epoxy. And then I ran into a problem. The tank that the fish was in, was the only place I could put the tank I was building..so a painstaking move was devised...
This

That was a PITA to move with just 2 people...but once it was moved I could get the stand in place and put the tank on top of it.


I went with cinder blocks for two reasons. First, it was cheap. Cost me $40. Second, its easily transportable and takes up less space than a wooden stand would if I have to move it. I put a piece of 3/4" foam on top to act as a cushion, level out any imperfections on the blocks, and also protect the wood from the blocks with the amount of pressure that would be on it from the water.
Next was installing the braces, drilling the holes for the overflow, and installing the overflow itself.

Now this is where I messed up. I meant to make the center hole 1/4" lower than the two outer holes, but I fixed that issue later with the 90's that are in the overflow box. Real easy fix.


After all that was glued and screwed into place, it was time to epoxy and add the window. I went with Max ACR because it was cheap and effective. I ended up ordering 4.5 gallons and only using 4 gallons. I probably put overkill on the inside as far as waterproofing goes, but I wanted to be sure. I ended up using close to 3 gallons just for the inside, and the other gallon I used epoxying the outside of the tank.
The glass window is 92 3/4" x 32 3/4" x 3/4" I left a little bit of space on each side of the window because I didn't want any issues with the glass fitting, and I epoxied the wood where the window was going before hand so I knew I added some thickness there as well.
 I used epoxy to hold the window to the wood. Max ACR bonds to both glass and wood very well. Pulled the window into place, applied pressure and let it sit for a week.
Next was epoxying the inside. I epoxied everything all at once, starting on one side and wrapping around to the other, and then doing the bottom last working toward the side I started on. (Note: epoxy heats as it hardens, as I'm sure you already know, working in a closed box that heats up as time goes on is not very fun.) At times it was pushing 115 degrees inside the tank while we were working. I would advise having plenty of water on hand to stay hydrated. Also, make sure you can collect sweat instead of letting it drip on the tank, the epoxy won't adhere to it and will create bubbles or low spots that the epoxy will avoid. Water and towels are a must have close by if you have to work inside of a tank this size.
These are some shots of the inside of the tank after being epoxied..You can't really see it but there ise fiberglass cloth in all the seams, going vertically and horizontally. I did this for waterproofing and extra strength in the corners.


After all the clear epoxy was done, I went mixed in my colorant that I ordered along with my epoxy and made it a nice background color. I chose black because blue reminded me too much of a fish store and I didn't want to look at the tank I built and be reminded of a fish store. That and I didn't think red, yellow, or green would look very good either..hahaha

I had also started on the outside of the tank at this point.


