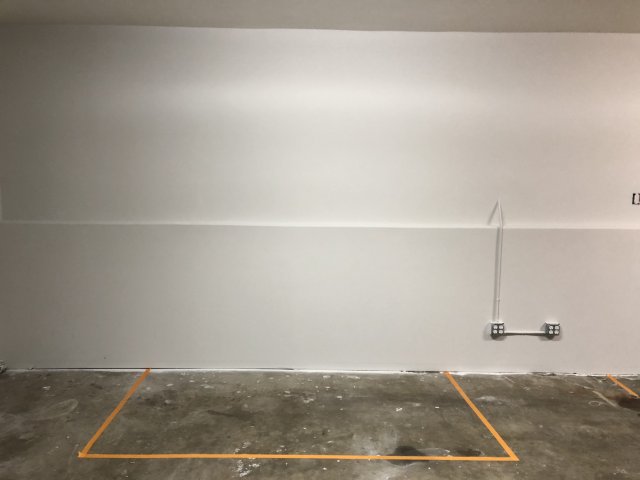
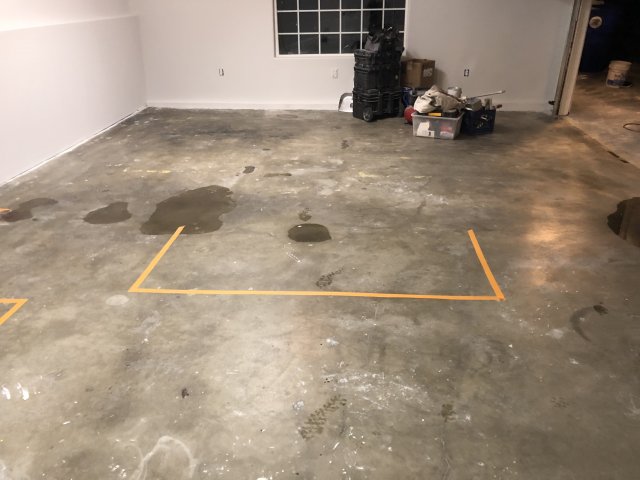
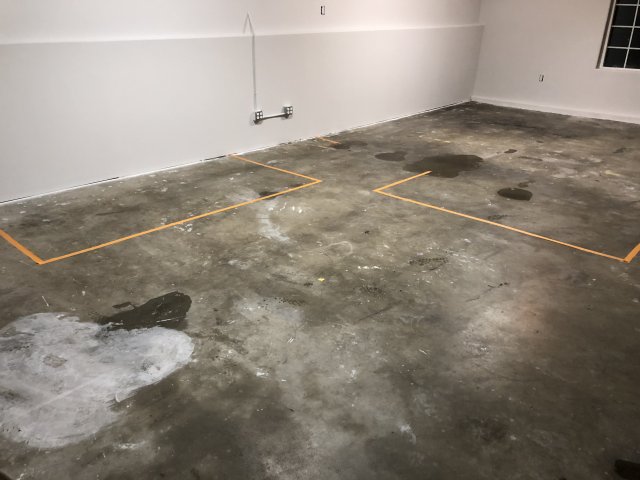
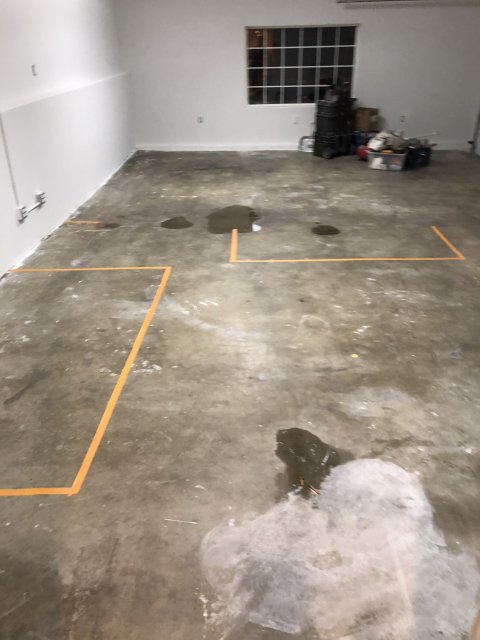
Picked up a 535

  • We are currently upgrading MFK. thanks! -neo
No major updates but wanted to show a quick pic of where the tanks will go. Just had the garage finished and insulated. The masking tape shows the outlines of where the tanks will go. The 535 is the outline against the wall. The second tank forming an “L” with the 535 is a 280 I’m picking up from Dragon Hunter Dragon Hunter .

4FA64F98-8621-4894-A627-1F039B88CCE6.jpeg C6D15A36-0867-459A-9E01-8C78639864EB.jpeg FE08929C-97D0-4F5E-AF5C-DA337FE6C31F.jpeg 73303E4D-A9D9-428B-94F0-27CD3ED0FF38.jpeg
 
  • Like
Reactions: Woefulrelic
Just ordered a stand today. I’ll be getting it in three weeks. Using a local builder and doing a simple open wooden stand made with 2x6’s and plywood.

Quick question, do I put a piece of styrofoam under the tank or do I rest it on the plywood directly?

I believe you want the tank set on the plywood directly. This has come up a few times recently and wednesday13 wednesday13 has always told everyone to put the tanks directly on the plywood.
 
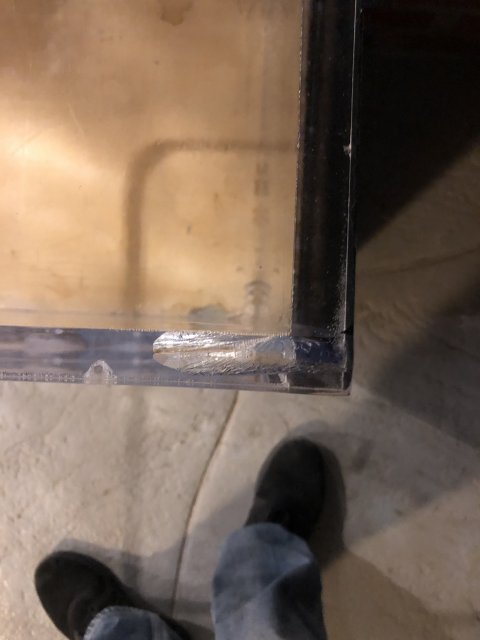
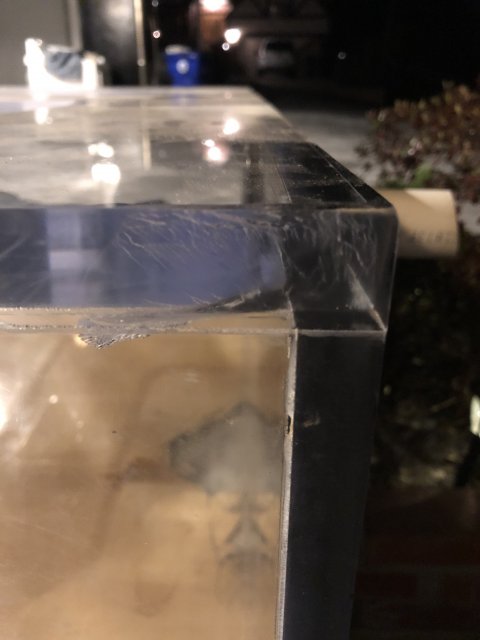
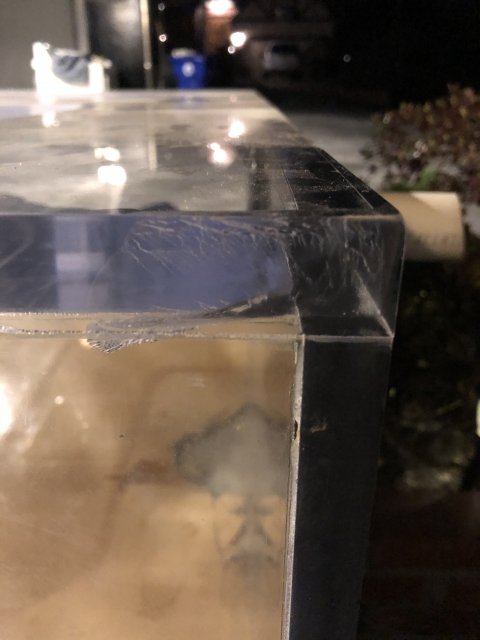
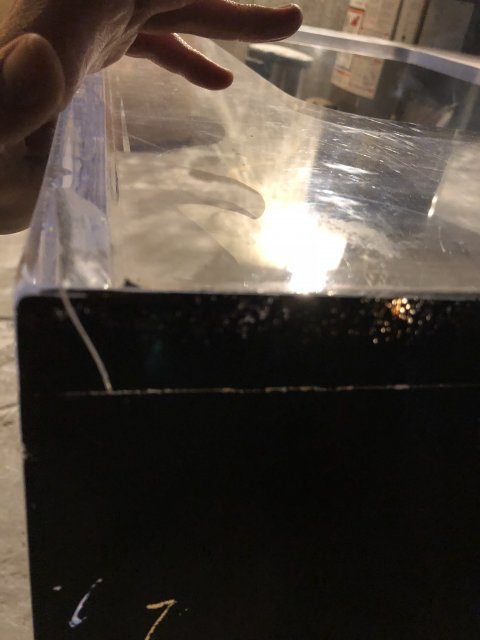
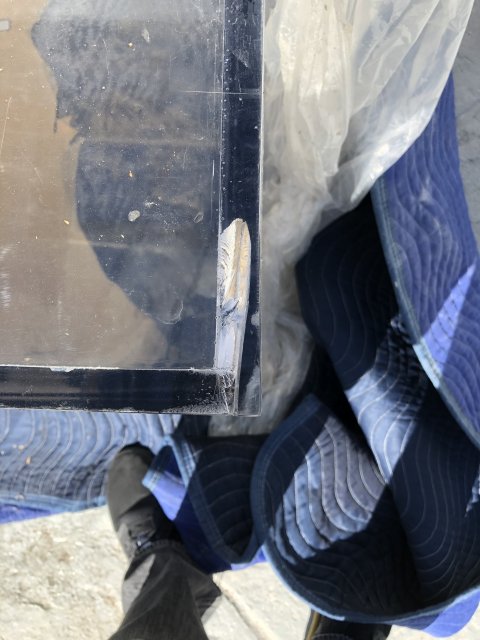
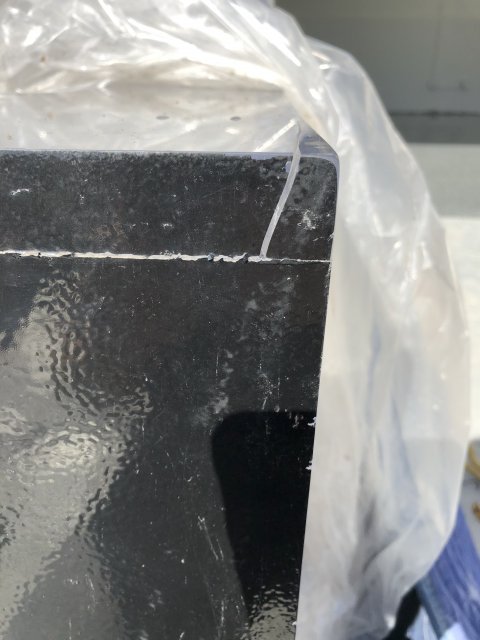
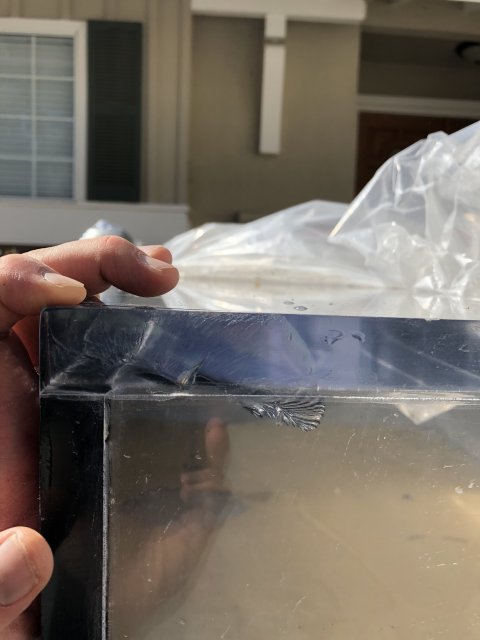
I noticed another crack in the top rear seam today. This one is on the other side from the one I spotted earlier. So essentially, bot rear top corners have a crack forming where the top 1” piece meets the back wall and side walls. The crack is running diagonally through. Since both sides have the same crack, I’m wondering if there was design issue or if the previous owner kept the tank on an uneven stand causing uneven weight distribution leading to formation of these cracks.

I already purchased Weldon 4 to inject into these cracks and am hopeful that’ll seal it up. My question is if I should also buy a few short rods to glue onto into these corners in an “L” shape to further reinforce. Is that necessary? Is there a better fix for this that’ll give me peace of mind?

wednesday13 wednesday13 , hate to bother you but I know you’re the resident expert. Please advise on how I can solve for this. I’m hoping since it’s at the top corners I should be OK since it won’t be under as much pressure. I could be wrong though.

Any and all help is appreciated. Pics below
 
I believe you want the tank set on the plywood directly. This has come up a few times recently and wednesday13 wednesday13 has always told everyone to put the tanks directly on the plywood.
Thank you. I noticed there were some mixed opinions on this. I’ll rest it on the plywood directly. Just wanted to double check in case there were some imperfections
 
Pics/tank dont look too bad honestly... looks like normal "wear and tear" of a used tank... Most acrylic tanks exert their pressure upwards and out when full... usually the top sheet of material is the thickest or atleast it should be as it takes the brunt of the water pressure. If you think about it that way its not surprising to see it fail where it did. That pressures gotta go somewhere. Good thing is it wont leak or anything. I like the idea of the "L" shaped patches glued up underneath. its not easy flipping tanks like this around to work on. but better to adress it now before its full. I recommend weld on #40 for any patch work. Its a 2 part epoxy, pretty easy to work with, and the strongest glue available for acrylic. Rule of thumb is to drill through any cracks to prevent them from "running" but it looks like they went through the material already and stopped so no worries there. U can patch up underneath the top sheet and also on top or let er ride. even if that back corner fully seperates it should stop there. Id estimate $50-100 repair for some scrap acrylic and a pint of weld on #40. Not too bad. Start with the #4 trying to reattach what u can and then seal the deal/reinforce it with #40 and patchwork. Ive used ratchet straps to pull corners/sheets like that back together. glued with #4 to hold it in place, then reinforce with more material after.

As for the stand. I place all my acrylics directly on a good piece of 1/2"-3/4" Birch sand ply. If theres any "air gaps" between the tank and wood... i shim inbetween the tank and wood to fill them in all the way around the tank. What needs supported is the seam. Most used tanks i have come with bowed bottoms so shims are always needed somewhere. The nice way to do it is use 2 pieces of wood on top of the stand then shim inbetween the sheets of wood to raise it up underneath the acrylic flush. can do the same thing with 1 sheet of wood if u understand what im sayin. hopefully lol... lmk if u have any other questions im usually lurkin around here somewhere haha... congrats on the move and new tank btw!
Thank you Russell! I appreciate you chiming in. Whew what a relief. Good to move back home but I miss having rays. I still remember buying that oil from you. It was gorgeous.

I just bought some Weldon 40. Don’t know if I can get this puppy upside down since four men couldn’t even lift it. I’m thinking of using masking tape and paper to cover up the side underneath where I will be doing repairs and using a clamp to hold the rod in place.

I have some ratchet tie downs so I’ll definitely use those.

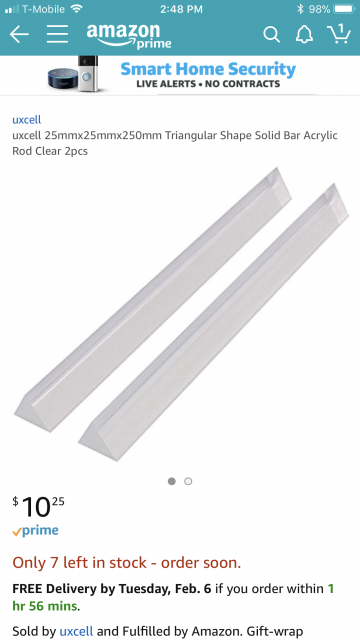
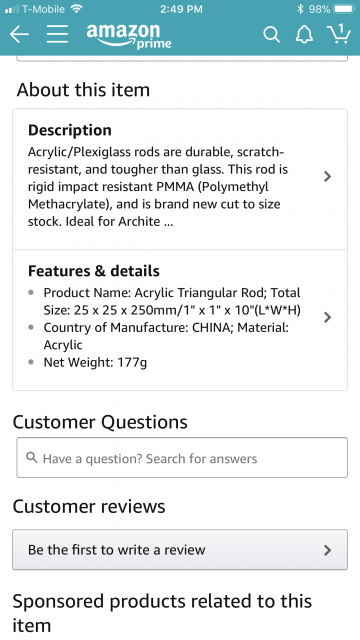
As for the rods, how do you think these will work below? 1”x1”x10” long triangular rods from amazon. Thinking of buying 2 pairs and using two in each corner.

Thanks again wednesday13 wednesday13 .

E6EF00FC-9A44-4B51-88A9-8F63D4AC80BB.png 7B431A3E-C15E-4F3E-9EF9-E0A725CE137C.png
 
Thank you Russell! I appreciate you chiming in. Whew what a relief. Good to move back home but I miss having rays. I still remember buying that oil from you. It was gorgeous.

I just bought some Weldon 40. Don’t know if I can get this puppy upside down since four men couldn’t even lift it. I’m thinking of using masking tape and paper to cover up the side underneath where I will be doing repairs and using a clamp to hold the rod in place.

I have some ratchet tie downs so I’ll definitely use those.

As for the rods, how do you think these will work below? 1”x1”x10” long triangular rods from amazon. Thinking of buying 2 pairs and using two in each corner.

Thanks again wednesday13 wednesday13 .

View attachment 1297867 View attachment 1297868

Yup, that or square stock will work just the same, i would have recommended 1" aswell anyway just for overkill/to be safe. Ur plan to glue sounds good. the epoxy is like syrup but messy. when using clamps dont just squeeze all the glue back out, u can even just use tape to hold patches/pieces in place while it sets up.
 
  • Like
Reactions: mrrobxc
MonsterFishKeepers.com