300gal plywood paludarium project

the_deeb

Blue Tier VIP
MFK Member
Apr 22, 2006
1,089
404
397
NYC
After months of researching, planning, designing and redesigning I'm finally ready to start this project. It's going to be pretty different from most of builds on here in a couple of ways. For one thing, it's going to hold a lot less water than some of the builds, so I shouldn't have to deal with some of the complex issues of bracing and support associated with the real monster builds. But the fact that it's a paludarium is going to raise a bunch of different issues, such as ventilation and drip system.

Anyways, on to the specs:

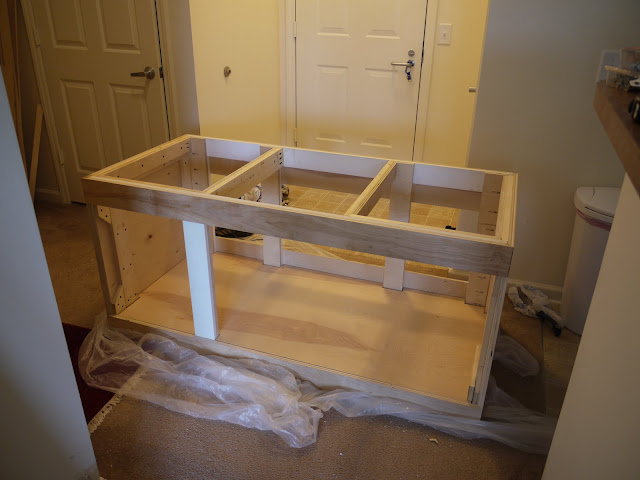
The tank is going to be plywood/glass. Dimensions are 60.5"L X 28"W X 41.5" tall. Water depth will be around 15", so overall volume will be about 100gal.

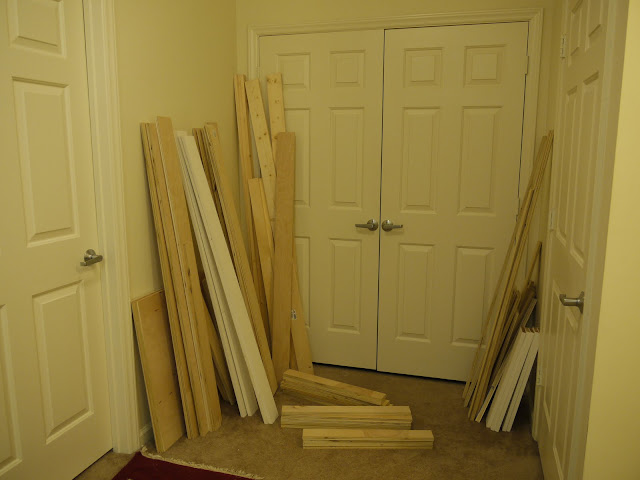
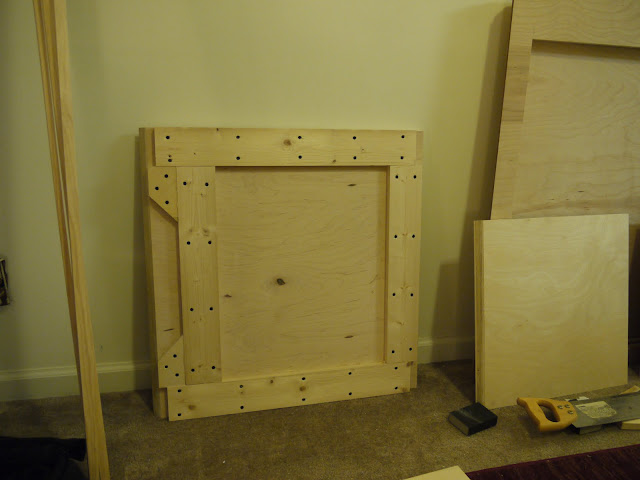
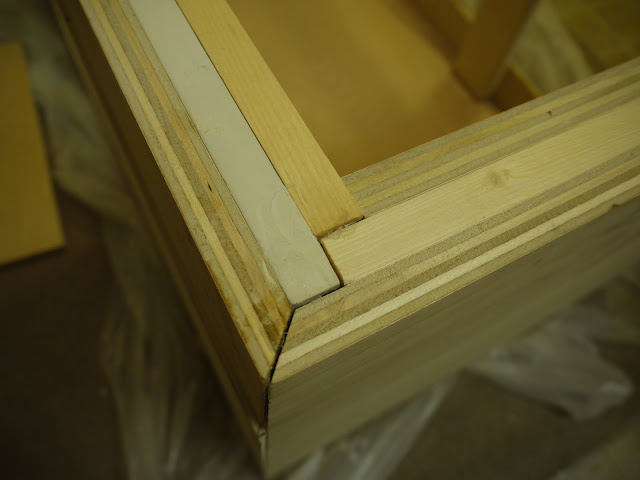
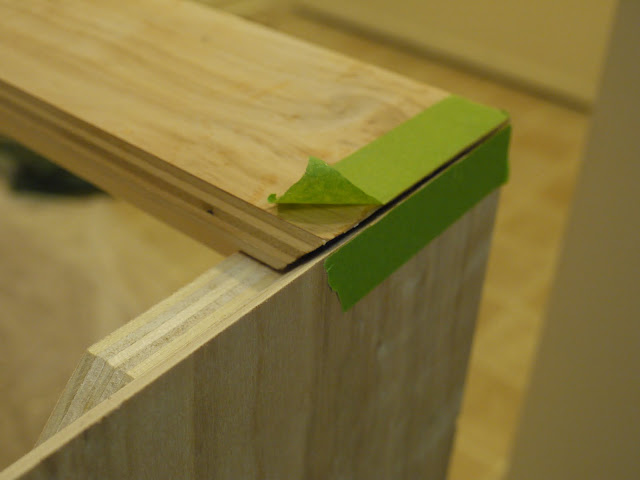
The tank will be viewable from the front and right side. The casing is going to built from 3/4" birch plywood. The right side window is going to be a single piece of 3/8" glass. The bottom part of the front is going to have a 15" tall piece 1/2" glass and is going to have a braceless top edge. I'm going to add sliding door track onto the top edge of the bottom piece and have 2 pieces of 1/8" glass as sliding doors so that the upper part of the tank will be accessible from the front.

Filtration will be a 40gal sump with returns through spraybars at the substrate and surface of the water section, and along the top of the back and left side feeding a dripwall. I'm going to be carving styrofoam branches that will be partly submerged and partly emersed and planted with epiphytes. I'm going for a lush rainforest look and am going to be putting a lot of effort into the scaping. I should warn you now though, that it's probably going to be quite a while before this thing is up and running.

paludarium2.jpg
 

the_deeb

Blue Tier VIP
MFK Member
Apr 22, 2006
1,089
404
397
NYC
Managed to get a fair bit done over the weekend. Got all the plywood sheets cut and have started working on the stand. I managed to get all the pieces I needed from 4 (4'X8') sheets of 3/4" birch ply and 1 sheet of 1/2" ply (for the floor of the stand and some additional support pieces). The vertical joints are mitered which will hopefully give me a clean, seamless look when it's done.

I was initially going to have the interior supports of the stand be 2X4s, but didn't like the quality of the wood I found at HD/Lowes. So instead I'm doubling up 1X4 strips of pine and plywood into multiple overlapping lap joints. This is giving me strong square joints.

Here's a pic of the approximate cutting plan I used to get the pieces I needed:

paludarium cutlist4.jpg
 

Valous

Feeder Fish
MFK Member
Jan 14, 2009
514
0
0
Elkton,md
looks like a good plan. Now the only thing I would look at is if you are planning on keeping the water level around 15" then the bottom glass you might want a little bit taller so if the water is agitated it wont flow out of the tank.. I am not sure how water proof the slide for the other glass will be
 

the_deeb

Blue Tier VIP
MFK Member
Apr 22, 2006
1,089
404
397
NYC
Sorry for not updating. Progress has been a little slow. I'm almost done with the stand. I ran into a few problems that complicated things a bit and have necessitated some sub-optimal fixes. Here's a few things I've learned that would probably have already been obvious to a more experienced carpenter.

Were I to do this again I would NOT use miter joints on long structural joints. It's just too tricky to get everything to fit together perfectly and look good. I think a better method that would have given me a similar look and stronger joints would have been to just use butt joints on the plywood pieces and then covered them up with miter-edged trim pieces.

Don't assume that wood is the thickness that it's listed as. It turns out that my 3/4" plywood from Home Depot wasn't quite 3/4". It was more like 11/16". Unfortunately, when I made my calculations I figured that the inside edge of a 45 degree mitered piece would be 3/4" less than the outside edge. Due to this oversight, the inside edge of a piece with two mitered corners is actually about 1/8" larger than I anticipated which means that my joints don't fit together as well as I hoped. I've had to make some modifications to my initial design to work around this.

Epoxy glue cures very quickly. Most of my joints are glued with either Gorilla glue or Titebond III, but in the case of those poorly fitting joints with a 1/8" gap I decided to use epoxy for it's gap filling ability. Unfortunately, I made the mistake of thinking that epoxy glue would behave like epoxy resin (which it doesn't). I applied a heavy layer of the glue to both surfaces, assuming that excess glue would be squeezed out when I clamped the joint leaving me with a nice tight joint. Instead, by the time I'd applied the glue to all the surfaces and pressed them together the glue had already hardened enough that it didn't compress or squeeze out at all and instead left me with an even bigger gap! There's enough epoxy contact that I'm sure the joint is plenty strong but is cosmetically flawed and not quite flush with the other pieces.

Hopefully my mistakes will help out others working on similar projects.
 

the_deeb

Blue Tier VIP
MFK Member
Apr 22, 2006
1,089
404
397
NYC
Ok, here are some pics of the progress so far:

It all starts with a pile of wood and inadequate workspace (thanks to my wife for tolerating the mess!)


Support pieces added to sides. This is a little bit different from most builds in that the plywood casing itself serves as a structural component.


One of the top/bottom pieces of the front showing the 1/8" misfit due to the plywood not being quite 3/4" thick.


One of the legs - 1X4s doubled up with similarly dimensioned plywood strips


Skip ahead a few steps and the thing is mostly assembled


Closeup of how the sides fit together with the front/back. In addition to the glue the pieces are held together with pocket hole screws


Crappy looking gap due to my mistake with the epoxy glue. I'm planning on pouring some more epoxy into the gap so that the entire joint is bridged by epoxy and then filling the exposed edge with wood putty to hopefully hide my shoddy workmanship.
 
zoomed.com
hikariusa.com
aqaimports.com
Store