
Ok, time for some more updates.
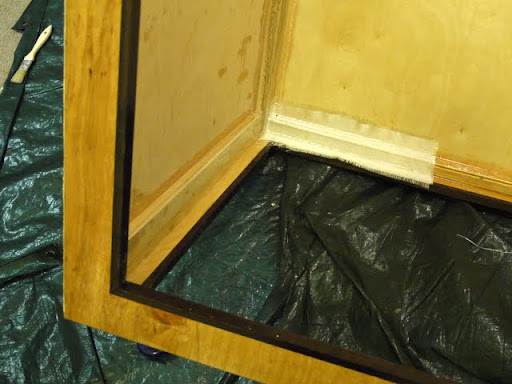
Here's the bottom installed:

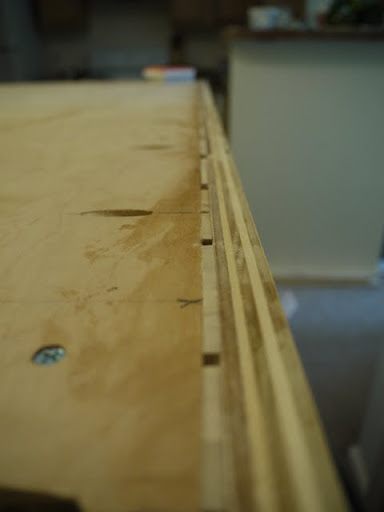
The bottom is glued to the sides and to the lower bracing with thickened epoxy. It is also screwed into the bottom bracing with screws every 2" and also screwed to the sides with pocket holes (staggered relative to the pocket holes in the bottom bracing).
You might recall I mentioned near the start how I discovered that "3/4" ply isn't actually 3/4" (more like 11/16"). Because the sides are joined with miters and my bottom piece is inset into the sides, this meant that the bottom was 1/8" too small. To deal with this I cut some 1/8" slivers from some scrap poplar and epoxied them into the gap. The pocket holes are actually driven through some of these poplar shims. I think this has addressed the problem quite well.
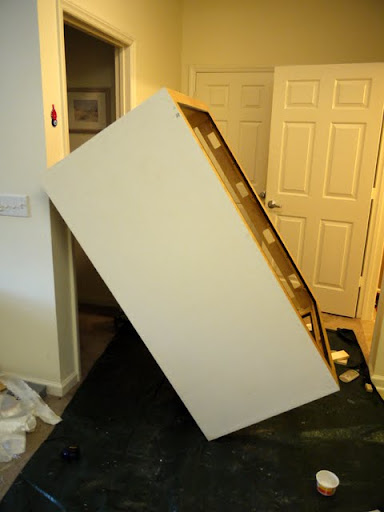
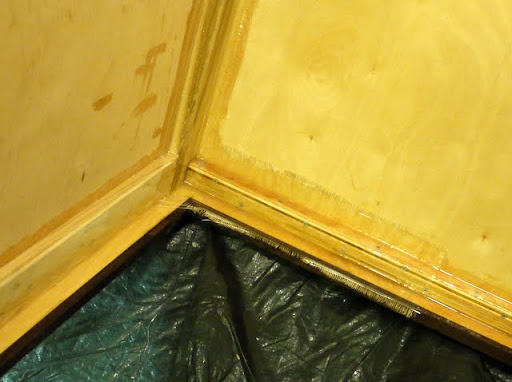
I filled all remaining screw holes and gaps in the bottom with wood putty, sanded and them painted with 3 coats of Drylok. Here's how it looks:

For those of you know don't know, Drylok isn't smooth like paint. It's filled with bits of sand. This means the resulting finish is quite rough and can't really be sanded for a smooth finish. Here's a closeup:
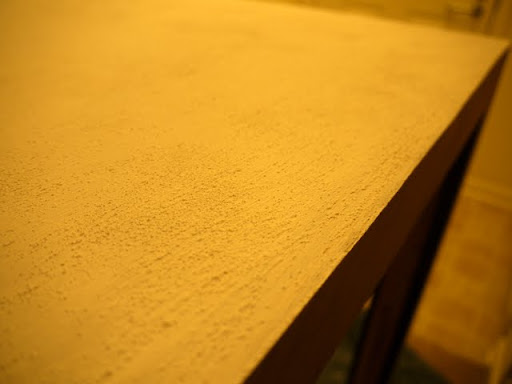
I didn't know this to begin with and this wasn't the effect I was going for. Ultimately, it doesn't really matter since its the tank bottom and is just going to be sitting on styrofoam. I was initially going to use Drylok for the top of the tank and the inside of my stand but after seeing how it looks I think I'm going to use Kilz instead for a smooth finish.
Here's the bottom installed:
The bottom is glued to the sides and to the lower bracing with thickened epoxy. It is also screwed into the bottom bracing with screws every 2" and also screwed to the sides with pocket holes (staggered relative to the pocket holes in the bottom bracing).
You might recall I mentioned near the start how I discovered that "3/4" ply isn't actually 3/4" (more like 11/16"). Because the sides are joined with miters and my bottom piece is inset into the sides, this meant that the bottom was 1/8" too small. To deal with this I cut some 1/8" slivers from some scrap poplar and epoxied them into the gap. The pocket holes are actually driven through some of these poplar shims. I think this has addressed the problem quite well.
I filled all remaining screw holes and gaps in the bottom with wood putty, sanded and them painted with 3 coats of Drylok. Here's how it looks:
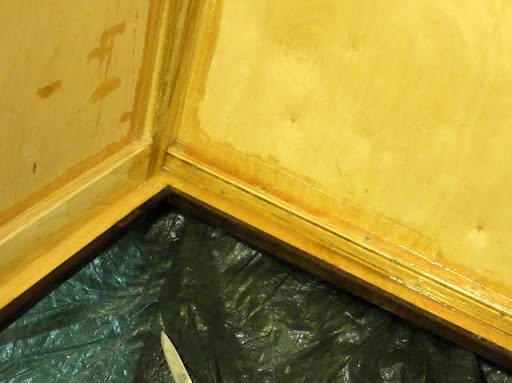
For those of you know don't know, Drylok isn't smooth like paint. It's filled with bits of sand. This means the resulting finish is quite rough and can't really be sanded for a smooth finish. Here's a closeup:
I didn't know this to begin with and this wasn't the effect I was going for. Ultimately, it doesn't really matter since its the tank bottom and is just going to be sitting on styrofoam. I was initially going to use Drylok for the top of the tank and the inside of my stand but after seeing how it looks I think I'm going to use Kilz instead for a smooth finish.

 )
)


