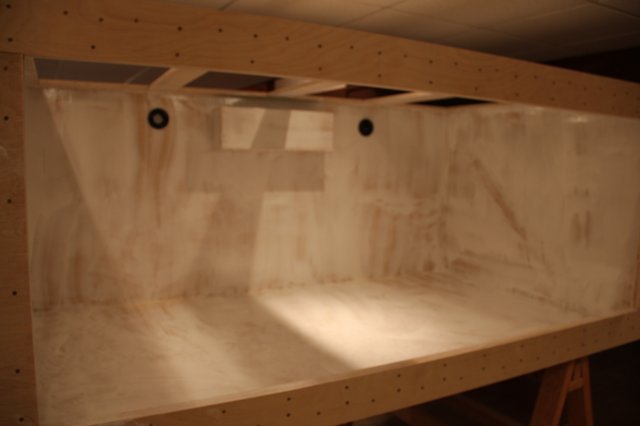
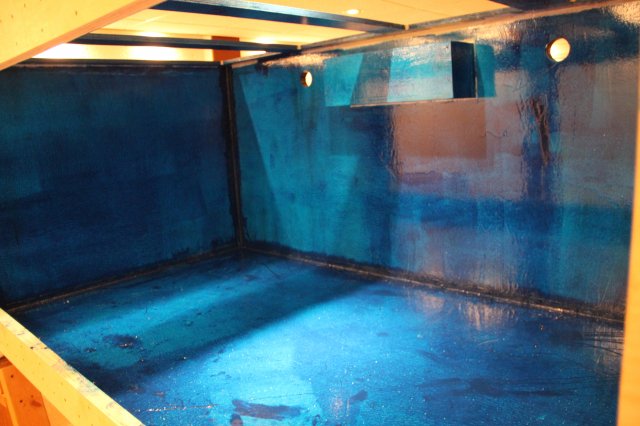
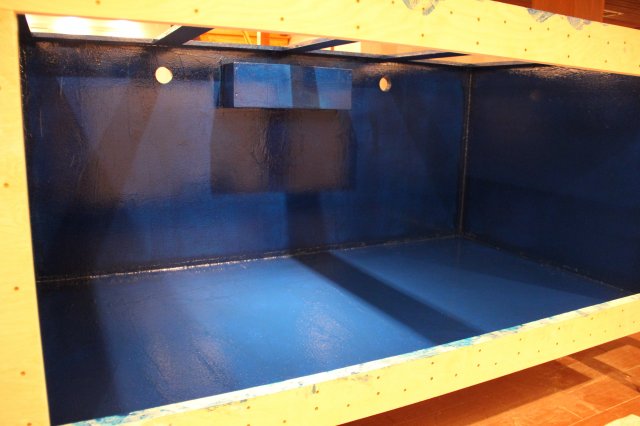
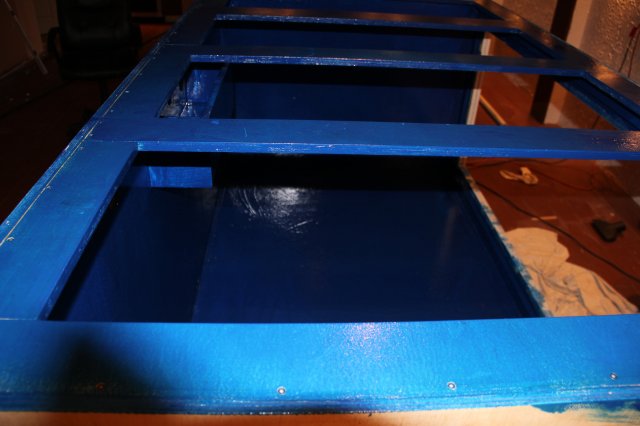
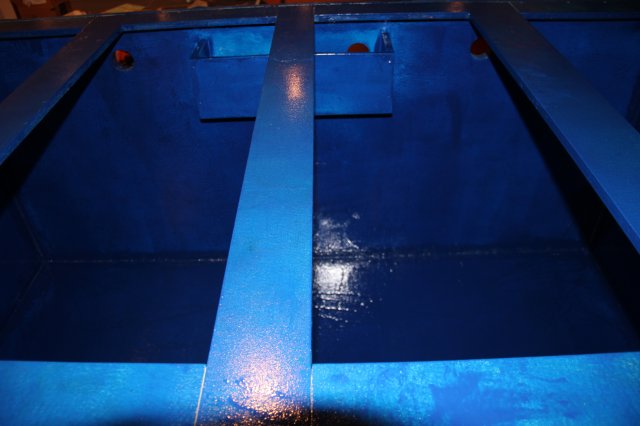
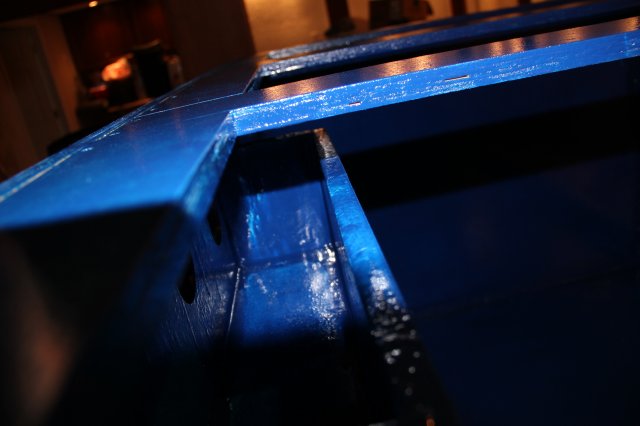
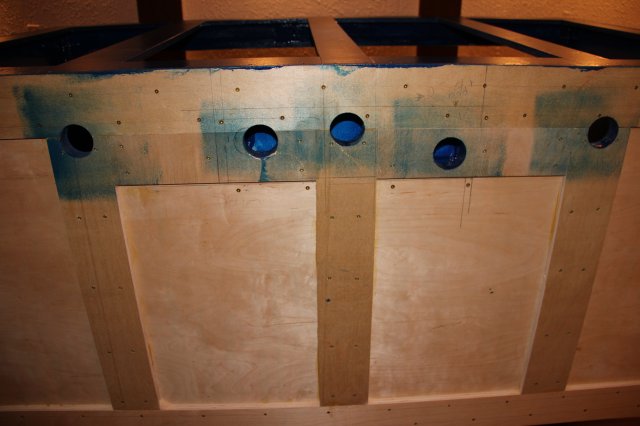
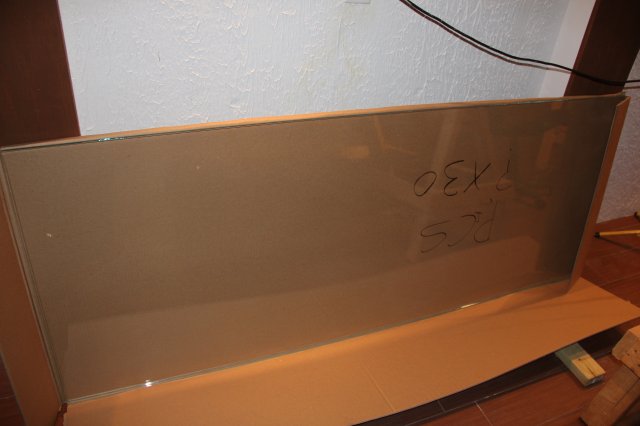
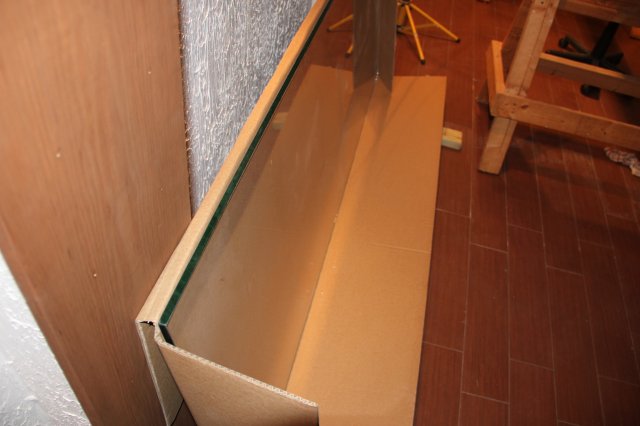
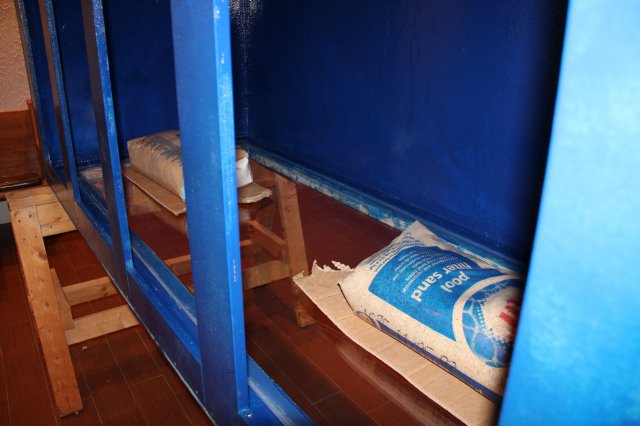
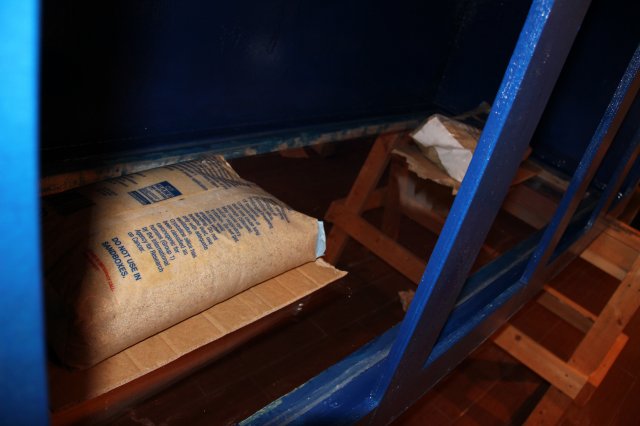
I have been working on this build for a couple of months, and am now waiting for my silicone to cure on the tank, so i figured now would be a good time to post all my pictures as I will hopefully be busy filling this tank with water next week. Like I have said, I am still in the progress of building the tank so please be patient as it may be awhile till it is fish ready.
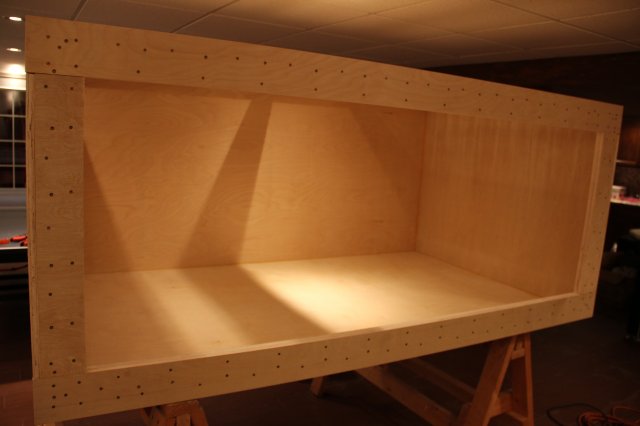
So, why a plywood tank you might ask? Well for starters plywood is cheap, while I will will post final prices later, my budget for the tank itself was $1000, while a similar glass tank would be well over $3000, if not considerably more. I also have limited space to work with as the tank would have to fit through my basement door, meaning that I couldn't possibly bring a large tank into my basement. But with plywood, I can assemble it all in my basement to whatever size I want. I have always wanted stingrays, and after some research, my final tank size will be 7ft by 4ft by 3ft tall, or just over 625 gallons. This will allow my rays ample floorspace to grow out and live in comfortably. I would like to have built a bigger tank, but I ran out of wall space as this tank will be set back in a wall. Here are some pictures of my build in progress, I will post more when I have time. Feel free to ask any questions and I will do my best to answer them.
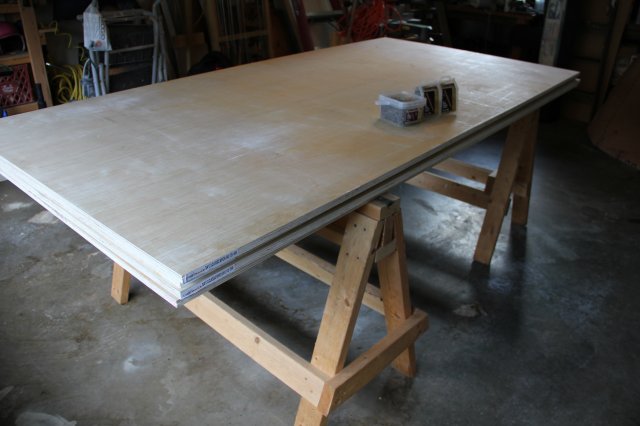
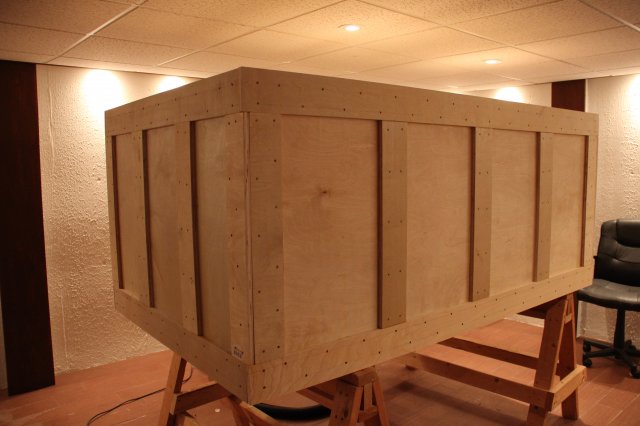
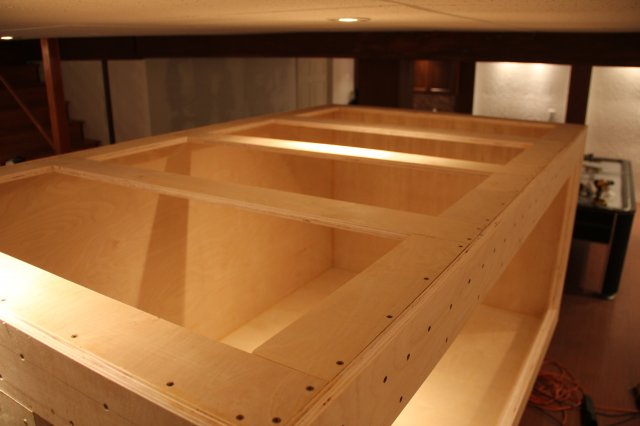
For this first part of the build I used 4 3/4inch birch plywood sheets deck screws of various sizes and woodglue in between sheets. No other materials were used at this time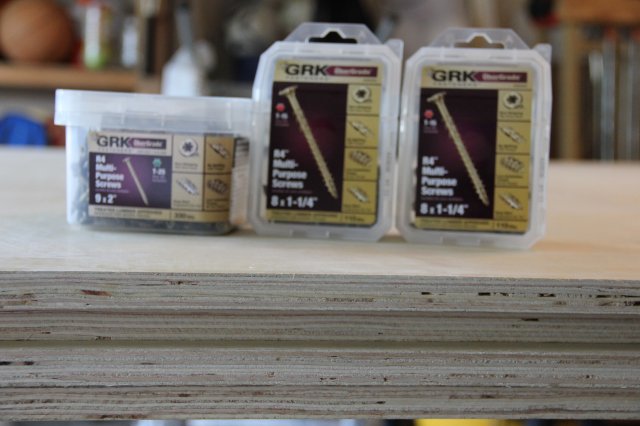


