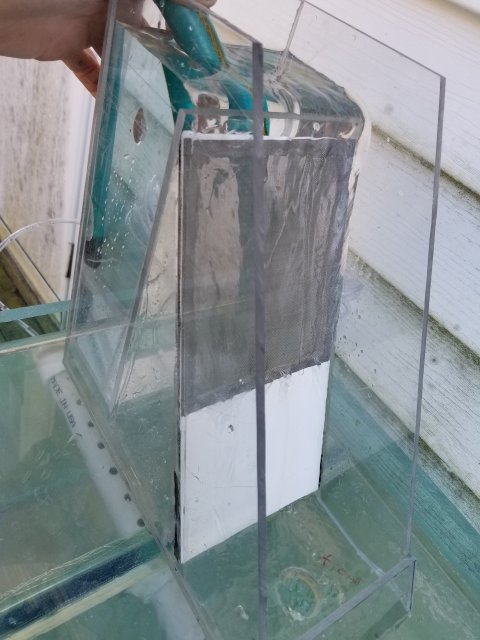
90 gallon acrylic sump.
- Thread starter markstrimaran
- Start date
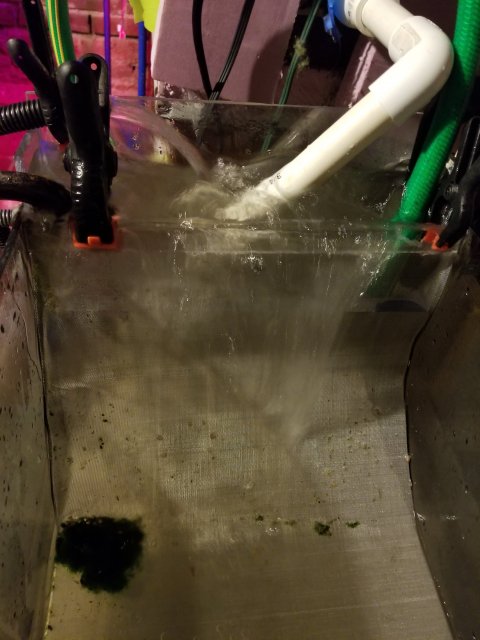
Tinkering with the sieve, The 300 micron non wedge wire screen has too much grip, to flush properly. The food pellets will sit and semi dissolve into the screen.
So I am going to try a non radius strait and steep design.
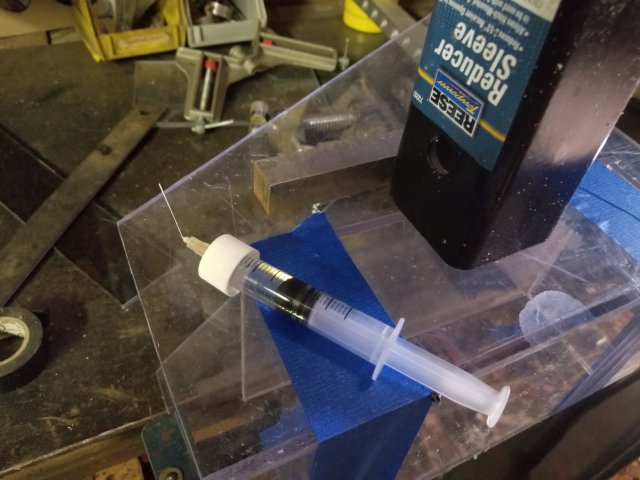
Weld on 4, new table saw blade, 80 grit belt sander. I would not trust it to hold a 24" tall aquarium, without perfect edges, but makes for quick fabrication on non critical items.
I figured out how to get micro bubbles infused in the seams. Weld on 4 is great, I will never use #16 again.
The syringe works way better than the squeeze bottle.
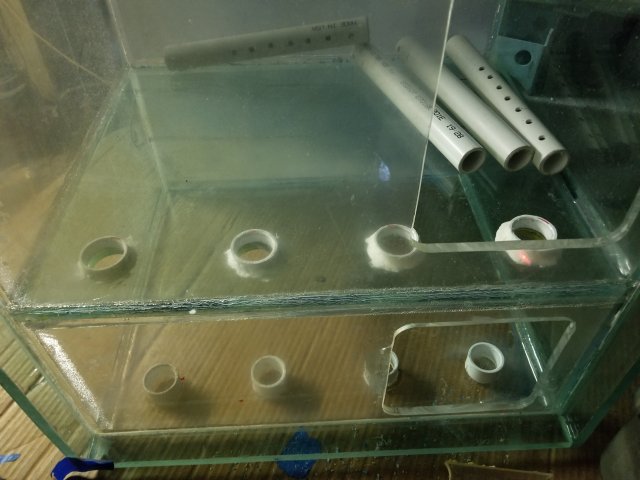
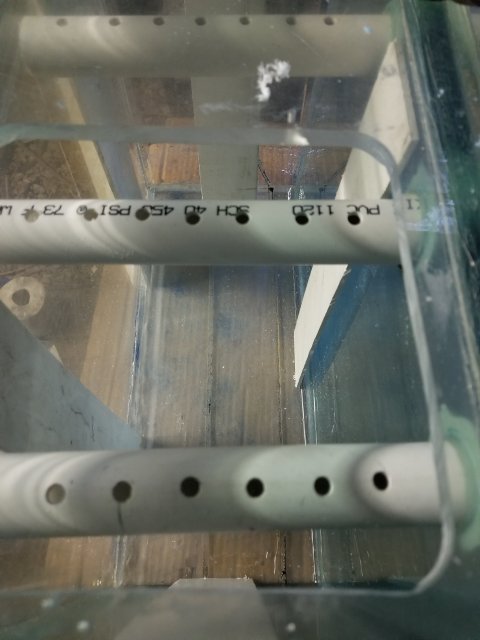
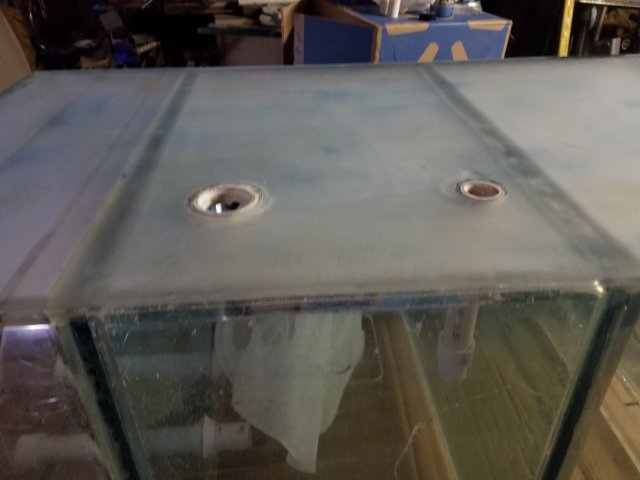
Added end caps to help support the filter sock discharge tubes. Going with two 7" x 16" 200 micron socks. Glued on with some 40. This is a way to do bulk heads also. Glue on a fitting then drill thru.
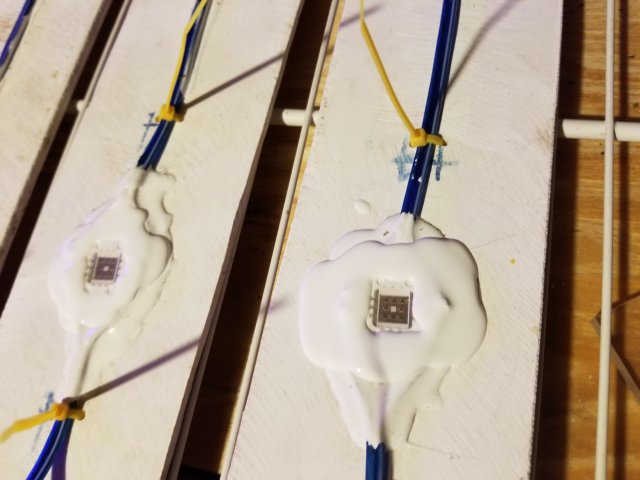
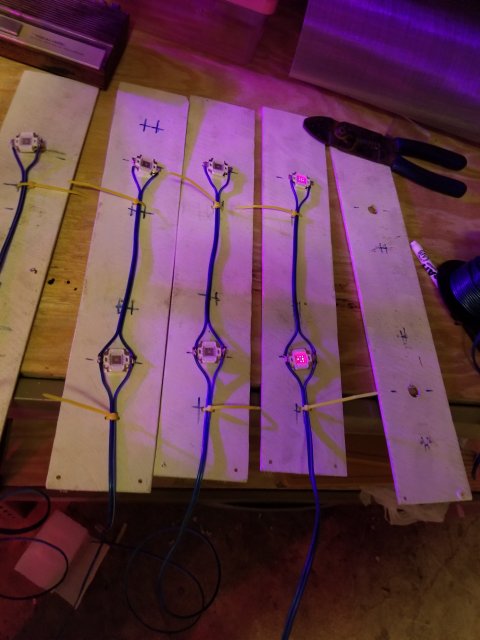
Sealing the leds, part one,
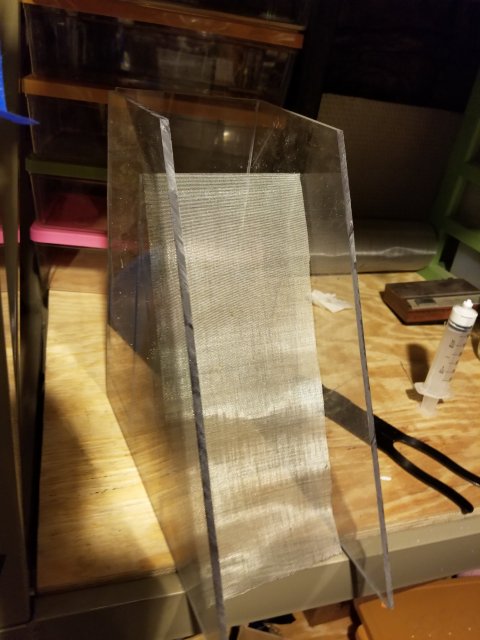
Still figuring out the sieve vs intake sock. If I could only find some scrap wedge wire to dabble with.
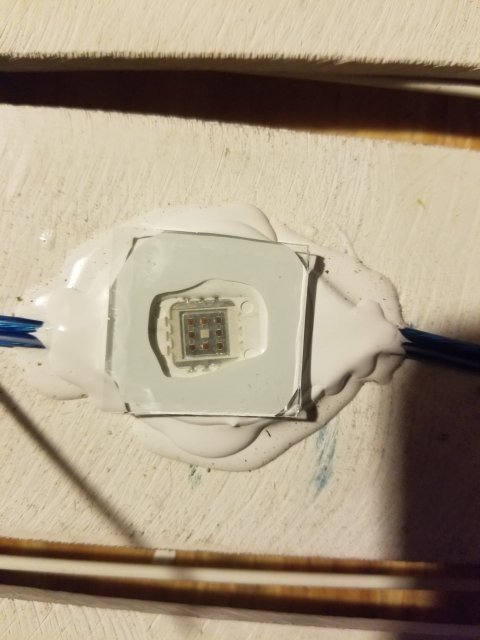
Adding a glass lens, which will definitely crack like a glass tank heater if submerged when lit up. They are very hot to the touch when glowing.
Most of the heat will convect from the heat sink on the back side.
These are about my 20th attempt at DIY Led lighting. I am batting about .300 but have a few that have held for over a year.
View attachment 1337530
It's going to take about 20 glue batches. Maybe 2 per week day, and 4 on a week end. If the weather permits.View attachment 1337531
First thing was to ditch the wide mouth bottle and repack it in smaller quanity.
A 60cc syringe with the tip drilled off or a big tiped one, will suck up the part A. Thickest stuff, a small 5cc syringe unaltered work for the part b.
Then just pump it into a zip lock bag, to mix up for 3 minutes.
Then just pierce the bag corner after you vent the bag of vapors. Then use it like weld on 16.
I will pour some .3 fillet after the panels are all glued on. After about 4 more batches.
Definitely use a respirator.
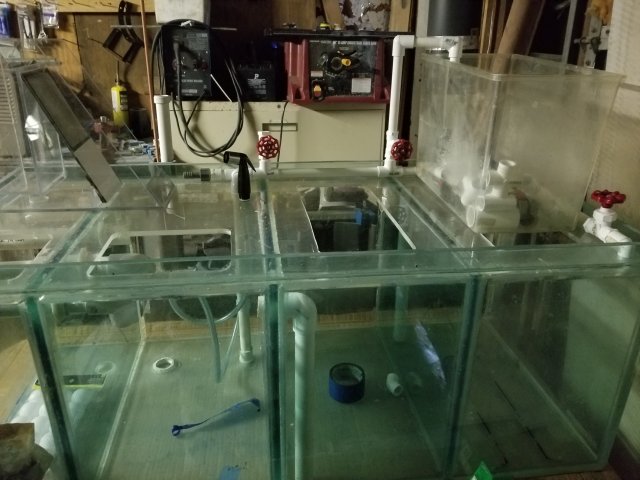
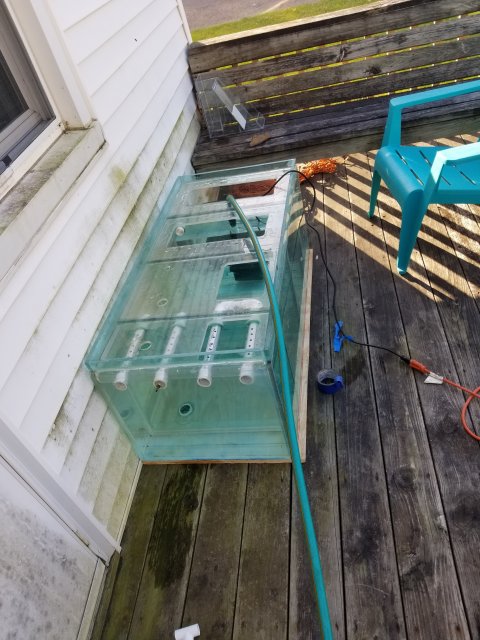
Hard plumbing for the two upper grow out fry tanks. The main display will tie in with clear tube.
The little giant mag pump will be installed in the basement.
The sink sprayer will probably jam up eventually. But it's easy to disassemble.
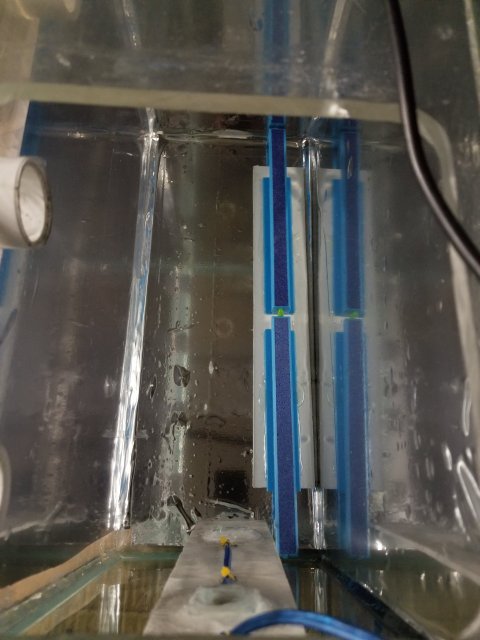
Air stone is bonded to the white PVC with weld on 40, The mirror is auto wrap, mostly to keep the filter socks from growing algae. Eventually the algea growth will block out most of the light.
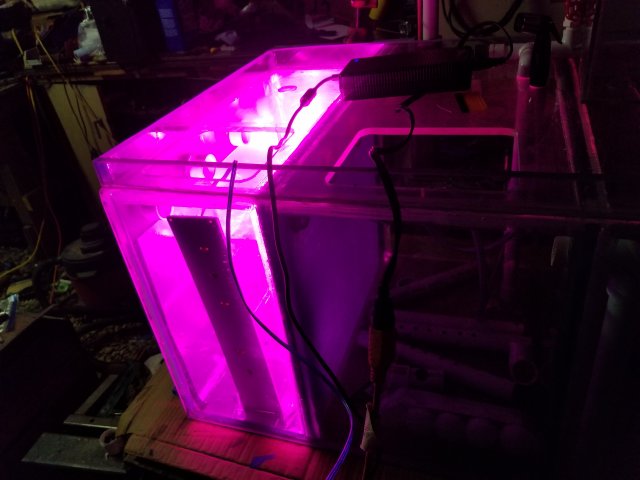
Still need to wire in 5 light bars, pull my current sump. Drill the wood floor, and make some more fluidized algea balls.
Great to see you pursuing a larger scale version of your previous trials.


