First drilled tank setup (210)

  • We are currently upgrading MFK. thanks! -neo
I think it will work better in the tank and not on the washing machine...lol
I hope so. The washer is right next to the freezer, which is serving as my work bench. My wife loves it when I am working on stuff.

I agree you can drill with the tank set up, I have done it a number of times.
Just drill the tank from inside to out, and have something to catch the little bit of water once the drill bit pushes thru.

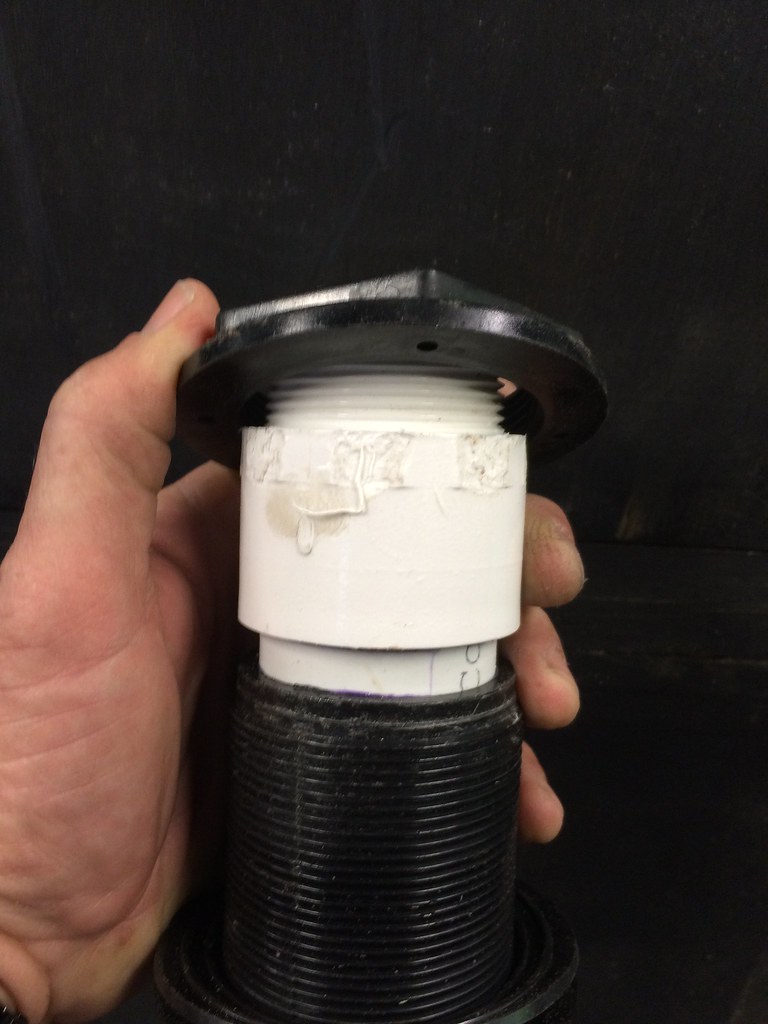
Thanks Duane, I did finally realize that it was not that big a deal to do it with the tank in place. For whatever reason (probably youtube) I had it in my head I needed to drill from the outside in, which would be a pain to irrigate. Duh, it's an aquarium and it's purpose is to hold water. I got 2 extra 1.5 bulkheads and some extra pipe already for the e drains. I am still a little apprehensive about cracking the tank, but hopefully with adequate cooling, a decent bit, and a jig it will be a breeze.
 
Second tower is built, and I am filling the tank back up to see how they work out.

33259694334_1198803d67_b.jpg
33971970341_0e3cd5b752_b.jpg
33717290220_195bc49a75_b.jpg
 
I probably wouldn't bother with the bio balls. I don't believe they work well as submerged media. They will just get in the way if you ever have to service that stand pipe.
 
  • Like
Reactions: robham777
I probably wouldn't bother with the bio balls. I don't believe they work well as submerged media. They will just get in the way if you ever have to service that stand pipe.
Thanks, you are probably right, I have always heard they are very poor media in a submerged environment. Off to the hardware store, the 1.5" slip bulkheads I ordered seem to have different mpt than the original ones so my drains don't fit anymore.
 
Oops! Hopefully I can find some brand new mistakes to make on the next tank, instead of repeating the same ones.
33265324224_ef74729b58_b.jpg
34107973995_598783cfc2_b.jpg


Almost ready for a test, hope it is not back to the drawing board.
33296609793_ffdaeb2956_b.jpg
 
I put my big boy pants on today and drilled an emergency drain. Went pretty smoothly, but there was some chipping on punch through. Glad I drilled it from the inside after all.
33300048464_466a0faa5a_b.jpg
34142960185_87fd6d7f8f_b.jpg
34143043935_43dc2ec0c6_b.jpg
 
  • Like
Reactions: robham777
Man, this project has given me a whole new appreciation for tank plumbing. This has taken way longer than I anticipated. The good news is that both drains have to be close to 100% blocked before the emergency drain is overwhelmed and that is with the pump running at the highest flow setting. Plumbing is more or less done.
33772709190_aba537e7e0_b.jpg


I had to redo the drains, since the way I had them originally would not allow me to open the lid without removing them. It is still pretty tight underneath, but I can live with it.

33772727590_9d24357d24_b.jpg


The plumbing on the back requires 8.5 inches of clearance from the wall, which is more than I wanted, but I may be happy about it if I ever have to remove the plumbing with the tank in place.
33346382073_8cd505df64_b.jpg
 
Moved the tank into place and touched up the paint on the back yesterday. Filled it back up and added 100 lbs of sand and some driftwood today. Picked up a clear polycarbonate panel to use as lids temporarily. I still have to decide on lighting, but am leaning towards the led strips with a controller since they are so cheap and come in 5m lengths which would cover this tank and the 2 x 75 gallons that will go next to it.

34231848255_3cf5da0c18_b.jpg
34074948332_c150184184_b.jpg


Hope to get the 75's moved into place this week and get started on the stand for my next project.
31973116002_2a0abdaa92_b.jpg
 
MonsterFishKeepers.com