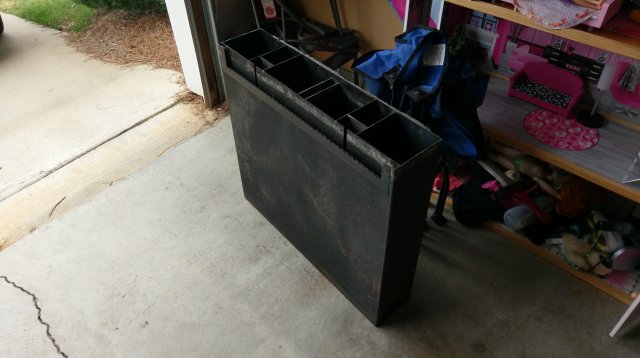
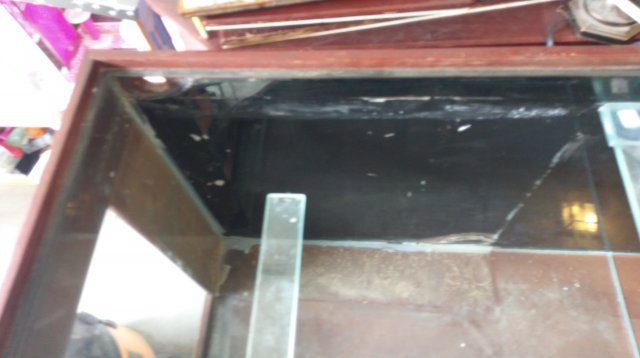
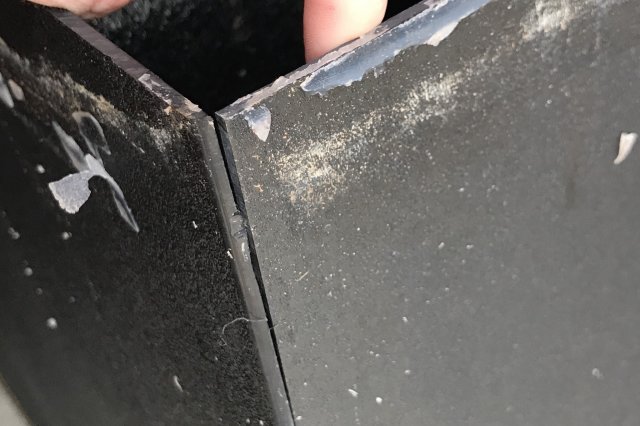
I am probably getting ahead of myself a bit here as I am still in the process of resealing this tank however the decision to scrap the internal filter is kind of impeding my moving forward on the refurb. See my thread over in the DIY forum if you have any thoughts on my process for resealing it. I would appreciate any that could be offered.
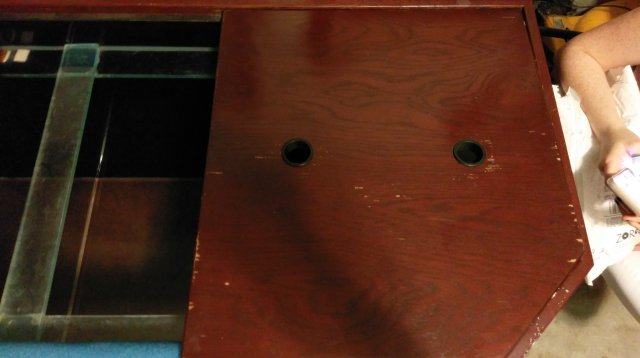
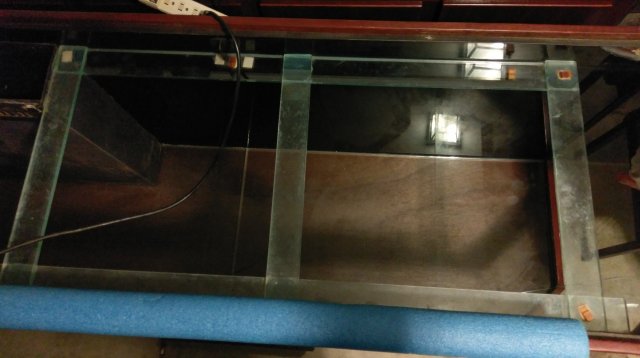
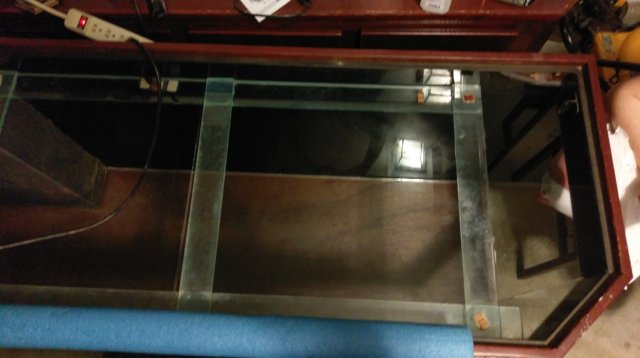
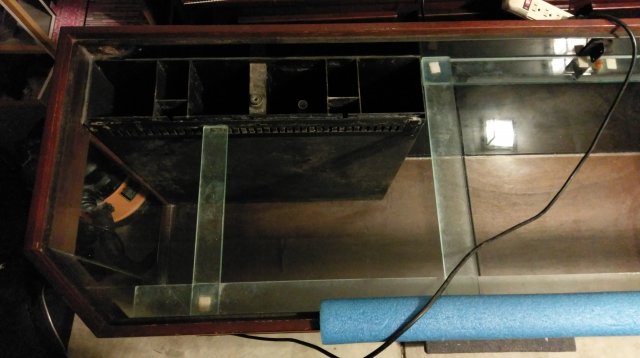
As you can see in the pictures this tank is a Dutch Aquarium Systems flatback hex 175G with an integrated wood frame and some glass bracing internally. I am assuming the glass cross members you see are a structural addition similar to a euro brace but if anyone can explain otherwise I would appreciate it.
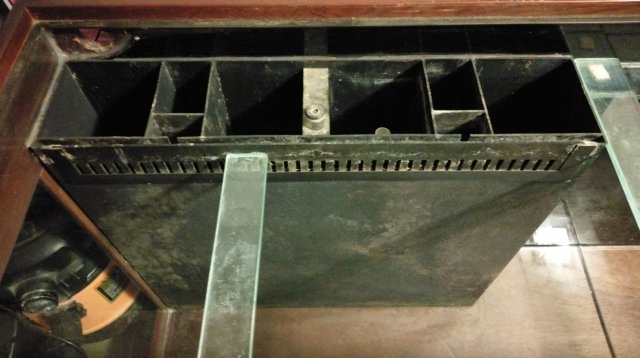
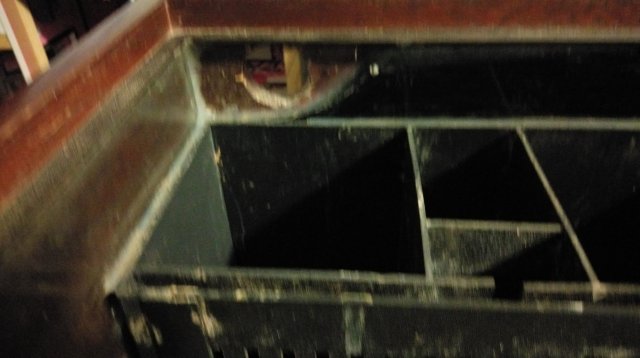
The tank has an internal filter system consisting of the overflow box you see pictured in the back left corner with four large chambers that are supposed to house a foam spool with power head sitting atop it, one of which is a denitrating chamber, the third from the left. The two smaller sectioned areas are to house heaters in the small front and rudimentary airstone protein skimmers in the bigger back. Most of the mentions I have seen of this type system online where people have been dealing with a used tank like mine they have simply removed this box and drilled their glass for sumps, etc.
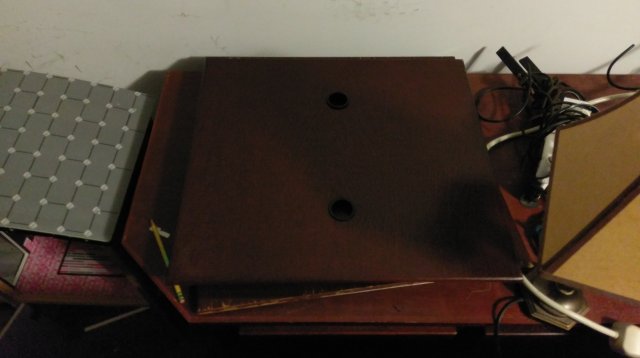
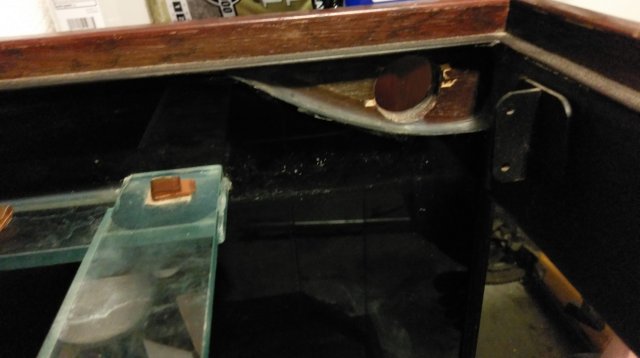
From the other pictures you can see the top back corners have 1 1/2-3/4" holes for wiring and the canopy has wood panels that enclose the top of the tank. Each of those panels has two holes with plastic inserts presumably for lifting them off the tank for access but also for wiring or other things.
I am pretty sure the bottom two panels that make up the base of the tank are not tempered and conceivably could drill the tank however the wood frame on the bottom covers the entire bottom of the tank as you can see in the pictures and I would need to drill the glass and the wood below. I could drill the back but there is a very nice piece of polycarbonate or similar material providing a black background behind the back glass and I would have to drill through that as well and I'm not too sure about increasing my wall distance.
I'd like to go canisters but don't see how I would do it with the tank as is unless I used the holes in the panels on top of the canopy and the glass bracing to hook the hosing for the intakes and returns to but then those components would be "out in the middle of the tank" instead of tucked nicely into a corner and instead of a "clean" outside of the tank I would have black hoses coming over the top and inserting into those panels. Another option I thought of last night while taking these pictures was to bandsaw some sections out of the two panels that fit on the far left and right and just hook the canister hoses over the back of the tank like you would do normally. However, again I am concerned about changing the factory exterior appearance of the tank.
In the SA/CA forum I posted in one of the stocking threads and am looking at SA/CA/Riverine African setup that will be messy and if I go that route have looked at possibly two Fluval FX4 or FX6. If I go with two do people usually put one intake on one side and one intake on another side with the returns creating a cross-flow or does this tend to create a dead spot in the middle of the tank with detritus collecting away from the intakes?


