My 2x 9ft plywood frag tank build

Danielll

Exodon
MFK Member
Jan 23, 2019
33
65
26
43
Manufacturer stands behind it 100% really for aquariums in general, even has videos and a webpage on how to build an aquarium with it. I've seen youtube videos building with it and I know it's strong against UV so i can't imagine it's an issue.

Oh in case anyone is connecting those dots, the bubbles happened when it was just tap water.
 

phreeflow

Goliath Tigerfish
MFK Member
Nov 19, 2007
1,512
1,946
179
SoCal
Great build! If you don’t mind me asking...what’s the cost of doing something like this?
 

Danielll

Exodon
MFK Member
Jan 23, 2019
33
65
26
43
for sure more than I thought, and i could have been more efficient.
I probably spent 700-1000 in wood. The liquid rubber equipment was about 180 i think. Aquarium equipment is mostly coming from my old system so not sure on that.

The dehumidifer is a couple hundred, and I will need a portable AC unit as it warms up which will cost about 400 I believe.

I believe the room could have been build cheaper, I am not an expert by any means in construction or wood working so everything is built stronger than it had to be.

There are some advantages to it. It is built just tall enough to have me walk in without having to duck. (I'm 6'4) so the entire top was reinforced with double the 2x4 joists to allow storage space on top. We were never going to use that side of the garage due to my truck wont fit in it anyways.
 

phreeflow

Goliath Tigerfish
MFK Member
Nov 19, 2007
1,512
1,946
179
SoCal
for sure more than I thought, and i could have been more efficient.
I probably spent 700-1000 in wood. The liquid rubber equipment was about 180 i think. Aquarium equipment is mostly coming from my old system so not sure on that.

The dehumidifer is a couple hundred, and I will need a portable AC unit as it warms up which will cost about 400 I believe.

I believe the room could have been build cheaper, I am not an expert by any means in construction or wood working so everything is built stronger than it had to be.

There are some advantages to it. It is built just tall enough to have me walk in without having to duck. (I'm 6'4) so the entire top was reinforced with double the 2x4 joists to allow storage space on top. We were never going to use that side of the garage due to my truck wont fit in it anyways.

Not bad at all and you should be able to quickly recoup your money with the corals. Can’t wait to see it finished
 

Danielll

Exodon
MFK Member
Jan 23, 2019
33
65
26
43
for sure, the money is no big deal, the biz is just for fun, and it's cool having a reef you can wrirte off :D

I am going back into water tests tomorrow, and through out the week it will be fill, drain, dry, fill drain dry. By next weekend I expect to have saltwater in it, get it up to temp, and get 10-20 frags I have sitting in my old tank in there for testing.

I have two marine pure blocks, as well some a good bit of live rock, so I am hoping to do this with zero cycle.
 

Danielll

Exodon
MFK Member
Jan 23, 2019
33
65
26
43
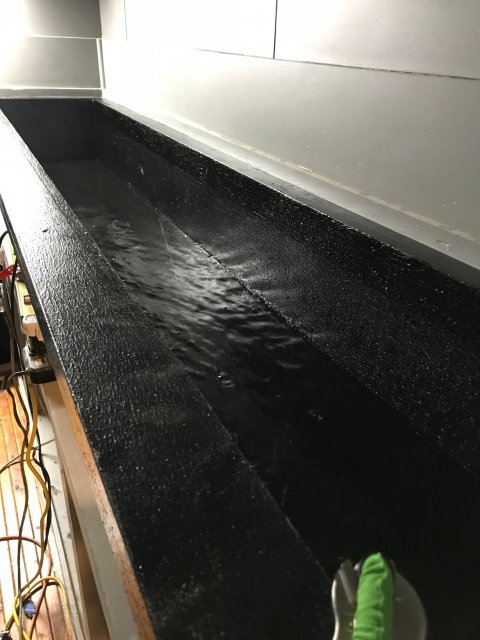
Okay, I have refilled the tanks with water, and they are looking good.

One thing I will point out that was pretty much immediately noticeable. If you look back on my photos of the first time I filled it, you can see in one of them that it turned brown, this is normal after a period of time, but in my previous fill, it turned brown very quickly.

With this new fill up after a solid curing using a dehumidifier it is still black under water. I fully expect it to turn brown, but the fact that it isn't turning brown nearly as quickly as it did before leads me to believe that this could be an indicator of an improperly cured liquid rubber tank.

IMG_1324.jpg
 
  • Like
Reactions: BIG-G

Danielll

Exodon
MFK Member
Jan 23, 2019
33
65
26
43
Today at lunch, I got the tanks completely drained, wiped down and cranked the dehumidifier back up. I saw absolutely no issues with the rubber, it's even less tacky than it was before so I am extremely confident I have the problems worked out now.
 
  • Like
Reactions: Dloks and BIG-G

Danielll

Exodon
MFK Member
Jan 23, 2019
33
65
26
43
Alright, water tests passed with flying colors, system is good to go.

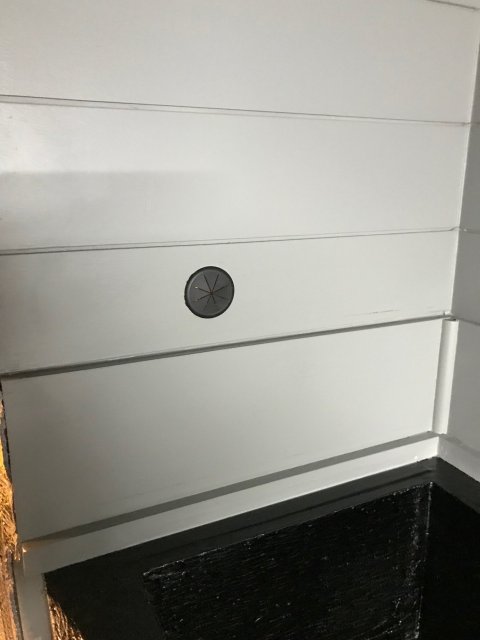
I started by drilling the first couple pass through holes for electrical connections. All plugs will be outside the room, I think this is just a bit wiser in general.
IMG_1353.jpg

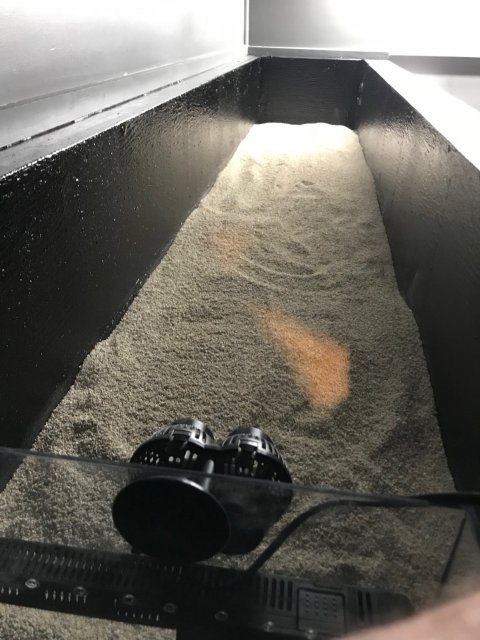
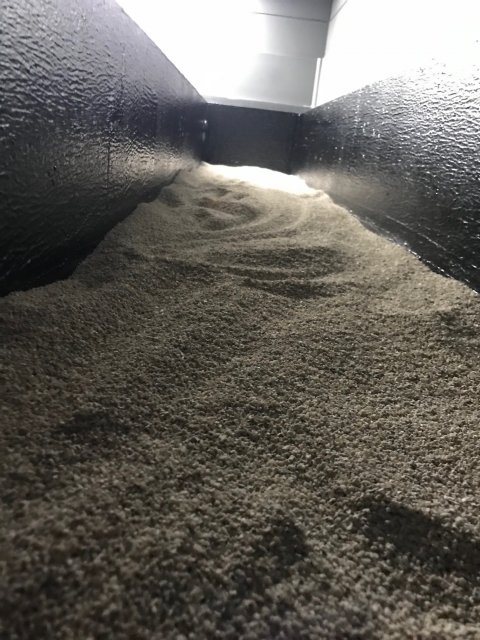
Then for funzies, I went ahead and added the sand. the 160 i purchased a while back was actually a very good estimate, sand bed is about an inch, maybe inch and a half deep, and loving the look

IMG_1356.jpg
Now it's time to make water. my only goal is to fill one half of it, and get the system idling just in one tank so I can fully break down the tank upstairs, get the sump cleaned and put down here, and then get everything plumbed up to go live with the full system.

IMG_1357.jpg
So i am confident I am going to have my 10-20 half dead corals in this system by sunday night. exciting stuff upload_2019-2-1_17-58-54.gif:)
 
  • Like
Reactions: deeda
zoomed.com
hikariusa.com
aqaimports.com
Store