First off, I know this isn't quite a reef page, but there's so many Plywood builds on this site, I figured it would be a great place to share my progress and get tips!
I entered the reef scene here about 6 months ago, and tend to go a bit overboard, so here we go!
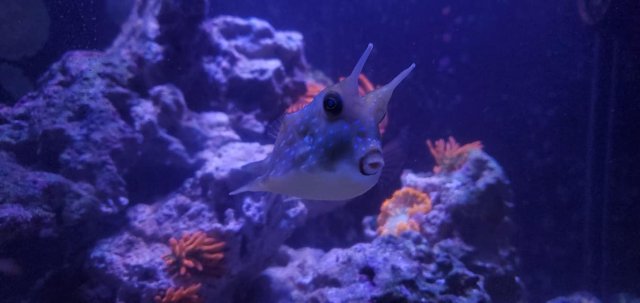
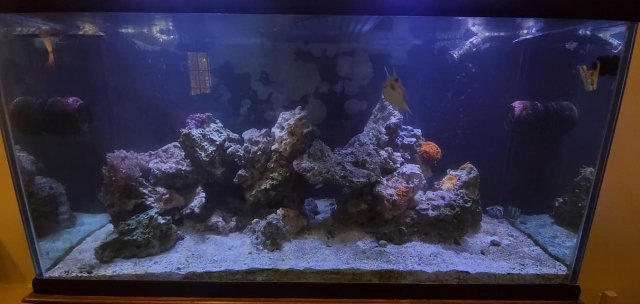
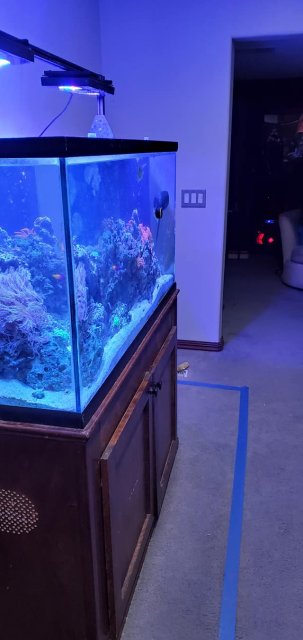
I currently have a 120 gallon mixed reef, I purchased the tank used back in January, and reused the sand, rock, etc. so the tank is faily well established. After having the tank for a while, I've become quite frustrated with several aspects of the tank, and I'm ready for a change. My centerpiece is a Longhorn Cowfish, who is about 5" long right now. I purchased him for the 120 with the intention of building him a bigger home as he grew.
The current tank has numerous scratches on the front glass.. This makes cleaning it a pain in the arse. I've also got a good amount of vermitid snails trying to take over that I haven't been able to get under control, and the cabinet is also stuffed full with an oversized sump, I barely had room for a 5g ATO resivoir, so it's time for a change before I rip my own hair out.
I plan on taking my time, and doing everything the right way. I will be bringing in a carpenter friend to assist with the tank build, a plumber friend to make sure the plumbing is right, and an aquascape guy, because I'm terrible at all of those things LOL. The only equipment I plan on carrying over from the old tank will be the dry-sides of my MP40's for additional powerheads in the new tank. I'm not going to risk bringing over any of the damn vermitids, and will part the old tank out.
And so it begins! Once the tank is built, I will have to move the 120 over about 6' to accomodate the 8' tanks permanant home. Not looking forward to the move, but hopefully I can get it done pretty easily.
The tank;
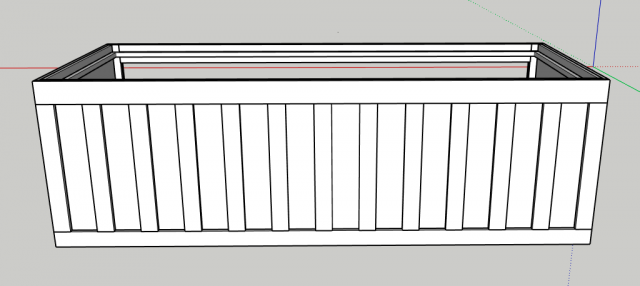
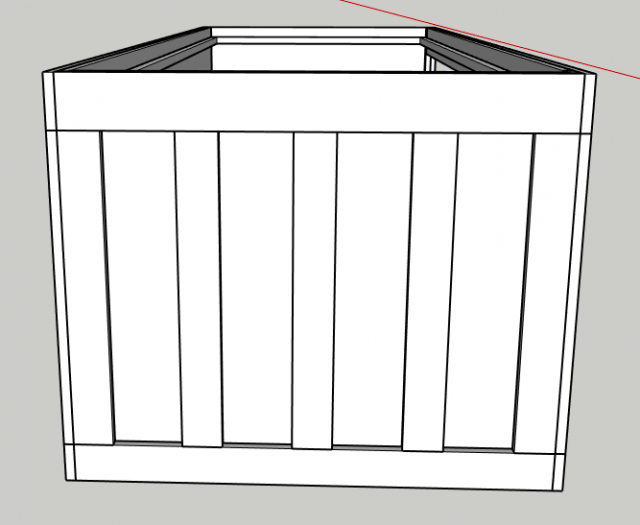
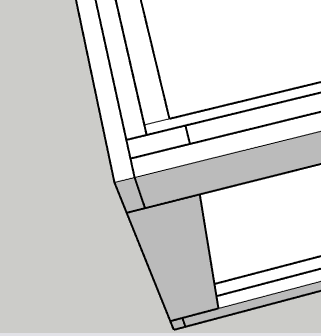
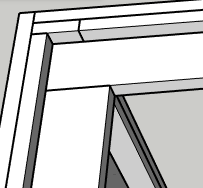
Dimensions - 96x36x30h - (Internal dimensions 94.5x36x28.5). Should give me roughly 400 gallons once the pond armor and glass is in place.
Glass - 1/2 annealed, standard glass (I'd love to go low iron, but I can't find anyone locally that supplies it, and just don't want to spend 400$ for shipping)
Stand - 32" high, two doors in front, control board cabinet on the side, open back
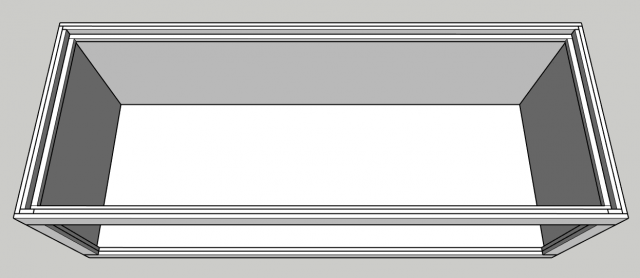
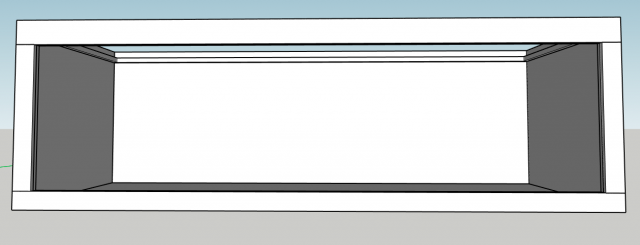
I plan on mostly following DIYKing's build, however I've read through almost every Plywood build thread on the internet I could find. I plan on using 3" wide, 3/4" plywood all the way around for the bracing. 3/4" Birch for the tank, coated deck screws, and Pond Armor for the coating with fiberglass seams. I can't find 3/4" or 5/8" glass locally, so I will be using 1/2. I know that 1/2 inch is technically only rated for tanks up to 27" high, but the way I'm designing the lid, I will have a water level of approximately 27.5" so I think the 1/2 should suffice. It will give me a safety factor of like 2.76. I will have 3 braces going vertically across each side, and 9 braces on the rear. I am not 100% decided on the top yet, but it will either be 3, 3" braces, or 4 2" braces. I think I'd prefer the 2" to help keep shadows at bay. I considered doing glass like AlexG, but I plan on running glass lids, and just couldn't think of a feasible way to make it work.
Lights - Radion
Powerheads - MP60's / MP40's
Sump - ???, possibly considering a trigger systems sump, I'm undecided. I want a seperate section for filter cups similar to the Emerald I use on my 180 FW.
Overflow - ???, been trying to figure out what to do here. I really wanted internal overflows, but it doesn't seem feasible. External overflows won't necessarily work either, due to the plywood framing around the top of the tank. I'm trying to get my hands on the overflow skimmers Sealthbox uses on their system.
I plan on running a full set of reactors, and any auto dosers I might need and will have it all set up before the tank runs, just so I don't have to plan for expansion. I will run an AquaUV sterilizer, not sure on size yet.
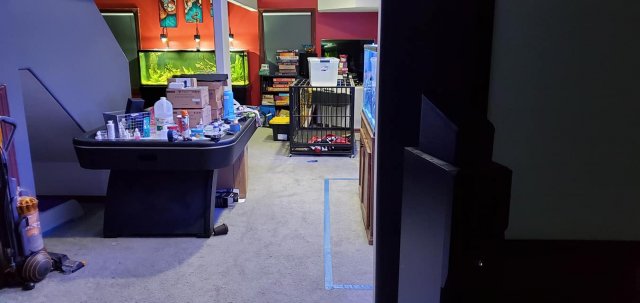
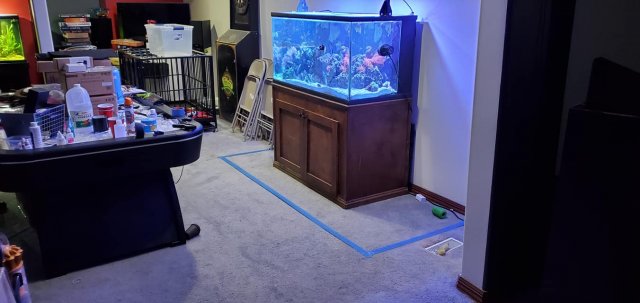
Photos show my current 120, as well as taped off lines of how the 400 will fit. I was a bit concerned with the width, as it sticks out further than the dividng wall, but I plan on getting rid of the air hockey table, and I honestly think it'll be just fine.
More photos to come as I get everything ironed out and start building!! Any tips would be great.
View attachment 1590505 View attachment 1590506 View attachment 1590507 View attachment 1590508 View attachment 1590509


