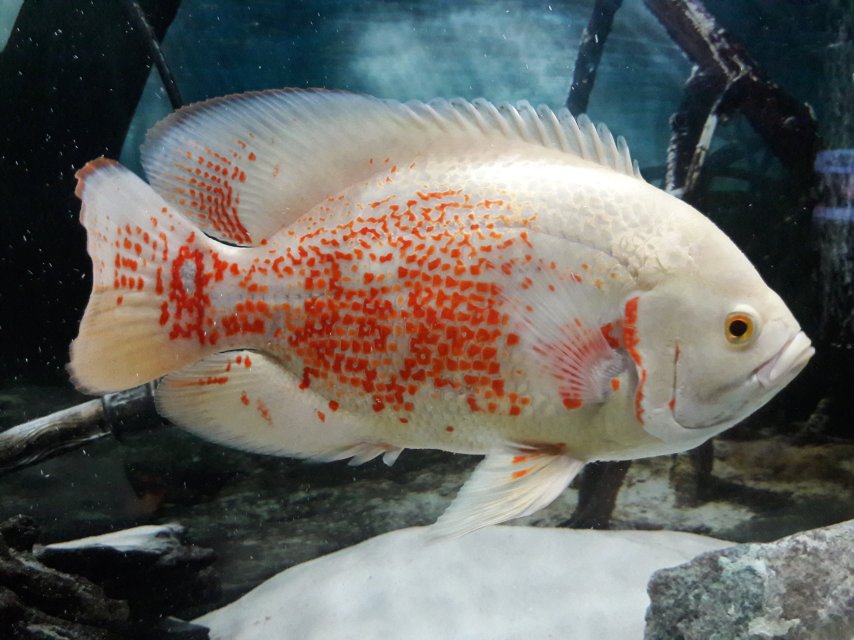
Here is my long time coming project. I want to set up a tank I can afford to set up, stock, feed and maintain. I have been contemplating this tank for over a year and I am finally determined to do it. I just want a tank that I can enjoy and watch and with fish that will interact with me, so I will go with ordinary Oscars. I will add a Pleco, just because I think they look like a dragon in style.
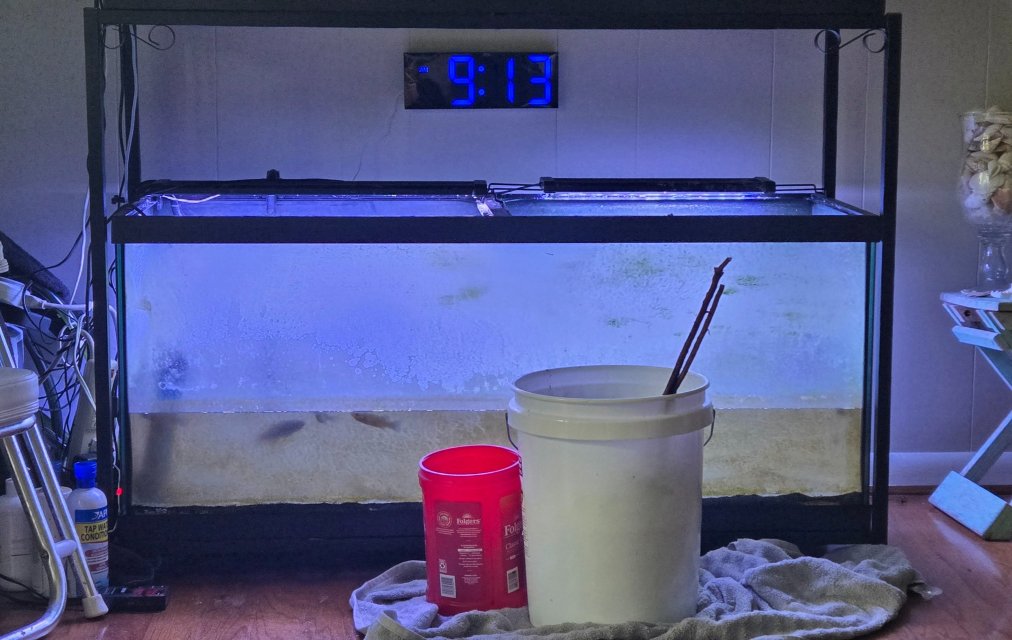
Here is my build plan. Please feel free to hammer me, as I am often persuaded to change course by wise counsel.
Day 1 – Preparation Work – Initial Setup
Day 3 – Water Conditioning
Days 5–13 – Cycling Period
Day 14 – Fish Introduction
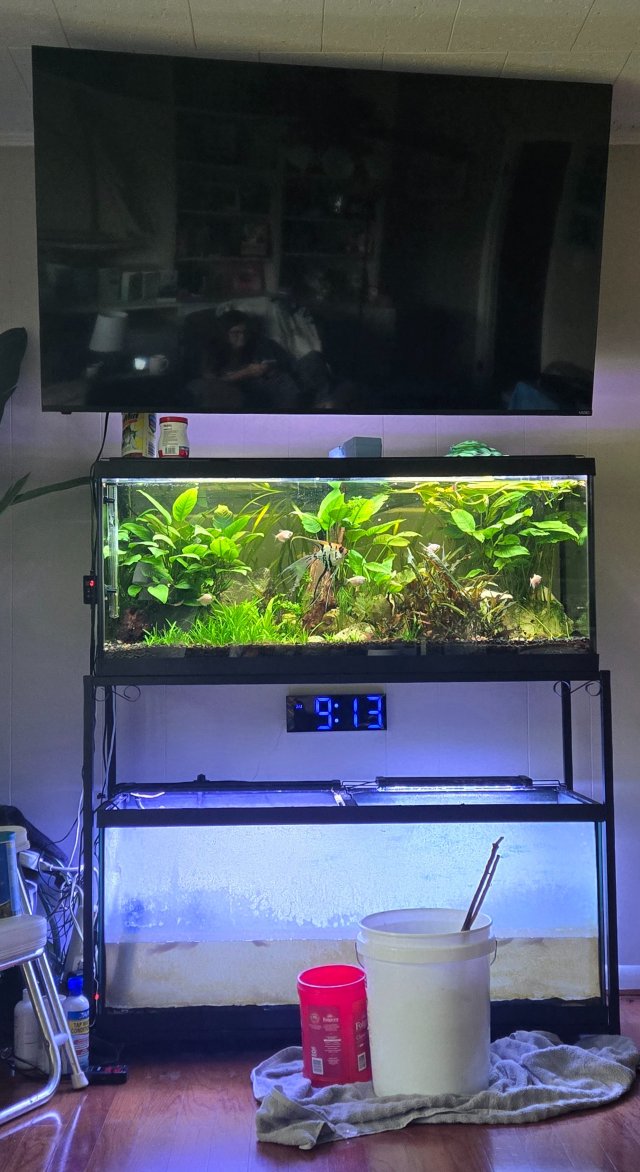
I have been planning and tweaking my do list way to long. Time to just do it...

Here is my build plan. Please feel free to hammer me, as I am often persuaded to change course by wise counsel.
Day 1 – Preparation Work – Initial Setup
- Clean & Sanitize
- Rinse the aquarium, canister filter, and all media using clean tap water.
- Use vinegar to clean tough spots.
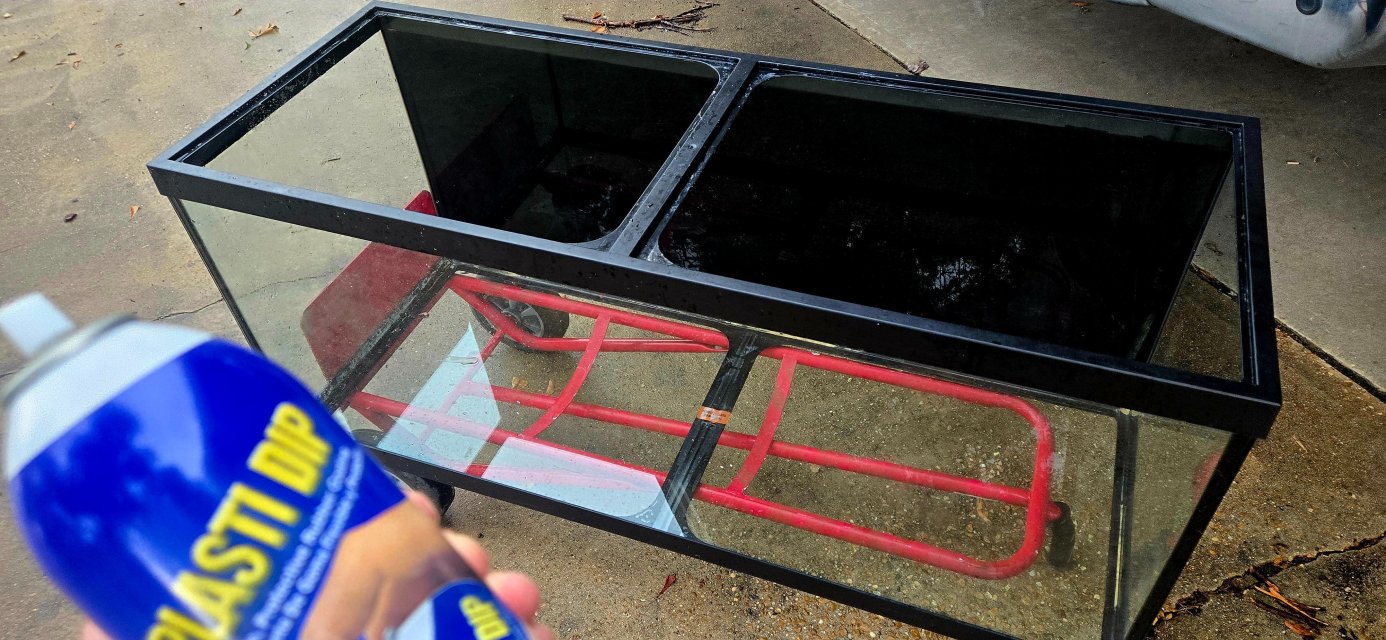
- Clean the outside back glass and spray 4–6 light coats of Plasti Dip.
- Install Under Gravel Filter
- Lay out the under gravel plates evenly.
- Attach two 250 GPH powerheads to the uplift tube.
- Add Substrate
- Add 2–3 inches of rinsed small pea gravel to cover the plates completely.
- Add Osmocote root fertilizer caps in back corners to feed Jungle Val plant initially.
- Place Hardscape
- Arrange large limestone and river rocks.
- Build a sturdy central formation in the center as an island encouraging fish to swim around it and ensure good water circulation.
- Connect Canister Filter
- Fill with clean media (sponge, bio-rings, etc.).
- Connect and secure hoses.
- Fill with Chlorinated Tap Water
- Fill slowly to avoid disturbing layout.
- Do not dechlorinate yet.
- Cover the tank top tightly with plastic wrap to trap chlorine.
- Circulate Water for 48 Hours
- Run the canister filter and powerhead continuously.
- This acts as a mild sterilization phase using chlorine.
Day 3 – Water Conditioning
- Uncover and Vent
- Remove plastic wrap. Let chlorine off-gas for.
- Add Dechlorinator
- Example: Seachem Prime — use 5 mL per 50 gallons (use ~7.5 mL for 75 gallons).
- Add Beneficial Bacteria
- Add a full bottle of API Quick Start.
- Pour directly into the tank and filter intake.
- Add Ammonia
- Use 10% pure ammonia. Add enough to reach 2 ppm.
- That’s about 3 teaspoons for 75 gallons (confirm with a test kit).
- Prepare Hydrogen Peroxide Dip (To Kill Snails/Algae)
- In a clean container, mix 1 part 3% hydrogen peroxide to 4 parts water.
- Submerge plants for 5 minutes.
- Gently rinse with clean tap water.
- Let plants drip dry for a minute while attaching.
- Attach Anubias to Rocks
- Drill a small hole in the rock, insert a hooked stainless wire, and secure with gel super glue.
- Wrap the wire loosely around the plant rhizome.
- Place Plants and Add Fertilizer
- Position the Anubias-attached rocks.
- Add liquid fertilizer such as Seachem Flourish — 5 mL per 60 gallons (use ~6.25 mL).
- Start light cycle using a timer:
- 12:00–9:00 PM
Days 5–13 – Cycling Period
- Monitor Water Chemistry
- Test for ammonia, nitrite, and nitrate daily.
- Ammonia should drop and nitrite will spike before converting to nitrate.
- No water changes unless ammonia exceeds 4 ppm.
- Optional: Algae Control
- Add API Algaefix only if algae blooms occur.
- Avoid if Anubias show signs of stress or melting.
Day 14 – Fish Introduction
- Prepare Salt Dip
- In a separate container, dissolve 1 tablespoon of aquarium salt per gallon of dechlorinated water.
- Gently place each fish in the salt bath for 30–60 seconds.
- Remove with net and transfer directly into the tank.
- Observe for aggression and stress, especially during first 48 hours.

I have been planning and tweaking my do list way to long. Time to just do it...


