Setting up a Rubbermaid 300 gallon stock tank with underlayment and pond liner

  • We are currently upgrading MFK. thanks! -neo
Yea, I’d go with AI over jjohnwm jjohnwm years of proven actual experience with stock tanks outdoors in all types of crazy weather…not! 😝
Each to his own. It’s your money that you’d be throwing away needlessly. Insulating the tank walls for an indoor tank is a complete waste of time, money & internal space in your stock tank. I understand sitting the tank on insulation foam would be helpful outside the tank. The tank will never fall below the ambient air temp in the room it’s in if there is no power supply for heat. This would be an impossibility. Whilst some heat would be lost through the floor & walls of the tank, so sitting it on foam would be helpful, but the surface is where most heat escapes as it’s the path of least resistance and heat rises, even in water. So while chat whatever sounds intelligent, it’s kinda stupid too 🤣
You do what you feel most comfortable with mate but all “overkill” is, is a waste of money & effort 🤗
 
Last edited:
  • Like
Reactions: jjohnwm
Response from AI again:

Yes, the pink foam board you’re referring to is likely extruded polystyrene (XPS) insulation — commonly sold as Foamular at Home Depot or similar brands at other stores. That’s exactly the kind of rigid foam board that works well for this application.

To clarify the layering order inside the stock tank:
  1. Bottom of the tank
  2. Rigid foam insulation (e.g., pink XPS board) – cut to fit the bottom as neatly as possible
  3. Underlayment – lays directly over the foam and up the sides of the tank
  4. EPDM pond liner – draped over the underlayment and shaped into place
The foam board helps reduce heat loss through the bottom and adds a little cushioning. If the foam fits well, it shouldn’t shift once everything’s layered and filled. Just make sure it’s clean, smooth, and free of sharp edges.

Optional: You can also insulate the outside walls of the tank with foam board or Reflectix-style wrap for even better heat retention, especially if you’re relying on ambient room heat.
Far be it from me to suggest that ChatXYZ or whatever it's called...could be anything less than a finely distilled elixir of human wisdom...but much of that sounds like gibberish.

Placing a layer of insulation inside the stock tank, beneath the liner, will decrease the total water depth and volume of the tank. Using insulation between the bottom of the tank and the floor allows one to use much thicker and more effective insulation, while retaining the maximum amount of volume for water inside the tank.

Insulating the side walls will help in slowing heat loss during a power outage, but depending upon how the bottom is insulated can actually keep the water cooler than it would be otherwise. I have on several occasions been successful in keeping a basement tank as much as 5 Fahrenheit degrees cooler than the ambient air, simply by insulating the sides and extending that insulation back to contact the foundation wall behind the tank. Insulation is also stuffed into the gap between the tank along the top and bottom edges, creating a stagnant air chamber between the tank and the wall. The wall is colder than the ambient air in the room and thus cools the tank and that air chamber, while the side insulation helps prevent the transfer of heat from the air to the tank, resulting in a significant amount of "free" cooling of the water.

Similarly, a tank sitting directly on the concrete basement floor, but with insulation wrapped around the sides, is several degrees cooler than if the insulation is removed and the ambient air is allowed to warm the tank. This is great if you are seeking cooler water. The insulation in that case is actually insulating the water from the air, so if the heat source is the air you are working against your intended goal.

Ideally, in such a case you want the tank insulated from the cold floor as much as possible...i.e. sitting on a much thicker layer of foam than you would ever want to place inside the tank...but with nothing around the sides of the tank, allowing the ambient air to have the maximum heating effect as desired. Then, if an outage occurs, temporarily wrapping the outside in something like the fibreglass blankets sold for water heaters will slow down the loss of heat from the water as the air cools around it.

Edited to add: As usual, someone else types faster and more succinctly than me...in this case, danotaylor danotaylor . :)
 
  • Haha
Reactions: danotaylor
Far be it from me to suggest that ChatXYZ or whatever it's called...could be anything less than a finely distilled elixir of human wisdom...but much of that sounds like gibberish.

Placing a layer of insulation inside the stock tank, beneath the liner, will decrease the total water depth and volume of the tank. Using insulation between the bottom of the tank and the floor allows one to use much thicker and more effective insulation, while retaining the maximum amount of volume for water inside the tank.

Insulating the side walls will help in slowing heat loss during a power outage, but depending upon how the bottom is insulated can actually keep the water cooler than it would be otherwise. I have on several occasions been successful in keeping a basement tank as much as 5 Fahrenheit degrees cooler than the ambient air, simply by insulating the sides and extending that insulation back to contact the foundation wall behind the tank. Insulation is also stuffed into the gap between the tank along the top and bottom edges, creating a stagnant air chamber between the tank and the wall. The wall is colder than the ambient air in the room and thus cools the tank and that air chamber, while the side insulation helps prevent the transfer of heat from the air to the tank, resulting in a significant amount of "free" cooling of the water.

Similarly, a tank sitting directly on the concrete basement floor, but with insulation wrapped around the sides, is several degrees cooler than if the insulation is removed and the ambient air is allowed to warm the tank. This is great if you are seeking cooler water. The insulation in that case is actually insulating the water from the air, so if the heat source is the air you are working against your intended goal.

Ideally, in such a case you want the tank insulated from the cold floor as much as possible...i.e. sitting on a much thicker layer of foam than you would ever want to place inside the tank...but with nothing around the sides of the tank, allowing the ambient air to have the maximum heating effect as desired. Then, if an outage occurs, temporarily wrapping the outside in something like the fibreglass blankets sold for water heaters will slow down the loss of heat from the water as the air cools around it.

Edited to add: As usual, someone else types faster and more succinctly than me...in this case, danotaylor danotaylor . :)
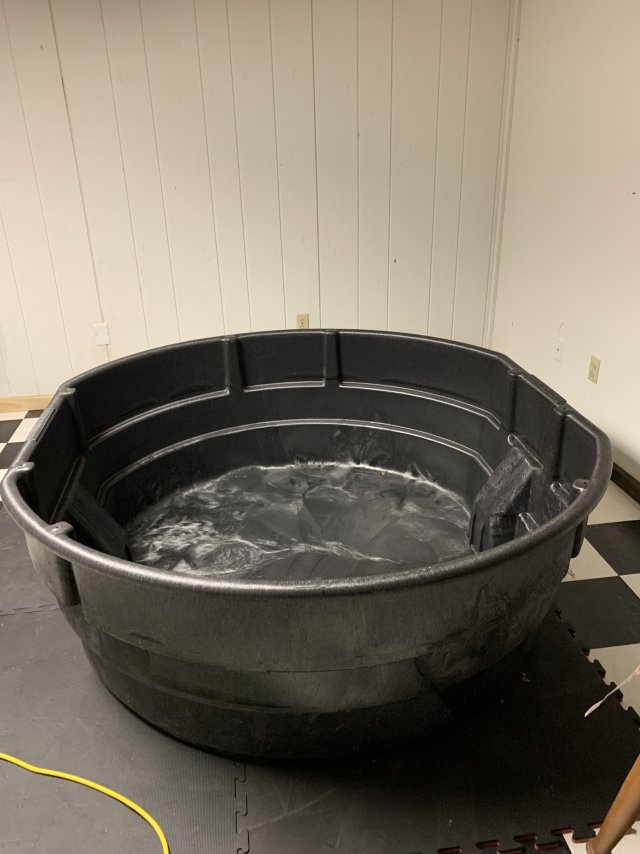
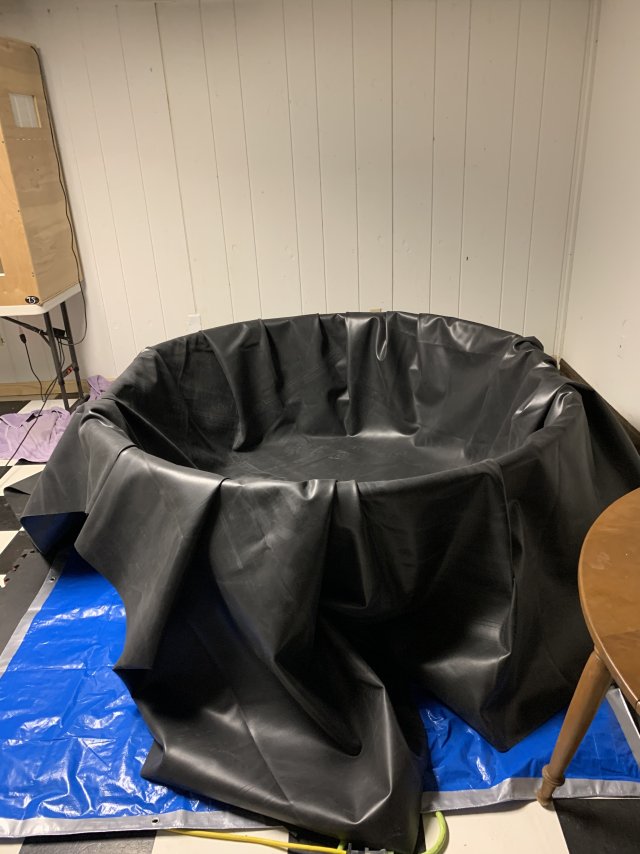
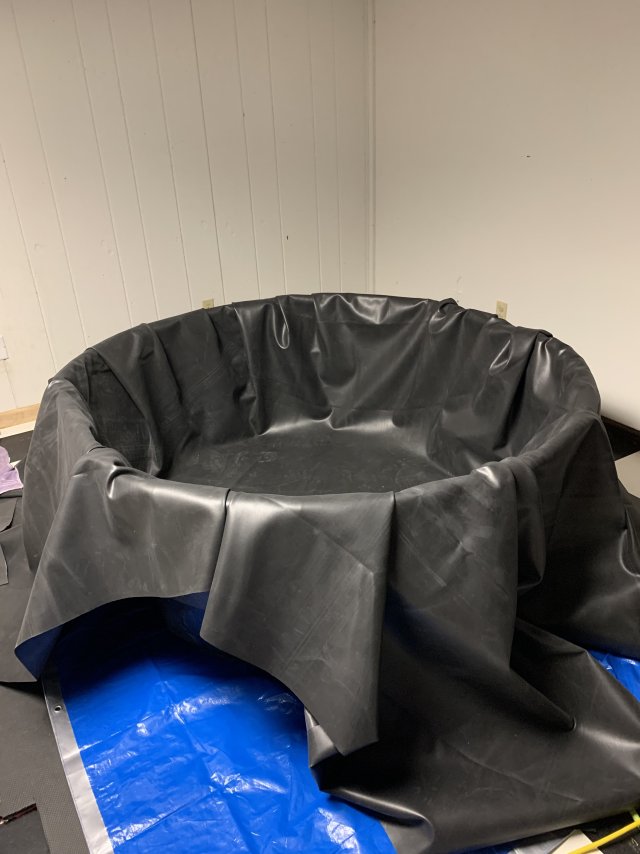
Hi guys, I agree, I set the stock tank on foam and didn't use the underlayment, only put in the 45 mil pond liner. I know you think its overkill but if you see there are several forums that are reporting that these Rubbermaid 300 gallon stock tanks are no longer built with quality, numerous people are saying that these tanks are getting cracks and leaking within 6 months to a year. I looked over the tank I bought from Tractor Supply and some of the seams looked sketchy. I read a lot of of people will have leaks and try to repair with silicone, JB Weld, etc. these tanks are not built as well as they used to be. So I figured it is better to err on the side of caution. I don't want to risk this happening to me, so putting in a pond liner ensures this tank will last for many years to come.
 
Tomorrow I am going to fill up the tank with water and add one of my seasoned 125 gallon sponge filters and a Tetra Pond Flat Box filter. I really want to do a bog filter, but I am not handy have no idea you guys can explain it me and I still can't figure out how to build a bog filter. So I am just going to use the Tetra Pond Flatbox filters since they are easy to use and served me well with my 500 gallon pool pond that I had up for 5 years.
 
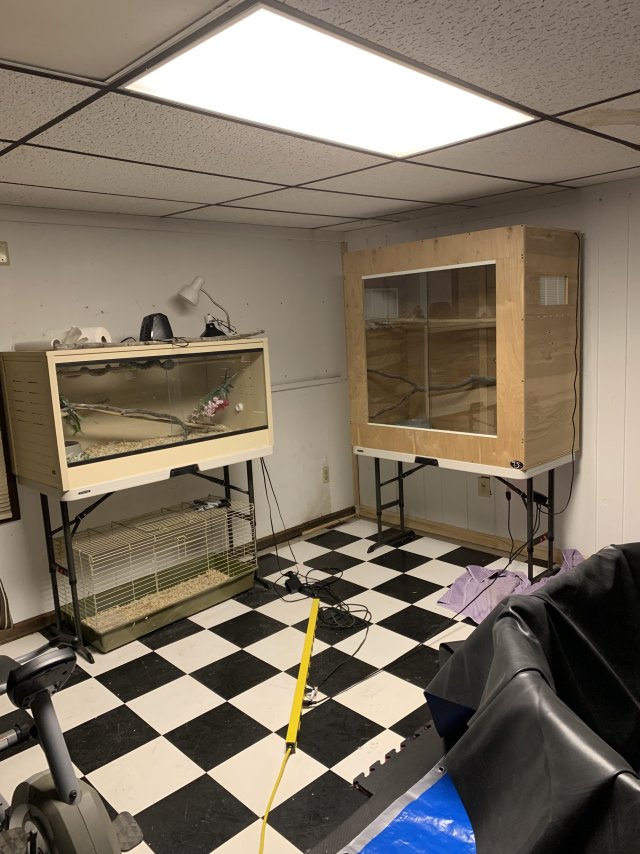
I want to post photos as I do this build, but can’t figure how to post photos, I am going to try and do it now.
 
That would indeed be a shame if the Rubbermaid products have been cheapened recently; they cost as much as ever they did so maybe they're just another example of a manufacturer risking their good reputation by cutting corners. Sad.

A bog filter can be as elaborate or as basic as you want it to be; a quick-and-dirty version for your stock tank can be made using a plastic windowbox from a garden center. Drill a large number of small holes in the bottom and hang it on the inside of the stock tank, so that the bottom is beneath the water level. If you are really lazy you can just put potted plants into it, straight from the nursery, and many will do great. I prefer to fill it with some lightweight media, and then remove the plants carefully from their pots, rinse off their root balls and then "plant" them in the media. It's also a great place to start cuttings.

You can stop right there, or you can divert part of the outflow from a pump into the windowbox so that the water is constantly flowing through and around the roots. Either way, you get the biofiltration advantages of emersed plants with very little cost or effort and it can look quite attractive as well.

I have a basement stock tank that serves to overwinter some fish and plants that spend their summers outdoors. I've been diagnosed with terminal laziness, so I literally just carry the potted plants in from the outdoor stock tanks, place them in the indoor one and keep the water level about even with the top of their large-ish pots. Smaller pots can be stood on bricks, upturned pots, etc. to keep them at the right height. Most plants survive the long winter quite decently this way, when provided with good light. Some species absolutely thrive and continue to grow all winter long.

I use a number of high-tech fertilizer dispensers/dosers to maintain a good nutrient level in the water; they're called Goldfish, and are readily available in most areas. :)
lol 😂
 
MonsterFishKeepers.com