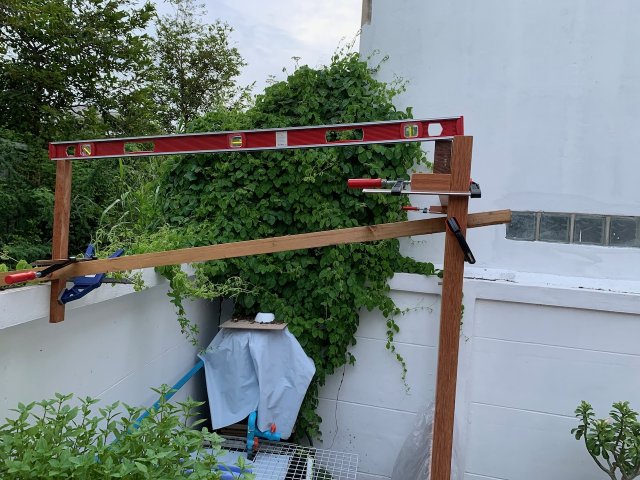
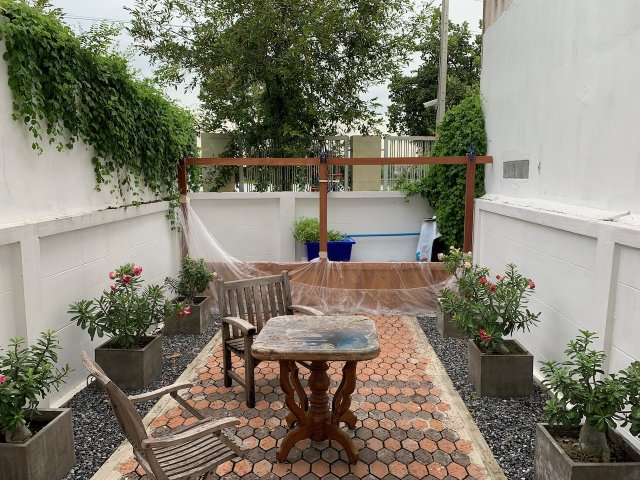
The Pond...
- Thread starter Luc70
- Start date
You are using an out of date browser. It may not display this or other websites correctly.
You should upgrade or use an alternative browser.
You should upgrade or use an alternative browser.
Some muscle-aches sitting in the office again. Each of those panels must be a good 40kg I guess.
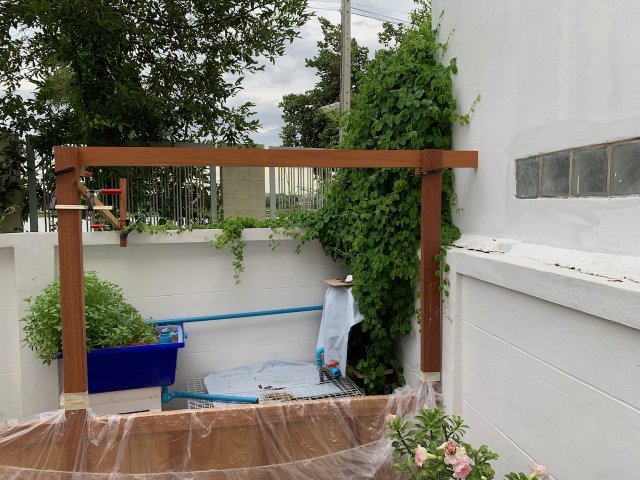
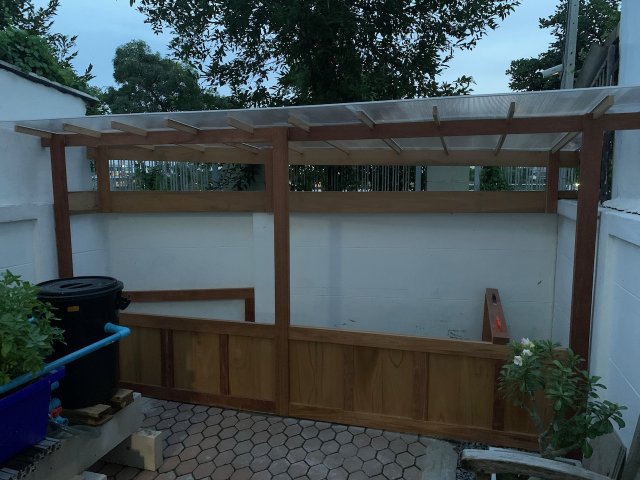
A few more pictures of the construction. All is true and straight, quite happy with that. Ready to start putting the roof on.
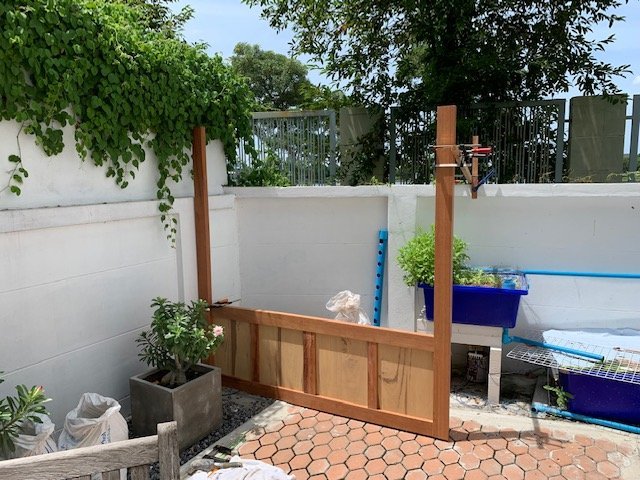
The first half was easy. Drill 2 holes in the ground and put a line first.
Then fit the middle pole and lift upright and fix to the back wall.
Start levelling with the bolts and ready for the first side pole.
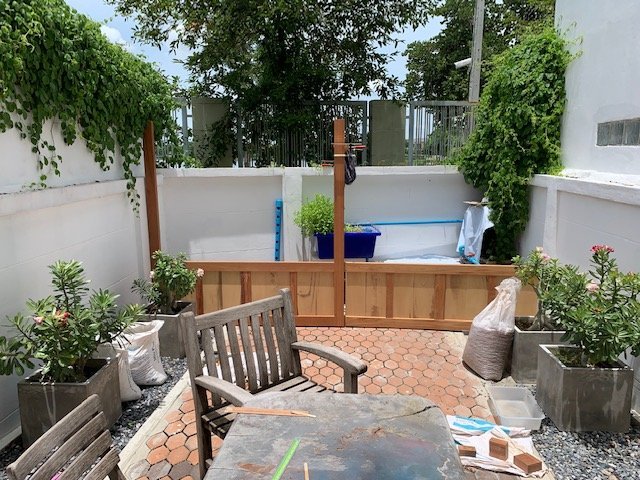
Test fitting the second panel. Lucky it's not too hot the last couple weeks. 34-35'C in the shade right now.
Still enough to get a nice sun-burn if not careful.
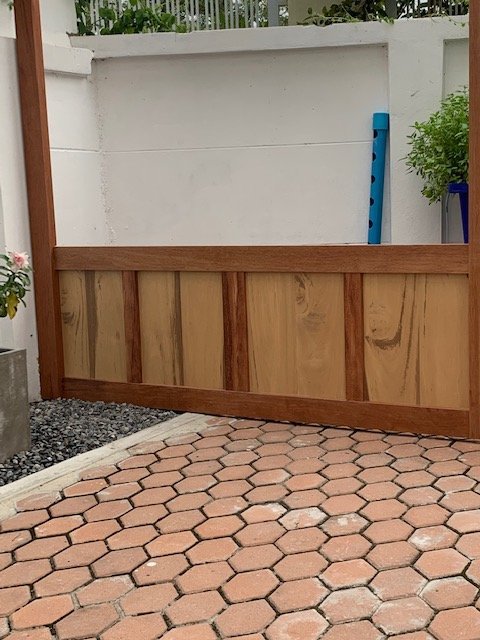
And the next day after putting some strips behind the sides of the panel.
This is to keep the stones from spilling behind it.
The middle part of the structure is about 15-20mm clear of the stones.
This is to avoid water pooling and affecting the wood.
Once the liner is in, you won't see much of it anymore.
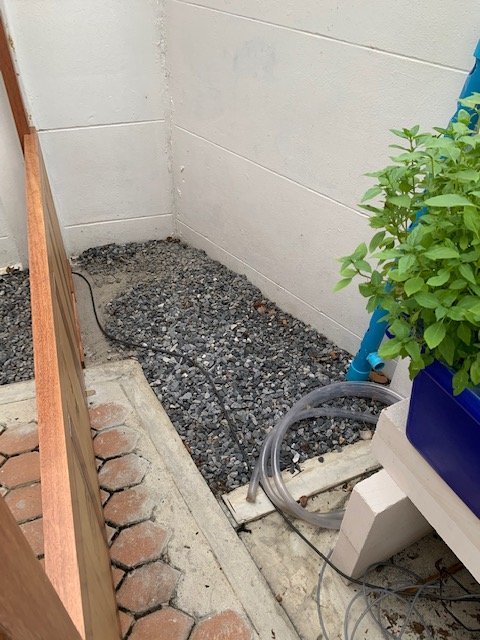
You can see the wood strip on the back in this picture.
The gravel will be removed before putting the liner in.
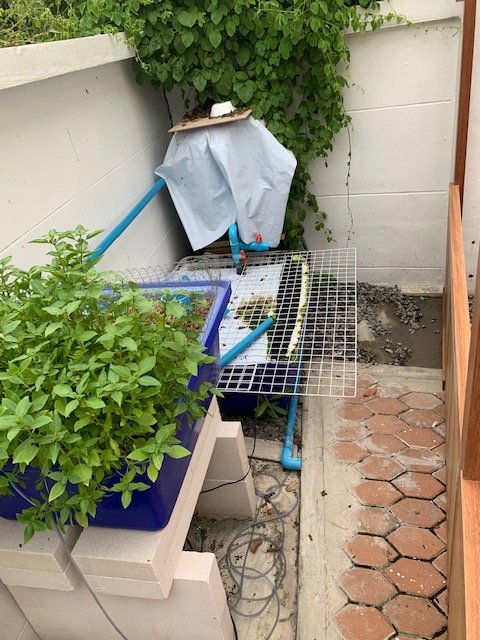
Everything will be removed in the next 2 weeks.
Once the roof is on and filter finished, liner will go in and we'll start putting Koi in
A few more pictures of the construction. All is true and straight, quite happy with that. Ready to start putting the roof on.

The first half was easy. Drill 2 holes in the ground and put a line first.
Then fit the middle pole and lift upright and fix to the back wall.
Start levelling with the bolts and ready for the first side pole.

Test fitting the second panel. Lucky it's not too hot the last couple weeks. 34-35'C in the shade right now.
Still enough to get a nice sun-burn if not careful.

And the next day after putting some strips behind the sides of the panel.
This is to keep the stones from spilling behind it.
The middle part of the structure is about 15-20mm clear of the stones.
This is to avoid water pooling and affecting the wood.
Once the liner is in, you won't see much of it anymore.

You can see the wood strip on the back in this picture.
The gravel will be removed before putting the liner in.

Everything will be removed in the next 2 weeks.
Once the roof is on and filter finished, liner will go in and we'll start putting Koi in
On to the backside of the roof then...no time to waste..
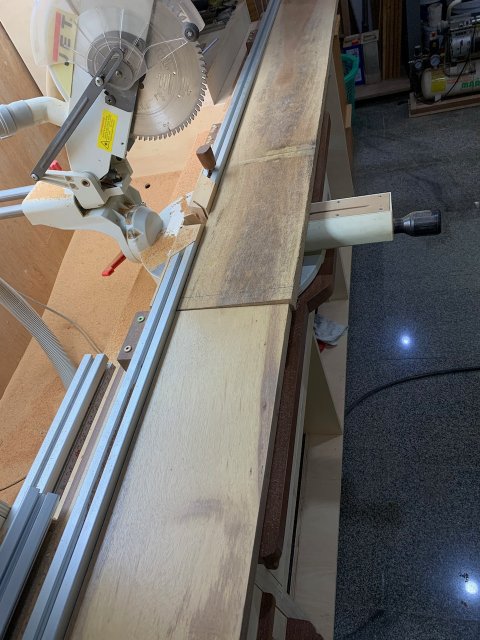
From rough planks to nicely planed wood. Continues to amaze me every single time I look at that!
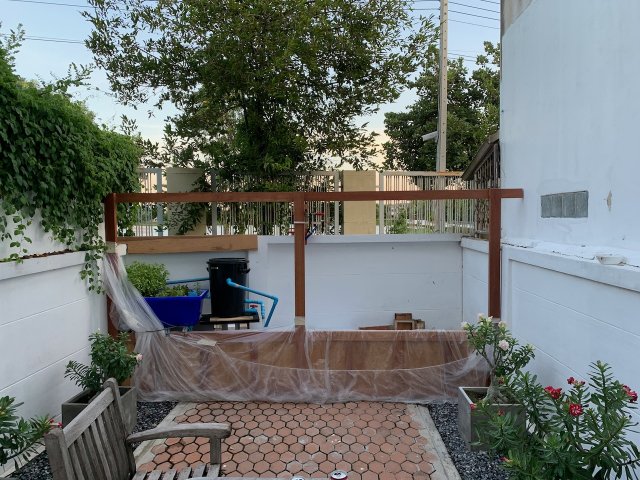
First part fitted. Left side will get a cover to the front beam as well.
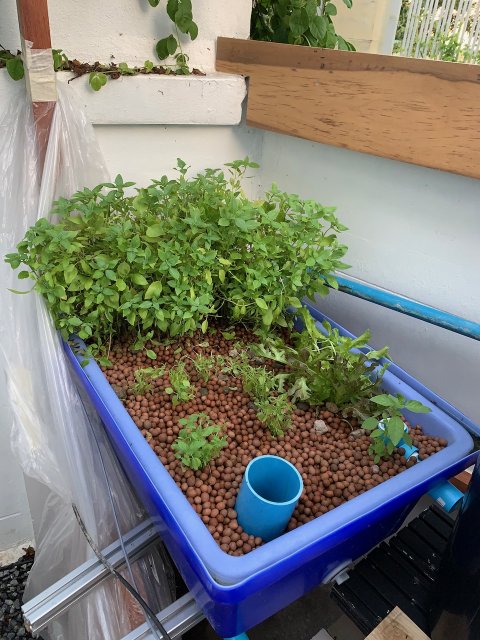
Moved the veggies, two types basil, a lone cabbage plant and 2 lettuce.
This is the testing setup that got me started on this pond.
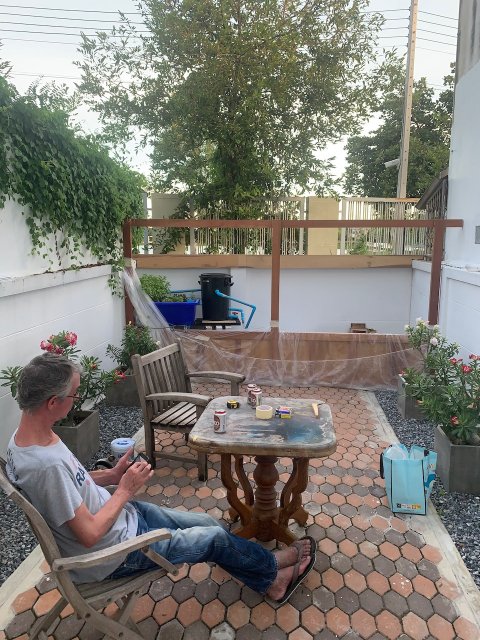
Supervisor Maxi-Me hard at work.
Meanwhile, I'm drenched with sweat after completing the backside support for the roof.
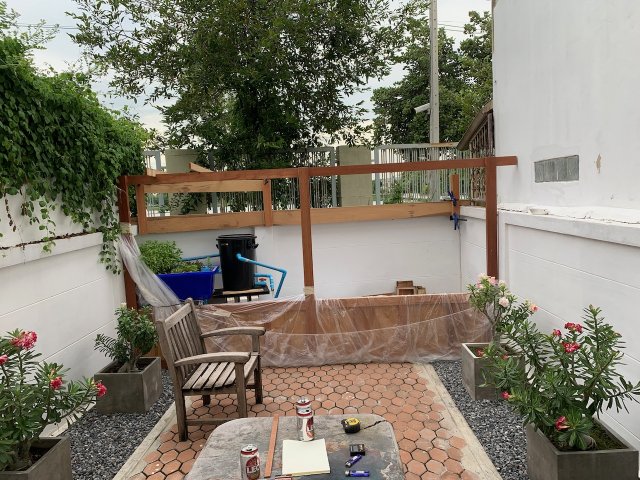
And at the close of yesterday's holidays here, I got the uprights fitted and a rough template for the rafters.
They'll get sunk into the beam by 2cm, with the top of the rafters about 3.5cm above the beams.
Double walled clear Poly-Carbonate roof will then go on top.
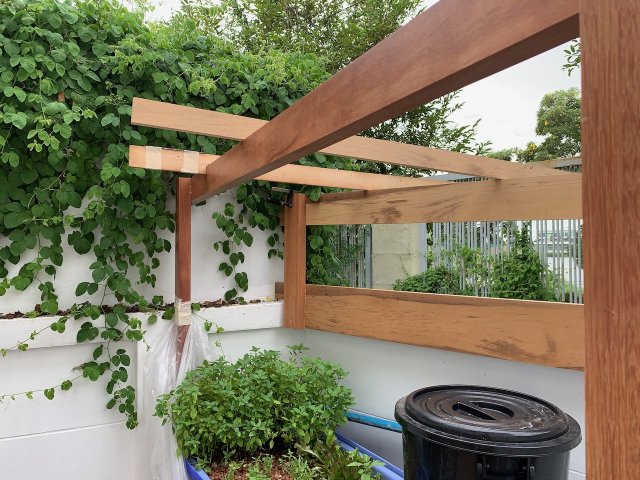
Once the roof is finished, I can get started with the right side pond support.
Can't see it in the pictures, but there's a beam along the left backside fitted already.
The veggies container is sitting on that beam.
Next weekend make the rafters, fit them and hopefully I can get the roof finished by Sunday!
Cheers,
Luc

From rough planks to nicely planed wood. Continues to amaze me every single time I look at that!

First part fitted. Left side will get a cover to the front beam as well.

Moved the veggies, two types basil, a lone cabbage plant and 2 lettuce.
This is the testing setup that got me started on this pond.

Supervisor Maxi-Me hard at work.
Meanwhile, I'm drenched with sweat after completing the backside support for the roof.

And at the close of yesterday's holidays here, I got the uprights fitted and a rough template for the rafters.
They'll get sunk into the beam by 2cm, with the top of the rafters about 3.5cm above the beams.
Double walled clear Poly-Carbonate roof will then go on top.

Once the roof is finished, I can get started with the right side pond support.
Can't see it in the pictures, but there's a beam along the left backside fitted already.
The veggies container is sitting on that beam.
Next weekend make the rafters, fit them and hopefully I can get the roof finished by Sunday!
Cheers,
Luc
Quick update after the weekend
Half the rafters done and the back supports fitted.
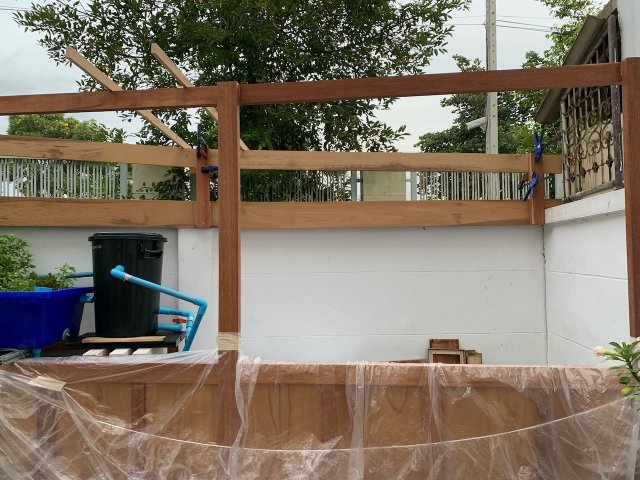
Backside cut and glued
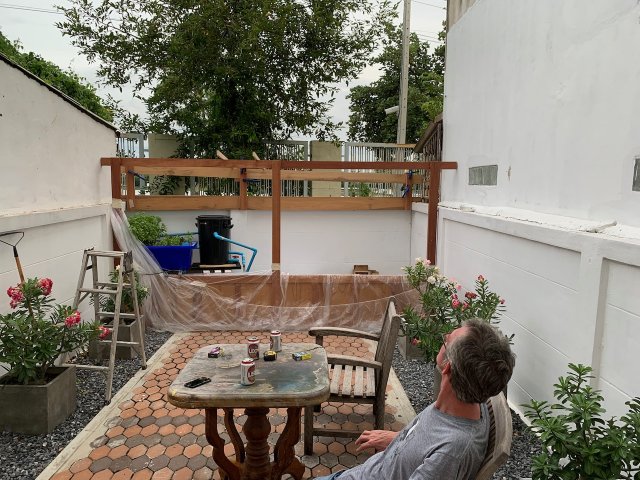
Maxi-Me checking my work again.
The backside is tapering from left to right because of the dimensions.
Was a trade-off between a warped roof and straight openings or how it is now.
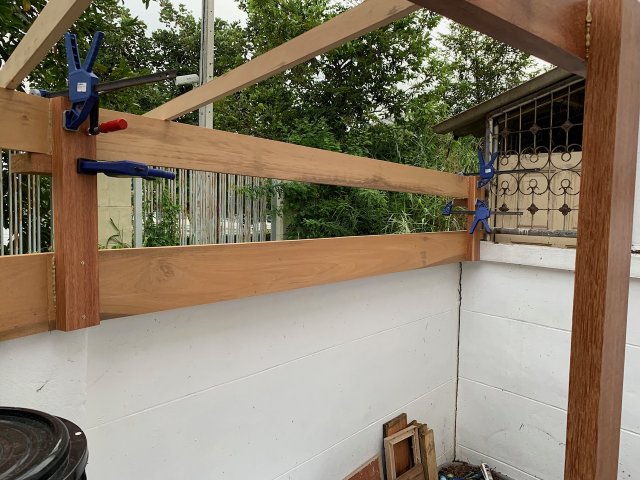
Here it is again, depending on which side you look at it, it's hardly visible or very obvious.
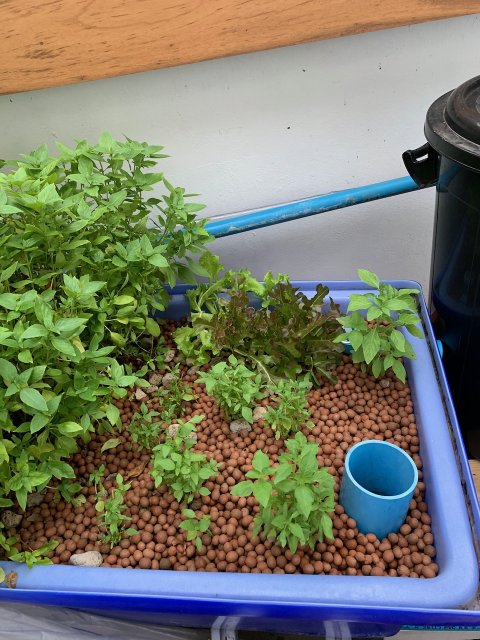
Meanwhile, the veggies grow fast.
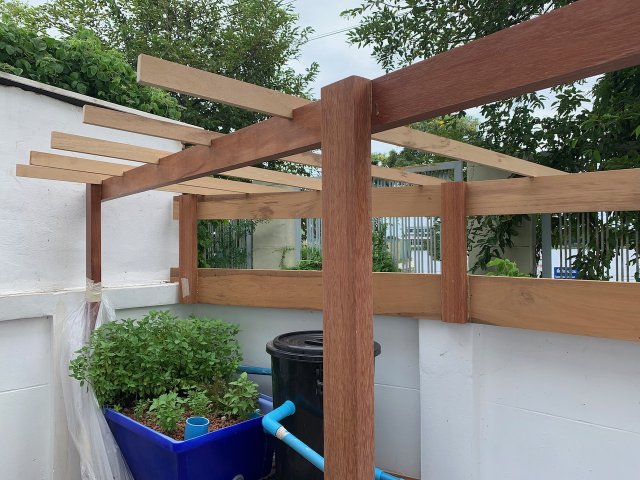
Test fitting the first set of rafters to measure out the backside cuts.
I know, rafters should not be cut, but they stay strong enough this way with a very light roof on top.
The beams get a notch of 20mm as well, so there's only 10mm of the rafters sticking out over the beams.
Reason I worked this way is that there'll be no gaps with only straight cuts out of both rafters and beams
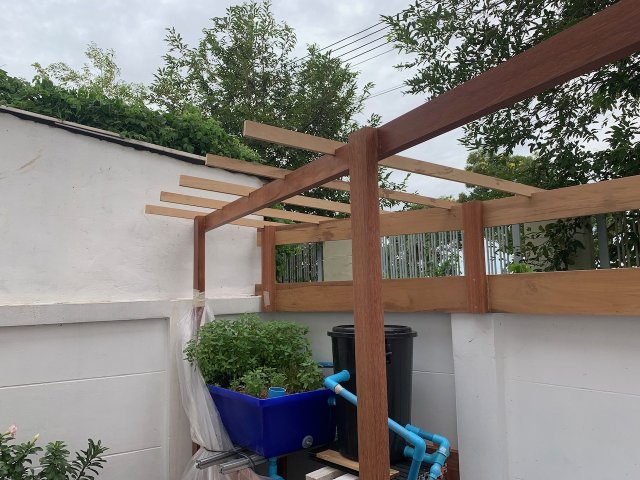
And that's where I finished yesterday afternoon.
Lost some time with Mini-Me going to hospital for a check-up, but hopefully finishing the rafters next Saturday and getting the roof done Sunday.
Cheers
Luc
Half the rafters done and the back supports fitted.

Backside cut and glued

Maxi-Me checking my work again.
The backside is tapering from left to right because of the dimensions.
Was a trade-off between a warped roof and straight openings or how it is now.

Here it is again, depending on which side you look at it, it's hardly visible or very obvious.

Meanwhile, the veggies grow fast.

Test fitting the first set of rafters to measure out the backside cuts.
I know, rafters should not be cut, but they stay strong enough this way with a very light roof on top.
The beams get a notch of 20mm as well, so there's only 10mm of the rafters sticking out over the beams.
Reason I worked this way is that there'll be no gaps with only straight cuts out of both rafters and beams

And that's where I finished yesterday afternoon.
Lost some time with Mini-Me going to hospital for a check-up, but hopefully finishing the rafters next Saturday and getting the roof done Sunday.
Cheers
Luc
Time Flies
14 days and a lot of work done
The roof was quite the job, especially when the backside is not easily accessible, but in the end we managed!
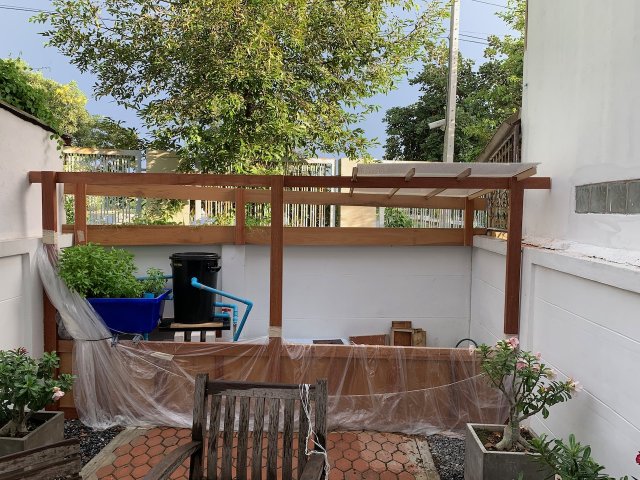
First Day I got the rafters finished and managed to get the first sheet on.
And as if to put it to the test
Heavy rain ensued
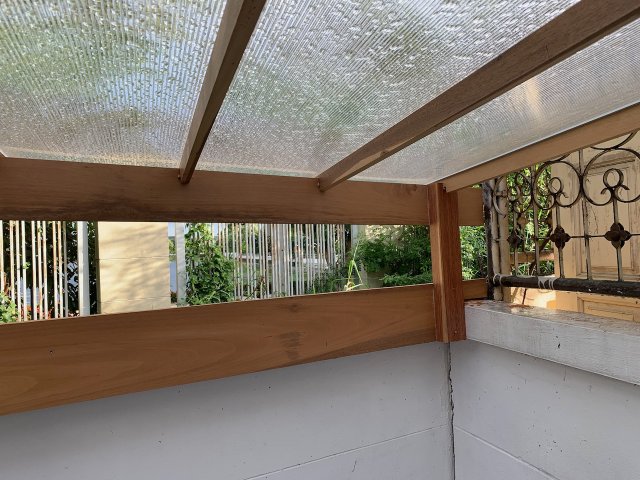
All kept perfectly dry, job done.
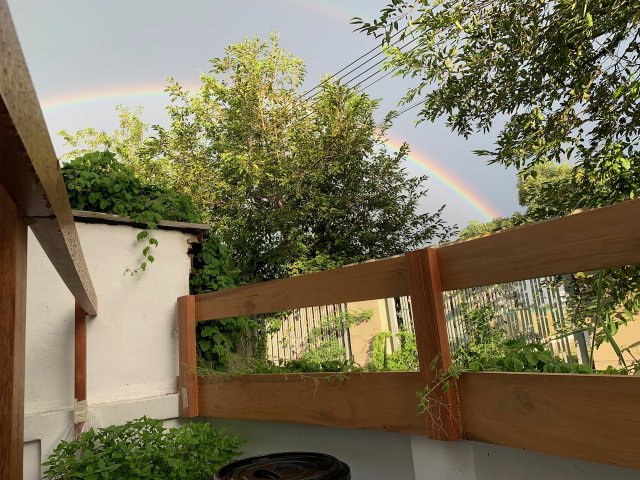
And it resulted in a very nice double rainbow lasting well over 30 minutes.
Weeds taking over very quickly.. got some solution in mind for that later on.
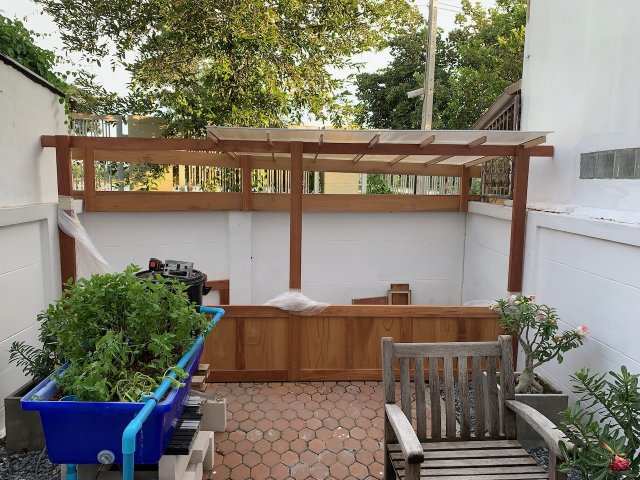
Day 2 of the operation
Moving out the aquaponics system
Building it up outside the new pond area
And put another sheet up.
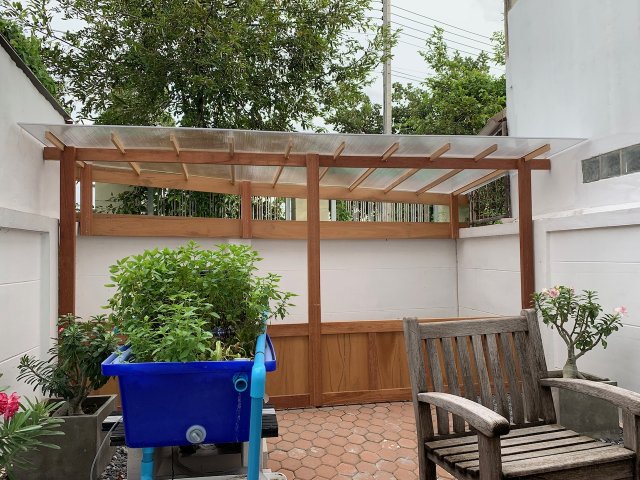
Day 3, finally, the roof is on!
Notice the difference in the herbs growing in the blue container?
Day 2 was Sunday 9th
Day 3 was Wednesday 12th
Below picture is of yesterday, Sunday 16th
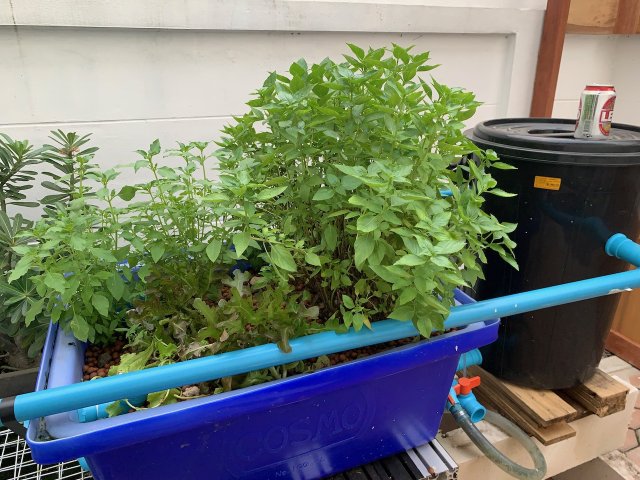
Very fast growth, even after a re-planting.
Did some more.. Next post.
Cheers,
Luc
14 days and a lot of work done
The roof was quite the job, especially when the backside is not easily accessible, but in the end we managed!

First Day I got the rafters finished and managed to get the first sheet on.
And as if to put it to the test
Heavy rain ensued

All kept perfectly dry, job done.

And it resulted in a very nice double rainbow lasting well over 30 minutes.
Weeds taking over very quickly.. got some solution in mind for that later on.

Day 2 of the operation
Moving out the aquaponics system
Building it up outside the new pond area
And put another sheet up.

Day 3, finally, the roof is on!
Notice the difference in the herbs growing in the blue container?
Day 2 was Sunday 9th
Day 3 was Wednesday 12th
Below picture is of yesterday, Sunday 16th

Very fast growth, even after a re-planting.
Did some more.. Next post.
Cheers,
Luc
And we're on a roll....
After finishing the roof, we had some severe tropical rain-storms.
All went well, everything soaking wet except under that roof. lol
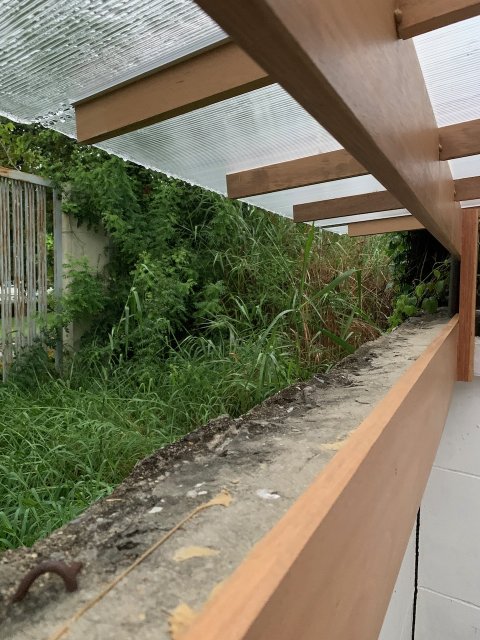
So the plan next called for some concrete, levelling the floor.
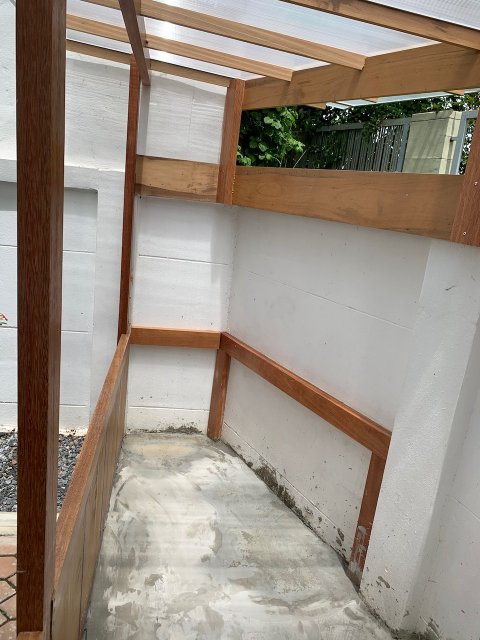
Concrete done, side beam and skirting also done.
Next week doing a skim-coat done to level it all.
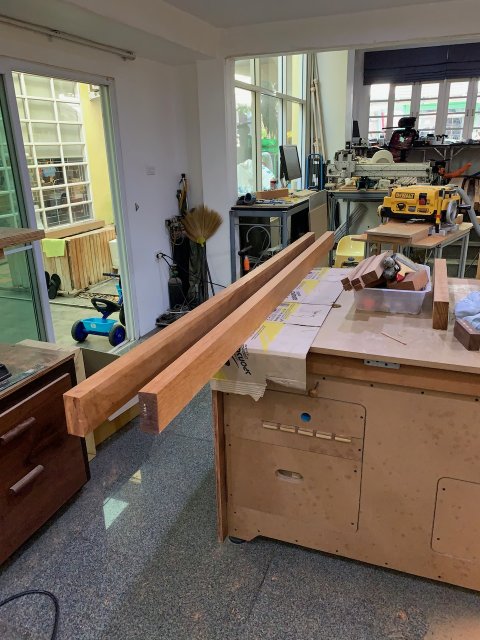
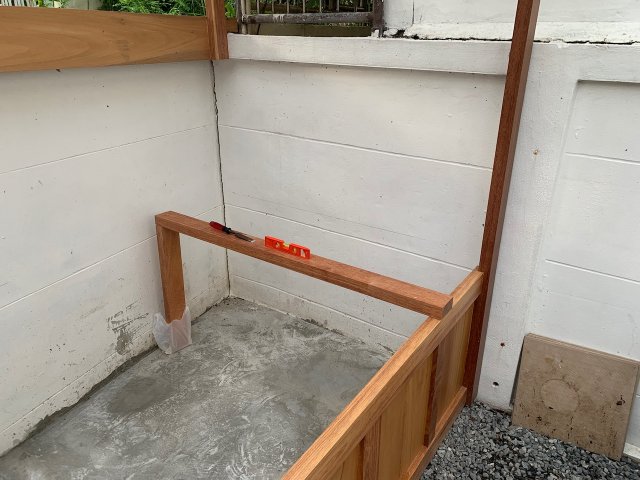
Yesterday also cut some wood to length and planed...and got the plans ready in my head for the sump.
500mm wide, 650mm deep, 1460mm front to back.
Should be enough to catch most water level fluctuation from the grow-beds.
The wood in the picture is the shorter part, goes on the floor.
Longer beam will rest on the front as in this picture and sit against the back-wall.
2 inlets to the sump.
1 bubble pump, 1 surface overflow.
Sump gets a 300 micron screen and water will drop below the screen where the pump sits.
top of the sump will get covered with wood planks.
As I left it yesterday. right side is the sump area.
Cheers,
Luc
After finishing the roof, we had some severe tropical rain-storms.
All went well, everything soaking wet except under that roof. lol

So the plan next called for some concrete, levelling the floor.

Concrete done, side beam and skirting also done.

Next week doing a skim-coat done to level it all.
Yesterday also cut some wood to length and planed...and got the plans ready in my head for the sump.
500mm wide, 650mm deep, 1460mm front to back.
Should be enough to catch most water level fluctuation from the grow-beds.
The wood in the picture is the shorter part, goes on the floor.
Longer beam will rest on the front as in this picture and sit against the back-wall.
2 inlets to the sump.
1 bubble pump, 1 surface overflow.
Sump gets a 300 micron screen and water will drop below the screen where the pump sits.
top of the sump will get covered with wood planks.

As I left it yesterday. right side is the sump area.
Cheers,
Luc
This is looking very nice!
Will you use bottom drains to sump?
Will the sump have individual chambers for settlement and purge taps to clean ?
I'm interested in your seive. Will it be wedge wire screen ?
How will you waterproof the wood/concrete. No glass viewing panel ? It could easily be done for 650mm water depth.
Will you use bottom drains to sump?
Will the sump have individual chambers for settlement and purge taps to clean ?
I'm interested in your seive. Will it be wedge wire screen ?
How will you waterproof the wood/concrete. No glass viewing panel ? It could easily be done for 650mm water depth.


