48x48 Workhorse "The Rig"
- Thread starter JK47
- Start date
You are using an out of date browser. It may not display this or other websites correctly.
You should upgrade or use an alternative browser.
You should upgrade or use an alternative browser.
Very nice. Cant wait to see how you run the air into the tank and how you have specifically set it up. I can't imagine without pictures unfortunately.The tank goes on the stand tomorrow and it is getting leveled. I cannot think of any reason this isn't wet in the next 24 hours.
That alita pushes a lot of air. Is it all for the K1 or are you running it for other purposes? I read somewhere you need 1lpm for each 1L of K1, but not sure how accurate that is.
Very nice. Cant wait to see how you run the air into the tank and how you have specifically set it up. I can't imagine without pictures unfortunately.
That alita pushes a lot of air. Is it all for the K1 or are you running it for other purposes? I read somewhere you need 1lpm for each 1L of K1, but not sure how accurate that is.
The Alita is for both. I’ll be running one 3/8” line to each tower and one 3/8” line to the 16 way manifold. That manifold will run 8 lines of accessories.
After a a few years there is a certain point you quit doing math for K1. Big ass air pump, buckets of K1, walk away lol..
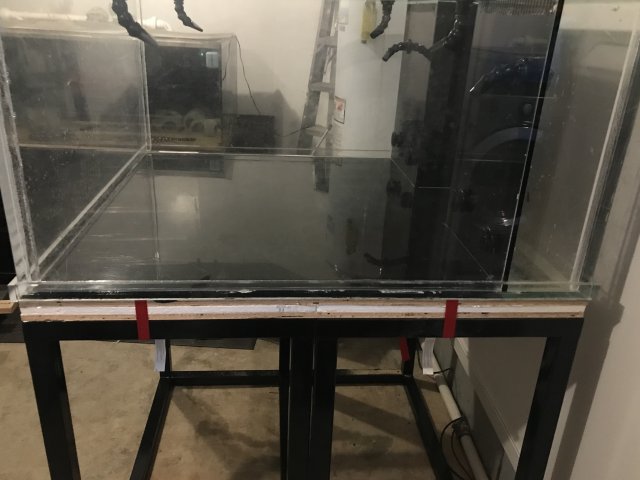
Touchdown..! Finally starting to look like an actual tank!
I want more visibility/access to the bottom of the towers so we cut out the full tower sections.
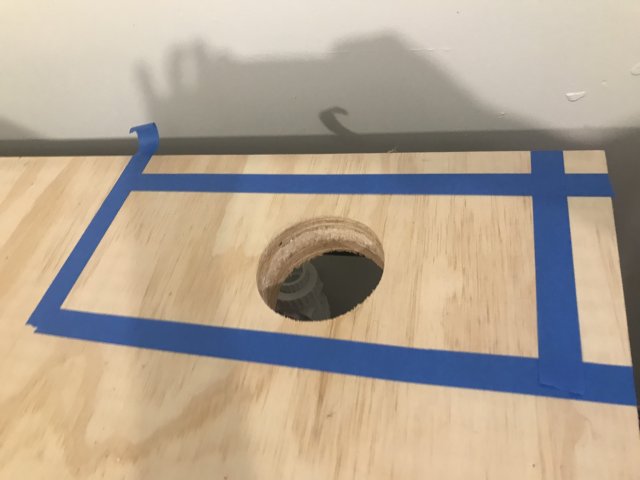
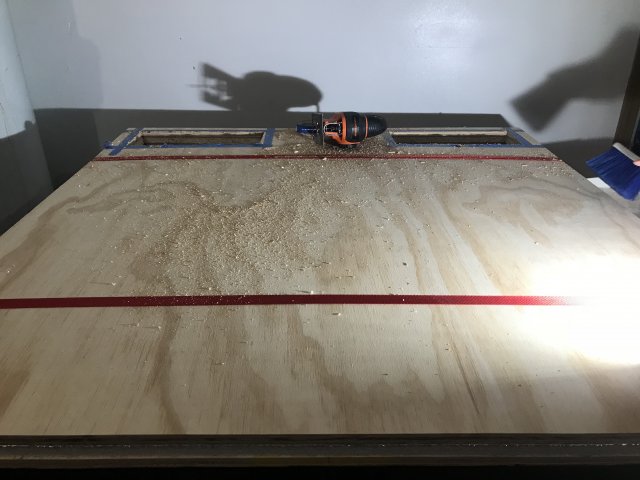
In order to keep everything squared up (two piece stand) we used ratchet straps/tie downs to hold it as one assembly while we took it off the casters.
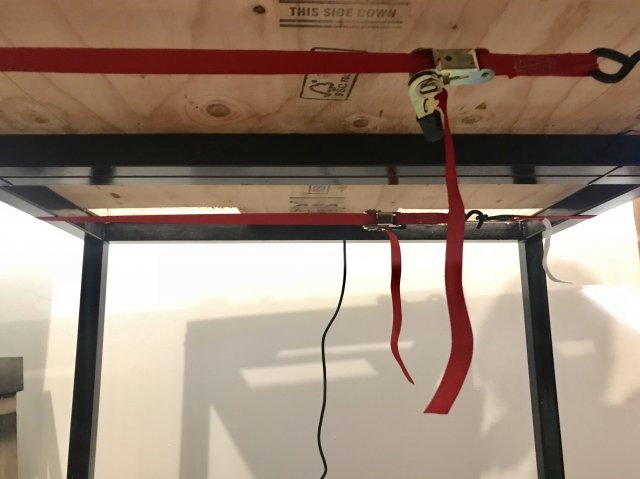
It’s still dirty and not buffed yet
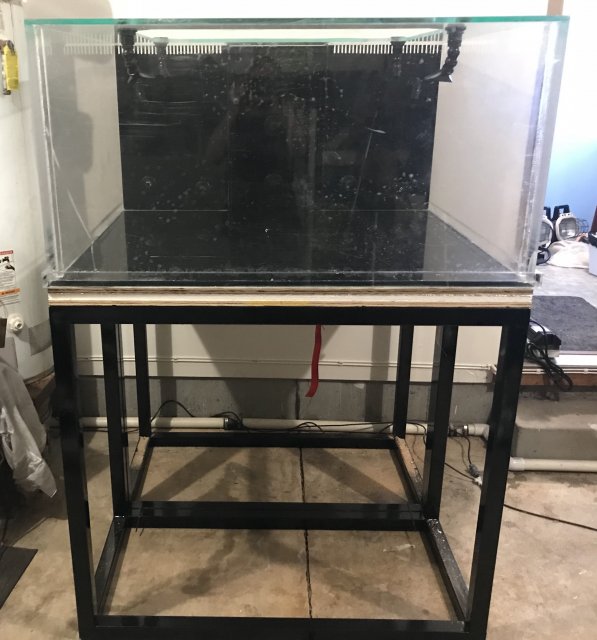
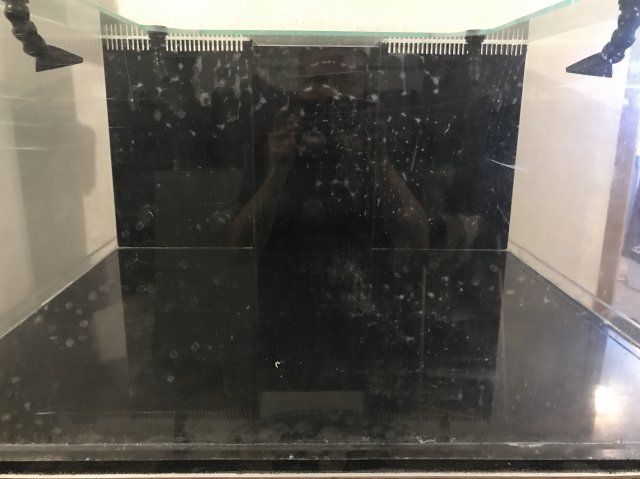
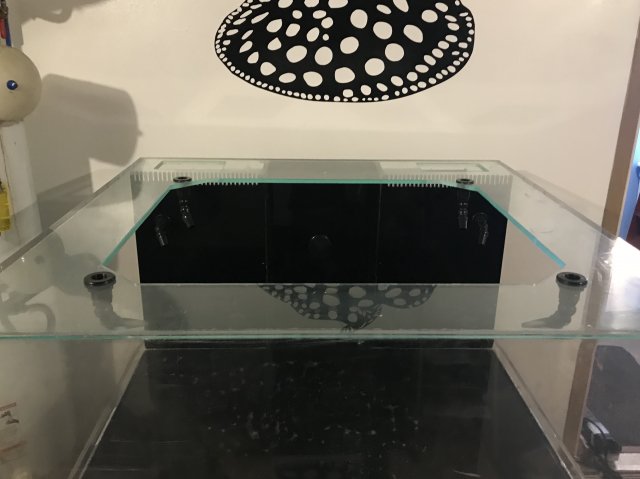
I want more visibility/access to the bottom of the towers so we cut out the full tower sections.


In order to keep everything squared up (two piece stand) we used ratchet straps/tie downs to hold it as one assembly while we took it off the casters.

It’s still dirty and not buffed yet


I’m trying to decide if I want to leak test tonight or wait until after we buff it. We’re leveling and supporting the floor right now
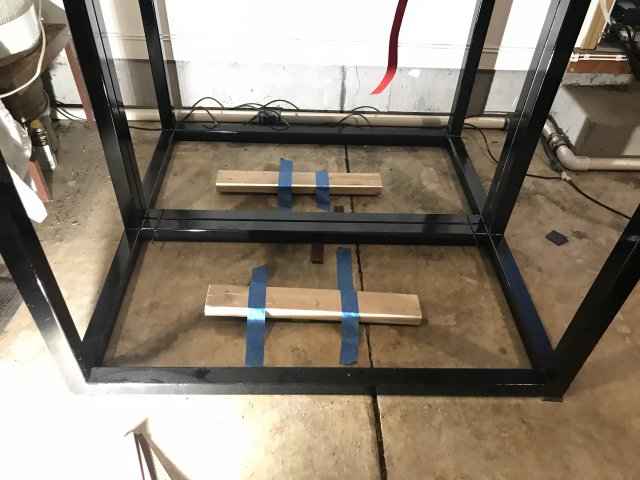
Positioned, leveled, floor supported. All corners are shimmed with steel bar stock.
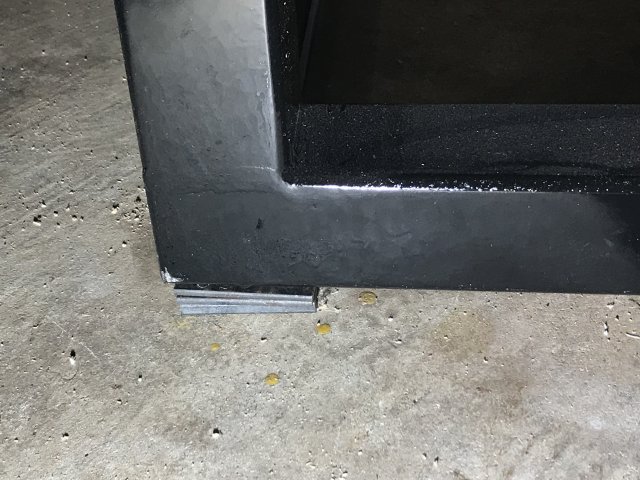
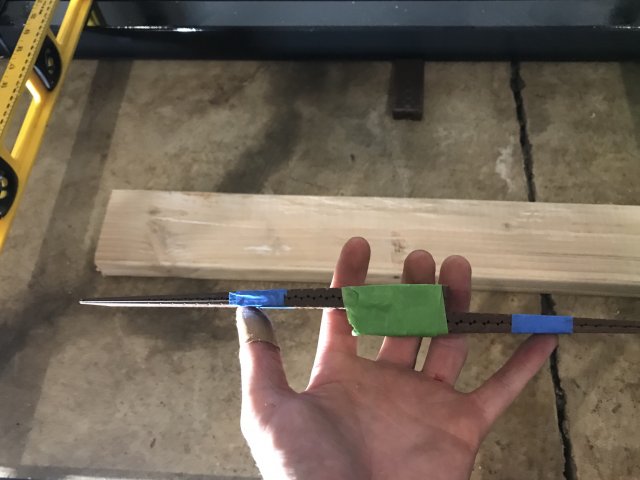
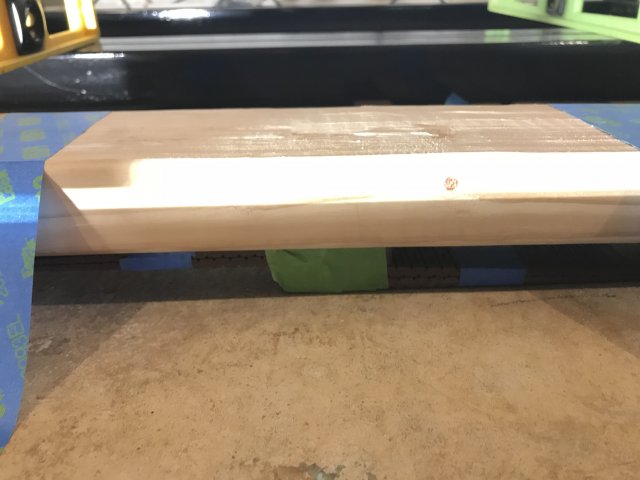
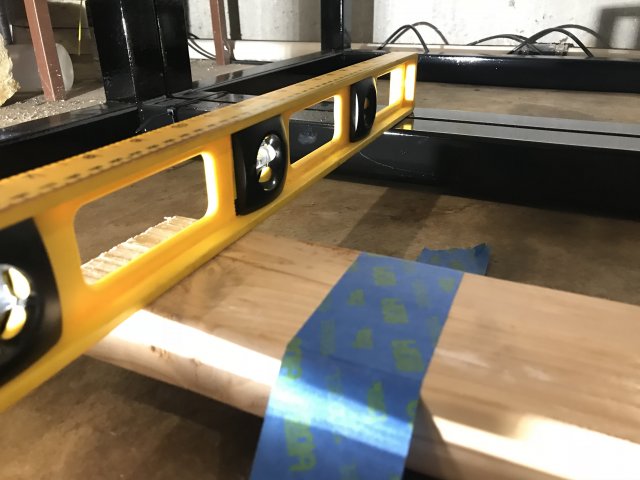
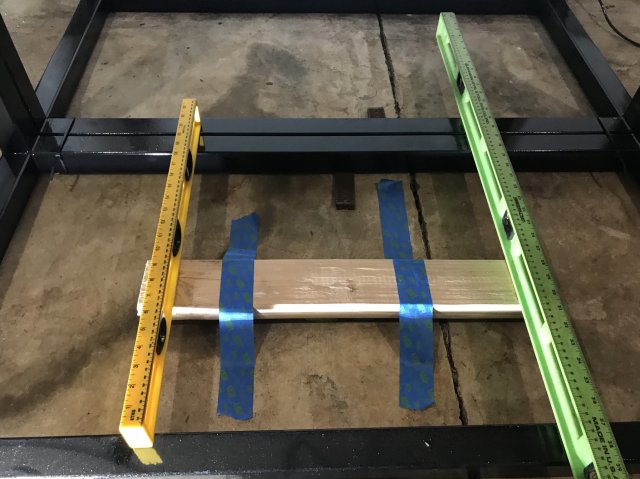
To support the floor and avoid sag I use door shims to make 2x4 into a balanced fulcrum point. That self levels horizontally once the vertical height is set.
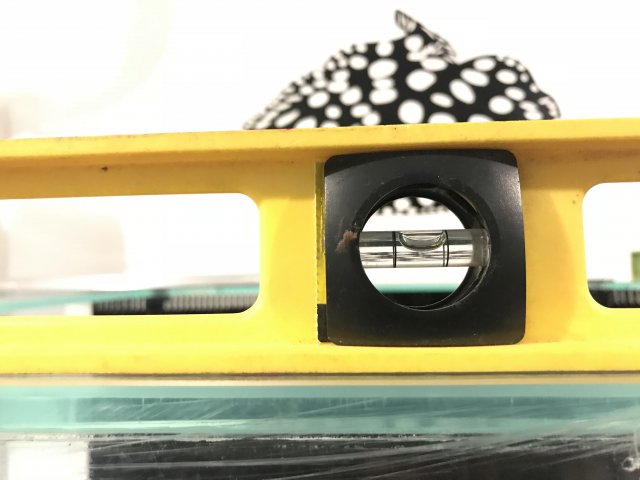
Dialed..
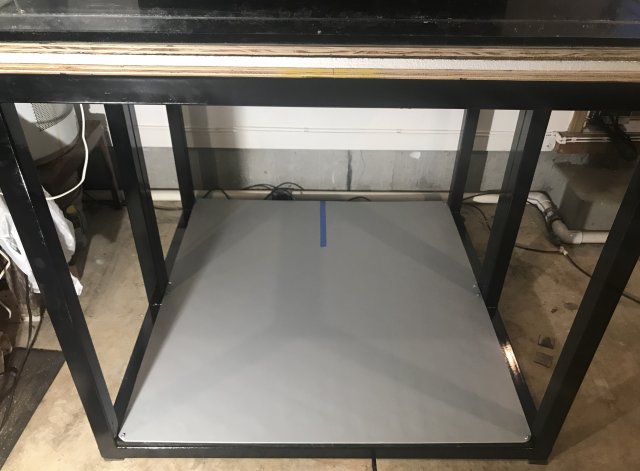
Floors in for the last time, secured and supported.
Time to cut up some PVC...

To support the floor and avoid sag I use door shims to make 2x4 into a balanced fulcrum point. That self levels horizontally once the vertical height is set.


Dialed..

Floors in for the last time, secured and supported.

Time to cut up some PVC...
You move quick. I guess all the years of experience make it easy. I find myself scratching my head a lot on my build. I wish I could just pay someone to do it all for me!
Thanks bro. It gets easier but I still learn something new with each build.
Update: We got started solvent welding. The returns in the towers are done. I decided to use braided soft line with threaded hose barb fittings inside the towers with the K1.
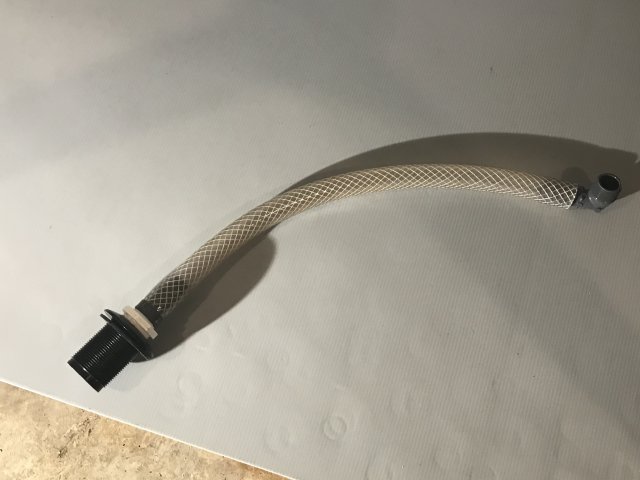
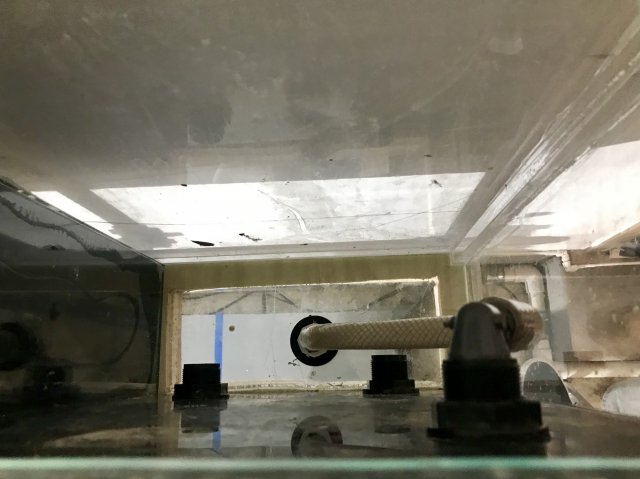
This is the Ultima to tank/tower return.
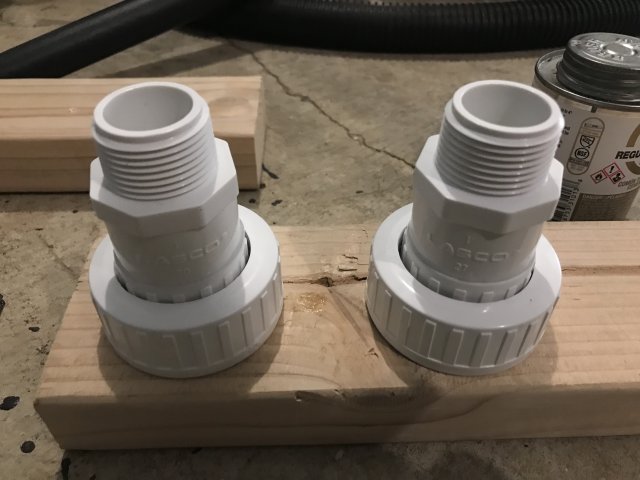
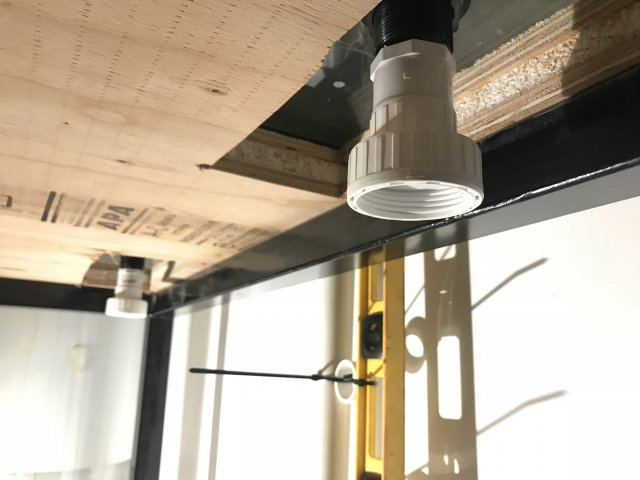
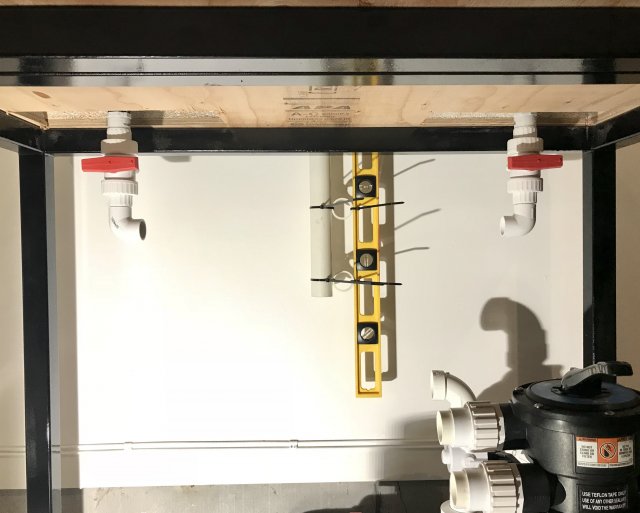
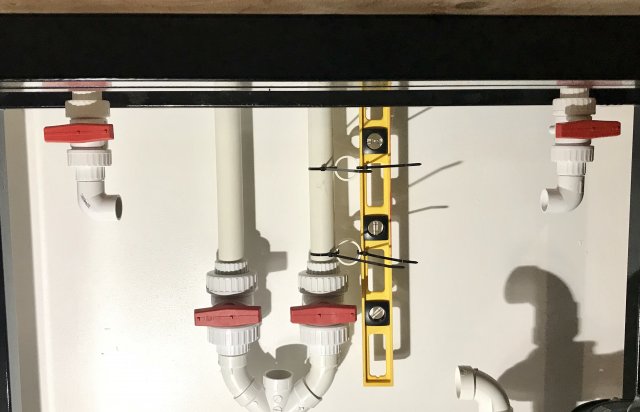
The intake wye is finished and solvent welded. One issue when trying to adapt standard socket depth fittings to street fittings is cutting the hard PVC male socket fittings.
Here’s a couple tips if it helps anyone
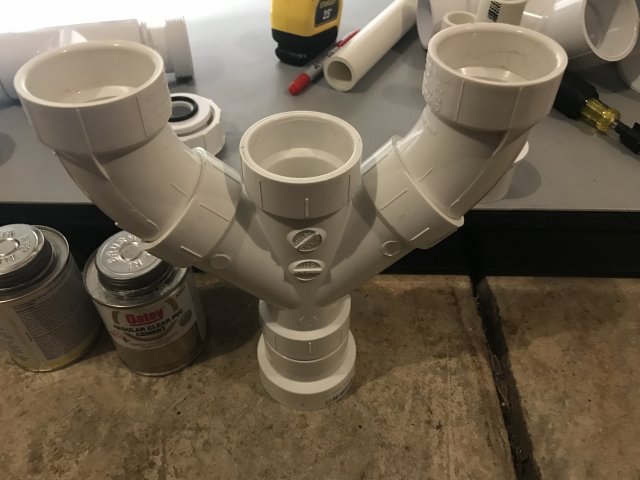
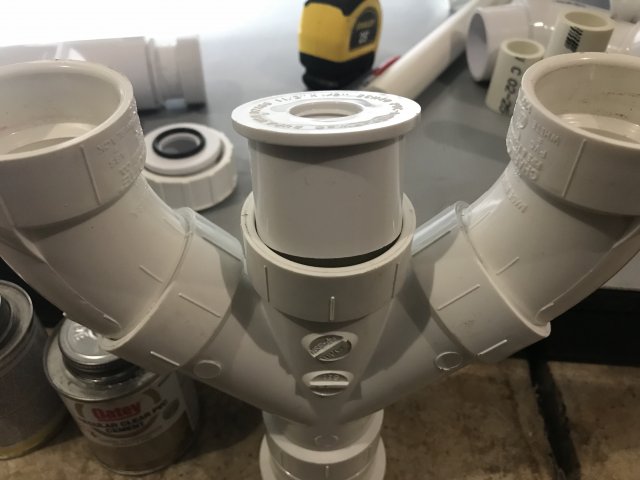
I use a fitting I’m happy to destroy and thread it in. Channel locks hold that fitting for torque while the other hand holds the pipe cutters.
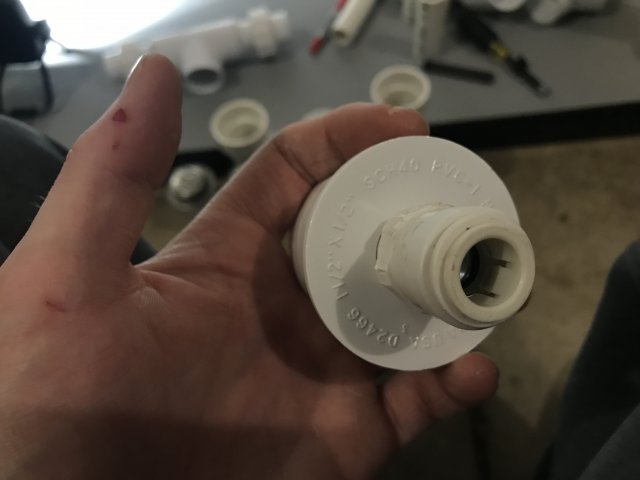
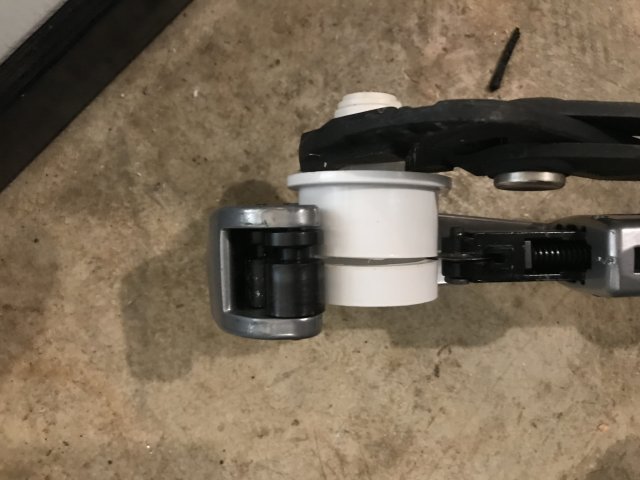
I tried to leave an extra 1/8” material on the socket. The return tee in the background has two 1.5” x 1” reducer bushings and that brand left 1/8” gap.This wye is in close visual proximity so this now has the same gap to match.
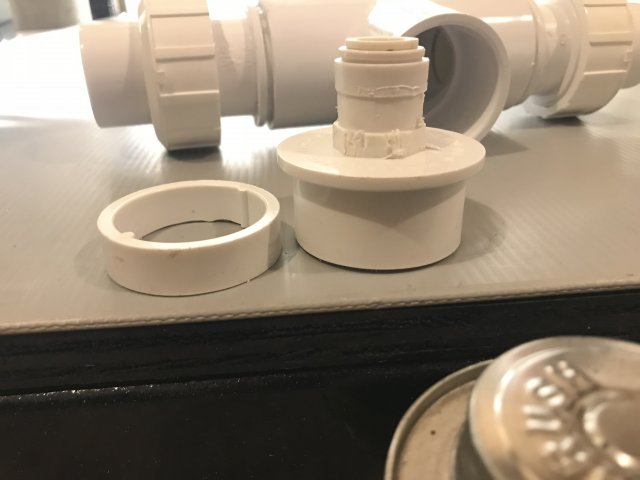
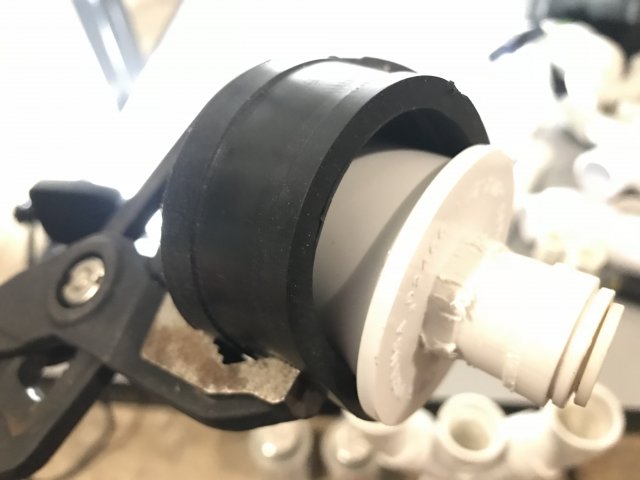
It will take some torque to remove the donor fitting after that. I use a Home Depot 2” rubber cap to hold the fitting. It gives you grip without destroying or scratching the fitting.
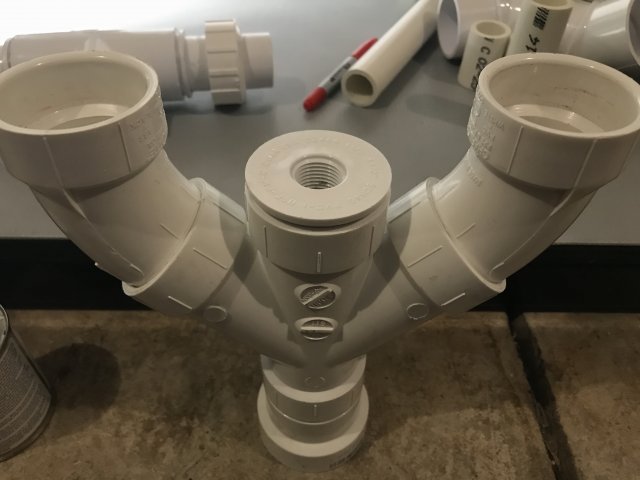
The purpose of the wye is a manifold for both intakes in the back wall of the tank. The valves above each line can close or open any combo of intake from tank directly into the reeflo.
The middle line is now threaded so anything’s now possible but it is intended for a needle valve to run off of a normally close air line.
Here’s a couple tips if it helps anyone


I use a fitting I’m happy to destroy and thread it in. Channel locks hold that fitting for torque while the other hand holds the pipe cutters.


I tried to leave an extra 1/8” material on the socket. The return tee in the background has two 1.5” x 1” reducer bushings and that brand left 1/8” gap.This wye is in close visual proximity so this now has the same gap to match.

It will take some torque to remove the donor fitting after that. I use a Home Depot 2” rubber cap to hold the fitting. It gives you grip without destroying or scratching the fitting.


The purpose of the wye is a manifold for both intakes in the back wall of the tank. The valves above each line can close or open any combo of intake from tank directly into the reeflo.
The middle line is now threaded so anything’s now possible but it is intended for a needle valve to run off of a normally close air line.


