48x48 Workhorse "The Rig"

  • We are currently upgrading MFK. thanks! -neo
Tasks remaining on the tank itself (It should be wet this weekend):
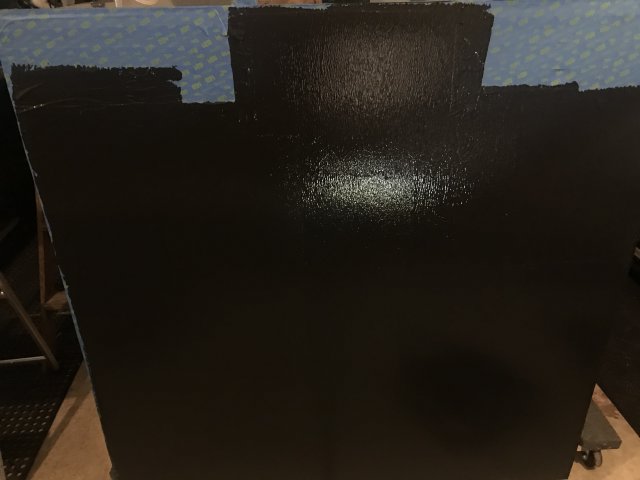
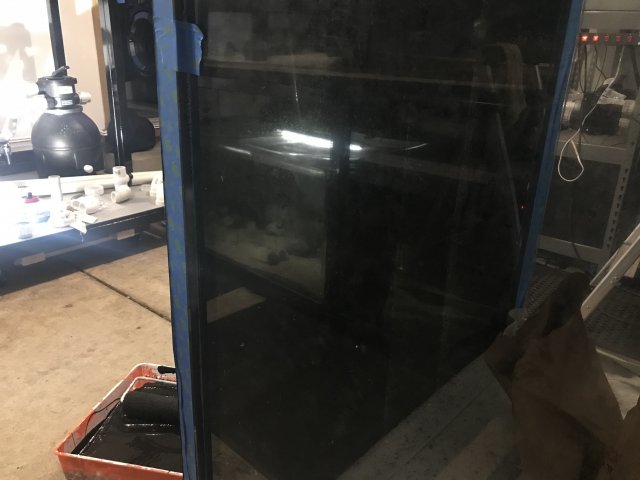
  1. Paint bottom (tonight)
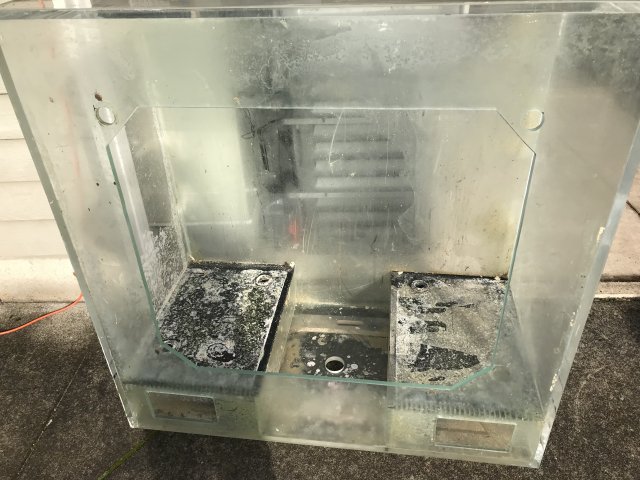
  2. Buff interior panels (Tuesday)
  3. Plumb returns in overflow (Wednesday)
  4. Place on stand (Thursday)
  5. Level stand (Friday)
  6. Fill (Saturday)
That means it's time to switch back to the plumbing and solve a few fitment issues. We have to finish this part before we can plumb the back wall on the tank.

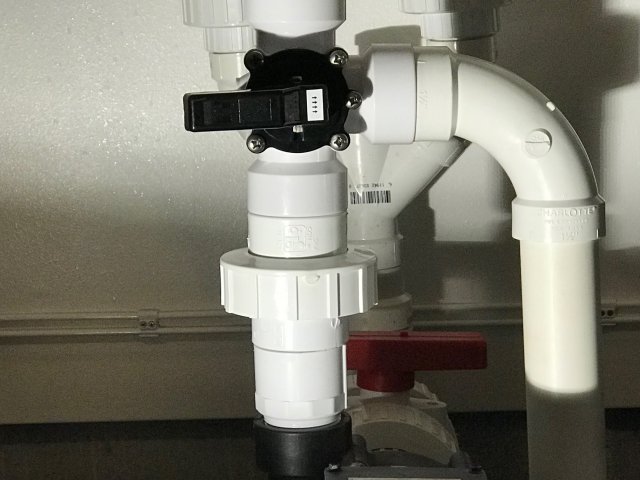
The Ultima 1000 is low in heigh and this line has to fit a union, diverter valve and ball valve in a tight space. As you can see it's about an 1.5" too high and no ball valve yet.
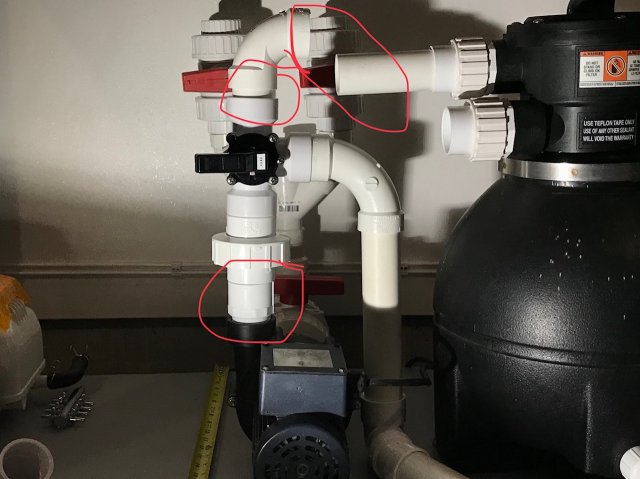
IMG_5514.jpg

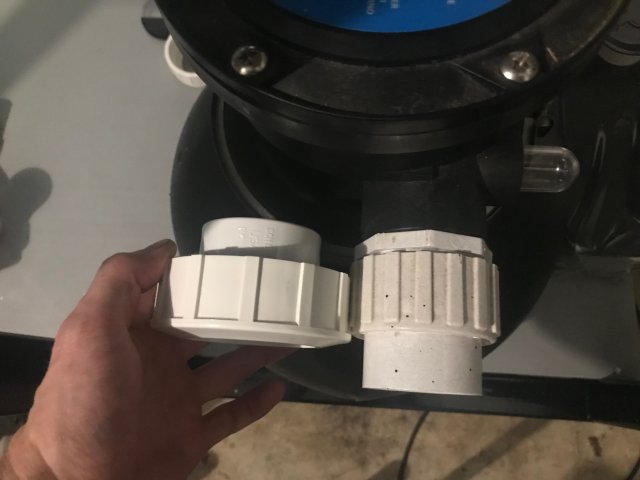
Swapping out the unions for Ace Hardware brand (middle) is 1/4" shorter in height than Home Depot brand (right) plus the union style matches the union ball valves (left) better. Still 1.25" to go though.
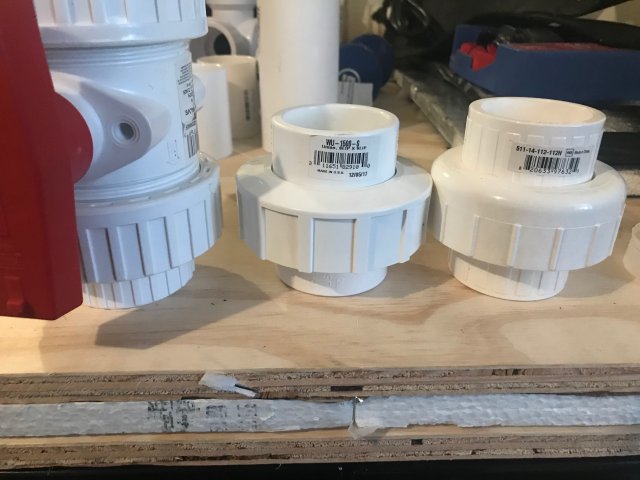
IMG_5487.jpg

I bought a thread x thread union and a schedule 80 threaded nipple for the bottom and kept the slip side of the union for the top, eliminating two fittings or any combo thereof. Removing the thread x slip adapter on either side of the union buys us the 1.25" in height needed and looks like a normal union.
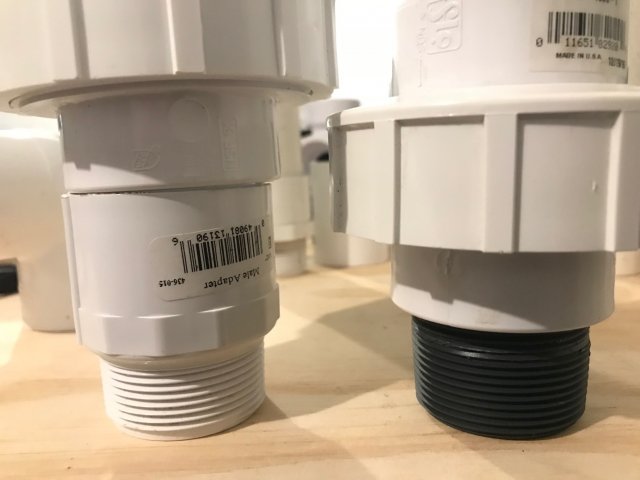
IMG_6184.jpg

Before & after

IMG_5515.jpg

IMG_5525.jpg
 
The next nip/tuck needed in order to confine this plumbing to a small space is a means to valve off/plug a 1.5" line without using a bulky ball valve. We still need to access it though so time to get creative...

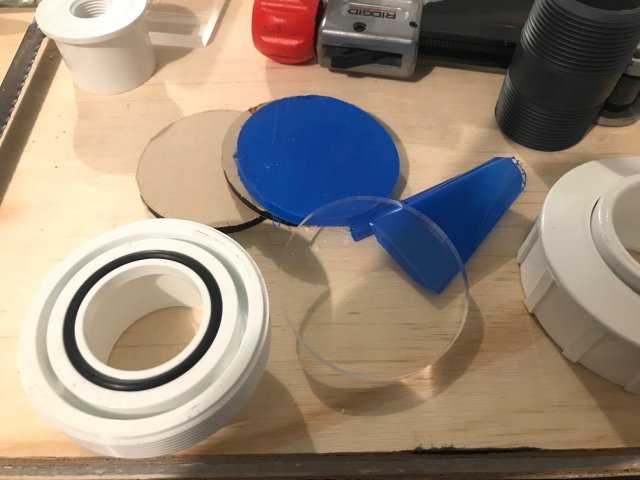
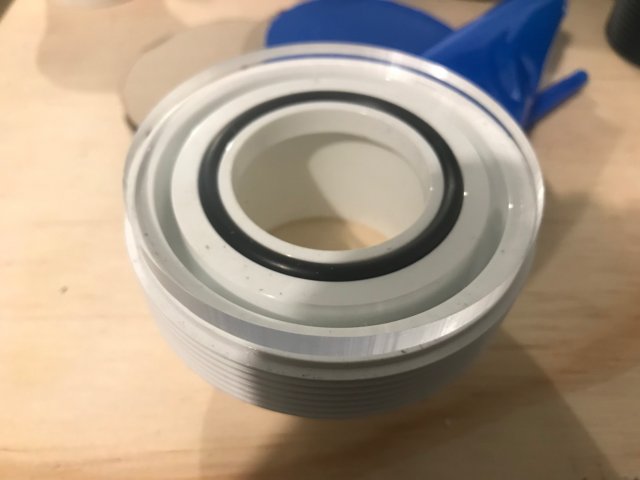
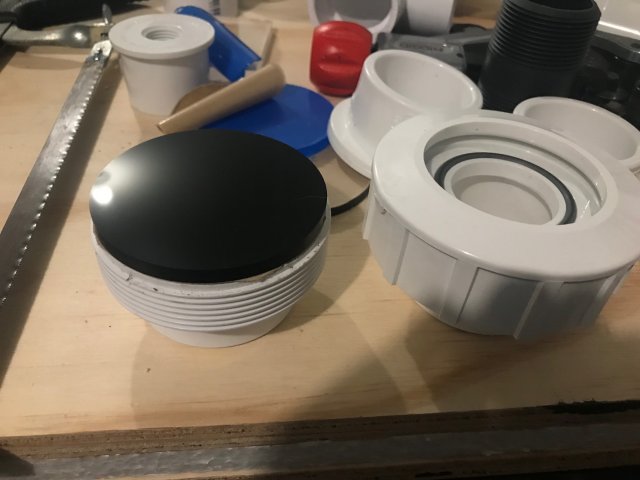
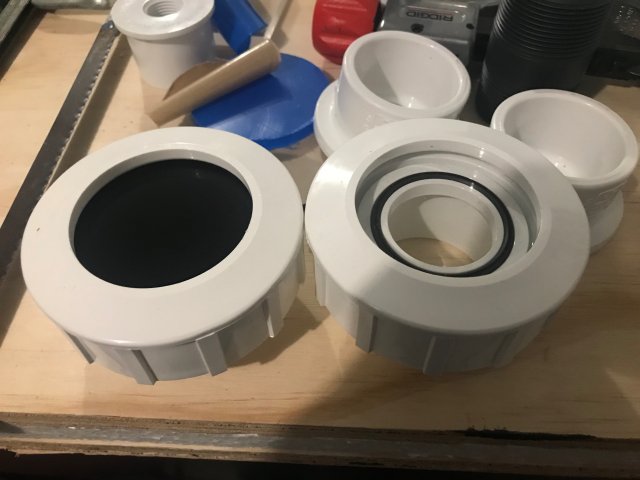
I had tap plastics cut me a few 3" acrylic discs out of 1/4" scrap. These fit snugly inside the union nut and up against the seal grommet.

IMG_6526.jpg

I got clear cut as well so I can make a DIY sight glass elsewhere.

IMG_6527.jpg IMG_6552.jpg IMG_6553.jpg
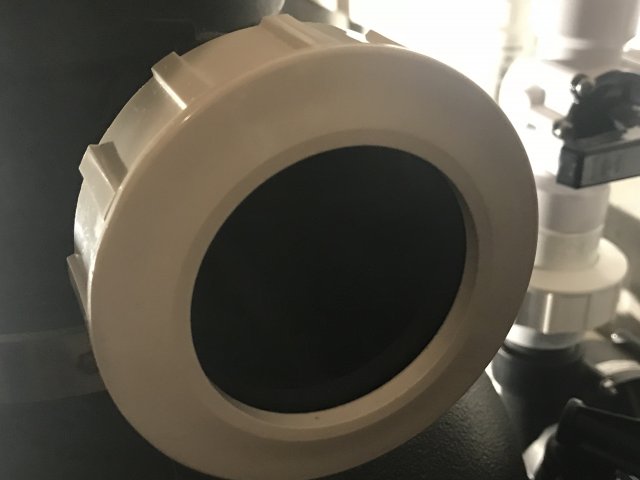
Now the backwash line is out of the way when not in use, looks nice and clean and won't snag clothing on a 7" ball valve etc when working around the tank.

This finished and sealed union assembly is already smaller than the manufacturer slip union which needs more fittings or a ball valve to seal it.

IMG_6555.jpg

B16DBEC7-670F-48F4-824B-4800E3D26392.jpeg

3E7F01D4-8711-494B-998B-6E2274A79D1A.jpeg
I wish I would have thought of this years ago
 
  • Like
Reactions: mrrobxc and deeda
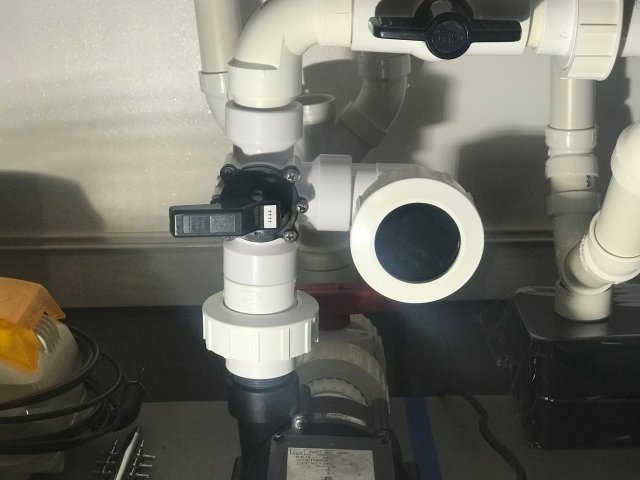
This solves three of four remaining fitment issues. #3 is below. The diverter valve needs a way to thread on a 1.5" soft line in order to utilize the auxiliary backwash system.

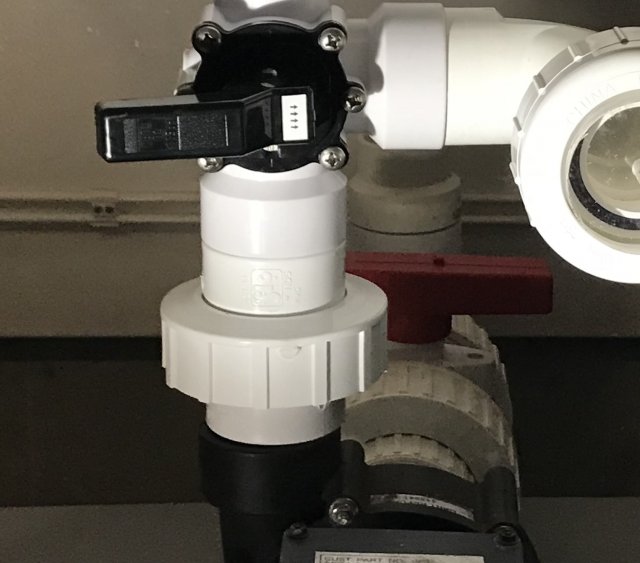
The diverter valve has a flat panel that blocks flow off from a channel (the arrows I labeled on the handle point to the flat panel) . Turning the handle gives me four position options. In the pic below the valve is a straight pipe from pump to Ultima and is bypassing the third channel. Turning the handle to the left would open up all three channels. Turning the handle pointed down blocks off the Dart and lets the auxiliary backwash pump into the Ultima.

IMG_6762.jpg

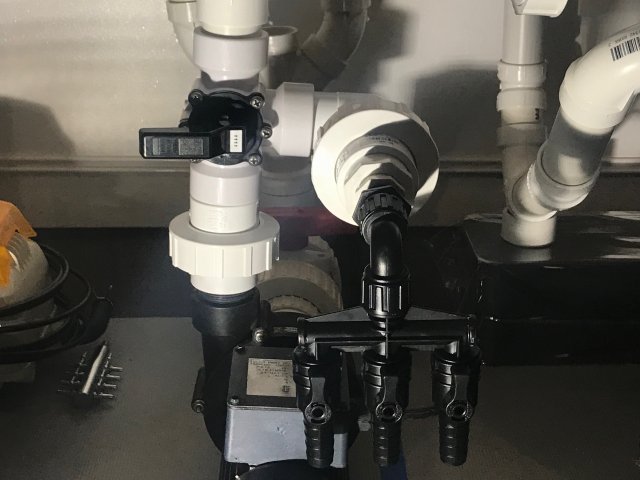
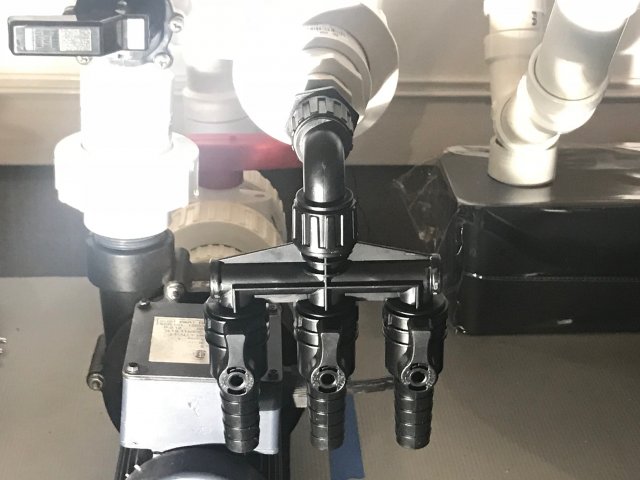
We can use a union cap on this line as well OR run a manifold. The manifold can be valved off, unhooked, auxiliary backwash used, and then the manifold can be threaded back on for normal use. The accessories would not be running during an auxiliary backwash cycle.

IMG_6763.jpg IMG_6765.jpg

Now I have a three way manifold, a low profile capped line and/or a three way manifold in a confined space. The lines are
1) inline heater
2) UV/other
3) pump drain to sink.

I'm proud of this concept.

Now to move the pump behind the Ultima.... and fix issue #4. Next update late tonight
 
  • Like
Reactions: mrrobxc
This build series is like a binge worthy sitcom... Always excited to see whats next but sad when youre fully caught up :)

Haha fair enough! Hopefully the future updates go pretty quick from here, the hard stuff is out of the way. I'm itching to get plumbing...
 
  • Like
Reactions: Justin David
I am thoroughly confused having never done plumbing and will probably be pestering you when I do my ultima plumbing :)
 
  • Like
Reactions: mrrobxc
I am thoroughly confused having never done plumbing and will probably be pestering you when I do my ultima plumbing :)

No problem. :)

When do you need to start your plumbing? Hopefully you can wait until this is done because there will be some cool tips and tricks for ya along the way.
 
  • Like
Reactions: Justin David
I have plenty of time. There’s a 8-10 week lead time on the tank so I won’t be setting it up until. Just trying to figure everything out ahead of time.
 
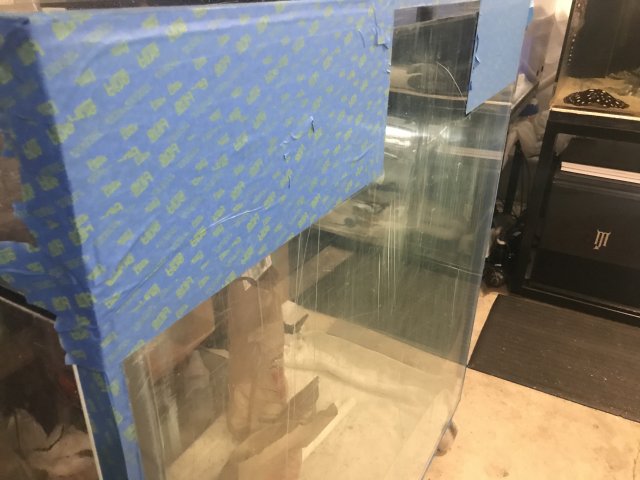
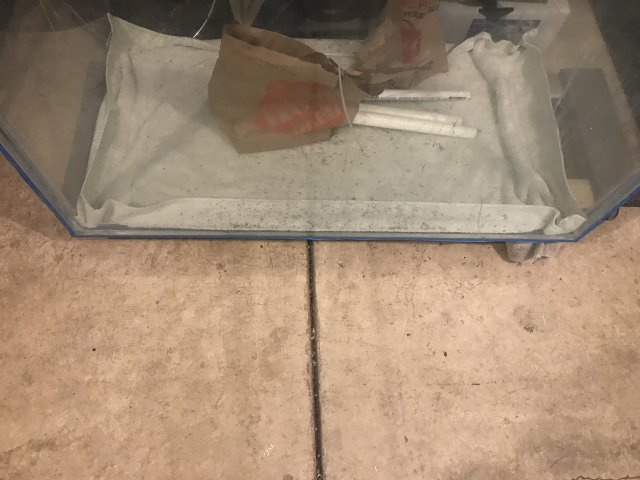
  1. Paint bottom (tonight)
  2. Buff interior panels (Tuesday)
  3. Plumb returns in overflow (Wednesday)
  4. Place on stand (Thursday)
  5. Level stand (Friday)
  6. Fill (Saturday)
done

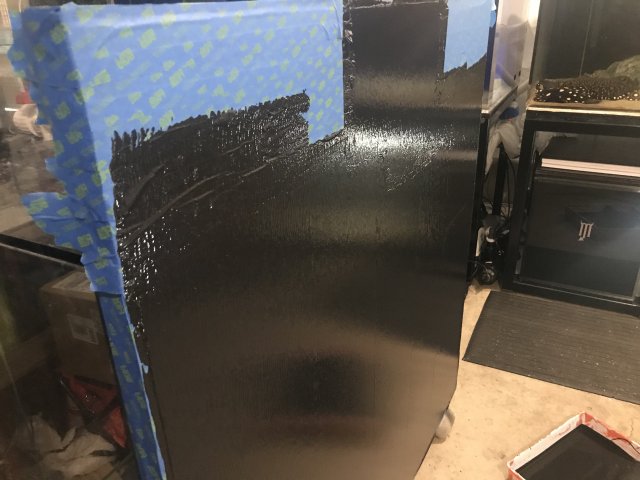
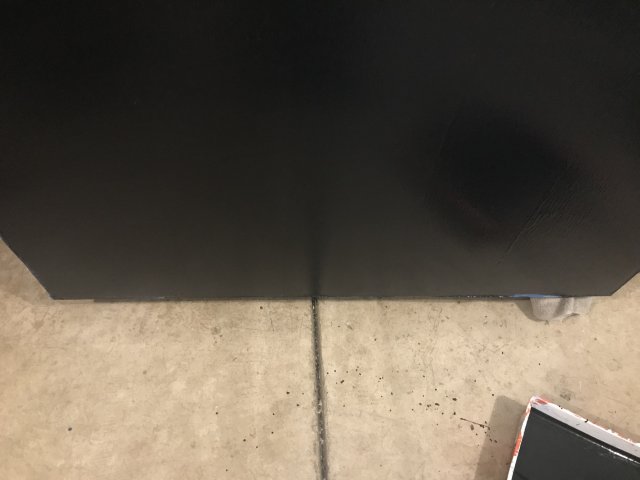
One more coat after this dries and the bottom is dialed in. Same paint code as the matching 600.

A26E9678-CC6B-4DDA-B043-B68ABA438CF7.jpeg

37352D7F-1826-4D46-BD14-B68220003314.jpeg

63904C3B-3184-478B-ABAA-853957C7F8F1.jpeg

C36CB317-3345-47C1-8553-D94F977BF83C.jpeg

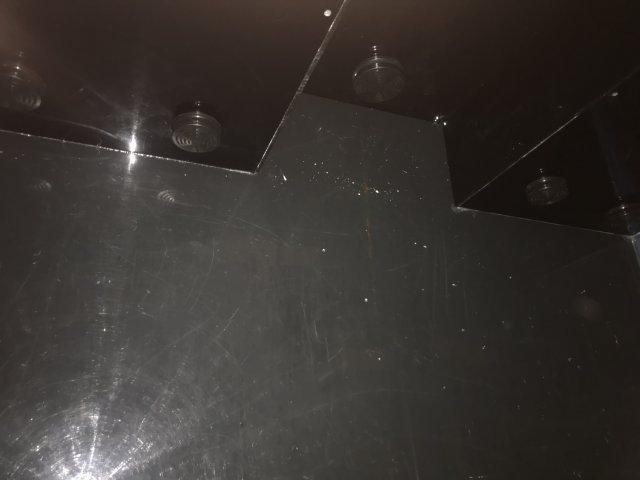
I decided to tape off the under side of the overflow towers so I can still see inside from under neath.

0D054E55-5235-4491-A5ED-0380089DCBBE.jpeg

FE80CBD8-E6F8-491E-B3A0-03F15170AFF6.jpeg

Inside looks pretty good but there are still a couple spots poking through. It may take four coats
 
MonsterFishKeepers.com