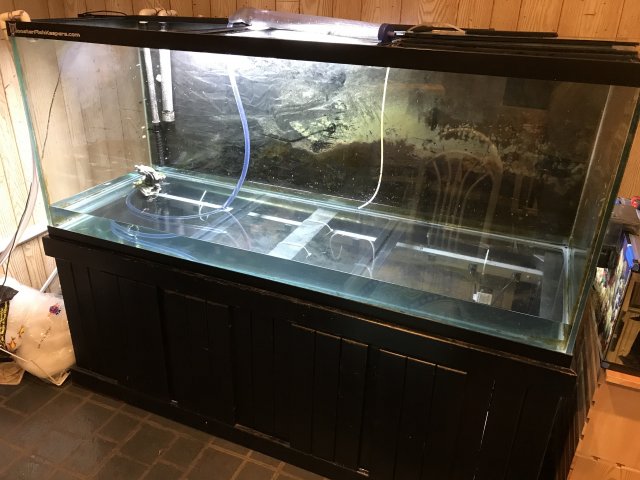
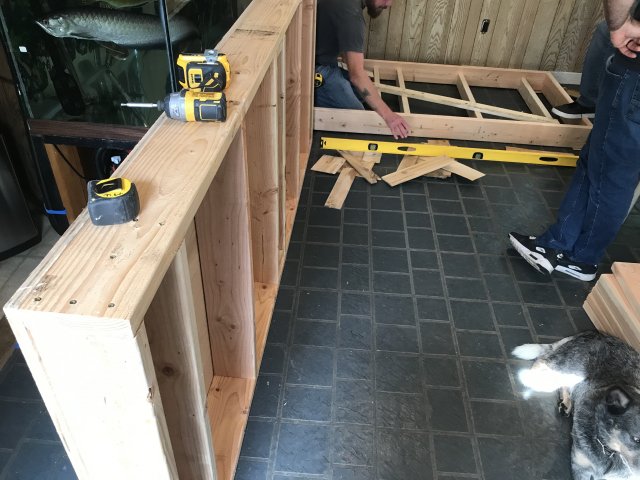
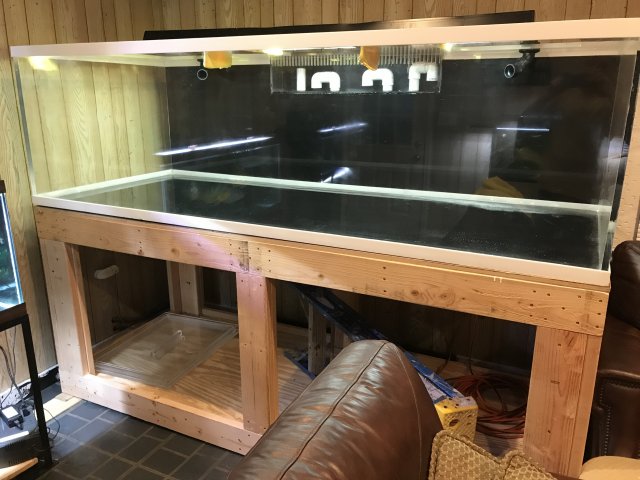
My 450 Build thread
- Thread starter TheWolfman
- Start date
You are using an out of date browser. It may not display this or other websites correctly.
You should upgrade or use an alternative browser.
You should upgrade or use an alternative browser.
Last night I threw the sump under the stand and started the plumbing on my water change system. I ended up making the stand 40”s tall so that I could raise the sump up off the ground and get the pitch that I needed to plumb the overflow to my sewer instead of my lawn. I installed the ball valve to drain the tank and the wet vent so I could gravel vac to my sewer like my last system. The drains are roughed in but I’m waiting on some more unions before I can glue the drains. I also had to move the fish over from their temporary holding tank because I am dealing with a mini cycle right now so the tanks running off canisters currently and all clouded up.
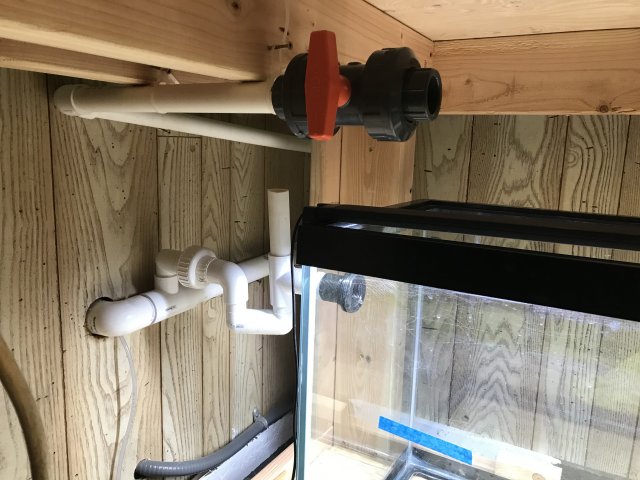
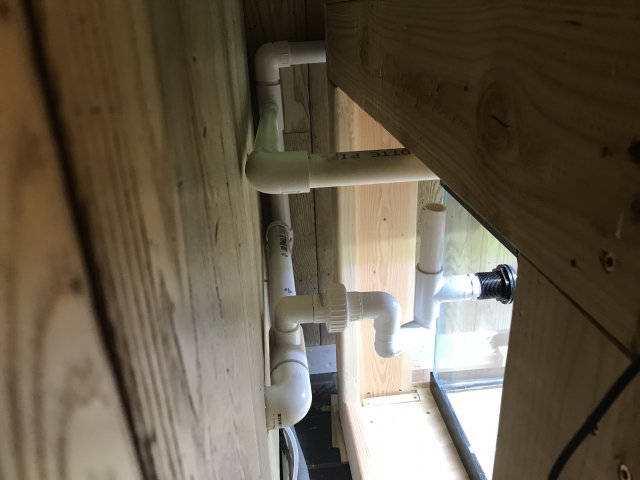
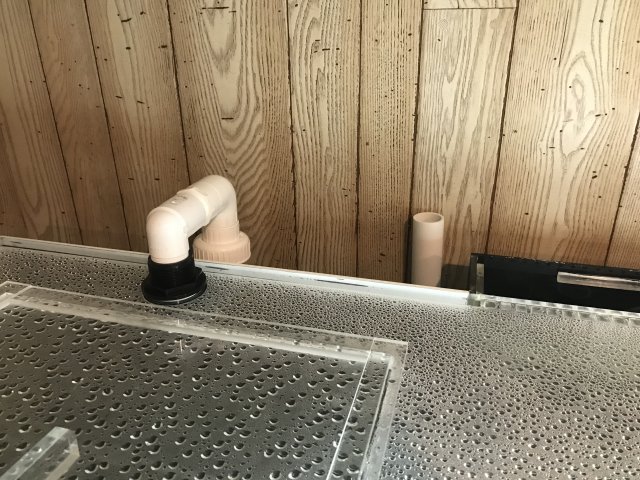
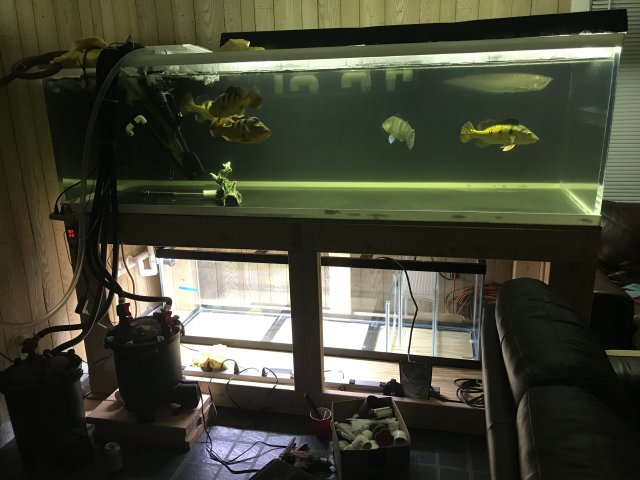
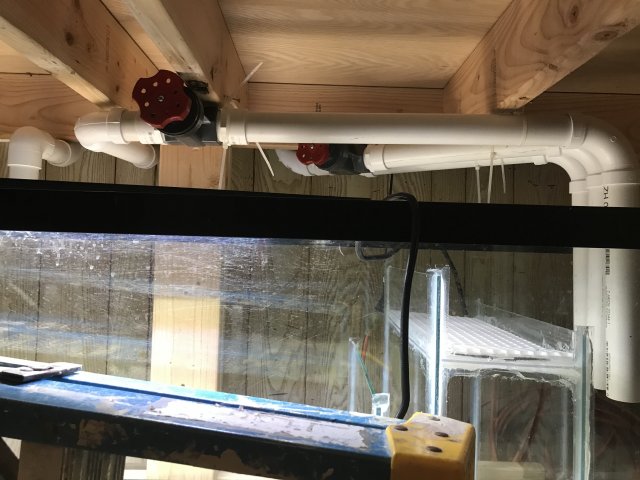


I got the unions all glued up and made a small change with the gate valve placement last night. Tonight I’ll mess around with the return side, and the water change system. I’m am still waiting on a threaded union for my return pump, so I’m most likely going to get it running with some flexible pond hose.
Before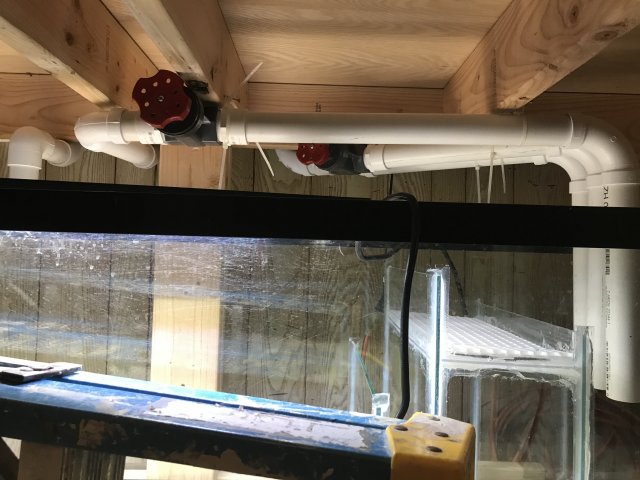
After
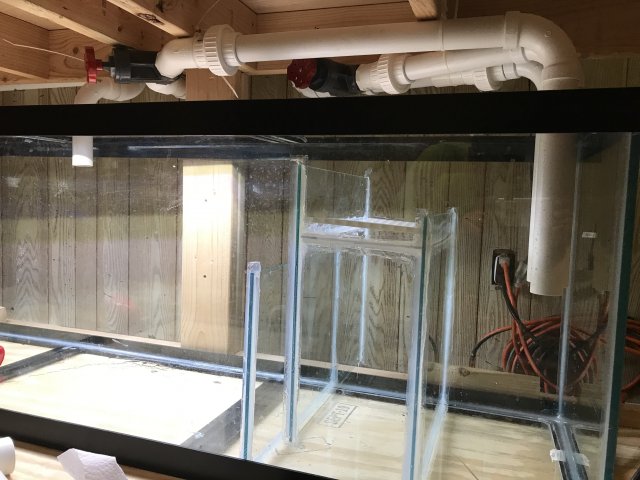
Before

After

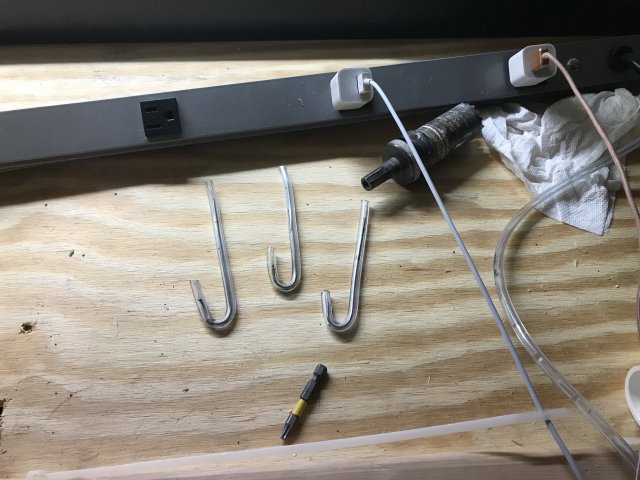
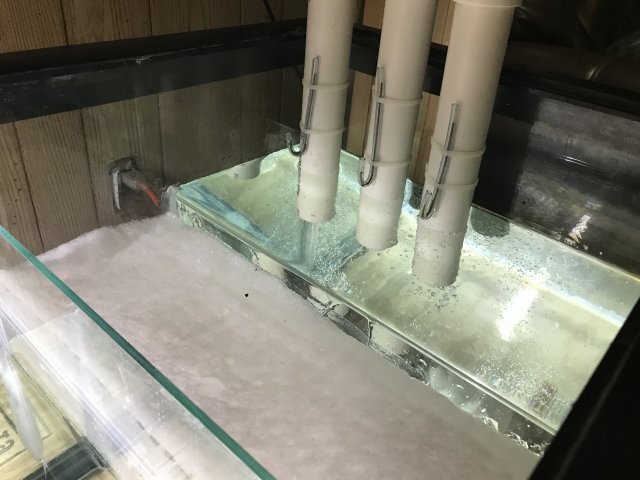
I got the return all plumbed up, and the sump up and running. I made sock holders out of a coat hanger and airline tubing. I also drilled the holes for my water change and supply. Bulkheads have been installed but still need to be plumbed. I moved over all the media from one of the canisters. I’ll be shuting down the other canisters, and moving the media over one at a time over the next week or so. The mini cycle I had is over so I have slowly feeding the fish again. I still have a lot of work left but I’ll be chipping away at the build, stay tuned. ..
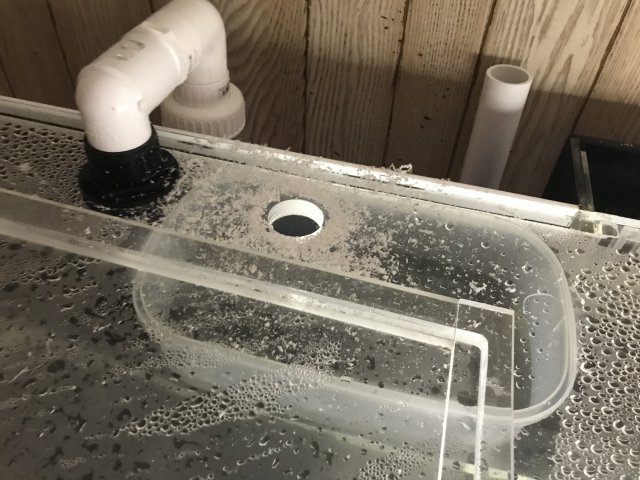
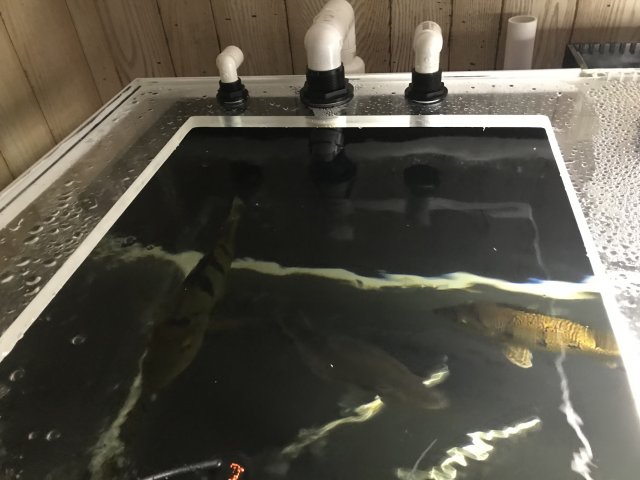
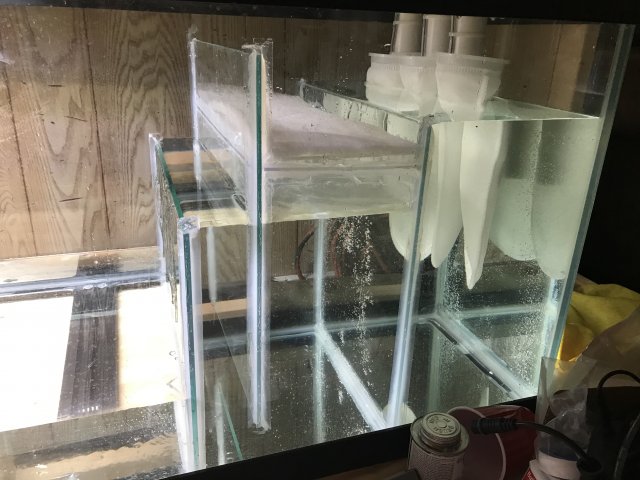
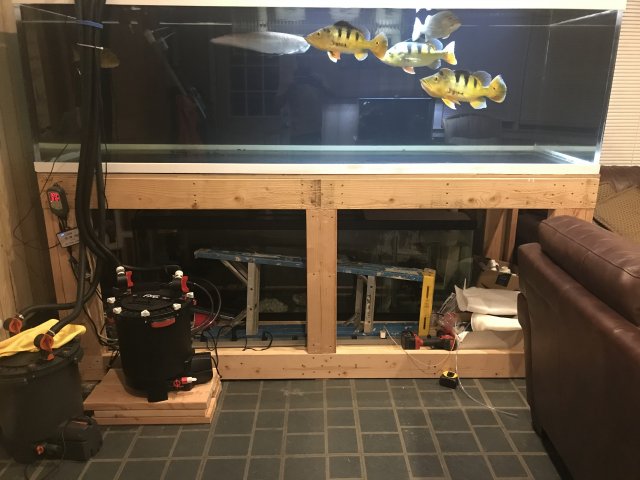
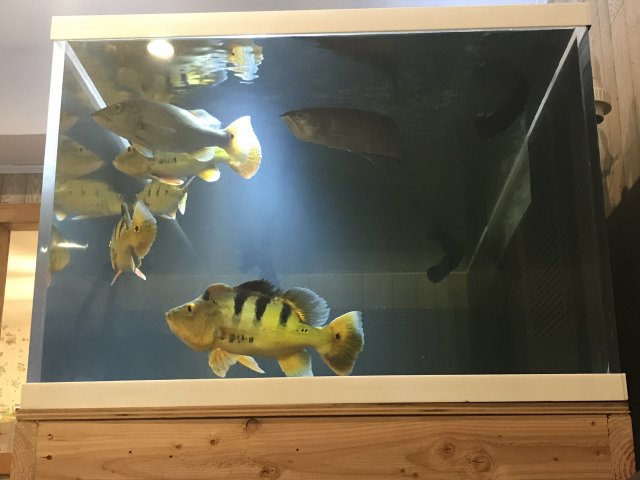


I’ve been working on the build slowly here and there late night after I put my son to bed. Ive made some good progress so far. Im not as far as I’d like to be with the build, but I’m OCD and it I have to make everything perfect so it’s taking a lot longer then if I just glued some pipes together. Anyway I got the second return plumbed in and have shut down all the canister filters that were from my old tank. I setup a bypass ball valve on the second return to run the sump on stand alone for water changes and sump cleaning/maintenance. I also scored some half inch acrylic and made some custom lids for the sump and overflow box . Water changes are a breeze the orange ball valve drains the tank, and the 1” pvc drains the tank really fast. I still need to setup my mixing valve for the water change but I did plumb in a supply to the tank in pvc so it’s kinda started, but I’m going to need to call in a favor to do the copper work so I’m still refilling the tank from the tap. Filter Maintenance has been easy. I’m cleaning the socks every 3 Days and changing the filter floss once a week. I could probably get more time out of the socks with different ones so I’m going to try and find some bigger ones. Stay tuned more to come.
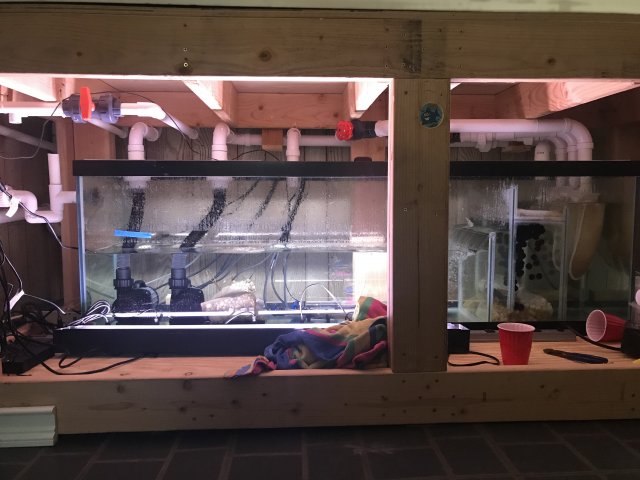
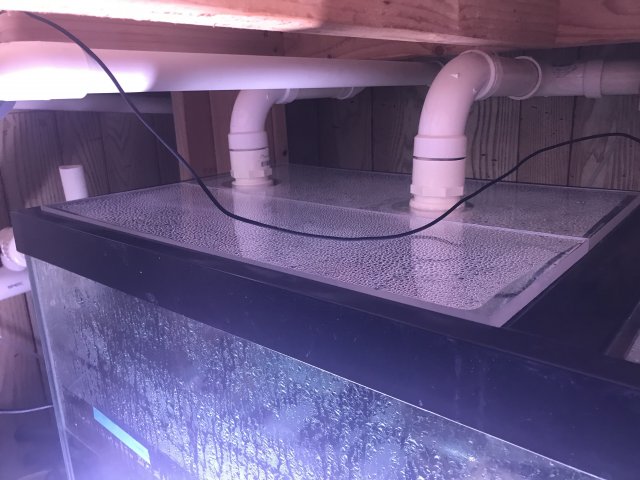
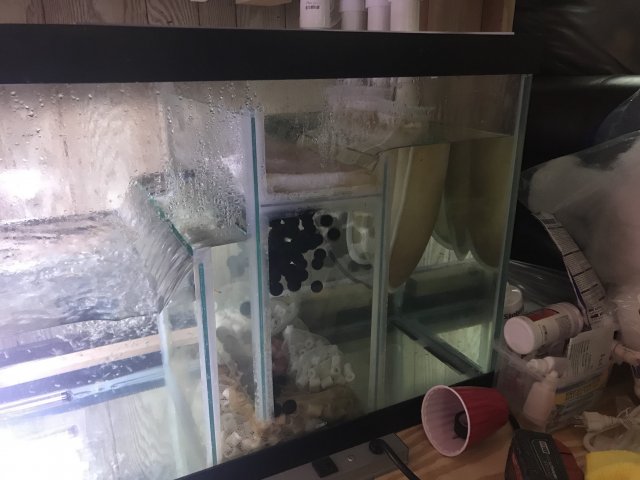
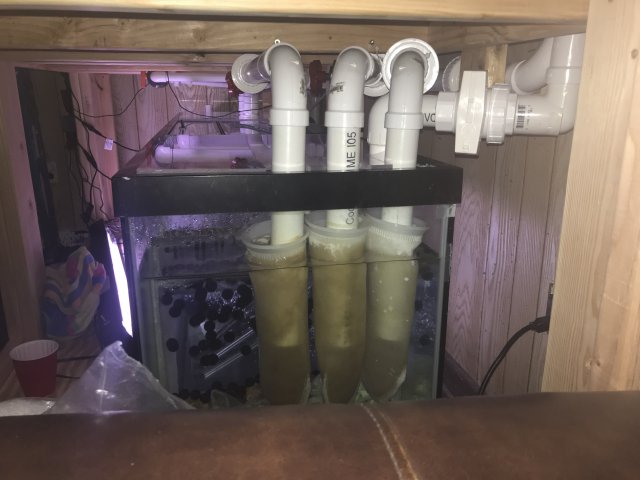
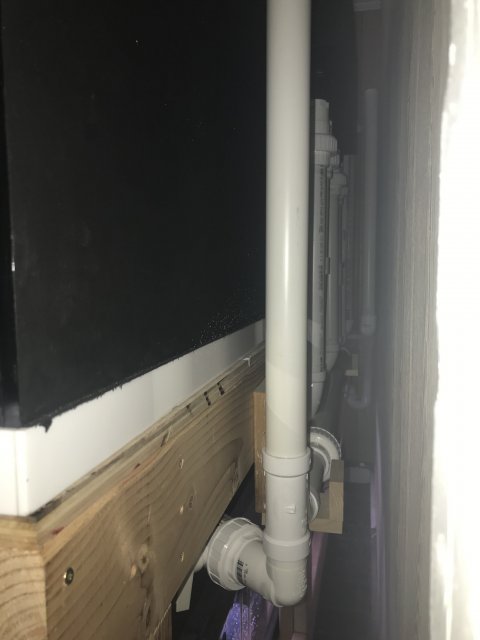
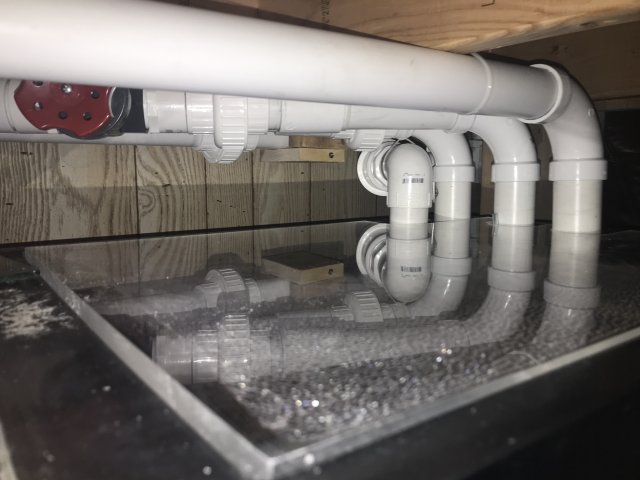
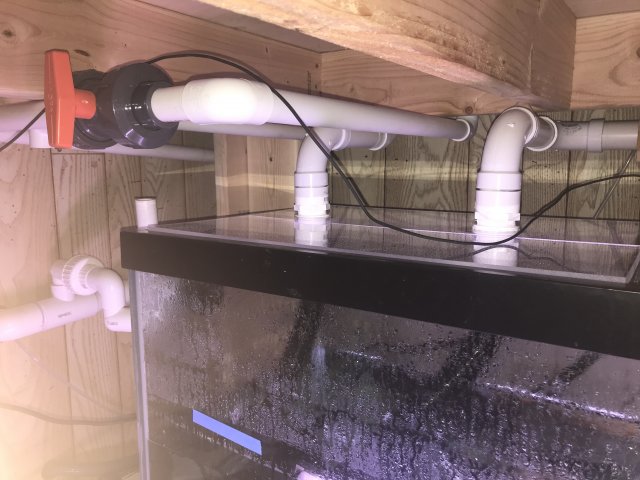
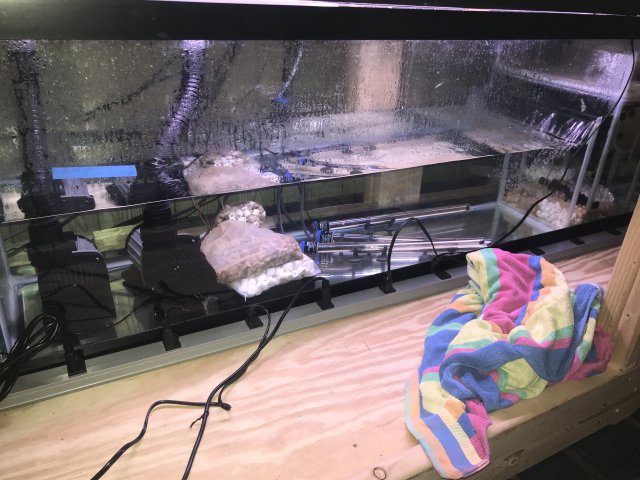
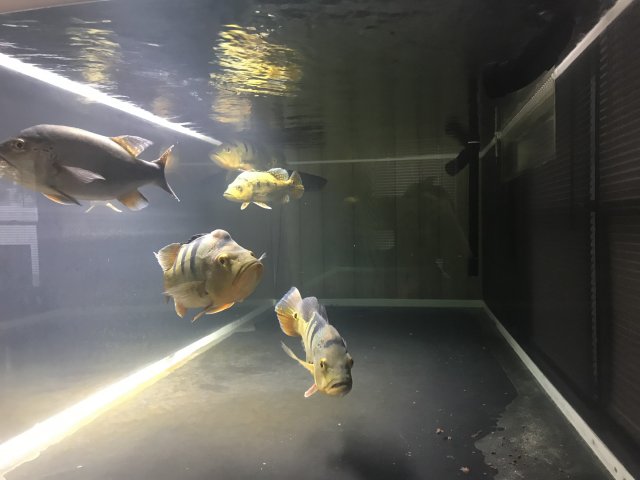
 . Water changes are a breeze the orange ball valve drains the tank, and the 1” pvc drains the tank really fast. I still need to setup my mixing valve for the water change but I did plumb in a supply to the tank in pvc so it’s kinda started, but I’m going to need to call in a favor to do the copper work so I’m still refilling the tank from the tap. Filter Maintenance has been easy. I’m cleaning the socks every 3 Days and changing the filter floss once a week. I could probably get more time out of the socks with different ones so I’m going to try and find some bigger ones. Stay tuned more to come.


Great job with the build, the tank ended up looking amazing and you have some clean plumbing!
I haven't updated this build in a while. I had a small leak from the overflow box a few months ago. It was a slow drip cause don't by the overflow box separating from the back of the tank. Shutting down the tank wasnt a option so I needed to do the repair on the spot. 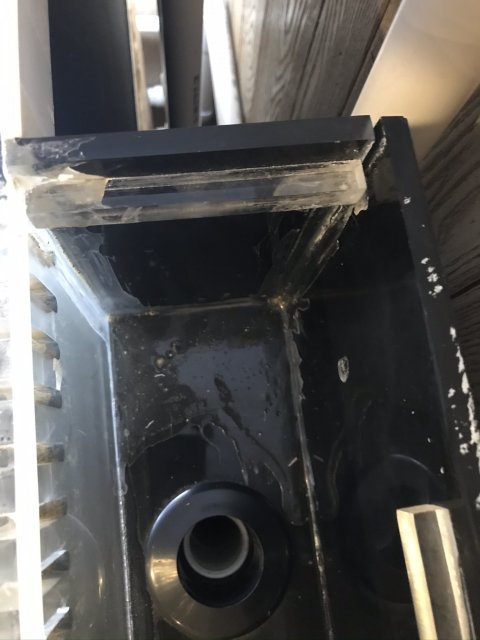
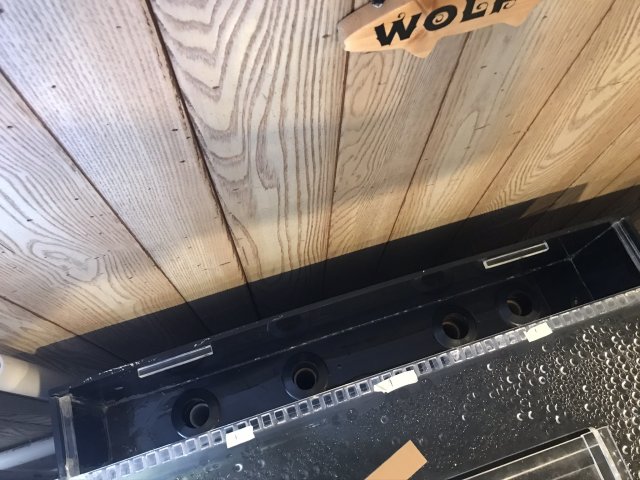
The first thing I did was drain the tank to 50 percent and setup some temp filteration.
I supported the overflow box with some wood to get it back to where it needed to be. Then I cut up some 1/2" acrylic into rods for the corners of the overflow box. I also cut up three cross support keep the overflow from bowing, and keep the overflow lid I made from bowing.
I used #16 cement to do all my welding.With a 5 minute working time. I installed the cross braces first and clamped them as I glued. For the corners, I had no choice but to hold the rods in place and use a generous amount of cement on the seems.
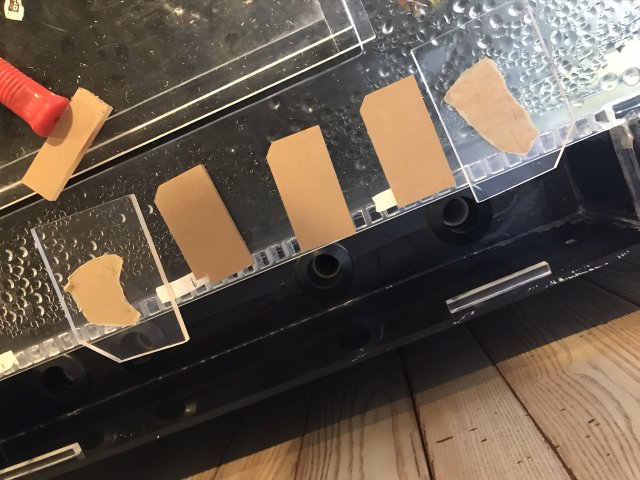
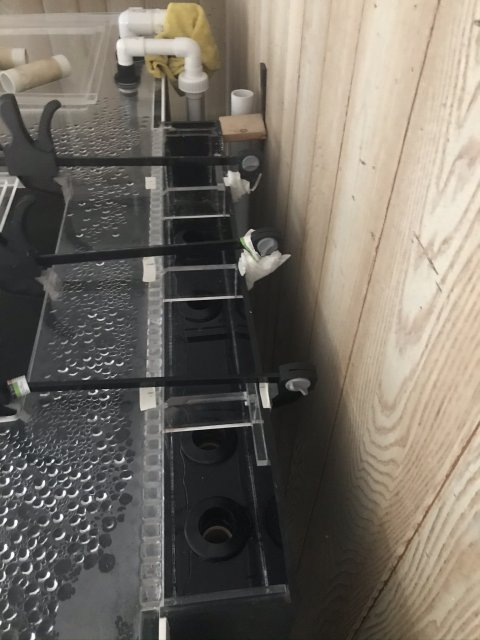
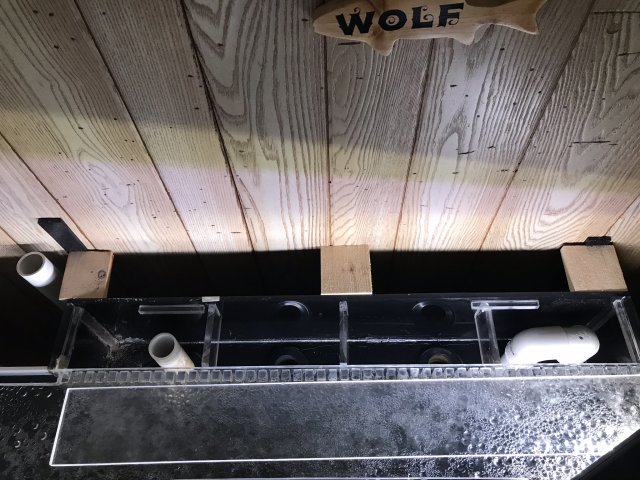
The repair is a bit messy but has held strong for 4 months now. No bowing what so ever. I did leave the wood braces in place after the repair for added support. They probably should have been there in the first place.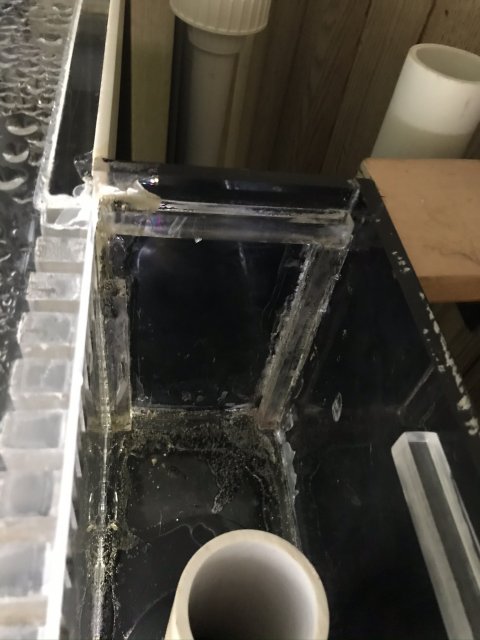


The first thing I did was drain the tank to 50 percent and setup some temp filteration.
I supported the overflow box with some wood to get it back to where it needed to be. Then I cut up some 1/2" acrylic into rods for the corners of the overflow box. I also cut up three cross support keep the overflow from bowing, and keep the overflow lid I made from bowing.
I used #16 cement to do all my welding.With a 5 minute working time. I installed the cross braces first and clamped them as I glued. For the corners, I had no choice but to hold the rods in place and use a generous amount of cement on the seems.


The repair is a bit messy but has held strong for 4 months now. No bowing what so ever. I did leave the wood braces in place after the repair for added support. They probably should have been there in the first place.


I haven't updated this build in a while. I had a small leak from the overflow box a few months ago. It was a slow drip cause don't by the overflow box separating from the back of the tank. Shutting down the tank wasnt a option so I needed to do the repair on the spot. View attachment 1418252View attachment 1418253
The first thing I did was drain the tank to 50 percent and setup some temp filteration.
I supported the overflow box with some wood to get it back to where it needed to be. Then I cut up some 1/2" acrylic into rods for the corners of the overflow box. I also cut up three cross support keep the overflow from bowing, and keep the overflow lid I made from bowing.
I used #16 cement to do all my welding.With a 5 minute working time. I installed the cross braces first and clamped them as I glued. For the corners, I had no choice but to hold the rods in place and use a generous amount of cement on the seems.
View attachment 1418254View attachment 1418255
The repair is a bit messy but has held strong for 4 months now. No bowing what so ever. I did leave the wood braces in place after the repair for added support. They probably should have been there in the first place. View attachment 1418256View attachment 1418257
Slick moves there. Congrats on a successful repair.
I haven't updated this build in a while. I had a small leak from the overflow box a few months ago. It was a slow drip cause don't by the overflow box separating from the back of the tank. Shutting down the tank wasnt a option so I needed to do the repair on the spot. View attachment 1418252View attachment 1418253
The first thing I did was drain the tank to 50 percent and setup some temp filteration.
I supported the overflow box with some wood to get it back to where it needed to be. Then I cut up some 1/2" acrylic into rods for the corners of the overflow box. I also cut up three cross support keep the overflow from bowing, and keep the overflow lid I made from bowing.
I used #16 cement to do all my welding.With a 5 minute working time. I installed the cross braces first and clamped them as I glued. For the corners, I had no choice but to hold the rods in place and use a generous amount of cement on the seems.
View attachment 1418254View attachment 1418255
The repair is a bit messy but has held strong for 4 months now. No bowing what so ever. I did leave the wood braces in place after the repair for added support. They probably should have been there in the first place. View attachment 1418256View attachment 1418257
Good job given the fact you had to fix as is.
Did the ghost overflow box back side begin to come undone, hence the slow leak? I too have a ghost overflow, ona smaller peninsula tank, as you may recall.
Good job given the fact you had to fix as is.
Did the ghost overflow box back side begin to come undone, hence the slow leak? I too have a ghost overflow, ona smaller peninsula tank, as you may recall.
Yes the overflow box was not braced originaly and the weight of all the water and the plumbing caused it to separate. I now have a wooden brace under the overflow box to support it.


