Overall I was happy with the tank building process and the outcome, and it was not an easy journey and it was enjoyable but, it was sometimes stressful, there were setbacks, issues, alongwith some highlights too. Let me take some time to explain some of them.
Setbacks & Learning:
·
Making the bean animal overflow system work: It took some effort and time to make the system work seamless. I only had some reading knowledge with youtube videos, the reality with hands on was missing. With some error and trial, got the hang of the system and its working. One issue I faced repeatedly during testing/setup, was the for the first time usage, main suction would always have air trapped inside which would prevent water to go inside and a simple turning of the elbow ends within the overflow box slightly up would solve the issue. Once it is setup initially, it would run without any issues, until you remove the entire pipe of the main suction (siphon loss). I have power backup at home so I am not worried about power failure and siphon loss for regular days. For permanent solution of this issue, I have seen some videos where hole was drilled for this elbow section of the main suction pipe, the air would escape through it when water pushes it from below. And in a normal operation there would be at least an inch of water above this hole on the pipe so air won’t get sucked through it. Later, I learnt some techniques to enhance the BA system itself and now I have my secondary drain to act as full suction, in case any blocks happen in the main suction pipe.
·
Plumbing: I did the entire plumbing myself as DIY. Some of these parts used in the plumbing for my tank were new to me and I took some time to learn and fine-tune its functioning. There has been more than a few places where plumbing needed to be tweaked or re-done due to leakage or concern with potential leak in future. Mainly the following points:
o Plumbing near Overflow box: I had to fix it, remove it and re-fix it many times to get it properly working. Also since my first PVC overflow box failed and I had to remove the entire plumbing drains and re-fix it again during that time.
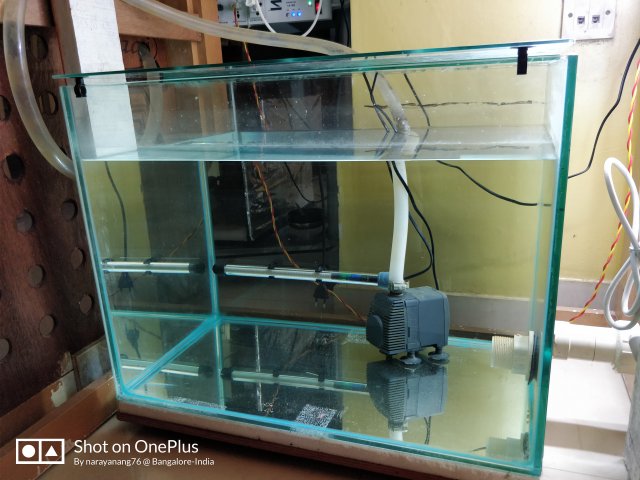
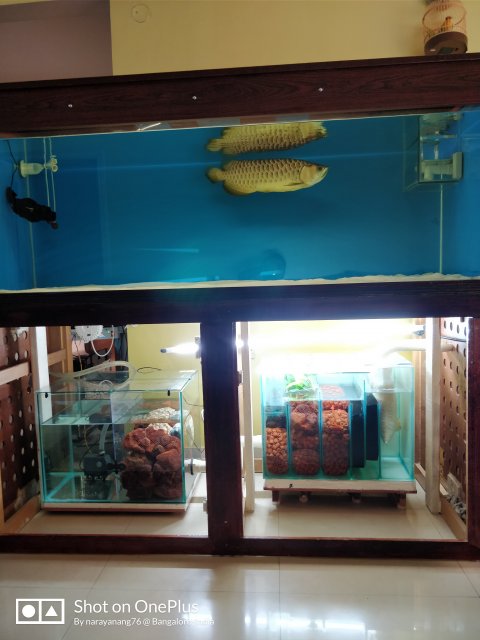
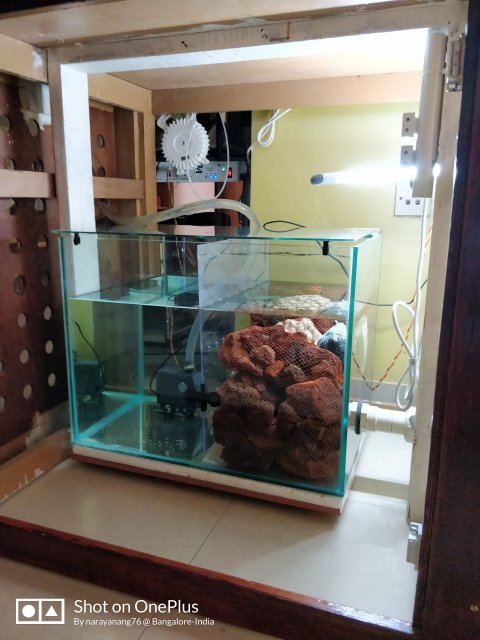
o Interconnecting the two Sump tanks: Here I had to spend one full weekend to set it right. Once the water level would raise in the sump, some point would start with minor leak. Tried with different oversize washers and it wouldn’t help. Finally I had to make custom oversize rubber sealing myself and use it, it did the trick to arrest the leaks. Many a times I felt that going with a single sump tank could have helped me to avoid this problem.
o End point of the return pipe: The return end point into the tank was always making some noise when I kept the end above (even slightly) the water level. When I placed the end point slightly below (with elbow), then some amount of water would return back to sump (while stopping the pump). Finally solved the issue with two 120 degree elbows joined, it created a hump above water level, still the end was within the water level of the tank, which made the water delivery super silent and it stopped returning of water to sump. Also using 120 degree elbow helped retaining water flow, compared to a regular 90 degree elbow.
o TIP: Do not fix permanently / use sealant for the end portion of the drain pipes (within the overflow box). This will help with some adjustments that may be needed sometimes. Since it’s within the overflow box, it doesn’t need a permanent fixing, as long as there are no leak externally.
·
Internal Overflow Box: Initially I had used a PVC based box as internal overflow box, its size was adequate and was fixed also properly, onto the glass of the tank, and also worked for few weeks. However I learnt it the hard way when it failed one day and I had to make an overflow box with 8 MM glass and then re-fix it again. This was during the tank testing process and while doing a water change testing, so I didn’t end up with water on the floor and didn’t have much issues/damages since water level within the tank was lower than the box. Learnt that glass is always better to be fixed onto another glass, with silicone, particularly when its going to be inside water.
·
Filter Socks setup: Initially used a PVC pipes with holes to hang the filter socks to the first chamber within the sump. Used ‘S’ clamps to hang these filter socks. However I realised, keeping the socks within a gap on a plain surface is more effective. After some searching nearby glass shops, finalized for an Acrylic sheet and got it cut the middle portion as per the diameter of the filter socks that it could sit on it properly. Now the change of filter socks is far more convenient and it looks better as well.
·
Tank Background: The guy who helped me make the tank and silicone it, came with background films, sticker type. Since I was already having blue color background earlier, decided to go with blue on the new tank also. The guy decided to fix background film first on the glass, and then I saw him struggling to set the tank, since the film would move and had to re-do many parts of the background film. One learning I had from this is that, fix background/film only after tank is set, setting the tank is the first priority.
Some Highlights:
· When I realized that my plumbing lines can go through the design holes on the side of the stand, either side, this was not planned, but somehow it happened. It helped me to simplify my plumbing lines and avoid many elbows, turns and to help water flow faster and easier to/from sump.
· First when the Bean Animal Overflow system worked and realized how silently it can run.
· When on the first day itself in the new tank, Flash, our Asian Arowana took its food
· Weekly water change and cleaning easier, compared to my old tank with canisters
· Receiving some appreciation about the entire tank setup from some experts.
I am a beginner when it comes to custom tank build, sump and bean animal overflow system. There are many other experts who have done this for a long period of time. Will be happy to answer any queries or provide help to anyone that is looking for, from what I know of.


