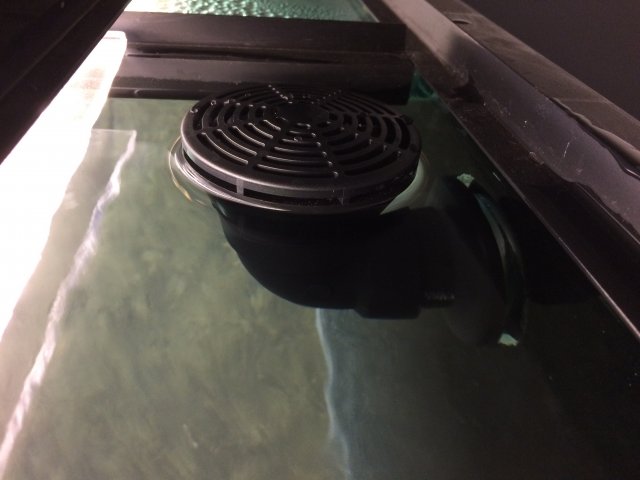
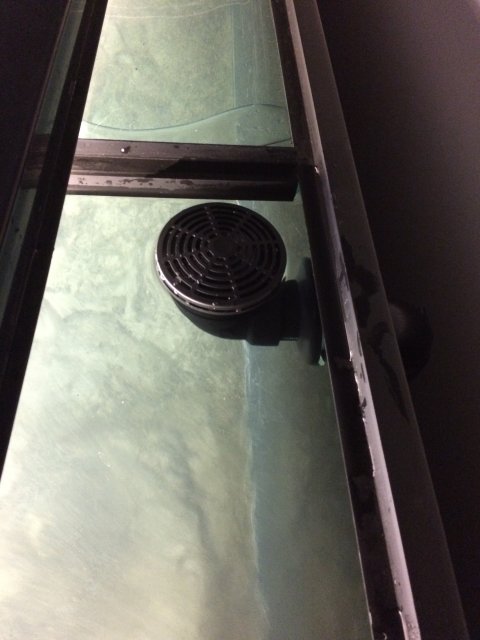
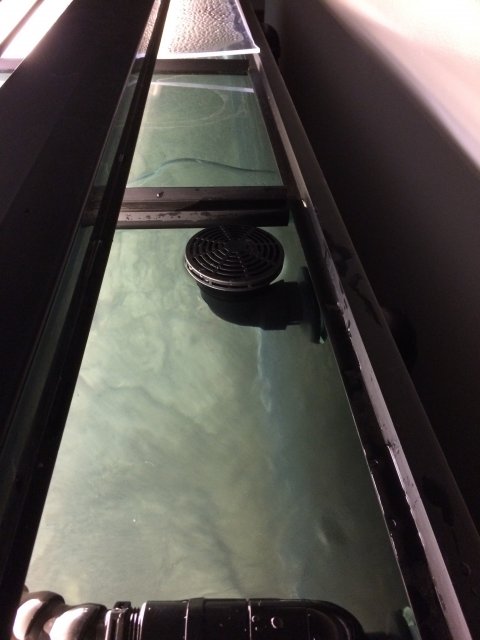
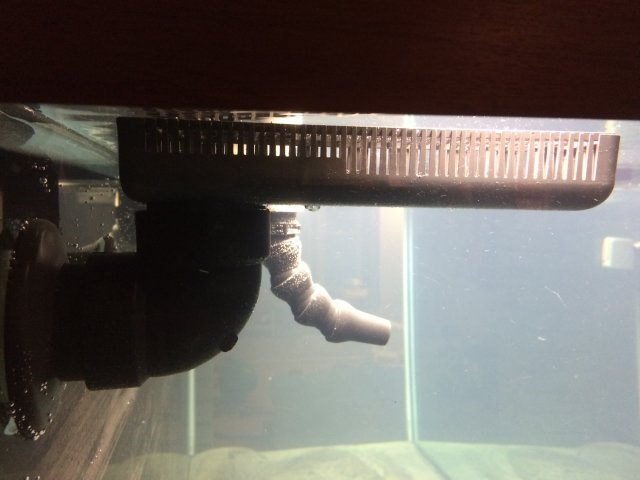
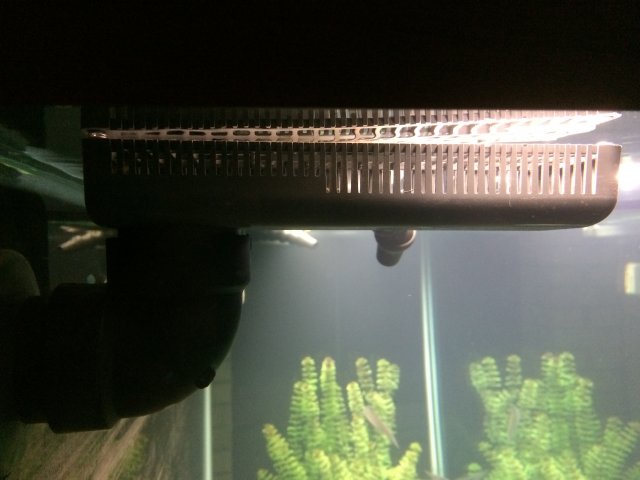
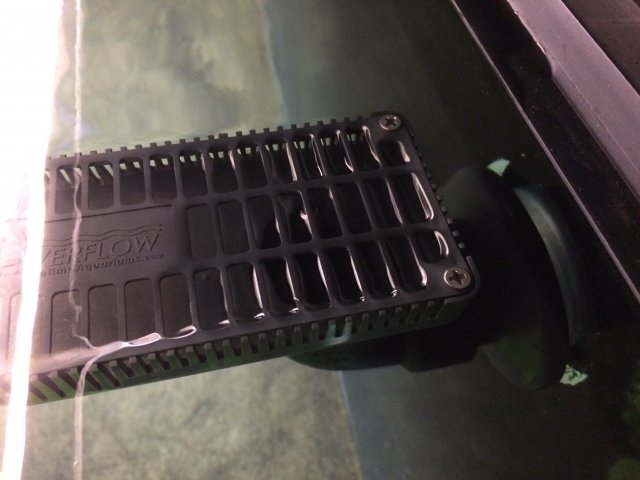
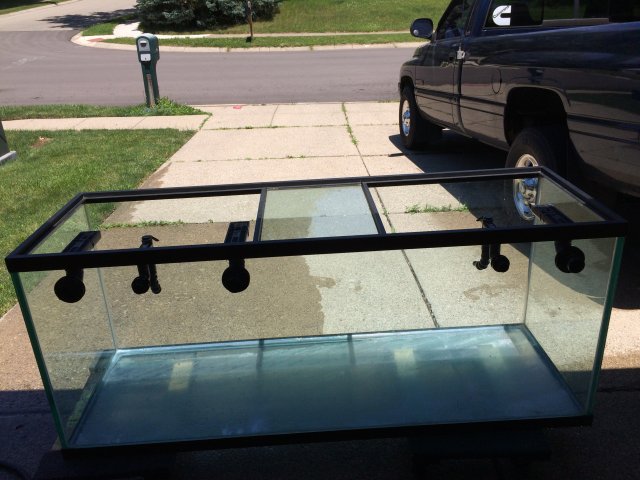
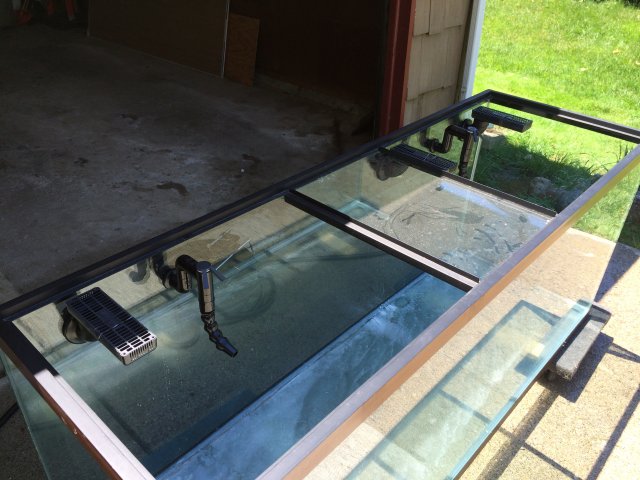
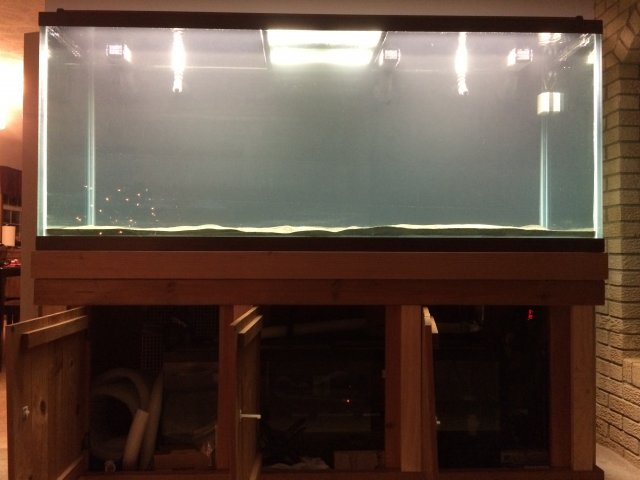
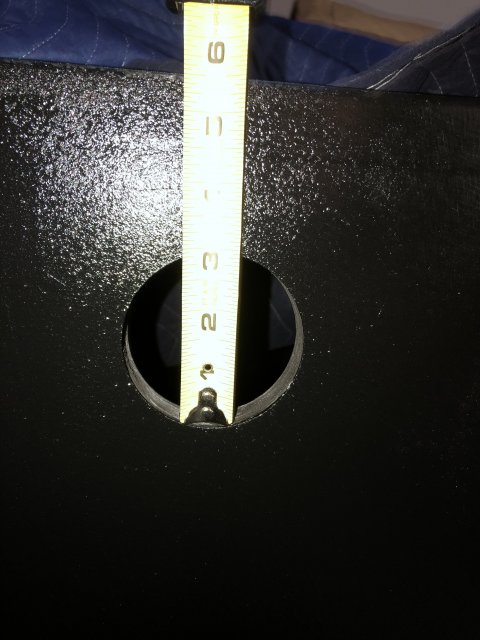
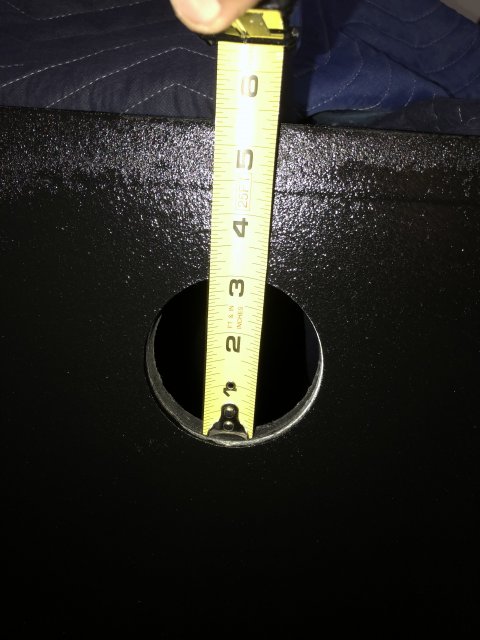
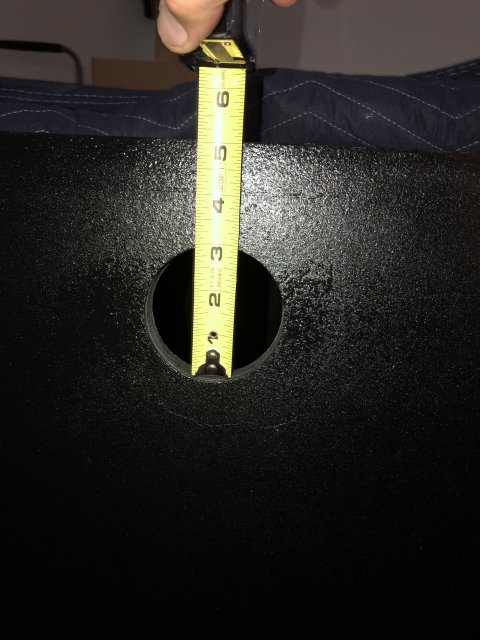
That is actually my emergency drain. My main drains have the H2Overflows on them, but I run them submerged as a herbie setup.
View attachment 1302886 View attachment 1302887 View attachment 1302888 View attachment 1302889 View attachment 1302890 View attachment 1302891 View attachment 1302892
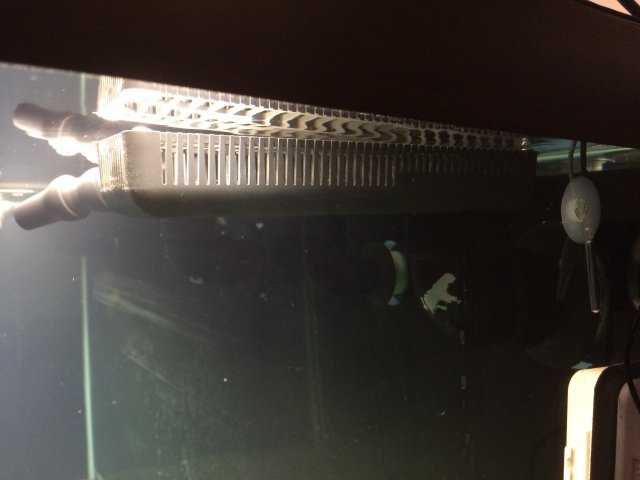
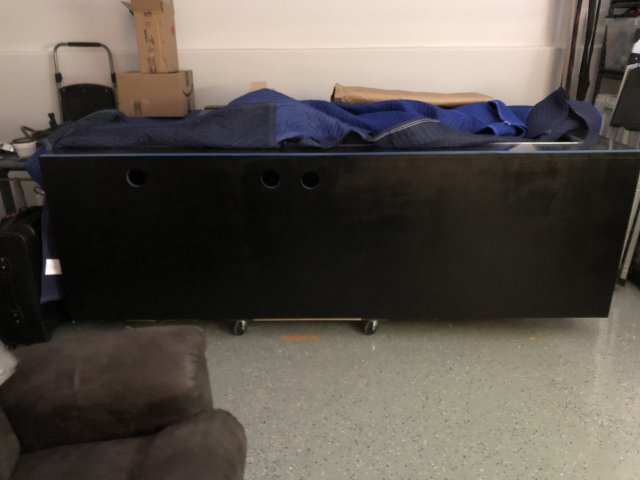
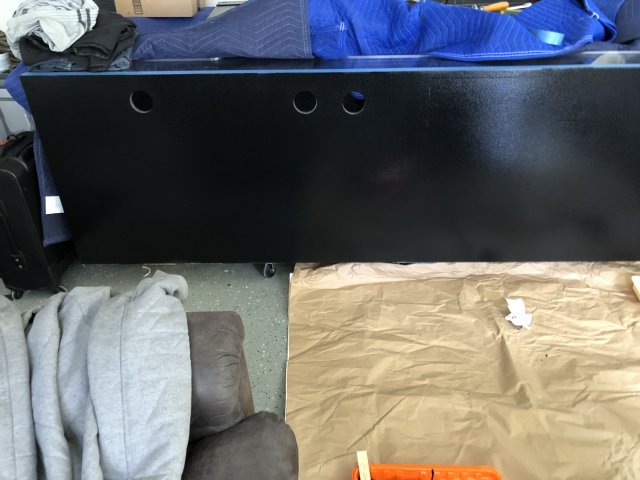
Here are some pictures of what my setup looks like. Some show my setup before I converted it to a herbie setup. Once I converted it I put the low profile strainer on it.
The elbows came from PVCdirect or one of the other big online retailers. I forget if it was advertised as ABS or black PVC. You can get short radius elbows and long radius elbows, depending on how much height you need. Or, you can get a coupling and run it on the short radius elbow and put the low profile strainer on top. I actually had to cut my coupling in half and then had to jam the short piece of PVC in super hard on the small tapered side. This was because I originally drilled my holes for the H2Overflows and couldn’t move them. Obviously, your tank came with holes so you are in a similar situation where you will have to make the fittings work for where the holes are.
I’m pretty sure that the low profile strainer came from Bulk Reef Supply.
As far as flow goes, I run about 1600 gph in my setup, and it is pretty evenly split between the two overflows. They are both 1.5” with vinyl tubing run into the sump, and each has four 90 degree elbows on it, including the elbow in the tank. I have 1.5” ball valves on each drain (they actually have closer to a 1” opening inside them) and they are both about half closed. I have a 1.5” ball valve on my emergency drain as well, but it obviously stays wide open.
If you have any more questions, or want any specific pictures, just let me know.
