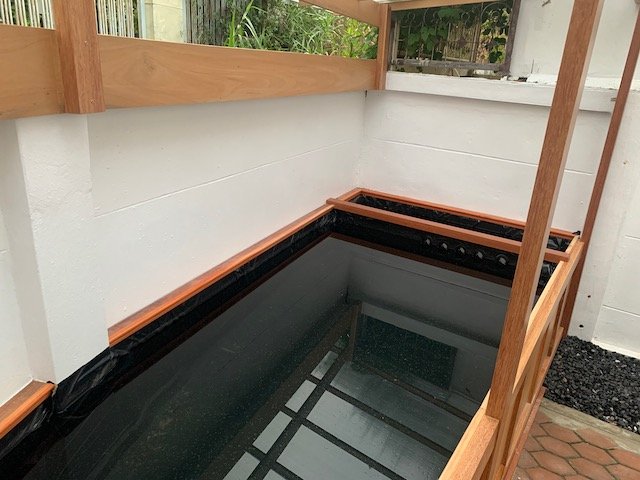
The Pond...

  • We are currently upgrading MFK. thanks! -neo
Well then finally, an update!

IMG_2190.jpeg
What took you so long?

Yep. Mini Me is never skipping a chance to kick me down the ladder a bit.
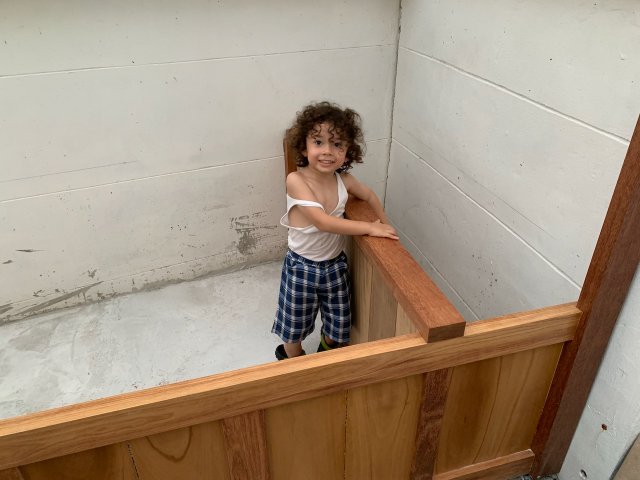
IMG_1969.jpeg

Yes Mr. Wise Guy.. that's where the water will go..

Anyhow, since the last update, even though busy with work, I did also get a lot of stuff done.
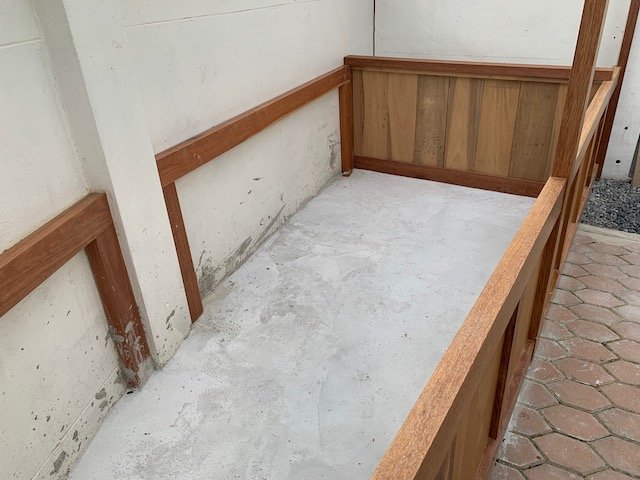
IMG_2166.jpeg

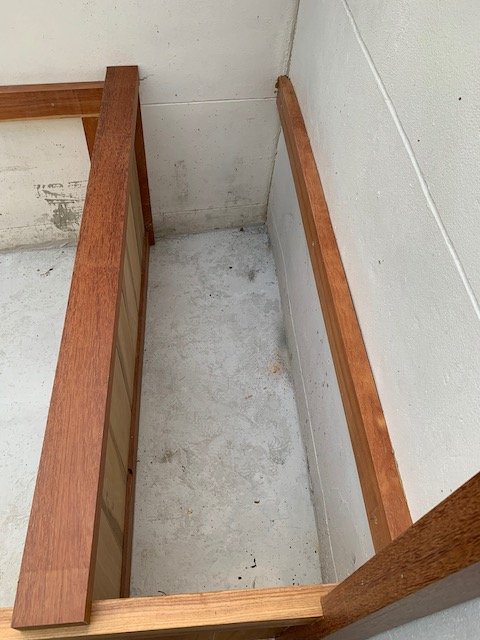
Levelled the floor, got all the support beams in.
IMG_2169.jpeg

Sump almost done, missing the backside beam.
IMG_2191.jpeg

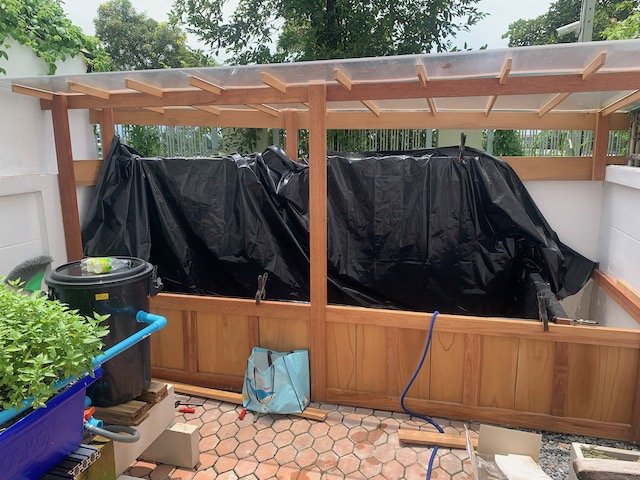
Tadaa, Plastic time!
Was quite pleased with all of it, filling slowly, carefully, and everything else.
However, next day came back, filled some more and noticed that the bottom started bowing out.
Grrrr...
What to do? Sure empty first and waste about 2500 litre of water...sigh.
IMG_2213.jpeg

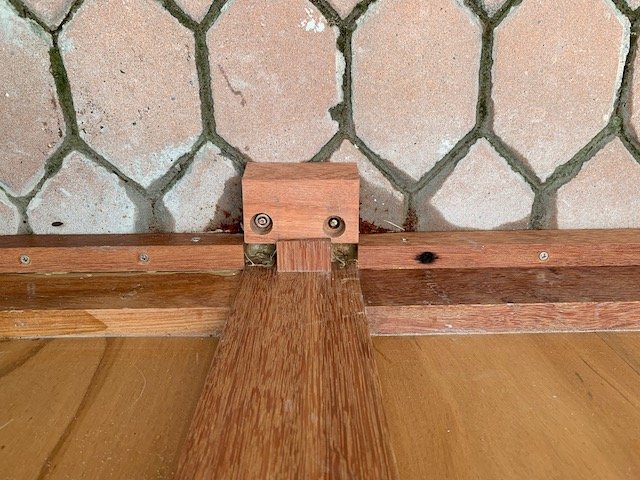
Simple solution. Empty the pond, fit a block in front of the middle pole.
Hammer a wedge in, then a thicker wedge, repeat a couple of times until everything is back into shape again.
Glue and drill a wooden strip along the sides and all is good again.
Not too happy with that oversight, but ok, you live to learn..
IMG_2195.jpeg

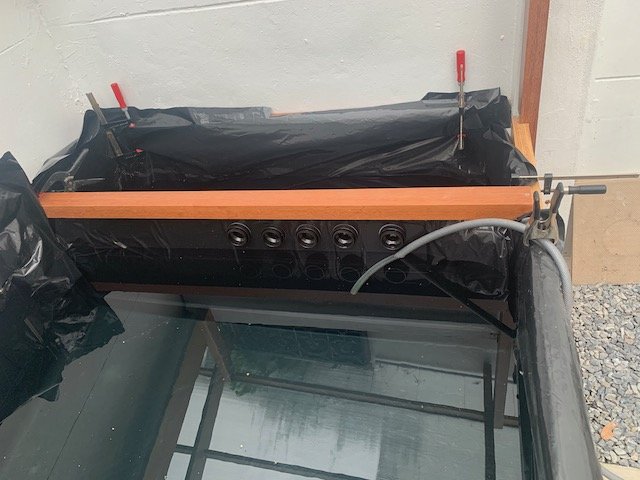
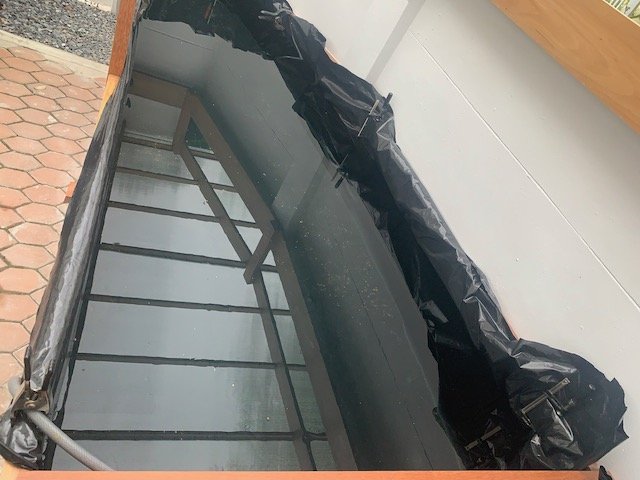
So second try, all ok now. Liner folded in the corners, held by clamps for now.
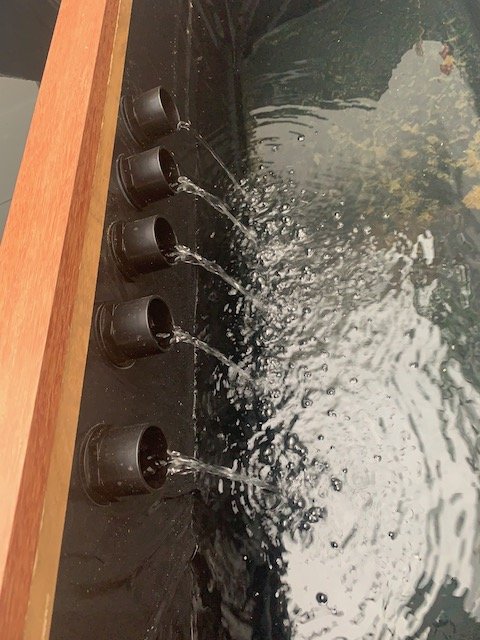
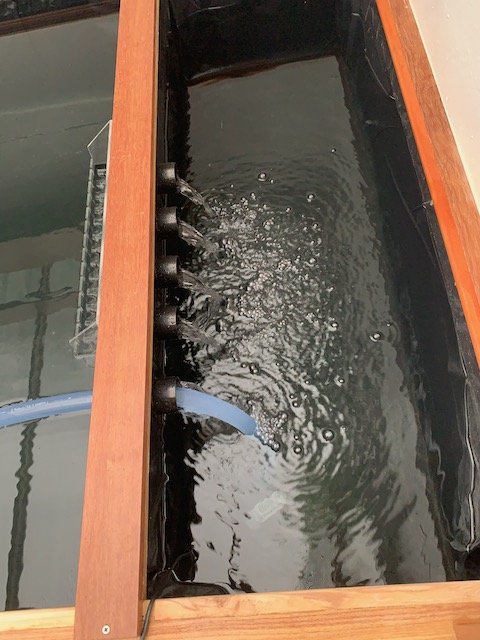
The filter drains done as well.
4 surface drains, 1 with airlift on the right side.
Will make a protection around it to avoid fish getting sucked in.
IMG_2198.jpeg

Finally!

 
We're not getting all lazy here now aren't we?
Much more you can do in 3 weekends..lol

IMG_2200.jpeg

Testing the drains for example

IMG_2209.jpeg

Putting some markers in the pond to check for leaks..
Relax, sit down and enjoy a beer doing that..lol.
Took many beers and it only dropped a couple mm over 3 days.. So that test was a success!!

IMG_2232.jpeg

Next? Beautify It.. lol
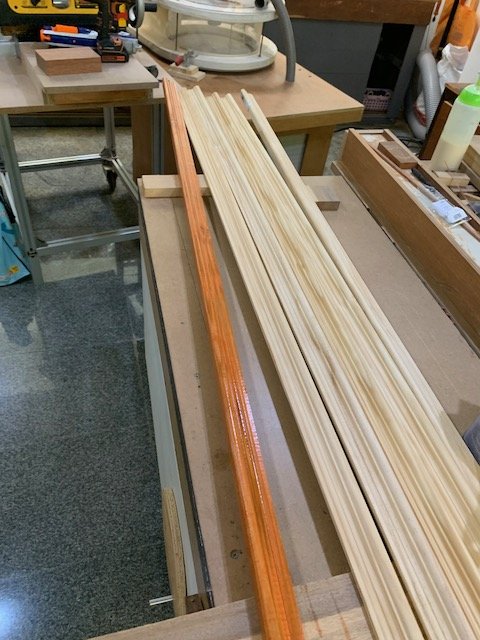
Strips to keep the plastic in place.
Took me two trips to Mega Home because I forgot my damn face-mask..grrr.
Well, safety first, happy they enforce it so strictly here.

IMG_2238.jpeg

So after a day of cutting, swimming and glue and brrrratt-gun..

IMG_2239.jpeg

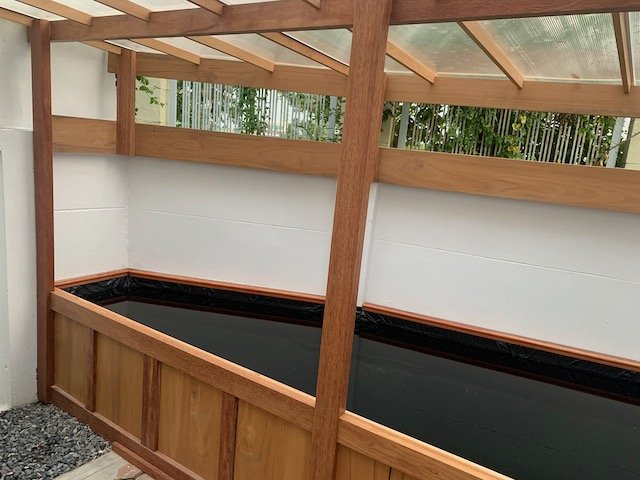
Still sanding and a re-staining to be done on the back--side beam/strip.
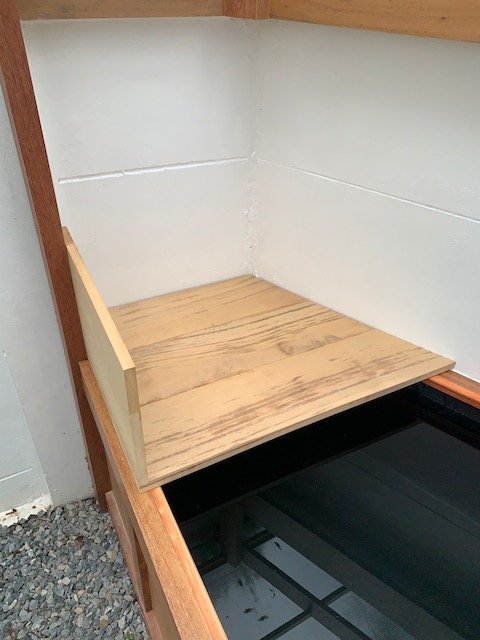
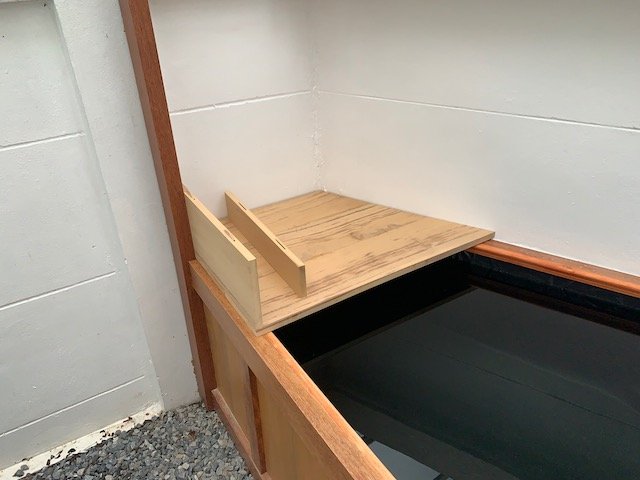
But keep in mind that only about 1.5 meter front and back will be visible, rest will all be covered with grow-beds and a cover over the sump.

We're now getting very close to putting fish in.
There's a list of things still to do:
1. Picture above, the siding back to front not done yet.
2. Fill the hole in the wall.
3. Fill gaps behind the wood supports.
4. Painted the walls already, but few spots to touch up.
5. Sand and refinish all surfaces that could cause sanding dust and Poly to drop into the water.
6. Empty and Refill the pond, start the pump for circulation.

Next step then will be to build the first grow-bed and bell-syphon.
After testing, start moving the old plants and media into that grow-bed and move the fish.

I'm hoping next 2 weeks to finish all that.
Cheers,
Luc​
 
Last edited:
Question for the sump:

Plan is to have all 5 inlets to the sump dump the water on a 300 micron screen.
From there, it falls down into the sump with the pump located towards the back of the sump.
I'm thinking of putting media in there, just to help the grow beds and have more bio-filter capacity.

Now, putting a divider in the sump is easy, and I was thinking to use something like bio-balls or K3 filter media with some airstones.
But that stuff is way too expensive for my liking.

My idea is to make it myself with straws and some heat-shrink tubing. 15mm tubing, straws inside, shrink it and then cut it into 20mm pieces.
My only worry there would be the shrink tube..What I read, they all say its non-toxic.. Any experience from anyone?

Cheers,
Luc
 
Weekend gone with the blink of an eye..

WhatsApp Image 2020-09-20 at 12.50.32.jpeg
Didn't see him blink for half an hour, so I still got quite some done in between blinks...

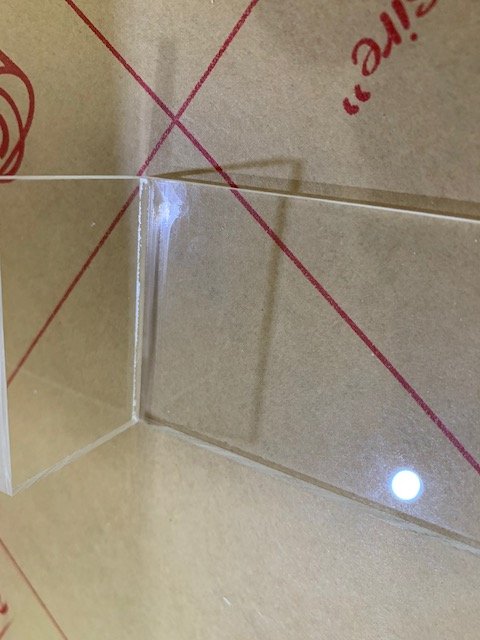
Received some orders and started experimenting for the first time with acrylic.
Really fun, used 3mm acrylic and I'm quite happy with the end-result.

IMG_2271.jpeg

Glueing up a test piece. Strong bond, on to the big boys

IMG_2272.jpeg

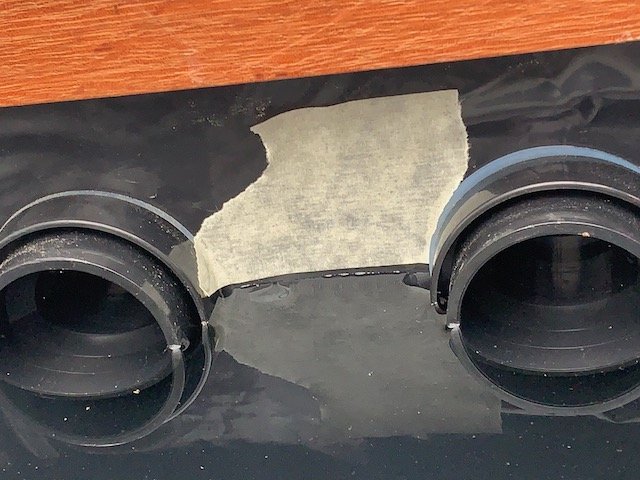
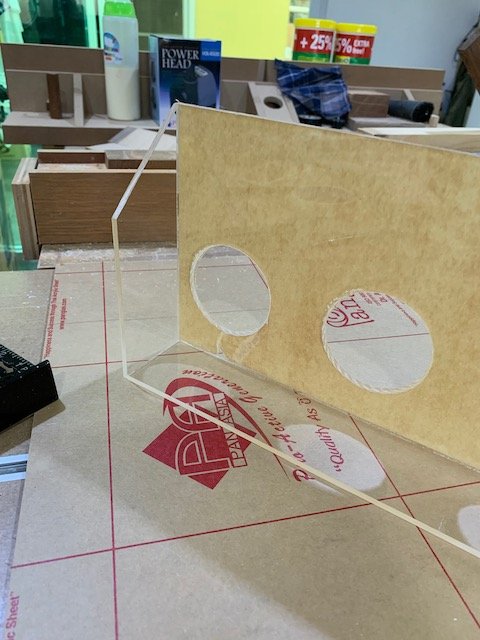
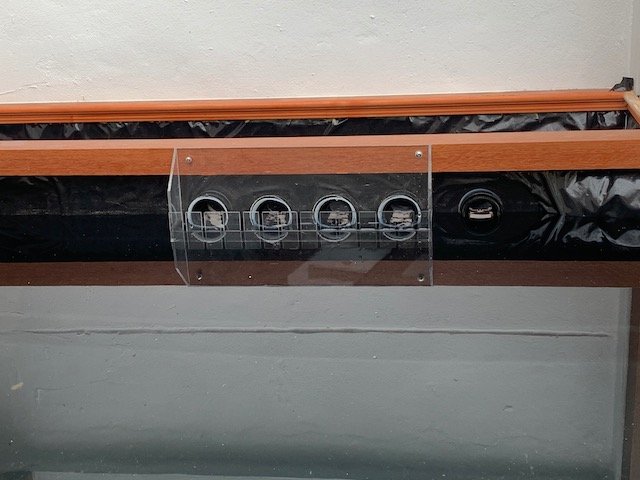
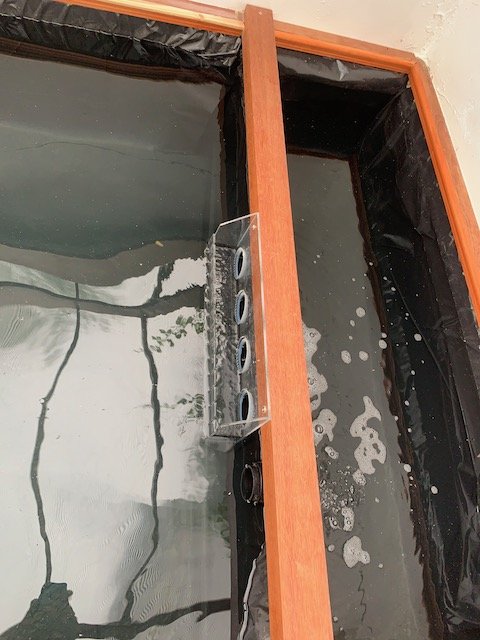
The surface drains to the sump. 4 slightly oversized holes.
Does not have to be a tight fit as long as it keeps fish out of the sump.

IMG_2276.jpeg

Test fit..quite happy with how it turned out.
Used silicone seals to get a good fit with the openings.

To be continued...

 
Last edited:
looking good! what’s the stock going to be?
 
IMG_2262.jpeg
After some discussion...

We decided to start cleaning up the pond a bit more and switch on the pump.
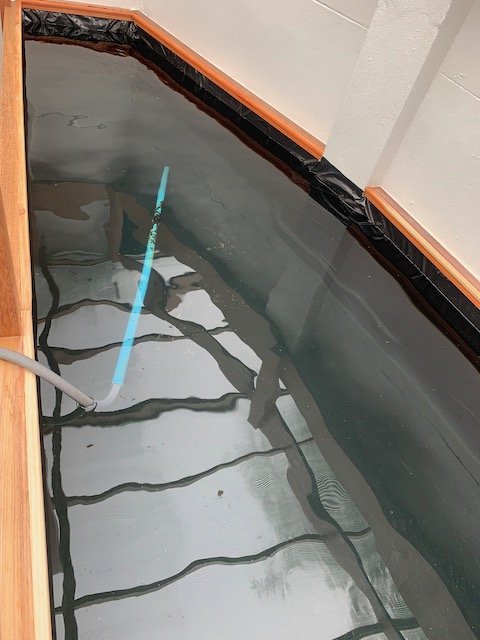
Changed about half the water and took out all the rubbish and dust that settled on the bottom.

IMG_2279.jpeg

My "vacuum-cleaner'.. plastic pipe is just to hold the hose insight and make it easier to move it around.

IMG_2277.jpeg

Almost done filling up again..

IMG_2299.jpeg

That's looking mighty good. Stuck the pump-hose through the remaining outlet for now.
The overflow is working perfect. That will give a nice and steady level in the pond.

Next?

WhatsApp Image 2020-09-20 at 12.49.58.jpeg

Dinner time...lol

Sunday was spent on making the first grow-bed..
Had 1 plank left, and after taking some measurements and careful cutting I had the bottom and front finished.

IMG_2296.jpeg
Measure Twice, Cut Once.. Took only 3 measurements and some drawings and calculations.
Perfect fit.. The front will be lowered a bit. Total height now is 30cm, will go down to 25 to make it less massive.
This bed will be fitted in place, because the back can easily be reached. The other beds will be on rails so they can partially be sliding out to the front.

IMG_2294.jpeg

the smaller part will be half height.
Next week the side will be ready as well, then put in the liner. Wall-sides will not get wood. simply glue the liner to the wall.
Shopping list for Bell-Syphon parts is being done.

Next weekend I need to start putting the electric in, so I can keep the pump circulating the water.
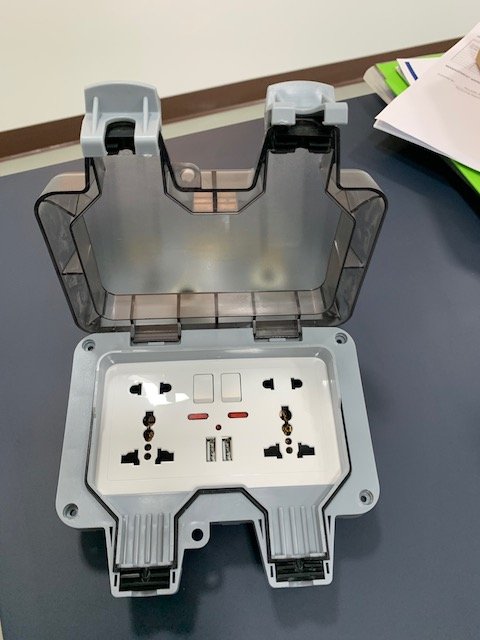
Ordered a nice IP-66 rated box to plug stuff in.

IMG_2306.jpeg

Must say I'm surprised by the quality of it.
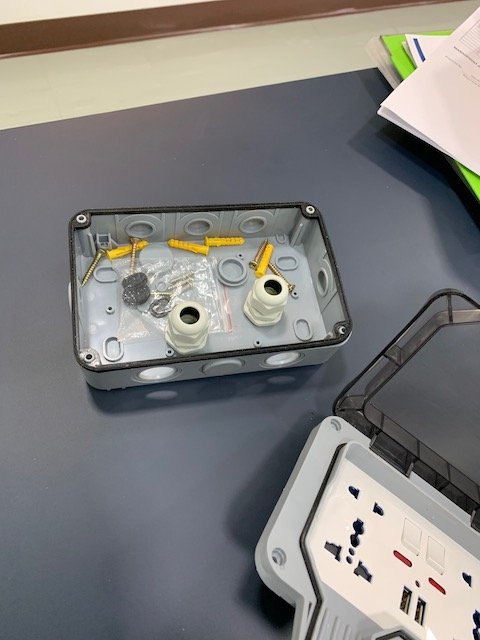
Later stage I might get another box for electronic level controls, but for now this will do a perfect job.

IMG_2307.jpeg

Comes with everything need to install. Need to pull a cable from the house to the back side,
To get some light in the garden as well, it will be white PVC pipes going all the way around the garden with 3 lamps on each side and then the pond in the backside.

Well, plenty enough for today.
Cheers,
Luc​
 
looking good! what’s the stock going to be?
Hello Dr. Exum.. Maxi-Me wants Koi. There's 8 smaller ones in the current setup, not likely to grow much more, but we'll slowly be adding some more Koi over the coming months. Guess I'll add 1 or 2 Pleco's as well, just to keep the bottom clean.

Cheers,
Luc
 
  • Like
Reactions: dr exum
What really surprises me is that the pond has had water in it for almost 2 weeks now and it's crystal clear. No algae, no greenish tint, nothing..
From initial planning for this project, I read from multiple sources that the Poly Carbonate roofing stops quite a big part of UV, while letting in the light required to grow plants. Seems that's working very well, but let's wait till after the fish go in before we declare victory...

Cheers,
Luc
 
Great updates. Nice to see a plan working out well.

The clear water is probably from plant filtration (grow beds). It does not make sense that polycarbonate allows plants to grow but not algae since algae is a plant.. but easy to test the theory if I get time and a free piece of polycarbonate.
 
Great updates. Nice to see a plan working out well.

The clear water is probably from plant filtration (grow beds). It does not make sense that polycarbonate allows plants to grow but not algae since algae is a plant.. but easy to test the theory if I get time and a free piece of polycarbonate.

No grow beds or anything yet.. just water.
Good argument indeed on algae, no pictures yet, but will post some later this week on the work done.
Water still crystal clear.

Cheers,
Luc
 
MonsterFishKeepers.com