Using wood to Scape a large setup. The “shelf” effect to build a riparium zone

mrrobxc

Bronze Tier VIP
MFK Member
Nov 29, 2012
4,540
5,543
599
SE PA
good morning everyone. A few folks had asked me to build a scape thread using wood to create the shelf effect that I use in my larger tanks. With the recent build out of the 535, I figured I would take some pics along the way and post a thread.

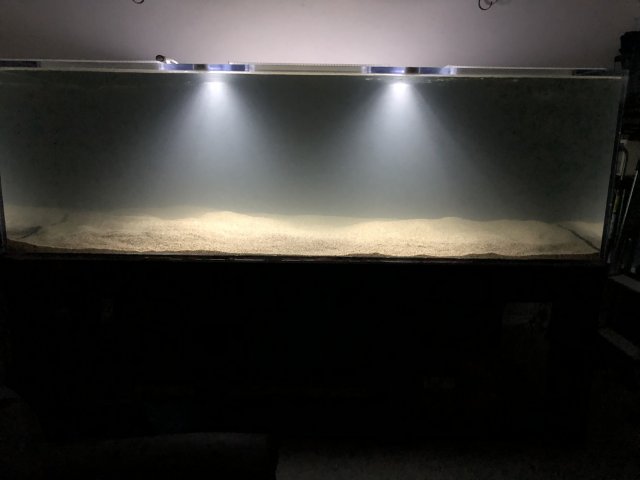
First, here’s a tank of it empty after I got it up and running.
0275542B-C0B9-44EC-BC77-4F410327C24E.jpeg
 

mrrobxc

Bronze Tier VIP
MFK Member
Nov 29, 2012
4,540
5,543
599
SE PA
The keys is to buy large pieces of wood that are NOT centerpieces. The temptation when buying wood is to look for an intricate piece that can stand alone as a focal point in an aquarium. I believe it’s better to use several pieces to create the effect of one large piece that spans the whole tank.

I prefer buying pieces that are rather plain and straight with slight bends. Look for pieces that will act as foundations for creating a shelf effect. What I mean by that is, image a shelf resting on two or three tripods. Each part of that tripod and the shelf will be large robust pieces of thick, somewhat straight, pieces of wood.

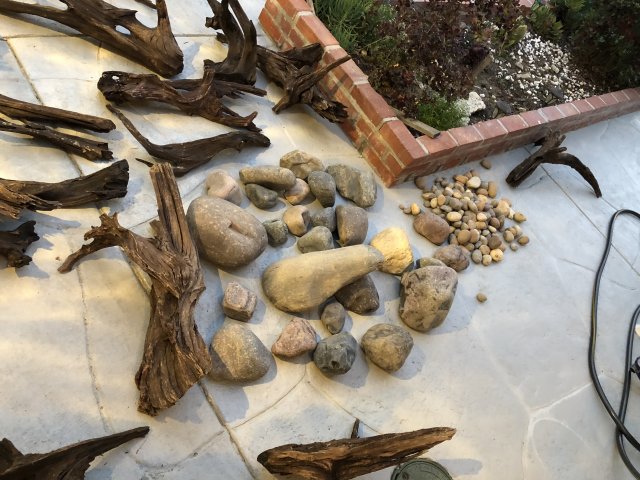
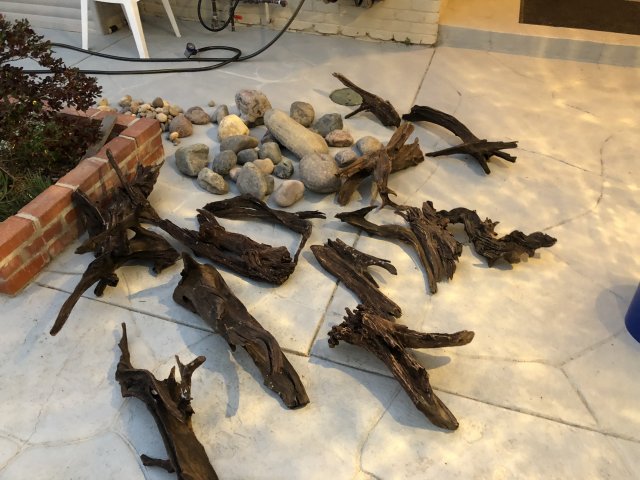
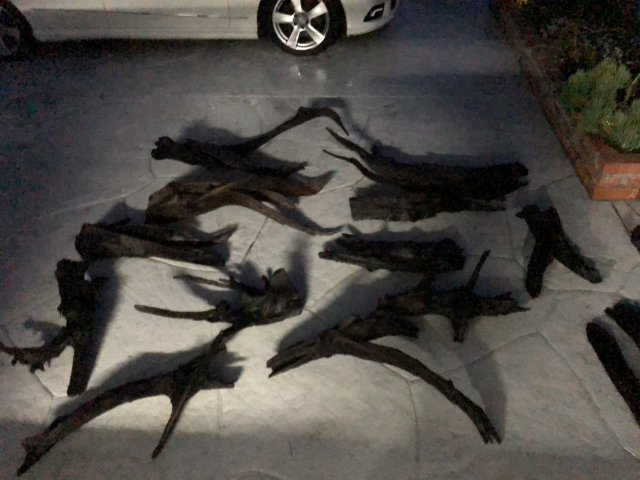
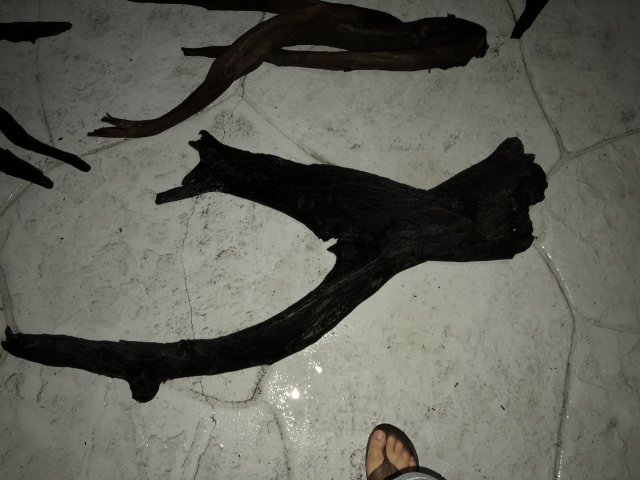
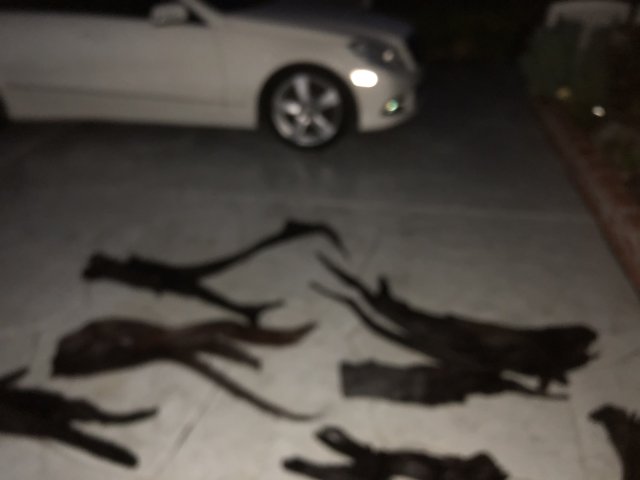
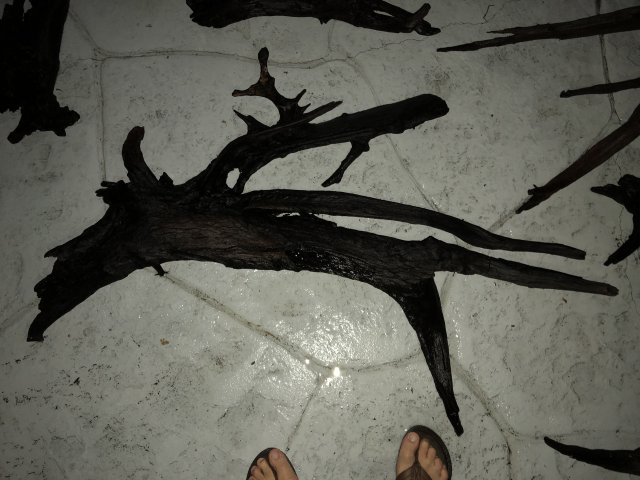
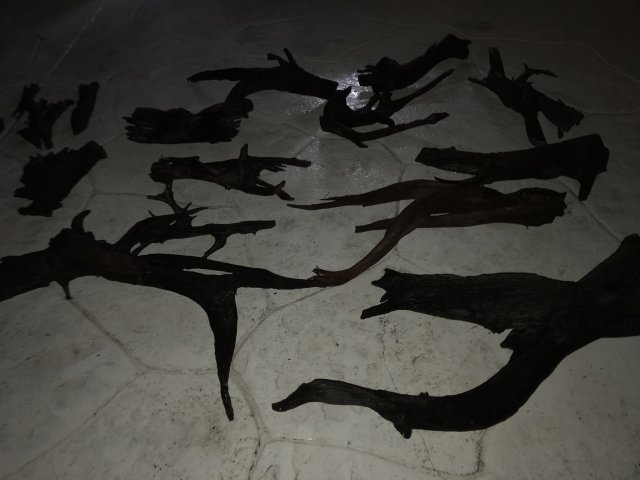
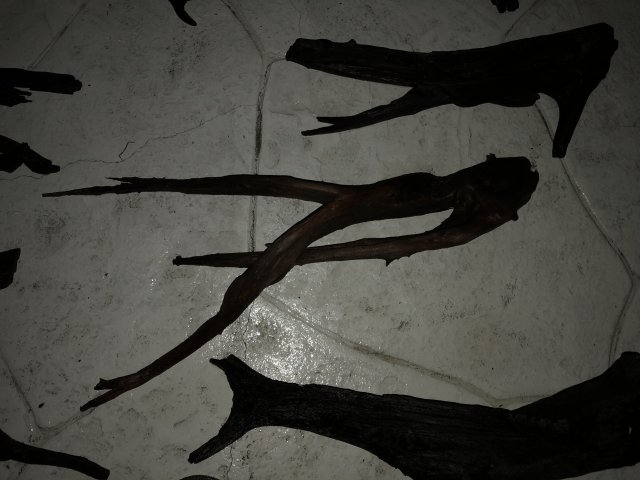
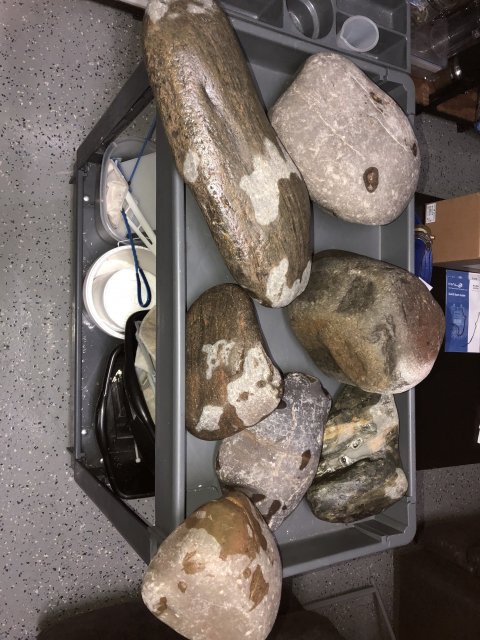
Here are some pics of the prices I used to build this out.

EEC47D5E-8B97-4C27-83AC-5914F96AB8EB.jpeg 41CF1D1C-3ED3-4E19-BFA0-B8954684B113.jpeg 8525D6A2-D119-4EFF-B65A-22A5DB6840B8.jpeg FF503C9E-B03E-4D90-B07E-9B0B05DA6BDE.jpeg 526BF57F-EC2D-4E71-84B6-81D69961D997.jpeg EC92CA1F-A606-4112-AE75-B7FDE4F0F3DF.jpeg C5A7E933-FC81-44E2-9063-8CEF119A0A11.jpeg 39667DE2-D0BE-4862-8984-1397D4F17B9F.jpeg
 

mrrobxc

Bronze Tier VIP
MFK Member
Nov 29, 2012
4,540
5,543
599
SE PA
Notice that none of these pieces would make an attractive centerpiece on its own. Notice that some of these pieces are thick and squat like stumps. These will be the bases of the shelf. Notice also that there are some large curved pieces. These pieces will act as a shelf. They will rest on these stumpy pieces and flow down toward the substrate.
 

mrrobxc

Bronze Tier VIP
MFK Member
Nov 29, 2012
4,540
5,543
599
SE PA
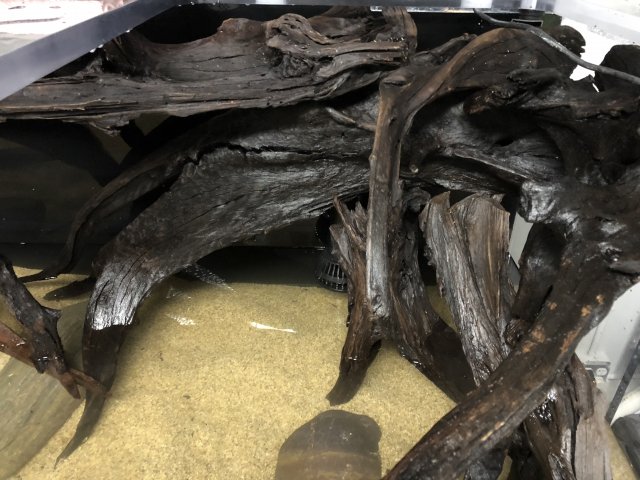
The stumpy pieces will be angled to rest against the rear corners. I’ll anchor them in place with large stones to keep the bases from sliding. Once they are in place, the long curvy pieces are placed on top of these stumps, with the part that flows down toward the substrate anchored by large stones as well.
 

mrrobxc

Bronze Tier VIP
MFK Member
Nov 29, 2012
4,540
5,543
599
SE PA

mrrobxc

Bronze Tier VIP
MFK Member
Nov 29, 2012
4,540
5,543
599
SE PA
To be continued. I’m going to draw up some diagrams on paper to post so you all can see the idea.

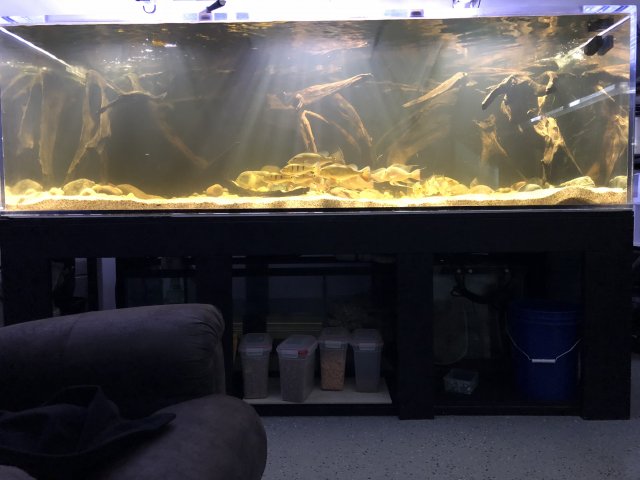
Here’s a pic to give you an idea of the final look.

B393E890-D999-473A-B5D5-CF38431711B6.jpeg
 

mrrobxc

Bronze Tier VIP
MFK Member
Nov 29, 2012
4,540
5,543
599
SE PA
The idea is to create a full on background for your tank to mimic the look of a river bank where the roots of large trees are going into the water in the riparium zone.
 

mrrobxc

Bronze Tier VIP
MFK Member
Nov 29, 2012
4,540
5,543
599
SE PA
Following this for sure. Thanks for documenting and sharing you techniques
Thank justin. I wish I could do a better job with this but I was soaking wet when I began scaping jnside the tank and it was hard to take pictures. Also, the glare from the lights against the front pane rendered all my pictures taken while I was going in and out useless.
 

mrrobxc

Bronze Tier VIP
MFK Member
Nov 29, 2012
4,540
5,543
599
SE PA
Before I get it the pics. The main beauty of this style is how much floor space you have remaining open and free. I first started doing this when I was keeping rays in my previous set ups in Philly. I needed to maximize floor space but didn’t want an empty tank since all my setups feautured a lot of wood. After messing around with different ideas I came up with this design and I’ve kept it ever since.
 
  • Like
Reactions: cigars
zoomed.com
hikariusa.com
aqaimports.com
Store