1300 Gallon Plywood Tank Build

SingAlongWithTsing

Plecostomus
MFK Member
May 22, 2015
86
111
51
Inland Empire
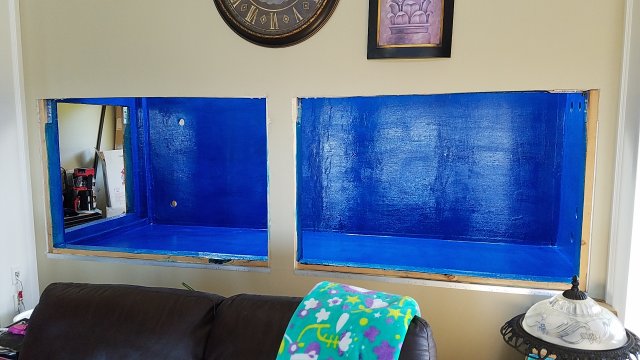
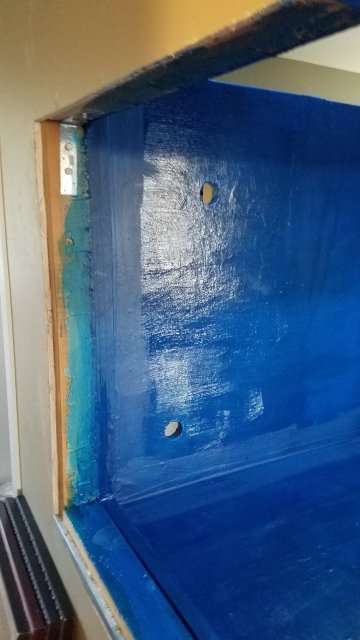
Fair question, I don't know. Has anyone else tried this. Seems like it would be a sound way to go. Potentially you could even use non translucent sheets (I am going to meet with the plastics supplier and compare ABS, Acrylic, PVC, Nylon, etc.) on the non window sides as long as you could bond back to the window. The trick would be sealing the corner seams, but otherwise I think it would be cheaper and just as structurally sound. You would want slightly different framing than my tank. This was a result of having our house framing crew tackle the tank framing for me, but they framed the viewing windows as 2x4 supports and 6x4 header on the outside edge of the 2x6 walls. This leaves an extra ledge on the window side that you would want to be flush (for me, I used it as a framed channel for holding the glass above the substrate level, but lining entirely with Plexi, I would think 4 straight sides would be ideal.
someone on instagram did that
https://www.instagram.com/p/Bjzd0K0A_XP/?utm_source=ig_web_copy_link

unfortunately idk a lick of japanese. only thing i can tell from the picture is he used a potato knife to spread silicone over the wood panels and then laid the acrylic panel on top of it.

other pics on his profile show the framing and such. not too about how he attached the windows to the frame
 

Thomas18

Jack Dempsey
MFK Member
Mar 1, 2017
102
36
36
Australia
what did you do with it for the 7 years that it just sat there? But you look to be making great progress on the tank
 

djseverson@yahoo.com

Plecostomus
MFK Member
Feb 27, 2008
35
43
51
Yakima, Wa
Build is coming along great! Glad to see this resurrected. I think your mystery fish is a Neolamprologus tretocephalus.
Thanks, That matches up very well. odd little cichlid.

someone on instagram did that https://www.instagram.com/p/Bjzd0K0A_XP/?utm_source=ig_web_copy_link
unfortunately idk a lick of japanese. only thing i can tell from the picture is he used a potato knife to spread silicone over the wood panels and then laid the acrylic panel on top of it.
Thanks, my experience so far, I am not sure you would save much money over the paint on finish and it could be difficult to seal the seams.

what did you do with it for the 7 years that it just sat there? But you look to be making great progress on the tank
Thanks, yeah it was not so neatly organized catch all storage area for the history of the house so far. Also a constant reminder of the unfinished project and conversation topic for al new visitors to the house.
 
  • Like
Reactions: Thomas18

djseverson@yahoo.com

Plecostomus
MFK Member
Feb 27, 2008
35
43
51
Yakima, Wa
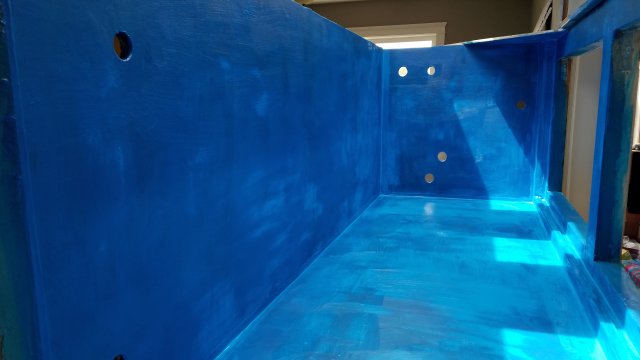
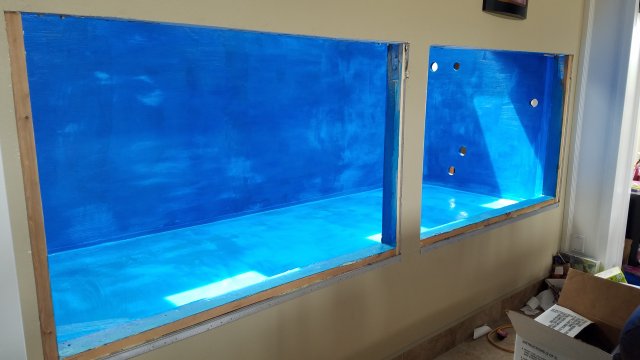
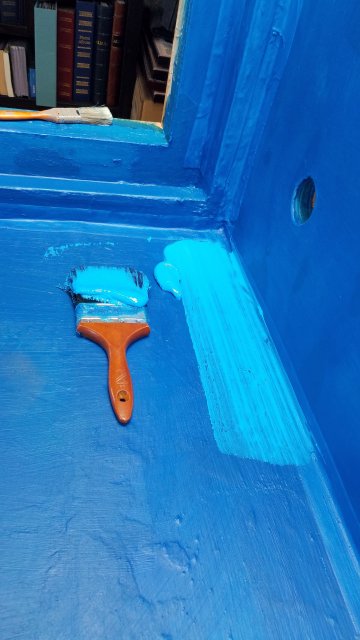
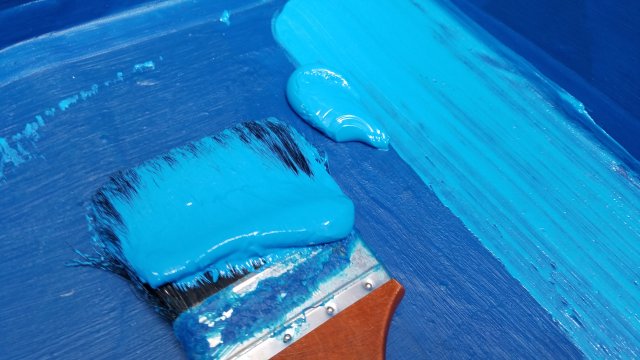
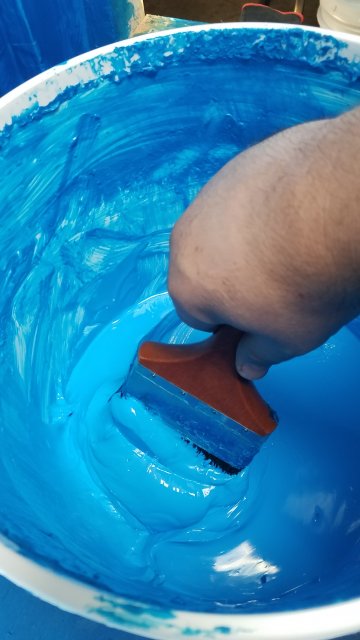
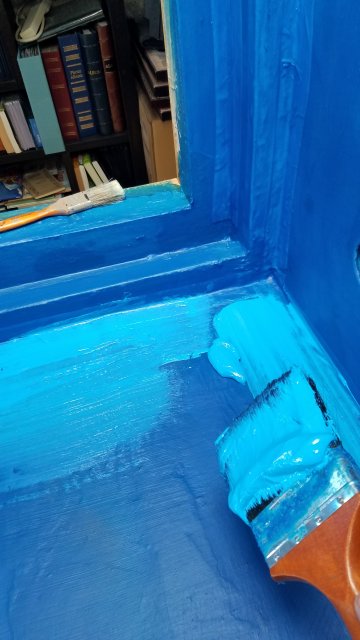
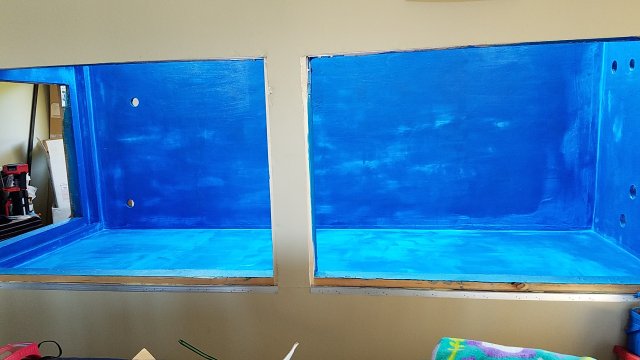
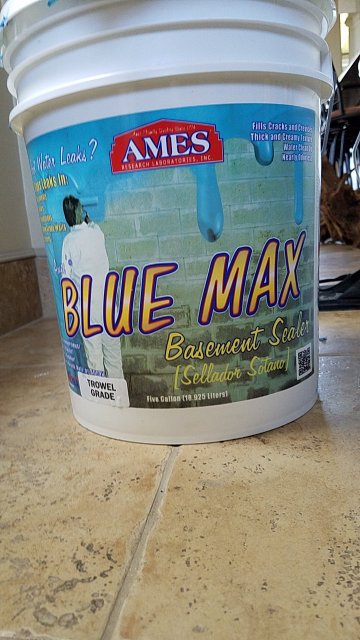
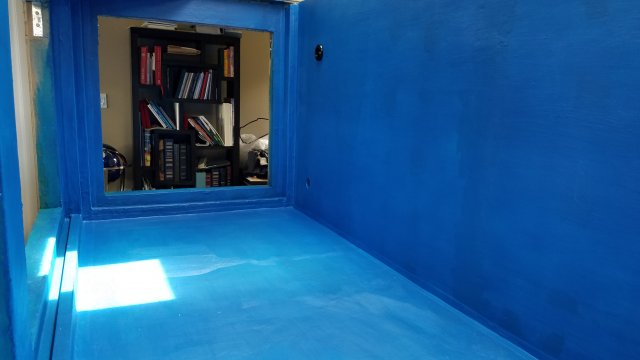
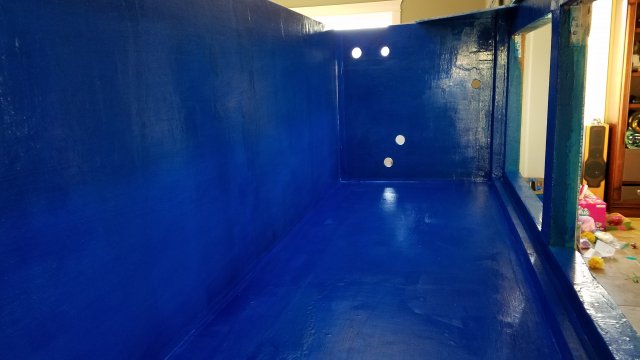
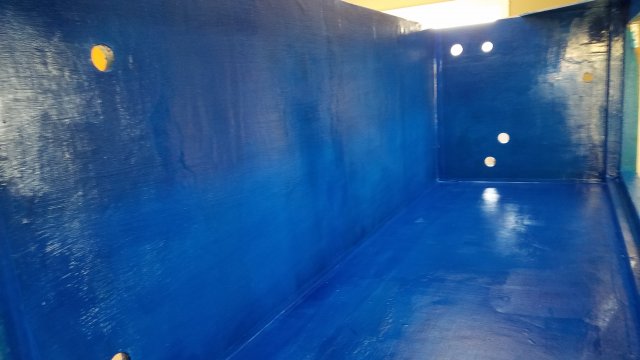
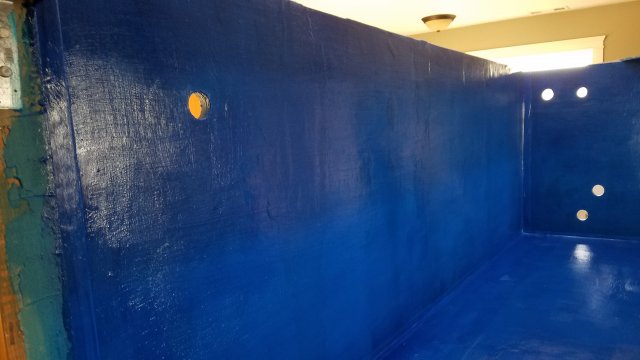
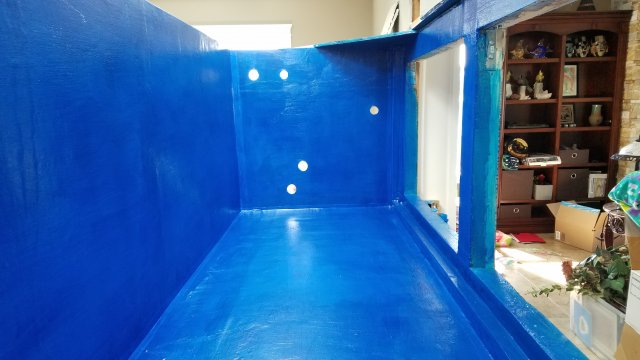
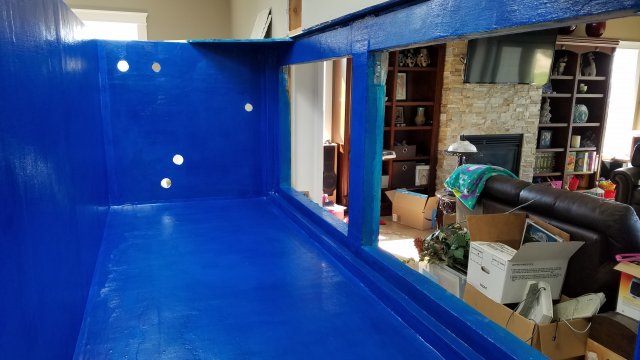
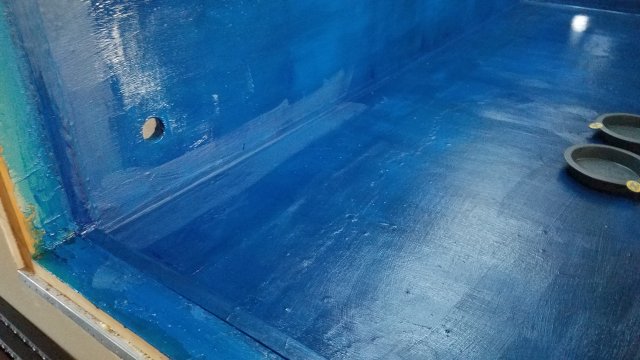
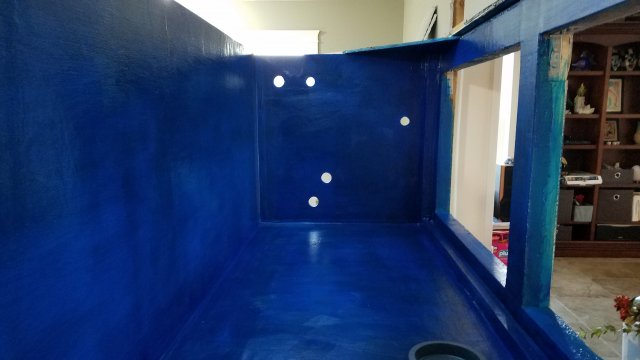
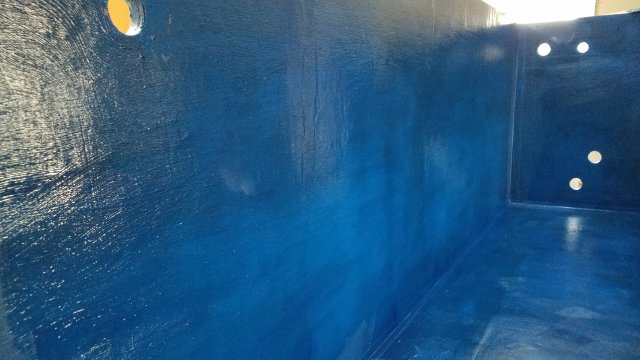
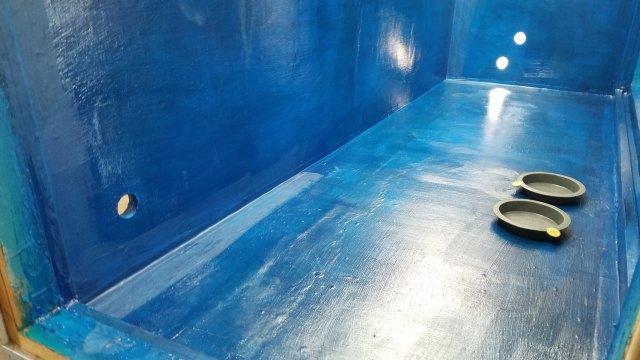
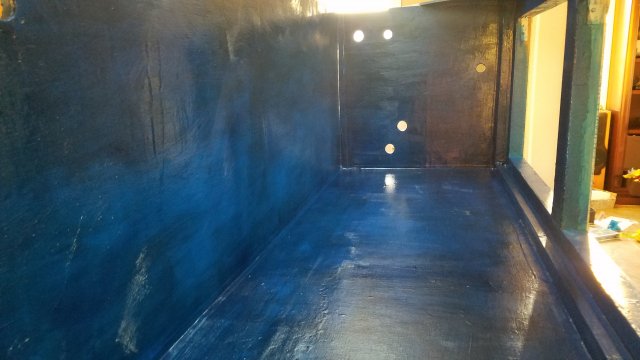
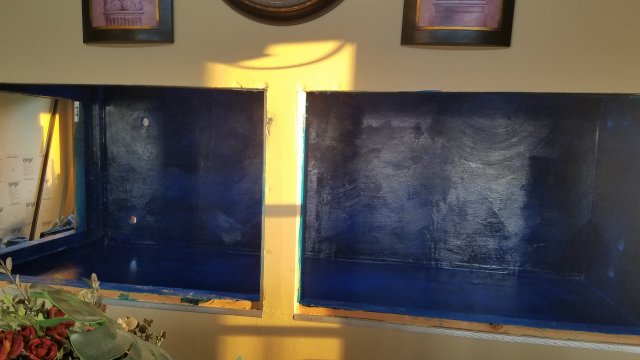
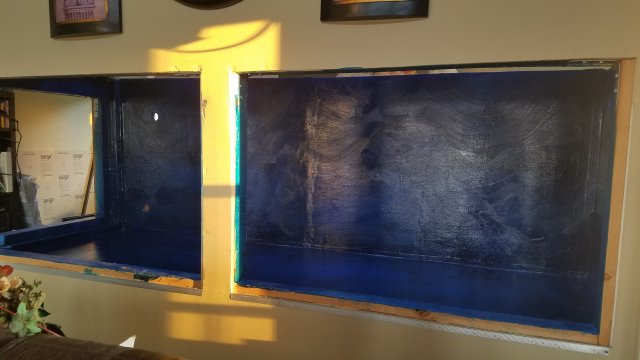
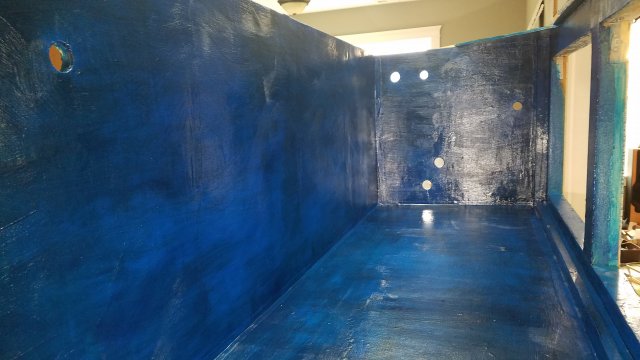
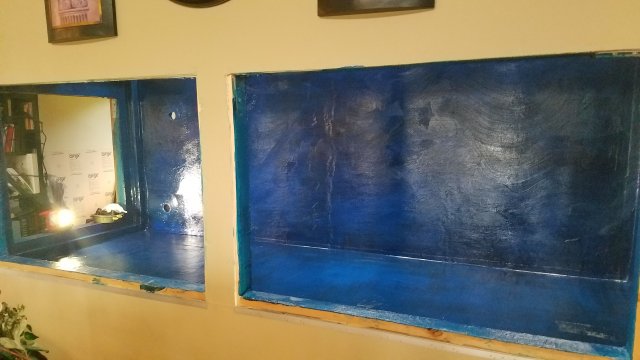
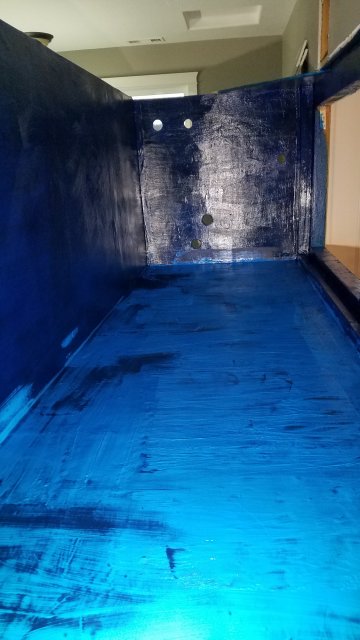
3rd and 4th coats. 1st 4 coats were using trowel grade Blue Max. I think I would use Blue Max Trowel grade exclusively if I were to do this over. My 5 gallon bucket of trowel grade covered 4 coats with enough left for a 5th. After the first 4, I switched to the second 5 gallon bucket of blue max, not trowel grade. The non trowel grade is much thinner and has a tendency to pool and run if put on too thick. Trowel grade goes on a bit more than twice as thick as the non trowel grade.

20180704_125113.jpg 20180704_125131.jpg 20180705_145932.jpg 20180705_145935.jpg 20180705_145946.jpg 20180705_150004.jpg 20180705_162134.jpg 20180705_162225.jpg 20180705_162739.jpg 20180705_162830.jpg
 

djseverson@yahoo.com

Plecostomus
MFK Member
Feb 27, 2008
35
43
51
Yakima, Wa
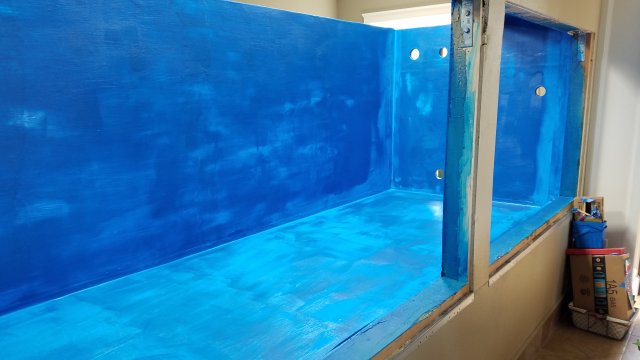
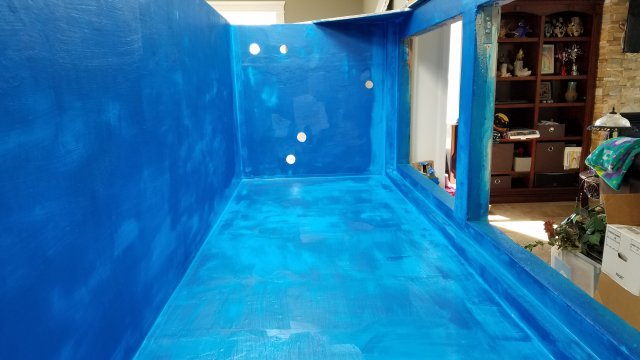
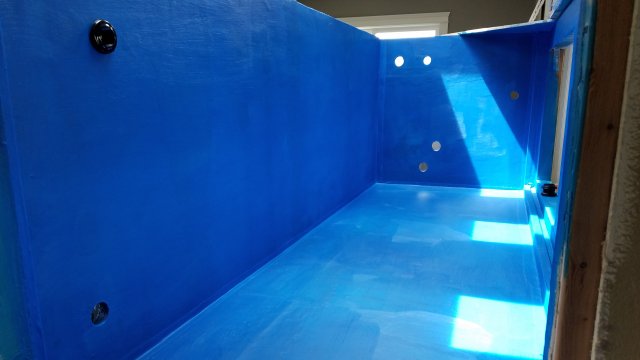
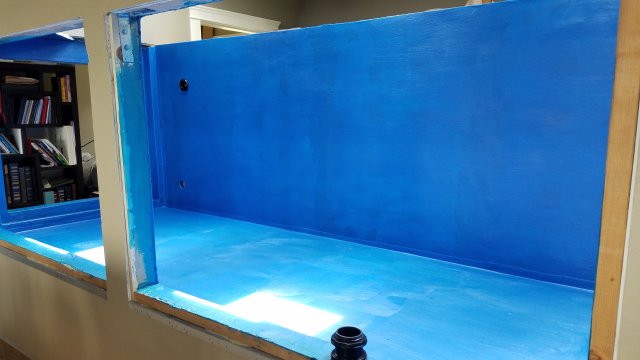
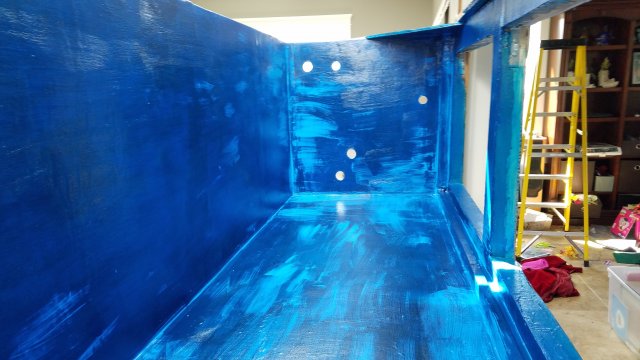
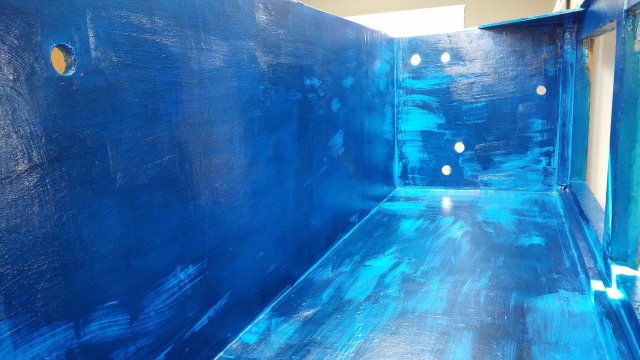
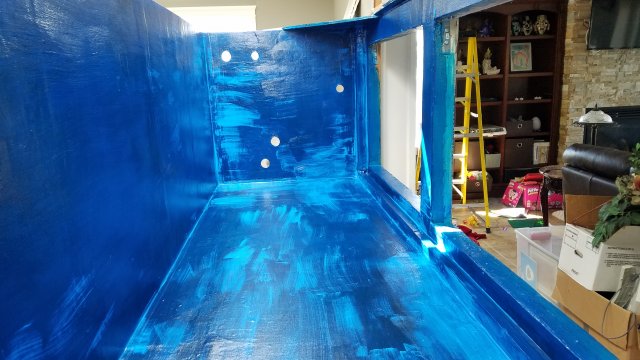
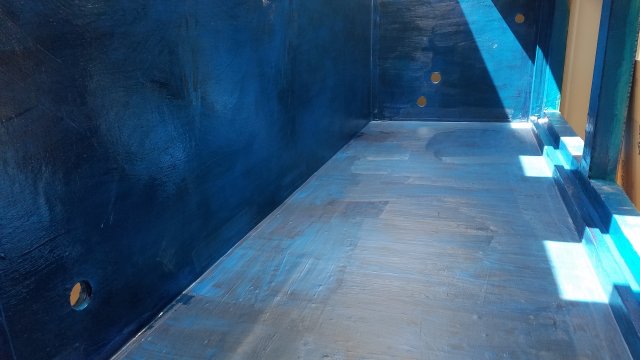
This gets us up to coat 10. The trowel grade blue max is a low luster and the regular has a glossy finish. A couple of photos show brush marks of trowel grade over the non trowel. Also of note the non trowel finish has a higher adhesive value. My bare feet stuck and had to be pried from the floor. Last time painting bare foot.
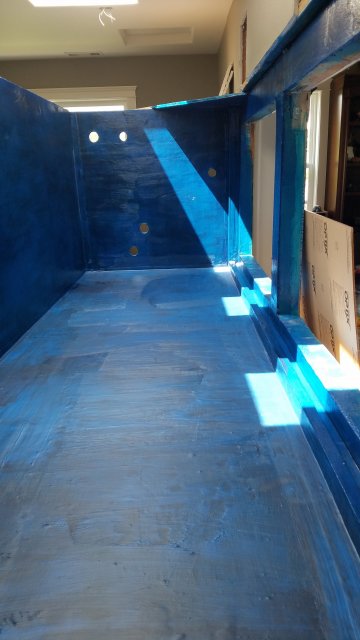
So the last bottom coat is in trowel grade blue max to reduce the surface adhesion. That was coat 11, which is not included in these photos. These photos show coat 10 right after painting it on, still wet blue max is a lighter blue, then darkens as it dries.

20180709_164442.jpg 20180718_203450.jpg 20180718_203456.jpg 20180718_203609.jpg 20180718_203611.jpg 20180718_203618.jpg 20180719_171904.jpg 20180721_154749.jpg 20180721_154751.jpg 20180721_154759.jpg
 

djseverson@yahoo.com

Plecostomus
MFK Member
Feb 27, 2008
35
43
51
Yakima, Wa
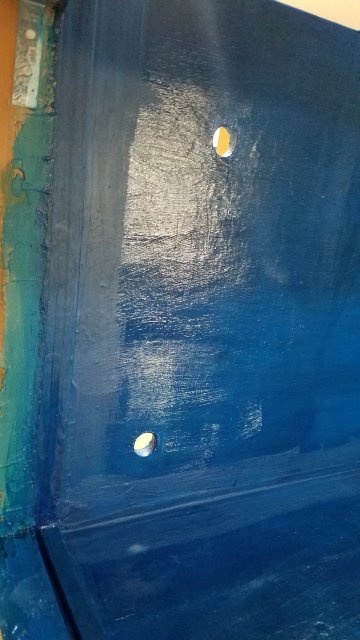
In case anyone notices the bulk head fitting in and out of various photos, I had to keep fitting the adapters, then I would cut back any excessive build up of bluemax inside the cutout
 
  • Like
Reactions: Thomas18

djseverson@yahoo.com

Plecostomus
MFK Member
Feb 27, 2008
35
43
51
Yakima, Wa
Glass is in place (not sealed in yet), 2 cross bars, final coats on tank surfaces (going to water proof seams and top edges). I ll get photo updates by the weekend. Hopefully seal in glass and install bulk heads, and start the plumbing. Once I a have enough plumbing hooked up to pump out to drain, I will water test.
 
  • Like
Reactions: Dloks
zoomed.com
hikariusa.com
aqaimports.com
Store