300 Gallon Newt Pond
- Thread starter NathanKS
- Start date
The Tax bill forced me to press pause on this project and work in DC for a bit. During that time, I unfortunately had a power outage and lost two newts, so this project has new urgency. (beyond the fact theyre ready to lay already, and I have a Jan 1 deadline from the wife.)
So small update from saturday,
I installed a 10mil clear liner underneath the wooden frames just in case I get any leaks. it will be tacked to the sides of the wooden framing and hidden when I do some cabinetry work on the frame. Getting it running is just the first step, I want it as visually appealing as any newt exhibit in a zoo.
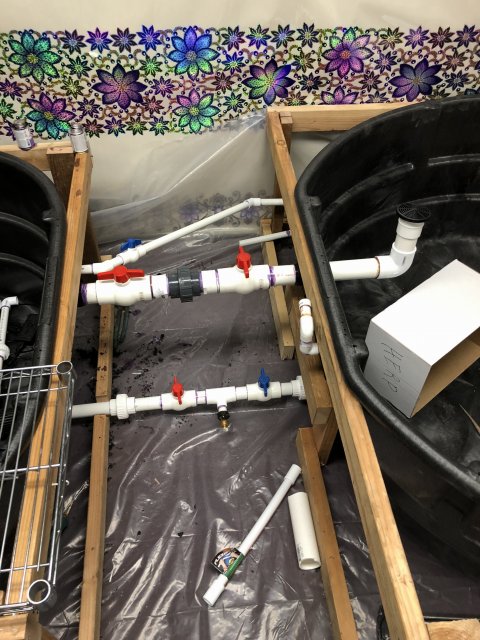
I have finalized the plumbing between the main pond and the sump. My trickle filter and media reactors are ready for media (ordered this morning).
I am not installing the UV or Chiller at this time, I have them both but installed the return line with unions so they can be added easily in January. (the chiller isnt needed at the moment, and the UV I wasent going to turn on until the pond was more established anyways. )
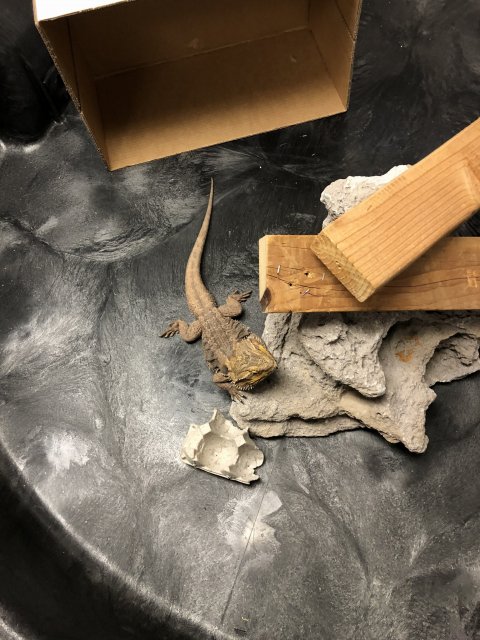
Didn't get nearly as far as I wanted/expected last night. I had a Newt jump out of its tank between sometime between Tuesday morning and last night. I found it under the plastic all dried out when I got there. It's still alive but worse for the wear. Not what I wanted to happen with 100+ eggs in her belly.
Anyways, onto the update.
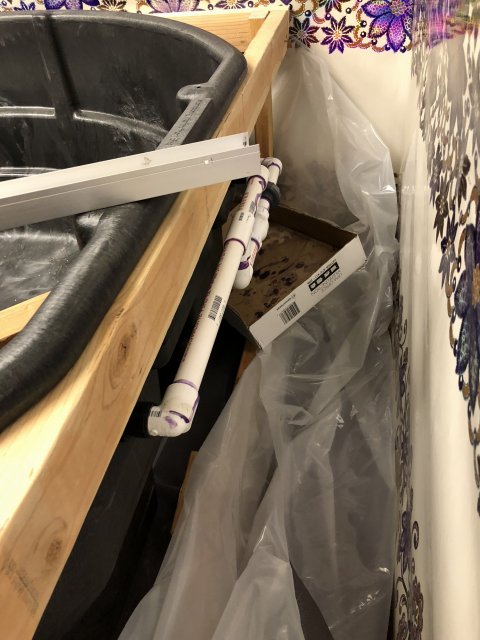
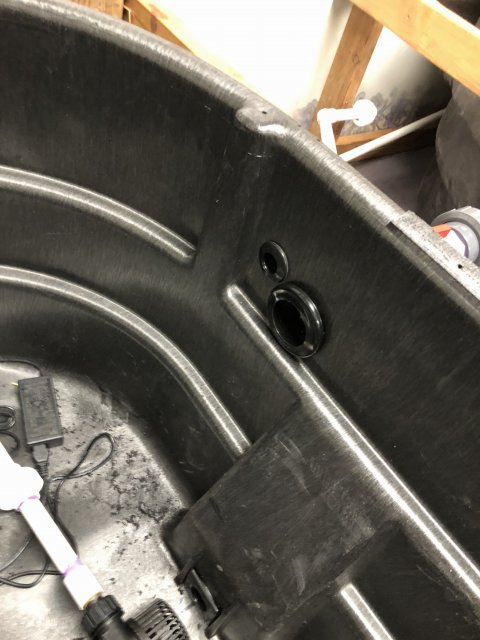
I was able to successfully join the sump to the pond. The lower 1-1/4" line is going to be attached to the bottom drain. The upper 2" one will be a skimmer, it is that far out because I don't want newts climbing up it and getting out. Getting them to be the same length and then screwing them together with the unions while the glue connecting them to the bulk heads was still wet was not an experience I want to do again, especially not alone.
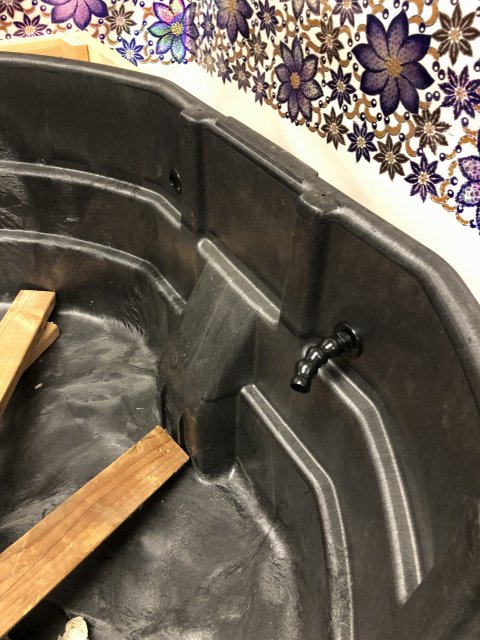
The 3/4" line is the return, you can see in the third and fourth pic how it will return the water to the main pond. I was only able to get one directional out assembly (whats the correct word for them) but will also add one to the other outlet. I should have placed the 2" skimmer on the side closer to the front as the 3/4 bulkhead just BARELY fit next to the 2" one(last picture.)
So some progress but not as much as I would have liked due to animal health issues. Going in tonight to work 9-1.
So an update from Thursday on is in order.
Friday evening: I built a frame for the flood table.
Saturday evening: I played around with the sump and filters a bit getting them ready. I also tried filling the main pond only to find a pretty significant leak coming from the lower bulkhead. drained the pond and went home since no stores were open at 240 am to buy a 3" crescent wrench.
Sunday: Stopped at the hardware store and aquarium store for some filter material. tore down the frame for the flood table, had to remove the lower brace on the main ponds frame (so I could fit a wrench in that area. Generally a giant pain in the ass to turn a bulkhead 1/2". The crescent wrench I bought was ineffective so I eventually just started putting a screw driver on the flat parts of the bulkheads nut and tapping it with a hammer. it worked but, I really hope I never have to redo that section of plumbing.
Once that was done, it was 3 long slow hours without incident as water level in the main pond went to the second line and was just fine. Opened up the sump side to let the water equalize and test that bulk head, again, no issue. another two hours of pond filling and all was good.
Left to let the tanks rest and check their connections.
Monday: Get back to my warehouse all excited. Get into the fish room and see no leaks YAY!
Close both of the 1-1/4" valve connecting the two tanks so I could also test the 2" overflow and start filling up the sump the final 3"
Somehow, in opening/closing the 1-1/4" valve closest to the sump, I messed up the seal and it started weeping water at a rate of a drip per half hour. spent the rest of the day draining the ponds.
As I do not really have any desire to redo the entire section, I am planning on creating a vacuum in the line then applying primer and glue over the seam, using a PVC repair ring on the affected fitting and then cover the entire thing with marine epoxy. Will hopefully get some of that done this evening, depending on if I can make it to home depot after work
I believe the leak is now fixed but I have been unable to test it yet. that has to wait til Saturday evening.
to do so, I hooked a shop vac up to the hose outlet, plugged the inlet from the pond and just left it pulling. I then applied/poured primer then glue over the connection. After letting it dry for an hour, I sanded it down and cut a 1/2" ring off of a 1-1/4" union and glued that against the old leaky joint. Let it sit with a pipe clamp for an hour before sanding it, turning the vacuum back on, and re-dousing the entire connection in primer/glue. I decided against using marine epoxy at this time, instead I used a self sealing silicon tape after letting the glue dry for an hour.
Figure if it still doesn't work, the entire section will be redone (including bulkheads)
Took today off work to work on the ponds.
Filed it back up to the second line last night.
No leaks!
Cardboard under both bulkheads was dry and no signs of drips on the blue plastic lid.
View attachment CA0C56BD-01DE-461B-AD5E-71C93F58A186.jpeg
Filed it back up to the second line last night.
No leaks!
Cardboard under both bulkheads was dry and no signs of drips on the blue plastic lid.
View attachment CA0C56BD-01DE-461B-AD5E-71C93F58A186.jpeg


