Planning First Big DIY Systems

Ulu

Potamotrygon
MFK Member
Dec 13, 2018
1,843
3,135
164
The Sunny San Joaquin
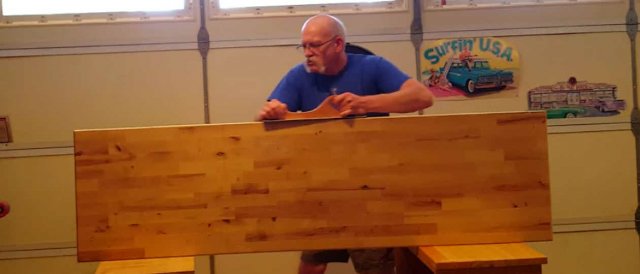
All the holes are drilled and countersunk and everything has been pre fit. Now I have taken it apart so I can do the routing sanding and finishing of the top.
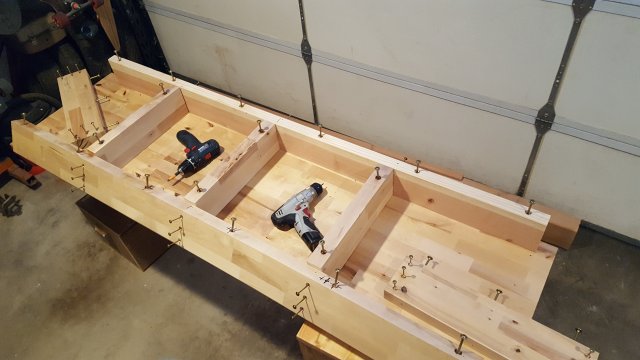
20190701_173608.jpg
There are 54 screws, and 24 of them are big: 5/16 by 5-1/2" these are very tough to drive even when you pre drill the holes and countersink. I used a lot of wax putting in the screws because this wood is completely seasoned and dry.

When I did the mock-up I was very pleased that there was less than 1/16" warp in 6 feet.
 

Ulu

Potamotrygon
MFK Member
Dec 13, 2018
1,843
3,135
164
The Sunny San Joaquin
Lots of sanding today . . .
Screenshot_20190702-154946.jpg

Every now and then I was inclined to say, "...hey that's good enough..." and quit sanding.

But I realize that I'm going to look at this every day for the rest of my life. I'll be happier if I know that I didn't make any compromises because of mere laziness.
 

Ulu

Potamotrygon
MFK Member
Dec 13, 2018
1,843
3,135
164
The Sunny San Joaquin
These bartops will start to split if not promptly sealed when you unwrap them. I hit it once, cut the main 3 parts, and hit it all again including twice on raw edges. Everything was sawn, then trim-sawn to reduce sanding, so the new edges were all hit. Twice.

These compromises were made due to arthritis. :liar:
I didn't rub out the part you can't see with the tank mounted.
I didn't countersink the back screws, because there's no trim over them.
I didn't flat-sand the top, and don't think I will need to. My tank is plastic rimmed glass, and I may bed the edges. It depends on if the slight twist gets better or worse when finally assembled.

A 220 grit scuff will do for 99% of the top, but I will polish the edges. That's all that will show, once the tank is on and the oak trim boards are glued on to cover the dozens of screws.

I got all the routing and most of the sanding done. I rubbed it down with a 3rd coat of Minwax Rub-on Poly, as it had 2 from the day of unwraping.

I hit all the raw wood edges with 150 paper & two good coats. It'll cure overnight before I scuff it and rub it out again.

My paws are sore from all the drilling, screwing, sanding, routing and rubbing.
 

Ulu

Potamotrygon
MFK Member
Dec 13, 2018
1,843
3,135
164
The Sunny San Joaquin
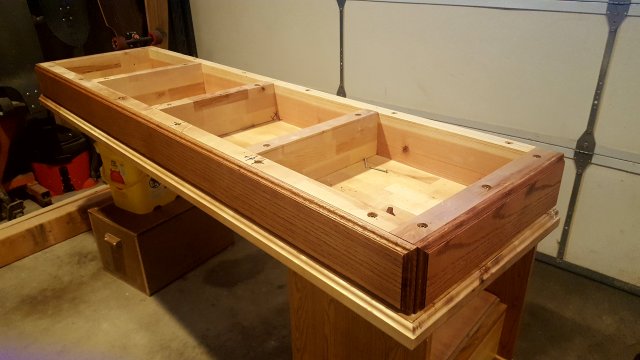
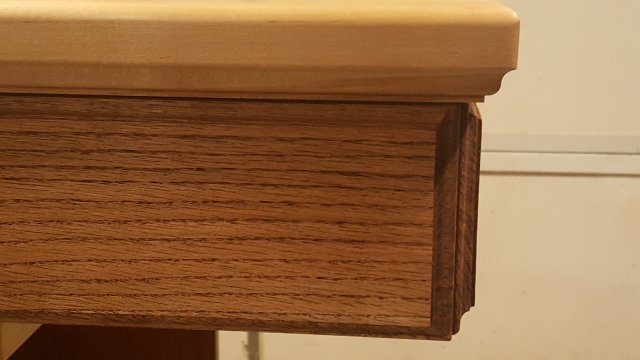
Today I finished routing all the oak trim and got it stained and applied to the stand. As you can see it is still upside down.
20190705_185806.jpg
When it dries I will flip it over and do the fine sanding, and then varnish it with Minwax rub-on polyurethane satin finish.

I was going to do some more routing on that front panel to visually break it up into three or four separate panels, as if it had drawers, but I think this will just make it look long and low as one panel.
 

Ulu

Potamotrygon
MFK Member
Dec 13, 2018
1,843
3,135
164
The Sunny San Joaquin
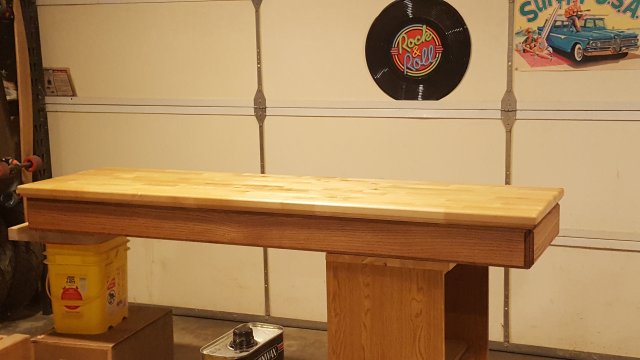
Well it's 6 months into the year and I finally have a stand complete for the 125. I will probably scuff it and rub it out with another coat of polyurethane and call it done.

20190705_223712.jpg
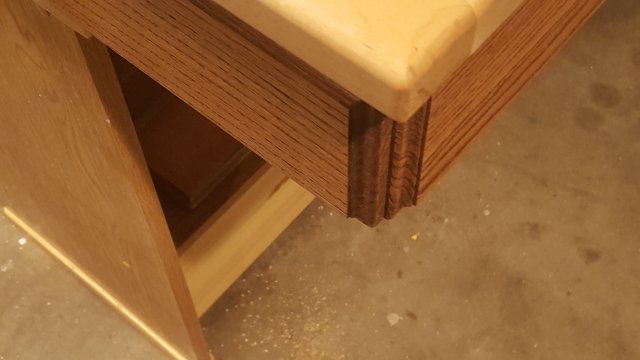
The little bit of routing I did on this project made an amazing pile of Sawdust.
20190705_223738.jpg

Hopefully I will be bringing it into the house on Sunday and the Finish will be cured.
 

Ulu

Potamotrygon
MFK Member
Dec 13, 2018
1,843
3,135
164
The Sunny San Joaquin
The list is slightly shorter by one huge item: Build a stand.
I am still adding coats of clear polyurethane as I wasn't happy with the finish.

The 2 temp HOBs are on the patio tank since I moved it. Substrate is mostly in the sump.

I also decided not to have a 40 tall, and I will sell 2 tens, 1 sixteen, and 2 thirties, plus 4 stands. I added the 75 canopy.


Cut the 3 plumbing holes thru the wall.
Interior plaster and paint touchups.
Exterior trims and paint.
Finish building the stand

Install stand and level with compound.
Move tank and plumb thru wall. Cap.
Fill tank.
Install 2 temp HOBs and substrate.
Begin "instant" cycle.
Make lids.
Move Africans and pleco.
Drain 55g African tank, 20g sump, 2 5gs.
Move 5's and 20 to temp stand & refill.
Move steel stand and 55 outdoors as sump.

Plumb 125 to 55 sump.
Move biomedia to new sump.
Start the bubbles!
Move Felix the Oscar to his temp 30 (running 2 weeks)
Drain his 55.
Move new 75 to his stand, plumb and fill to existing sump.
Move Felix back.
Cheers! Martinis!
Move temp 30 & stand to office as breeder.

Build bigger sump system for Felix.
Build custom 40 tall to replace old 30g on custom 40g stand in living room.
Buy/build another stand for 55g.
Move it to the office
and fill with brackish.
Dump entire brackish community from the 30tall to 55.
30 talls to yard sale.
Assemble 20g as brackish sump.
Establish 30g std as mass guppy breeder.

Build canopy over 125, trim mantle, wall and crown over old wall above 125.
Build canopy for the 75.
 

Ulu

Potamotrygon
MFK Member
Dec 13, 2018
1,843
3,135
164
The Sunny San Joaquin
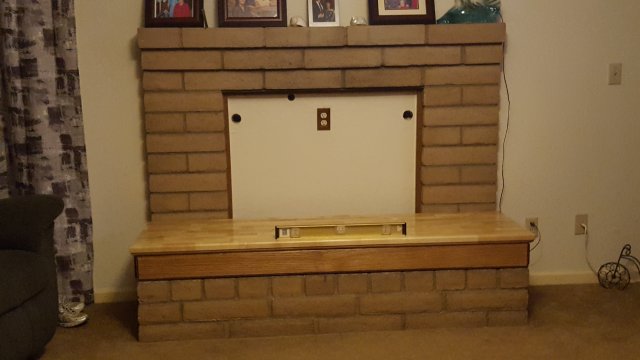
Well it's been over 6 months since I drew the first sketch, and I finally have the new stand in the house, and it is leveled but it is not yet glued down solid.
20190713_203553.jpg

It really doesn't look like much sitting there all on its lonesome, but I think it will be far more attractive once I get fish on it.
 
zoomed.com
hikariusa.com
aqaimports.com
Store