Planning First Big DIY Systems
- Thread starter Ulu
- Start date
You are using an out of date browser. It may not display this or other websites correctly.
You should upgrade or use an alternative browser.
You should upgrade or use an alternative browser.
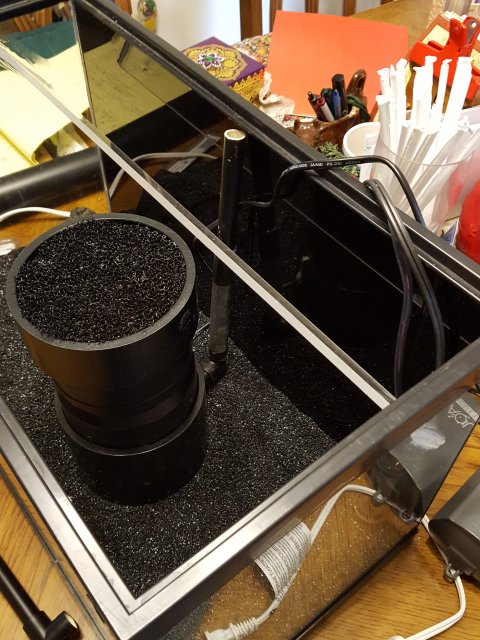
This enormous overflow is desiged to sit on the ground instead of hanging off the tank. It actually holds about a gallon of water in a 4 inch by 18 inch ABS pipe.
Everything below the top 18 inches is sealed off from above.
I would have saved myself a lot of work if I had a 5 foot stick of 4 inch pipe in the garage, but I built this at midnight and there's nothing open.
Essentially I just glued together the old Oscar tank overflow, with all the leftover bits of pipe and junky used fittings I had, to make it 51" tall.
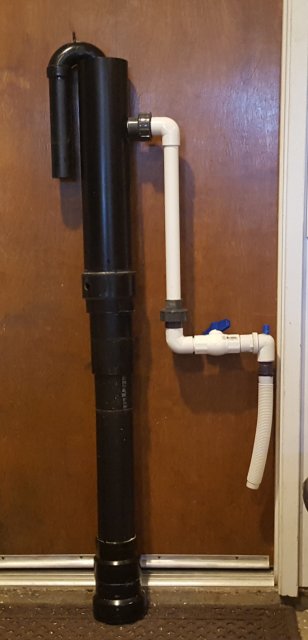
It's installed here but you can barely see it behind the tank and sump.
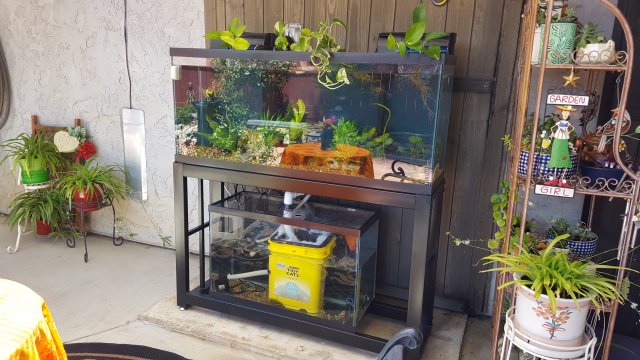
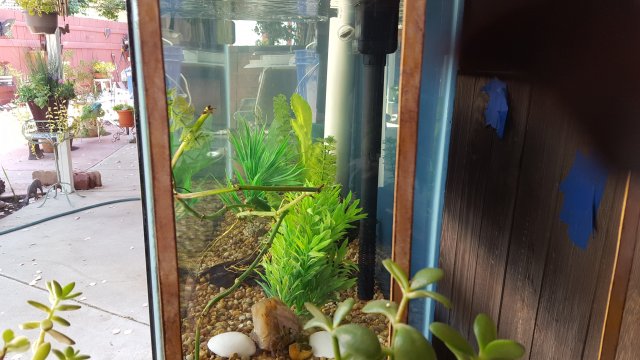
Here you can see the siphon tube in the top of the Overflow, installed on the patio tank, but otherwise it's pretty much invisible behind the tank.
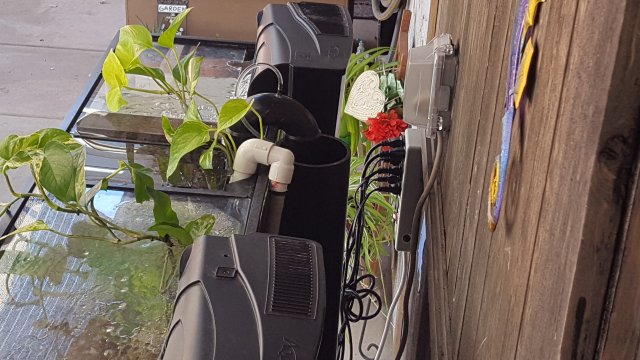
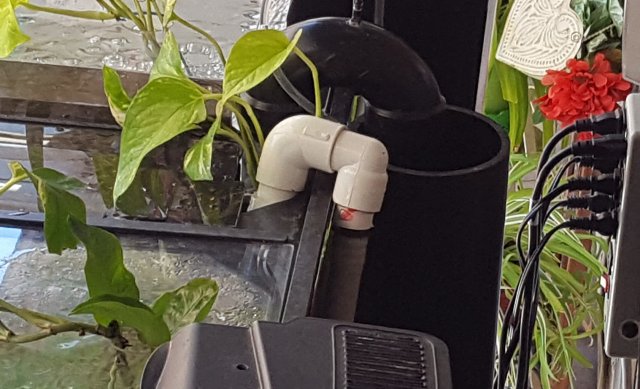
Everything below the top 18 inches is sealed off from above.
I would have saved myself a lot of work if I had a 5 foot stick of 4 inch pipe in the garage, but I built this at midnight and there's nothing open.
Essentially I just glued together the old Oscar tank overflow, with all the leftover bits of pipe and junky used fittings I had, to make it 51" tall.

It's installed here but you can barely see it behind the tank and sump.

Here you can see the siphon tube in the top of the Overflow, installed on the patio tank, but otherwise it's pretty much invisible behind the tank.


There is some seepage about the bulkhead in the bottom of my new acrylic 75. Fortunately the pipe does not have bends below the leak, so any drips go straight into the sump.
I supported the inside drain by fitting the overflow strainer at the top, square into the corner of the tank, so I wouldn't have this issue, but I was also hesitant to overtighten the bulkhead fitting. It's about 3" up in a hole and so I made a special wrench to re-tighten the thing. Otherwise I have to drain the tank enough to lift one end up 1".
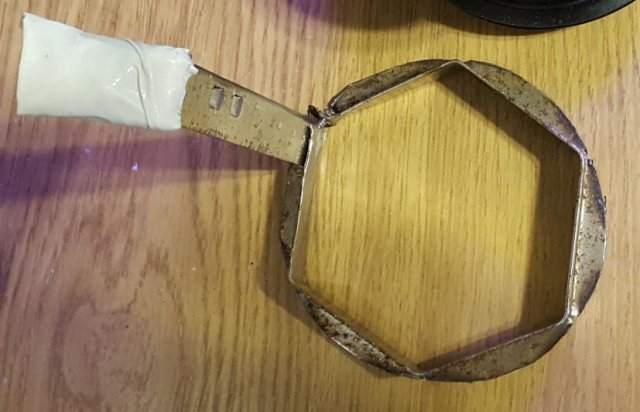
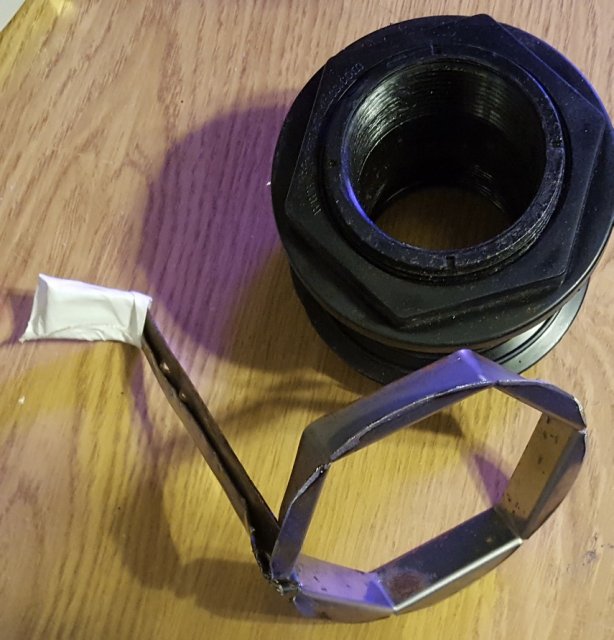
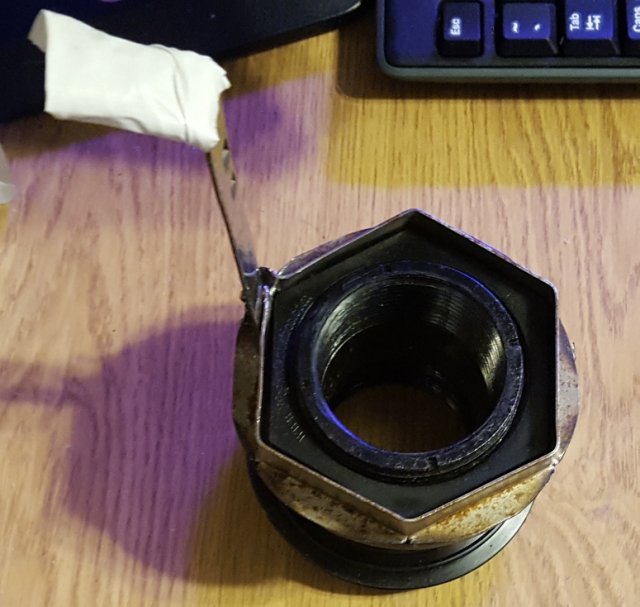
I did manage to tighten the nut about a quarter turn with this wrench but I have to take down the valve and Union and I don't think the threads sealed up well when I screwed the valve back in.
I may have to take it down and add some more Teflon tape. Only have to drain about five gallons to do that.
Ultimately I may be upset that I didn't just glue this Plumbing right to the acrylic tank permanently. Glue the pipe to the bulkhead and the bulkhead to the bottom of the tank. Glue the top of the pipe to the top of the tank and add the strainer as an accessory with a union inside the tank itself.
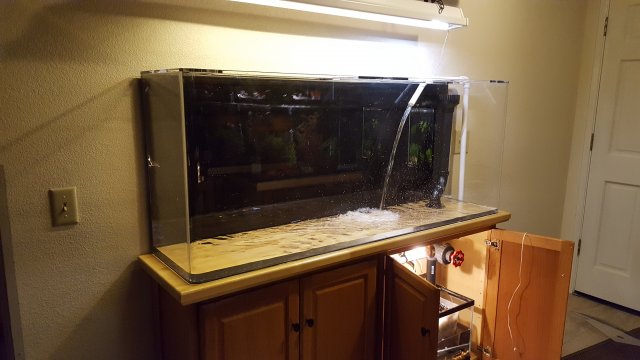
Here's the tank being filled and you can see my extravagant and foolishly cantilevered drain assembly in the back corner.
I supported the inside drain by fitting the overflow strainer at the top, square into the corner of the tank, so I wouldn't have this issue, but I was also hesitant to overtighten the bulkhead fitting. It's about 3" up in a hole and so I made a special wrench to re-tighten the thing. Otherwise I have to drain the tank enough to lift one end up 1".


I did manage to tighten the nut about a quarter turn with this wrench but I have to take down the valve and Union and I don't think the threads sealed up well when I screwed the valve back in.
I may have to take it down and add some more Teflon tape. Only have to drain about five gallons to do that.
Ultimately I may be upset that I didn't just glue this Plumbing right to the acrylic tank permanently. Glue the pipe to the bulkhead and the bulkhead to the bottom of the tank. Glue the top of the pipe to the top of the tank and add the strainer as an accessory with a union inside the tank itself.
Here's the tank being filled and you can see my extravagant and foolishly cantilevered drain assembly in the back corner.

Last edited:
After a few tries, I did get all the seepage stopped. I discovered that 1.5" nipples take a lot of teflon tape. I addded more then I modded my DIY wrench for more torque and got the gasket tight enough.
But the o-ring seal surface on the union wasn't flat and smooth. I sanded it flat with 150, 220, and 320 before I was happy, and it sealed with out issue.
In the whole business I drained and refilled 20% TWICE to R&R the valve assy so Felix wasn't happy at all. Not after his recent moves.
But he is healing now, and when the soreness goes he will probably stop hating on me. His appetite is returning. He hasn't been really hungry since all the tank moving, but he is eating a few pellets more each day, and getting more interested in food. He's totally rejected his nightcrawlers, and that was once his favorite.
I decided the 125 was going to be too tall for good viewing from the couch, so I lowered it about 3.2".
This straightens the plumbing a bit.
I don't show all the plumbing yet.

I'm showing some insulation on the patio tank and sump. I only have 450 watts of heat plus a hot pump to warm the water and it won't be enough. I will insulate the whole sump with 1" styrofoam, and the same for the 55 except the front will be uncovered except in bad weather.
In addition to the tank & sump insulation, I plan to make a lightweight insulated enclosure about the whole business, 64"x30", concrete to eave. I was originally to have a closet left there, after I cut off the chimney, but that business was starting to rot & had to go.
I may use a 3" styrofoam bound in fiberglass.
This straightens the plumbing a bit.
I don't show all the plumbing yet.

I'm showing some insulation on the patio tank and sump. I only have 450 watts of heat plus a hot pump to warm the water and it won't be enough. I will insulate the whole sump with 1" styrofoam, and the same for the 55 except the front will be uncovered except in bad weather.
In addition to the tank & sump insulation, I plan to make a lightweight insulated enclosure about the whole business, 64"x30", concrete to eave. I was originally to have a closet left there, after I cut off the chimney, but that business was starting to rot & had to go.
I may use a 3" styrofoam bound in fiberglass.
Today I put 1" styrofoam insulation on all 6 sides of the patio tank sump. On the tank Itself I insulated the bottom, the back and the top.
I now have 500 Watts of heat in the 30g sump, and it's pumping a couple hundred gallons an hour through the 55g.
I don't have any lights on this tank so it's impossible to take a good photo, but I took this one so you can see how ugly the styrofoam is.

I threw some sand in that tank because I think Photon likes to dig. I'm not sure if he is truly an Earth eater, but he seems to be poking around and so are the convicts.
I now have 500 Watts of heat in the 30g sump, and it's pumping a couple hundred gallons an hour through the 55g.
I don't have any lights on this tank so it's impossible to take a good photo, but I took this one so you can see how ugly the styrofoam is.

I threw some sand in that tank because I think Photon likes to dig. I'm not sure if he is truly an Earth eater, but he seems to be poking around and so are the convicts.
It looks like Felix's drain has remained seepage free now for 2 days so I'm calling a success.
I have finally made a standpipe setup that runs very quiet at my current flow rate.
I'll find out what happens when I get a bigger pump.
I have finally made a standpipe setup that runs very quiet at my current flow rate.
I'll find out what happens when I get a bigger pump.
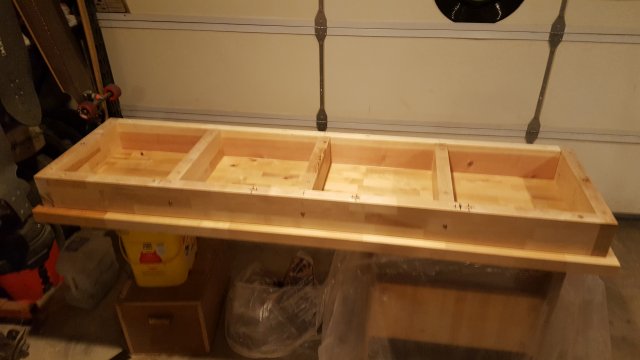
I have been working on the new stand, slowly and with as much patience as possible. It's not at all complicated, but am doing my best to make it come out straight and flat. It's been tedious but it is taking shape. Only 1/4 of the screws are in, but 3/4 of the holes are drilled. Nothing gets glued until final assembly. This will all come apart for routing and finishing, & finally for glue. All 52 screws will be r&r'd.
