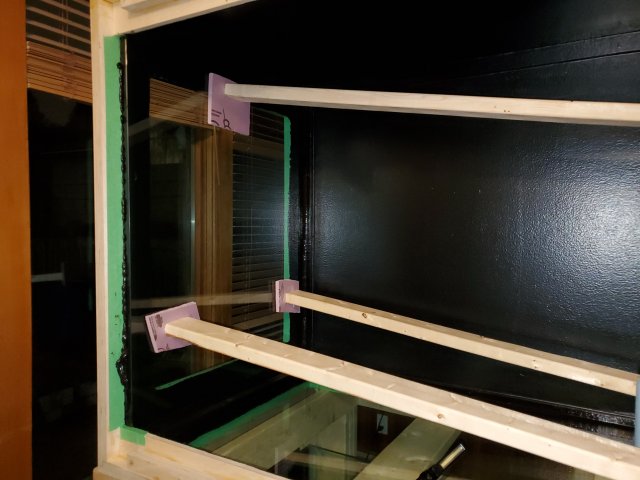
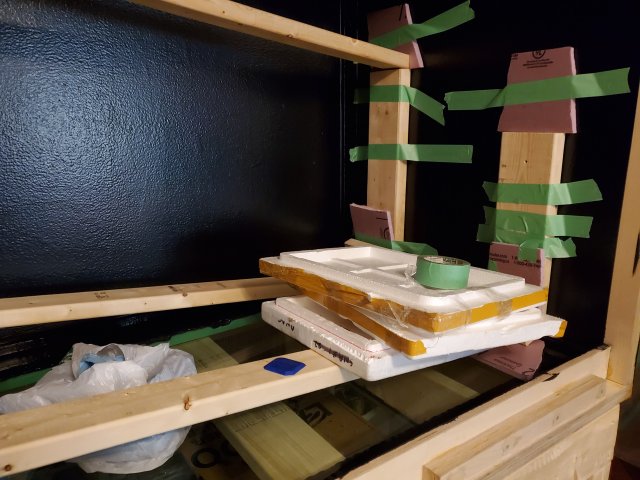
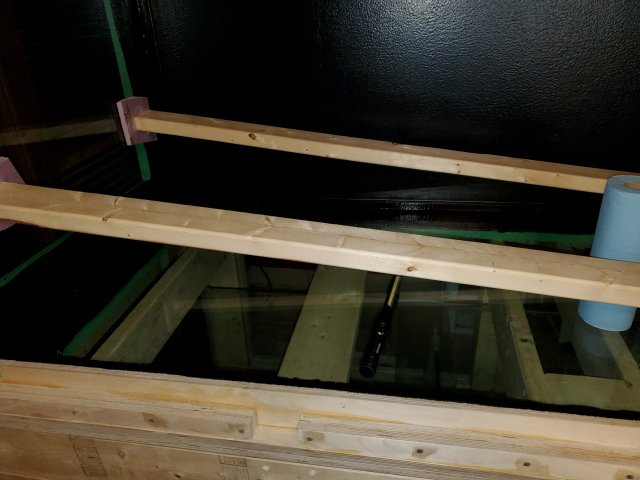
I believe the outside dimensions. Was too lazy to calculate the inside dimensions hahaHeck yeah! I am think about doing the same.
interesting about trimming out 1/2" . is 700 gal the outside or inside calculations?
You are using an out of date browser. It may not display this or other websites correctly.
You should upgrade or use an alternative browser.
You should upgrade or use an alternative browser.
Never fails...
I am currently doing some work on the plumbing of a 96 x 36 x 24 inch build, and today a couple of friends dropped in. One of them...let's call him That Guy...asked how many gallons it held. I casually stated that 8 x 3 x 2 feet worked out to about 360 gallons. He immediately pointed out that those were exterior dimensions and that my actual volume would be somewhat less.
Before I could say a word, the other fellow rolled his eyes and exclaimed "Guys who worry about an inch and a half on an 8-foot aquarium...obviously don't own an 8-foot aquarium."
That Guy looked slightly offended, appeared to be about to ask me something about the size of the sump...and then thought better of it...
I love your tank project, it will be a knockout.
Never fails...
I am currently doing some work on the plumbing of a 96 x 36 x 24 inch build, and today a couple of friends dropped in. One of them...let's call him That Guy...asked how many gallons it held. I casually stated that 8 x 3 x 2 feet worked out to about 360 gallons. He immediately pointed out that those were exterior dimensions and that my actual volume would be somewhat less.
Before I could say a word, the other fellow rolled his eyes and exclaimed "Guys who worry about an inch and a half on an 8-foot aquarium...obviously don't own an 8-foot aquarium."
That Guy looked slightly offended, appeared to be about to ask me something about the size of the sump...and then thought better of it...
I love your tank project, it will be a knockout.
whats your plumbing going to look like? I;m about to plan that part as well. All I know is, I want it as quiet as possible. Going with a bean animal overflow and thinking about just two return jets coming out from either side of the "coast to coast" overflow. Not sure if I;m going to use loc line, eductor fitting, just straight pvc?
I'll take some pics in a couple days when it will be...I think...finished. Don't know if they will show the basic idea or not. Close-up pics of DIY filter installations seem to make sense only to the guy taking the picture. 
Basically, I will have an overflow at the top of one end of the tank. A piece of pipe with a 90elbow will attach to the inside and extend to the bottom to draw the bulk of the water from low levels, with a roughly half-inch hole drilled at water level to also skim the surface. It overflows into a vertical wet/dry column beside (not beneath) the tank, which has an easily-accessed and -cleaned mechanical filter at the top. The column is just a large Rubbermaid garbage can filled with biomedia consisting of plastic wads used for shotgun shell reloading. I've used these for decades for this purpose; purchased in bulk they are cheaper than anything else, including pot scrubbies, lava rock, etc.; they weigh exactly nothing and are easy to rinse clean if that is ever required. They are contained in a couple of large mesh bags for convenience.
Water exits the bottom of the tower and flows into the first of a pair of 50-gallon clear plastic bins under the tank, entering at the bottom. The first bin is filled with K1 fluid media (my first time playing with this stuff), and the first booboo I made was expecting the water flow to keep the media circulating. The water flows up from the bottom of this chamber to an overflow at the top, so this will always be full of water but it looks as though I will need to drop in a couple of high-volume airstones to keep the little pellets circulating nicely throughout.
The water overflows at the top of this bin and into the second bin, which houses my heaters. This bin will be marked to indicate the maximum water level that I can add during evaporation top-ups without overflowing the chamber if a power outage occurs. Everything will be covered, so top-ups likely will never be necessary; I do a lot of water changing, which will maintain the level without top-ups. There will also be a mark showing the water level to reach during water changes with the power off. The pump(s) will return water from this chamber to the far end of the display tank. I am hoping to find a good deal on a diatom-type pool filter recommended in another DIY thread here, and if I do a second pump will feed water from the last sump chamber through the diatom filter and back into the display.
None of this is really an experiment for me (aside from the use of a K1 fluidized bed) as I have used this same design for many years in other tanks. Lately I've gotten away from sumps a lot, using mostly sponge and matten-type airpowered filters, but I have a couple of unused water pumps so decided I might as well put them to use. My tanks are in my basement fishroom/man-burrow/workshop, and appearance isn't a huge deal for me so they are nothing to look at; the high-tech science-lab appearance that is in such favour with many aquarists is a non-starter in my fishroom. The system is plenty quiet enough for me, but again, that isn't a major consideration...and, of course, I'm as deaf as a stone so that helps...
Last edited:
whats your plumbing going to look like? I;m about to plan that part as well. All I know is, I want it as quiet as possible. Going with a bean animal overflow and thinking about just two return jets coming out from either side of the "coast to coast" overflow. Not sure if I;m going to use loc line, eductor fitting, just straight pvc?
I would add a gate valve to the full siphon to keep it nice and quite.
excited to see this come together! i hope I can start mine this year.
thanks. that was the finish i got with a regular paint roller. Nothing special!Beautiful job on the application of the epoxy! How did you get that "eggshell" type of finish? Very nicely done.


