Planning First Big DIY Systems

Ulu

Potamotrygon
MFK Member
Dec 13, 2018
1,843
3,130
164
The Sunny San Joaquin
After listening to my overwhelmed drain glugging last night, I added another drain hose, and started cranking up the pump speed to see what would happen. At speed 20 it throws out a lot of water even through a garden hose. With 1 inch PVC hose that would be slick.

But I can't run it on 20 without flooding the tank. 4 of 20 is the max.

The feeding button "F" stops flow for whatever time you select, from 10 min up.

The "M" button controls the four different modes while it's running.

I haven't tried the anything but Continuous Flow yet.

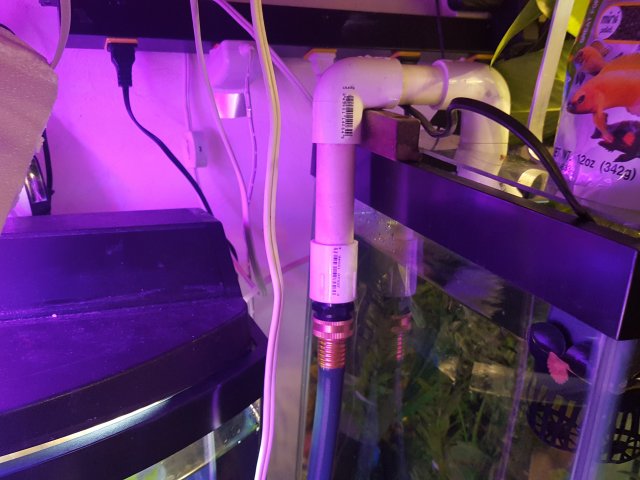
Unfortunately the controller throws a code 7 every time while resuming from feed mode. When this happens the pump does not start but makes a noise. It will do this a few times, then finally start. Hopefully this just indicates something like an air bubble, or my garden hose is choking the pump a little bit.

This is my pitiful garden hose return pipe.
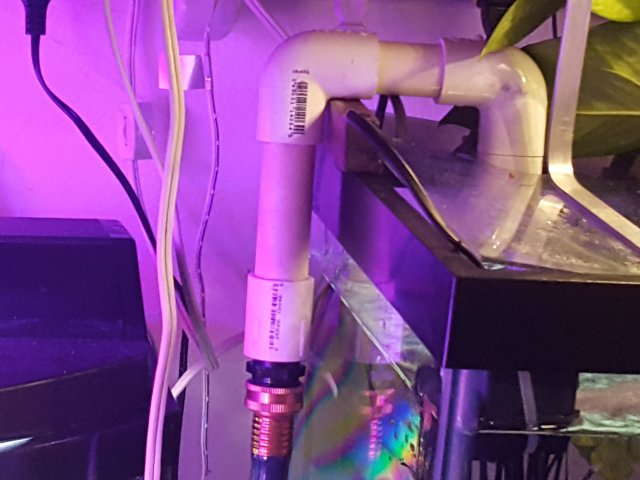
1558543131413602989818.jpg

It's not better because I'm really just testing this pump for use in the larger tank and if it can run this system with about 70 gallons of water on speed one or two it should run the 125 just fine.

Hopefully the mono sebae will enjoy the tide pool flow mode once I get it all set up.

Anyhow it's on continuous duty right now so we'll see if it lasts.
15585431853091752795813.jpg
 

Ulu

Potamotrygon
MFK Member
Dec 13, 2018
1,843
3,130
164
The Sunny San Joaquin
This is sort of an emergency siphon procedure. I just threw this on there with some zip ties.

The loop allows it to restart after a power outage. It must extend to the bottom of the weir.

20190522_100425.jpg

Ideally, the top of the loop will extend above the top of the tank twice, and this one does not quite, and so it does suck a little air while it restarts.

anyhow I just set this up temporarily so I could test my new pump at higher speeds.
 

Ulu

Potamotrygon
MFK Member
Dec 13, 2018
1,843
3,130
164
The Sunny San Joaquin
I bought a Craftsman hole saw and some more Plumbing and lumber today, and progress continues on the new aquariums.

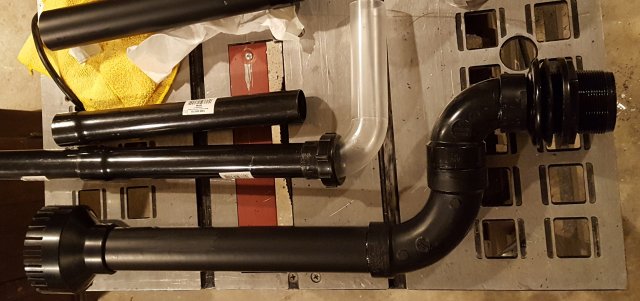
The large plumbing is my 1.5" abs strainer and overflow assembly for the new 75 gallon tank.
20190522_223520.jpg
I have been running drains and siphons made out of the smaller 1.5" PVC sink drains next to it, but while they both advertise the same size in inches they are far from equal.

The ABS pipe has almost 37% more crossectional area/flow because its diameter inside is 1.6" vs 1.37".

That's a huge difference, and this should accommodate my new 4000 liter per hour pump at something above 10% speed.

I doubt if my fish will be able to break this pipe but I put a big joggle into it so I could get it up tight in the corner of the tank. It will have lots of support if he decides to bash into it even though the top won't actually be attached to the tank in my current plan.
 

Ulu

Potamotrygon
MFK Member
Dec 13, 2018
1,843
3,130
164
The Sunny San Joaquin
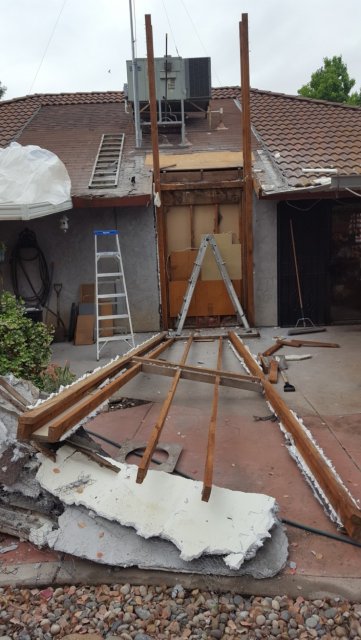
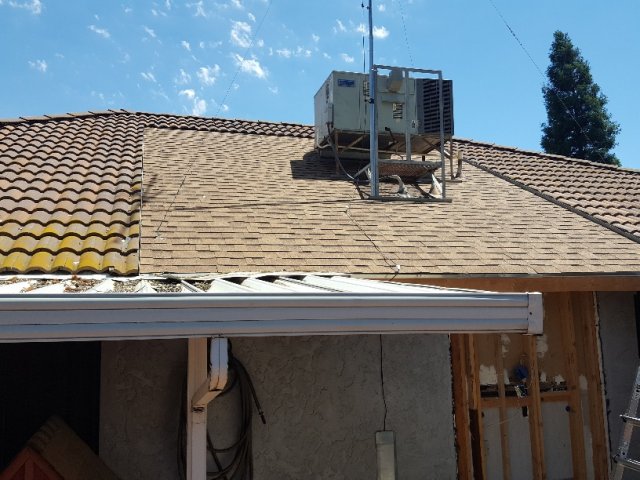
The demolition continues and because of all the termite damage and dry rot the entire chimney and all the lumber attached to it had to come down.
20190528_091042.jpg
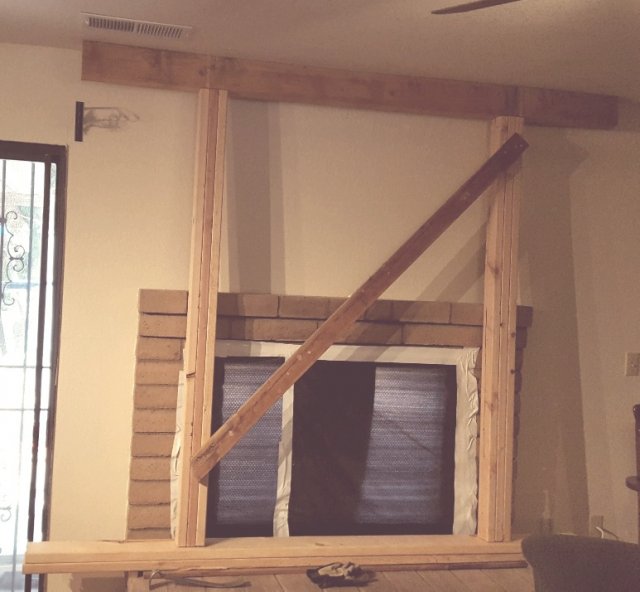
Because we had to remove the top plates of the wall we've shored up the trusses from the inside of the house.
20190529_121122_resized.jpg
I hoisted them up from the outside too, with my old engine hoist. There's about 2000 lb on the end of each Truss. You don't want to screw up with this stuff. The air conditioner could wind up on my couch.
hoist.jpg

You can see all the nails pulled chunks of sheetrock, and I'll have to plaster up a lot of little divots, after the new framing is in.
 
  • Like
Reactions: Dloks

Ulu

Potamotrygon
MFK Member
Dec 13, 2018
1,843
3,130
164
The Sunny San Joaquin
We got all the shingles ripped off and there is some more plywood & fascia boards to repair before we can resheet the roof.

20190530_155338_resized.jpg

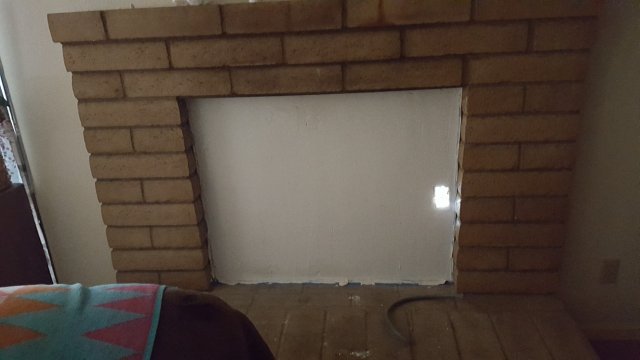
We filled in the old fireplace with Durock cement board and plastered it up. Once it's primed and painted with latex it should be pretty waterproof.

20190530_153806_resized.jpg

Unfortunately I screwed up and put the electrical outlet exactly under a drain pipe which is totally stupid. I will have to move the outlet and fill in the hole.
 

Ulu

Potamotrygon
MFK Member
Dec 13, 2018
1,843
3,130
164
The Sunny San Joaquin
We have a roof, and the tough stuff is done.

20190606_141925_resized.jpg
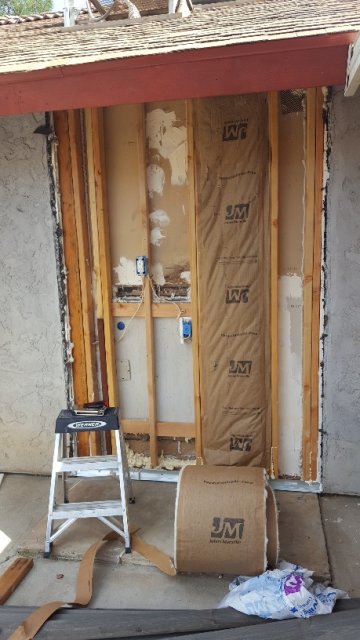
I have to insulate and finish that wall and finish the wiring and I can go back to work on the actual Aquarium.
 

Ulu

Potamotrygon
MFK Member
Dec 13, 2018
1,843
3,130
164
The Sunny San Joaquin
SO far today I built a guppy hab to go inside the Mono tank. My poor guppies were getting poached at night and 12 have turned into 4!

I have one nice bright orange and yellow male and 3 fat spotted females left, so I'm hoping they can make some fry. I just cut 100 slots in a plastic showbox with a pneumatic cut-off tool, and wedged in the top of the tank. I stuck tons of fake guppy weeds in the bin and gave them some mictowafers. They are much more calm now.

I finally installed the new GFCI and outlet for the 125 (still dry) to the existing switch and re-routed the wiring a bit.

I spent quite some time chipping the rough stucco edges and cleaning up chicken wire and staples so my boards would fit tight.

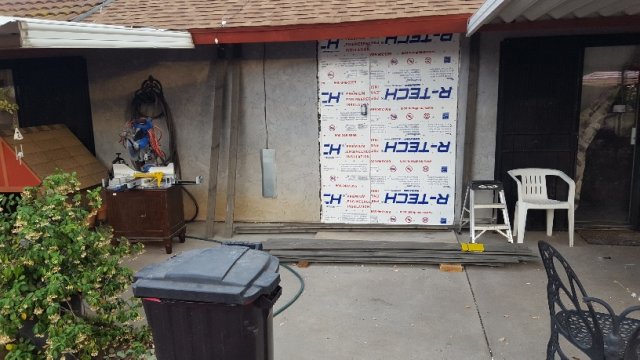
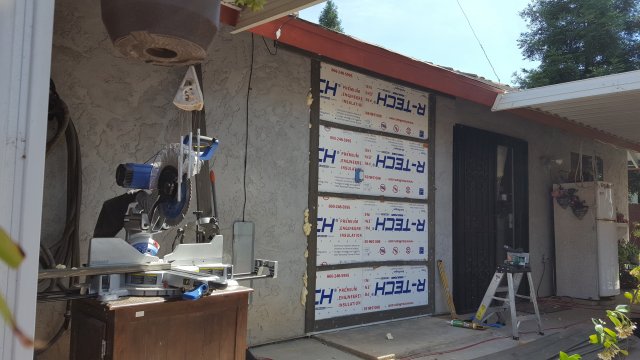
I hung galvanized flashing top and bottom of the 5' gap, and filled in all the little cavities with spray-can foam then filled the stud cavities with R13 fiberglass batts.

Over that I hung 2 layers of 3/4" foil-faced styrofoam.
I'm bushed! At least the weather is perfect.
Time for a break in the LOF+WIP (Laboratory Of Fishwater & Internet Pipeline) Hard to type . . . hand still cramping from the chipping hammer.

Next I have to hang some 1x4 stripping and nail up the siding. I almost said screw up the siding, but I spent $200 for screws and siding alone. If I screw it up I'll cry!
 

Ulu

Potamotrygon
MFK Member
Dec 13, 2018
1,843
3,130
164
The Sunny San Joaquin
This area gets triple insulated. The house is typically double insulated.

20190609_153855_resized.jpg

20190609_194511_resized.jpg
Because I'm not applying new stucco I added a double layer of Styrofoam which makes up for that thickness.

There is my pile of gray fake Barnwood on the ground.
 

Ulu

Potamotrygon
MFK Member
Dec 13, 2018
1,843
3,130
164
The Sunny San Joaquin
The stripping was cut from similar lumber.
wonky.
20190610_151434.jpg


Test fitting of the Big Barn boards reveals the inherent deficiencies of mass-produced lumber. These are just hanging from one screw each.

20190610_190519.jpg
I will need some more boards and screws to finish, but it's too hot to think.
20190610_151503.jpg
Looks like 104.
 

Ulu

Potamotrygon
MFK Member
Dec 13, 2018
1,843
3,130
164
The Sunny San Joaquin
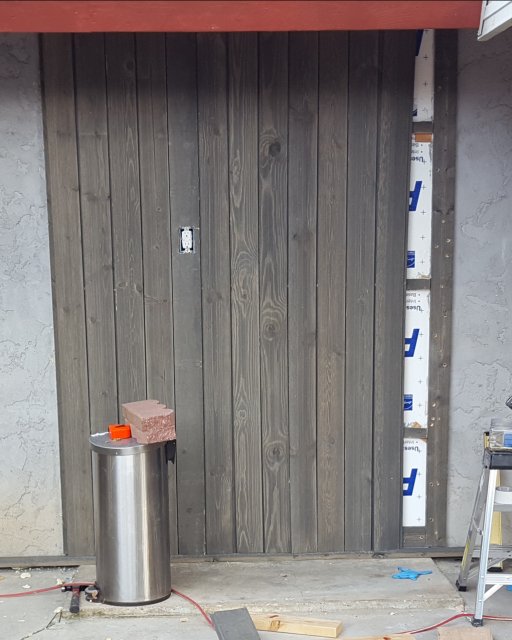
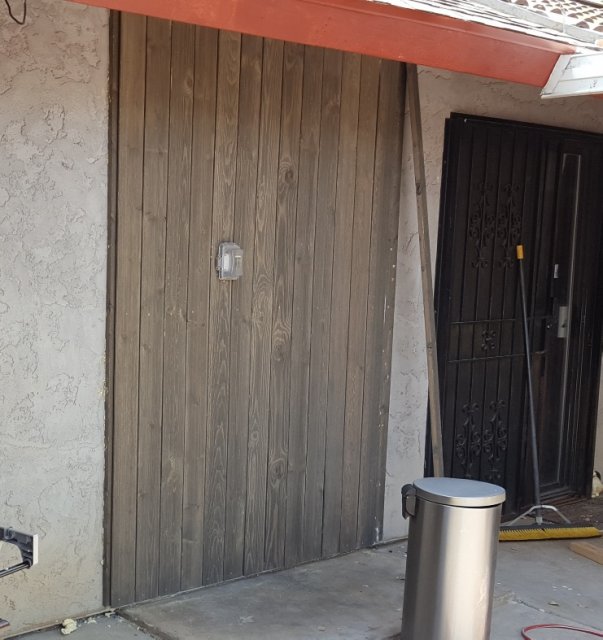
You can see a few shiners but I still have to put up some trim boards (which I haven't bought yet) but it's all up, and it went up easier than I had expected.
20190611_125755_resized.jpg
I took off every board to caulk the back, made a few minor adjustments, and put them all back up for good. There's at least eight screws in each board, but five are typically hidden.

It doesn't matter because I'm probably going to give the whole thing three coats of brick red latex paint, after I finish the trimming.
 
zoomed.com
hikariusa.com
aqaimports.com
Store