Most of the corner stock isnt a true 45°/triangle so it wont work like ur thinking unless it says somewhere it is.. i have the 1" square in a tank and also a tank with the 1/2". #40 will give u bubble free adhesion if u get most all the bubbles out with a vibrating table or vacuum before pouring... I know u like things super clean tho and the #40 may not be to ur liking if it dries "milky" which is usually the case since we cant anneal it in an oven at home. Theres also a fine line with #40 heating up too much and crazing areas of the tank ur working on so this may be a tough one. Im not one for aesthetics over here so #40 is my go too for strength over looks. personally id prob still use the #40 with the square stock to get a clean adhesion and prevent crazing from using too much glue at once. Only problem is any excess glue may become milky which u wont like looking at. The excess glue can be sanded off back to clear but thats another project in itself. Its alot harder to achieve perfect seams/joints using #4 esp. with square stock as theres nothing to really hold it in place inside the tank while ur working which leads to bubbles as it dries.
To answer ur original quesion.... yes, the #40 will make up any differences in the triangle stock. You could just as easily eliminate the stock all together tho and pour a bevel of the same size of solid #40. either way tip the tank at 45° angles while ur working so the glue/pieces "puddle" in place where u want them. #40 is like syrup but will still run if u dont keep it in place by tipping the tank.
Again, def. a tough one when going for perfection. lotta factors can work against you in the process and may look worse than that pic u posted. I guess the key points to think about are using as little as #40 as possible to keep everything "cool"/craze free when working but still adding strength if thats what ur goin for. Most def. do a cple tests on scrap pieces to work it out before diving in. U can basically pour out #40 on the seam while the tank is tipped then sandwich/melt ur stock acrylic right over top pushing out any air at the same time. think of it like a sticker. start on one end of the material and rock it in place to the other side flush. The fine line will be using enough glue to not leave any air pockets but not too much or ull be sanding it back off the tank walls for days. It sets up really hard/solid and an orbital or palm sander will be the only way to make it flush/clean again. Are u just trying to reinforce bad seams?
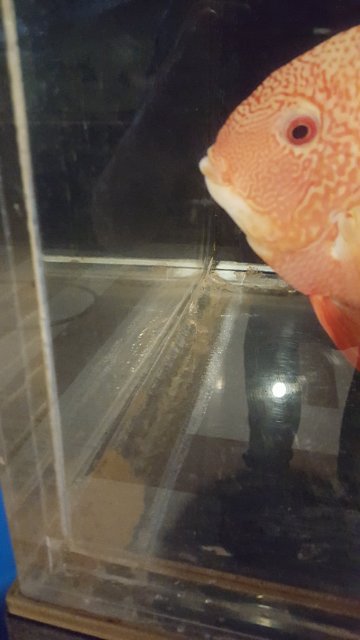
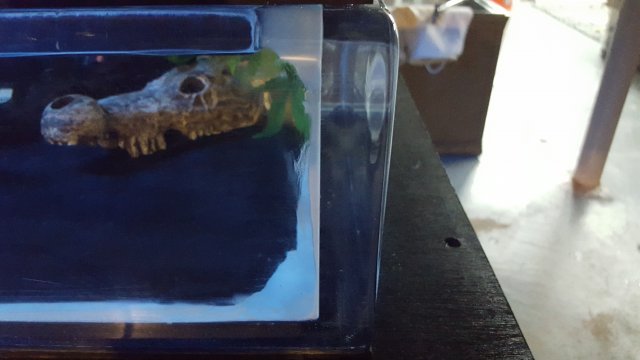
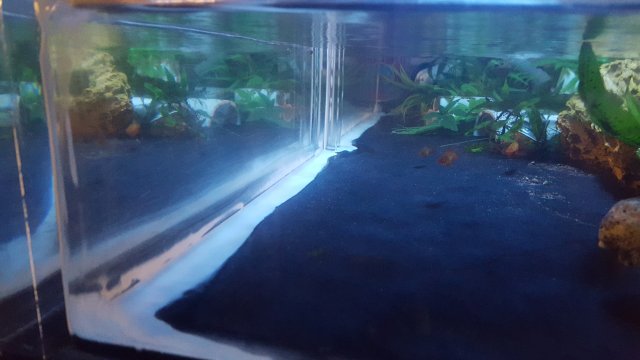
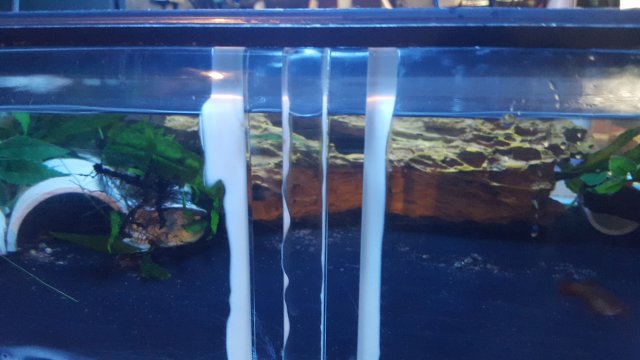
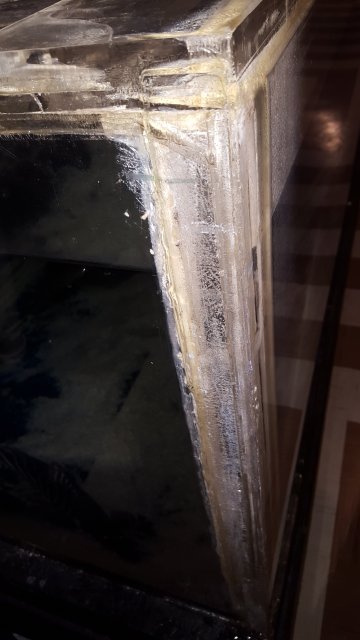
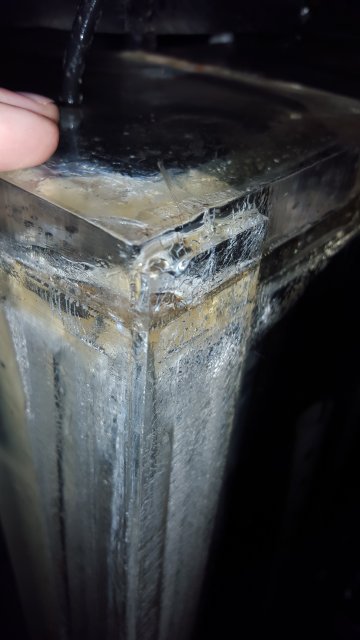
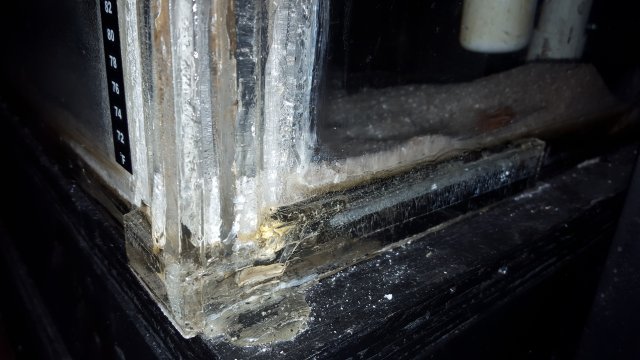
I'll get ya some pics of crazing from using too much #40 and also how it can look milky under water. Theres really no rhyme or reason to the milkyness. ive done a half dozen tanks and some come out perfectly clear and others look like silicone. the more i read, only way to fix it is sand it off or aneel in an oven.
Killer info, thank you!! I need to reinforce the seams as there are a couple panels with spots I don't like. Strength first, looks second. I have another tank that has 1/2" stock reinforcing the seams and it looks like ass. Hoping to avoid that here


