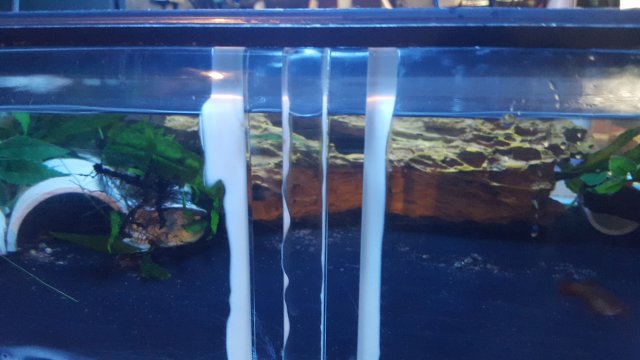
48x48 Workhorse "The Rig"

  • We are currently upgrading MFK. thanks! -neo
Most of the corner stock isnt a true 45°/triangle so it wont work like ur thinking unless it says somewhere it is.. i have the 1" square in a tank and also a tank with the 1/2". #40 will give u bubble free adhesion if u get most all the bubbles out with a vibrating table or vacuum before pouring... I know u like things super clean tho and the #40 may not be to ur liking if it dries "milky" which is usually the case since we cant anneal it in an oven at home. Theres also a fine line with #40 heating up too much and crazing areas of the tank ur working on so this may be a tough one. Im not one for aesthetics over here so #40 is my go too for strength over looks. personally id prob still use the #40 with the square stock to get a clean adhesion and prevent crazing from using too much glue at once. Only problem is any excess glue may become milky which u wont like looking at. The excess glue can be sanded off back to clear but thats another project in itself. Its alot harder to achieve perfect seams/joints using #4 esp. with square stock as theres nothing to really hold it in place inside the tank while ur working which leads to bubbles as it dries.

To answer ur original quesion.... yes, the #40 will make up any differences in the triangle stock. You could just as easily eliminate the stock all together tho and pour a bevel of the same size of solid #40. either way tip the tank at 45° angles while ur working so the glue/pieces "puddle" in place where u want them. #40 is like syrup but will still run if u dont keep it in place by tipping the tank.

Again, def. a tough one when going for perfection. lotta factors can work against you in the process and may look worse than that pic u posted. I guess the key points to think about are using as little as #40 as possible to keep everything "cool"/craze free when working but still adding strength if thats what ur goin for. Most def. do a cple tests on scrap pieces to work it out before diving in. U can basically pour out #40 on the seam while the tank is tipped then sandwich/melt ur stock acrylic right over top pushing out any air at the same time. think of it like a sticker. start on one end of the material and rock it in place to the other side flush. The fine line will be using enough glue to not leave any air pockets but not too much or ull be sanding it back off the tank walls for days. It sets up really hard/solid and an orbital or palm sander will be the only way to make it flush/clean again. Are u just trying to reinforce bad seams?

I'll get ya some pics of crazing from using too much #40 and also how it can look milky under water. Theres really no rhyme or reason to the milkyness. ive done a half dozen tanks and some come out perfectly clear and others look like silicone. the more i read, only way to fix it is sand it off or aneel in an oven.


Killer info, thank you!! I need to reinforce the seams as there are a couple panels with spots I don't like. Strength first, looks second. I have another tank that has 1/2" stock reinforcing the seams and it looks like ass. Hoping to avoid that here
 
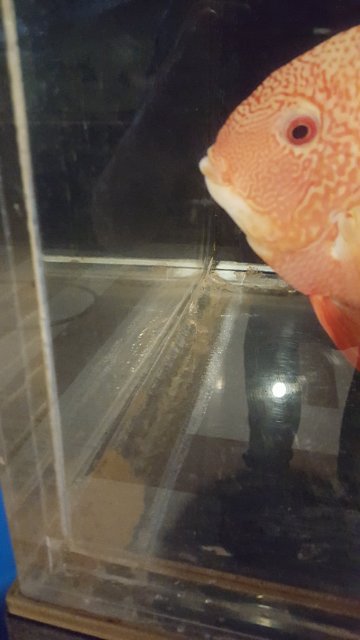
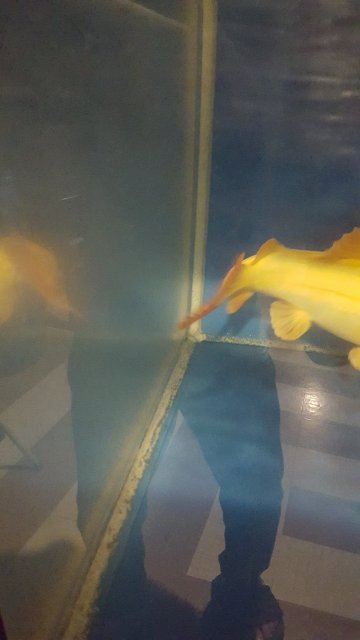
20180221_134948.jpg 20180221_134915.jpg
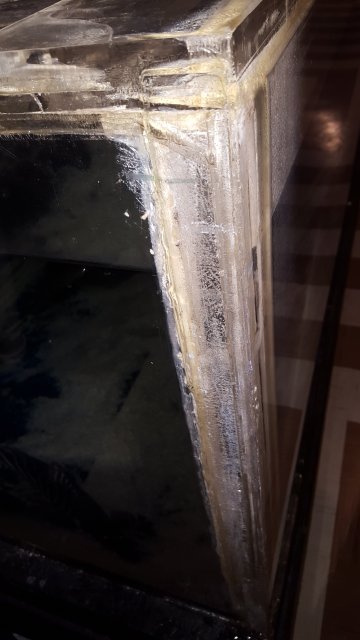
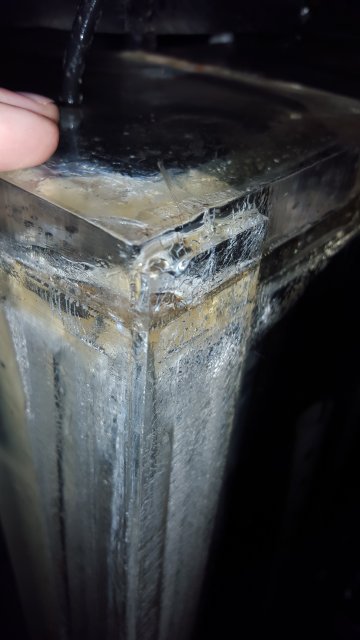
2 diff. tanks i tip and poured with #40 bevels around the same size triangle stock ur lookin at now. Top tank was newer glue so that could also be an issue with clarity... 2nd (blue) tank was tip/poured using the same gallon of glue but a month or so later. Just some solid examples of pros/cons. 1st tank its hard to even see in person as its so clear. 2nd tank, plain as day, looks like silicone. I also have "factory" built tanks that were originally made using #40 in this exact fashion.. they are the same, either clear or milky. My guess is they experienced the same thing as myself using older\opened glue or had an oven to aneel it back to clear. Also the "milkyness" is only on the top skin of the #40...through the sides of the bevel its crystal. Ive never tried to just sand/polish the outer skin but that may be all u need to make a milky looking seam clear again (if u go this route). in the blue tank u can see clear scratches in that milky layer... ray teeth made that clear lol...
 
View attachment 1300722 View attachment 1300723
2 diff. tanks i tip and poured with #40 bevels around the same size triangle stock ur lookin at now. Top tank was newer glue so that could also be an issue with clarity... 2nd (blue) tank was tip/poured using the same gallon of glue but a month or so later. Just some solid examples of pros/cons. 1st tank its hard to even see in person as its so clear. 2nd tank, plain as day, looks like silicone. I also have "factory" built tanks that were originally made using #40 in this exact fashion.. they are the same, either clear or milky. My guess is they experienced the same thing as myself using older\opened glue or had an oven to aneel it back to clear. Also the "milkyness" is only on the top skin of the #40...through the sides of the bevel its crystal. Ive never tried to just sand/polish the outer skin but that may be all u need to make a milky looking seam clear again (if u go this route). in the blue tank u can see clear scratches in that milky layer... ray teeth made that clear lol...

That makes perfect sense. The pic I posted was #16. It was just lids so I didn't care about seal or strength. I would prefer to use bar stock since the tank is a pain to set at a 45 degree angle. Would #14 be sufficient for precautionary measures?

Last question: Do you ever strengthen on the outside of the tank? (a strip around the base of the tank).

I really appreciate your help, Russ. Thank you
 
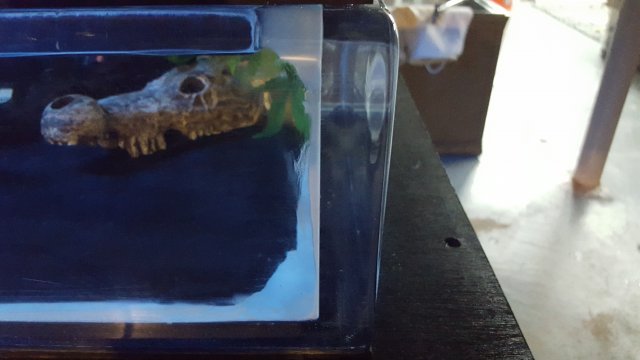
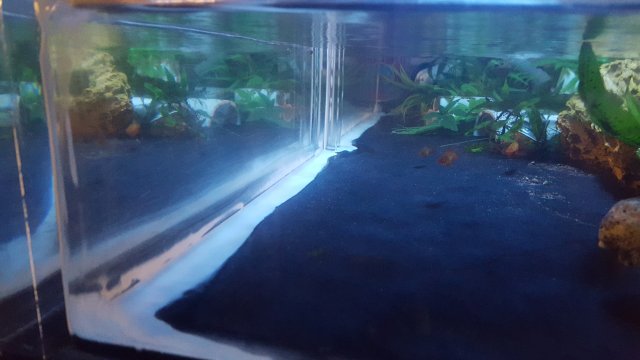
20180221_134724.jpg 20180221_134659.jpg 20180221_134634.jpg
This was the last acrylic test/project i did with #40... using it for full tank construction on a little fragger in 1" guage scrap i had. best seams/adhesion ive ever laid down in my life for clarity lol... downside of this was being lazy and not finishing the inside of the tank hence the milky excess. Thats whats im talking about sading off. no biggie really, again im just lazy haha.. wanted to learn how to router/sand/polish the outer edges like the "show" frag tanks popular on the darkside of the hobby. High dollar little tanks...and i understand y now. so much hand finishing/time is needed to make everything perfect. last pic of this batch shows what makes a divider slot. 2 pieces of 1/2" rod glued upright on the front wall to accept the divider. #40 worked great for clarity but again looks like crap with the milky excess.

The more i rant, the more i think ur right on track with the triangle stock and #40... should make for a clear combo. if the #40 is only filling in underneath that piece of triangle otell b perfct. clear inside with the glue, clear outside with the piece of stock. tip the tank up at 45° like i was sayin earlier. pour out a portion of #40...the cap that wet glue off with ur triangle stock to seal the deal. sanding cleanup may be a must for any spills/excess, will b worth it in the end tho.

Ive also poured #40 right over crappy 1/2" rod repaired by other people so it works both ways. just like bondo for cars i guess... fill any gaps/voids/old work u need to cover but it needs finished clean in the end to look good.
 
That makes perfect sense. The pic I posted was #16. It was just lids so I didn't care about seal or strength. I would prefer to use bar stock since the tank is a pain to set at a 45 degree angle. Would #14 be sufficient for precautionary measures?

Last question: Do you ever strengthen on the outside of the tank? (a strip around the base of the tank).

I really appreciate your help, Russ. Thank you

Any time man, and yes i have patched on the outside of the tank also as i have some clunkers over here. i used #40 and pieces of 1/4" acrylic to make "bandaids" lol...works very well. Kevin DIDYSIS DIDYSIS has patched on the outside, i stole that tip from him haha...
 
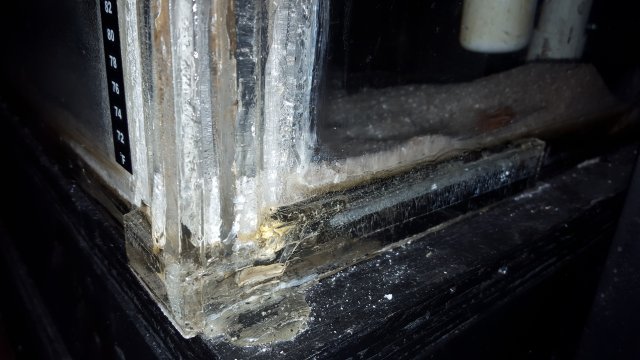
These look like hell lol....outer patches were a last ditch effort on this tank and it worked.... all the craze/mess u mostly see is on the inside of the tank but shows through the clear outer patches. I pretty much slapped some #40 on and taped the patches in place to dry. This can also be done cleanly, i was in a pinch yrs ago when the repair went down and had already re did the inside a cple times with no luck. This tank exploded in someones house and was put back together so a bit of an extreme example.
20180221_142218.jpg 20180221_142150.jpg 20180221_142139.jpg
 
  • Like
Reactions: mrrobxc
These look like hell lol....outer patches were a last ditch effort on this tank and it worked.... all the craze/mess u mostly see is on the inside of the tank but shows through the clear outer patches. I pretty much slapped some #40 on and taped the patches in place to dry. This can also be done cleanly, i was in a pinch yrs ago when the repair went down and had already re did the inside a cple times with no luck. This tank exploded in someones house and was put back together so a bit of an extreme example.
View attachment 1300728 View attachment 1300730 View attachment 1300731

That is what one of my 6x3's looks like. Its a "utility tank" though so meh.. You have to do it sometimes. I'm new to #40 hence the trepidation on my part. Everything I have done has been with #16 and #4.
 
That is what one of my 6x3's looks like. Its a "utility tank" though so meh.. You have to do it sometimes. I'm new to #40 hence the trepidation on my part. Everything I have done has been with #16 and #4.

Sounds like ur right on track then... #40 is pretty user friendly i.m.o... its a tad bit thicker consistency than the #16 and 30x stronger than #4. Its the best at biting into older material also for repairs/patchwork. U can divy it out using a digital scale for parts A/B or ur wifes baking type tools lol... I usually use a mixing cup marked in ml for the glue and add hardner with a steel measuring spoon. easy to find the conversions online for whatever u have on hand. i think its a 50-1 ratio.
 
  • Like
Reactions: JK47
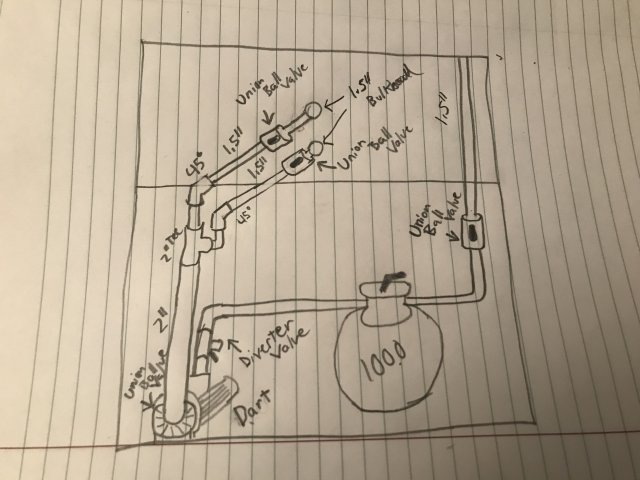
Ultima plumbing is planned out and parts ordered. I’m doing an over-under 1.5” intakes through the back wall. Each with union ball valves to keep everything adjustable.

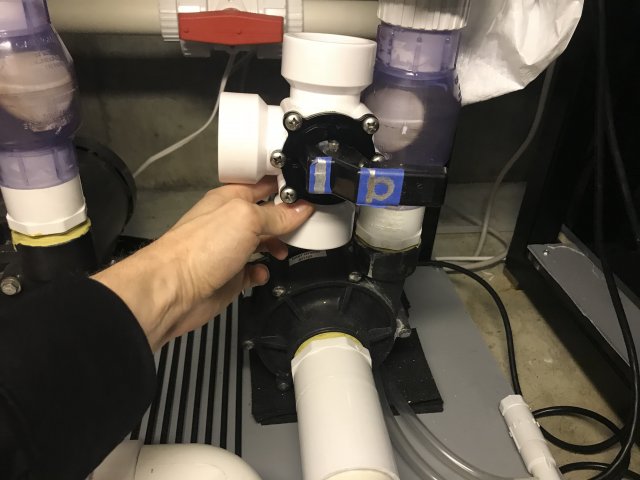
Also testing a new concept with a diverter valve for an auxiliary backwash system.

Normal operation: top open, bottom restricted
Backwash operation: top closed, bottom open
Auxiliary backwash: top closed, bottom closed, diverter valve open

E0DF9174-89A9-4396-BCA4-E3104CD23628.jpeg

Diverter valve:

6761A3AD-3332-4601-9A35-F2102BF12808.jpeg
 
Reasoning:
-By splitting the intakes, a ray doesn’t choke out the pump by covering the intake.
-Only using the bottom for backwash allows the tank to have access to more water.
-Valving back the bottom will lessen substrate getting sucked in if I ever use any.
-Combining the lines behind the tank will make for a single 2” line visible from the front.

Nice and clean
 
MonsterFishKeepers.com